


John Stainforth
-
Posts
728 -
Joined
-
Last visited
-
Days Won
2
Content Type
Profiles
Forums
Blogs
Gallery
Calendar
Downloads
Posts posted by John Stainforth
-
-
7 hours ago, john stones 1 - Moderator said:
Playing up for me, been reported but nothing I can tell you at present.
Have I just been lucky?! RCME always comes up for me in a split second, even on my crummy Tesco phone.
-
Epoxy setting times are very strongly temperature dependent. When I was living in Texas in a moderately air-conditioned house - internal temperature perhaps 28 + C in the summer - 30 minute epoxy would go off in about 10 minutes, so I was sometimes confronted with a race against time. Because epoxy setting reactions are strongly exothermic, one also has to beware of thermal runaways in any climate, if the epoxy is mixed in a small container with a small surface area: the mixed epoxy can heat up very quickly and set in a flash. This is particularly the case with finishing resins, which have to be decanted immediately after mixing, into a small tray with a large surface area to prevent this happening.
-
 1
1
-
-
Personally, I think downthrust is completely unnecessary in RC models. It's a hangover from the days of free-flight and single-channel RC models where we were could not adjust the trim in flight. All one has to do to stop a plane climbing under power is reduce the angle of attack by elevating the model down with either the elevator or the elevator trim. This reduces the lift and the drag; no need to reduce power at all. The way to fly a model as fast as possible in level flight is to have the thrust line straight through the C.G. with the plane trimmed to fly level on full power.
-
1
-
-
On 01/02/2024 at 10:44, Jon - Laser Engines said:
Certainly is and google provided this handy equation showing water as the largest exhaust product.
Methanol Oxygen Carbon dioxide Water
2CH3OH(l) + 3O2(g) --> 2CO2(g) + 4H2O(g)
This does assume perfect combustion though, and we arent going to achieve that very often.
It's splitting hairs, I know, but in terms of mass the amount of CO2 produced is slightly greater than the H20. (RHS of eqn: 88 + 72 += 160 mass units = LHS). But still the point is well made that combustion produces lots of water (hence contrails from airliners).
-
27 minutes ago, Nick Cripps said:
I've still got my slide rule from my schooldays and a circular one that my father used to use at work. I took my O and A levels around the time of the crossover from slide rules to calculators so I became adept at using both. My elder brother was 4 years ahead of me and didn't benefit.
One really useful skill that the old methods taught was learning how to estimate the order of magnitude of the expected answer (you had to as there is no decimal point on a slide rule). I found it very frustrating at work in the later stages of my career in engineering, as the newer graduates often just believed the answer that the computer gave them, even when it was obvious there was an error of several decimal places!
It is worth remembering that before about 1955 every car, ship, plane and all science and engineering was done with slide rules and log tables. War bird airframes were accurate to 1/16th of an inch. The highest precision in engines was the hallowed thou. When I was at school in the sixties we did all our scientific calculations with logs and slide rules. Actually, my experience was much like yours: we were taught to do order of magnitude estimates first, to reduce the risk of screwing up with the slide rule, which came next. Then, finally, log tables. I still do order of magnitude calculations all the time in my scientific work.
-
A good a starting point is indeed the manual for the OS46X or 55X. If you do as they say, you really can't go too far wrong. If the engine does not start and keep running there is either a fuel supply problem, or a glow plug/battery starter problem, or you've got the needle valve set very badly out. The tuning of glow engines is pretty straightforward.
-
3
-
-
2 minutes ago, toto said:
Hi Peter,
Thanks anyway. I'll have a rummage around online. I'm in no rush as I am sure I can come up with something meanwhile.
I'm not sure just how much freezing temperatures can effect batteries but if these boxes can make a significant difference, then they are worth the outlay .... even if only used through the winter season.
Cheers
Toto
I have these wonderful motors that run on liquid fuel and generate their own heat!
-
2
-
-
I usually start with a pair of diagonals (from the leading edge), then 2 pairs of straights, then 1 or 2 more pairs of diagonals, i.e., 8 to 10 bands in all. The final diagonals keep the underlying bands pulled inwards on the dowels.
-
2 hours ago, Skippers Walker said:
Please settle a friendly discussion about whether the little metal inserts provided with some servos, should be inserted from the base of the 'rubber' mount or the top (screw entry end) All comments welcome?
SW
They should be inserted on the underside, i.e., between the servo tray and the lug (as per instructions!)
-
18 hours ago, Oliver Terschowetz said:
Any wise words of wisdom would be much appreciated please.
I have an old model spitfire with a 2 stroke glow .91, currently running well on a 2 blade master air screw 16 x 8.
I was contemplating putting a 3 blade on to make it look a little more authentic. Before I commit and purchase a shiny new spinner (£25 - £30 !), I just wanted to check first....
IS IT REALLY WORTH IT?
I have picked up two sizes of 3 bladed props, 16 x 10 and 14 x 9.
If there are no detrimental effects of going to the 3 blade prop, what are the general rules of thumb regarding prop dia and pitch?
Would these two sizes be appropriate?
Am I wasting my time 🙄
Thanks for any help.
I have a Hanger 9 Spitfire with an Saito 100 4s, originally with a 14 x 8 prop. I changed this to a 3-blade 13 x 8 - I can't remember why! It certainly wasn't for scale looks because the 3-blade looks even more obviously too small than the 2-blade. Maybe it was for better ground clearance. Anyway, the interesting thing was that I didn't notice any drop in performance at all; I even got the impression the plane had more oomph with the 3-blade than the 2, but these things are very subjective. The main cost was the aluminium spinner.
-
13 minutes ago, toto said:
Hi Kim,
Cheers ..... the 6s has to be the first stop for now as I dont have any 3 bladed props. If I can get it set up outside tomorrow ( weather permitting ) I'll run some checks with the watt meter whilst running on both 4s and 6s batteries.
It will be a bit of a challenge to get this right as it will more or less be the first time I have tried anything like this ..... but bare with me.
Many thanks
Toto
People tend to be rather choosy who they bare with!
-
 1
1
-
-
I have never had to warm epoxies in the UK. That may be a hangover from living in hot climates, where the problem is the other way round: epoxies set much faster than expected. For finishing epoxies, one has to be very careful (even in the UK) if one mixes them in small mixing jars that have a small surface areas, because a thermal runaway can easily occur that makes them set in no time at all. So, I always decant the mixed epoxies into trays with a large surface areas that prevent them getting too warm and setting prematurely.
-
One thing you can do is cut a female template of the profile of the LE in a piece of thick balsa and use that to continually monitor your progress while you are sanding, to avoid over-doing it. This is an ideal task for a Permagrit sanding block.
-
On 07/10/2023 at 09:25, leccyflyer said:
Toto has written multiple posts detailing the care and attention which he has paid in creating a quality, true, robust building board, which gives him the best chance of building a true, unwarped wing for this and future models. This follow on thread is seeking opinions on fuselage jigs, for which he has already purchased most of the required materials and hardware.
There is nothing more disappointing than spending days building wings and fuselages for them to come out warped. (I learned this the hard way as a child.) So my view is that some kind of jigging for both wings and fuselages is highly worthwhile. It does not have to be sophisticated, just fit for purpose. It is very satisfying to set up a build so that you know it is going to come out more or less dead right, because you have ensured that it has no where else to go. This takes surprisingly little extra effort. It's in the same spirit as measure twice, cut once; or better still, measure four times, cut once.
Let me put it another way: when I have left things to chance, they often or usually turn out badly.
-
 1
1
-
-
Silly me, I stick to roughly what the manufacturers recommend. I was using 18% nitro 20% oil in the US for Saitos. Here I am using Optimix 15% nitro 4-stroke fuel; not sure what the oil % is. For OS, I use their recommendations; for Lasers, I follow Jon's advice.
-
17 hours ago, toto said:
Ok .....
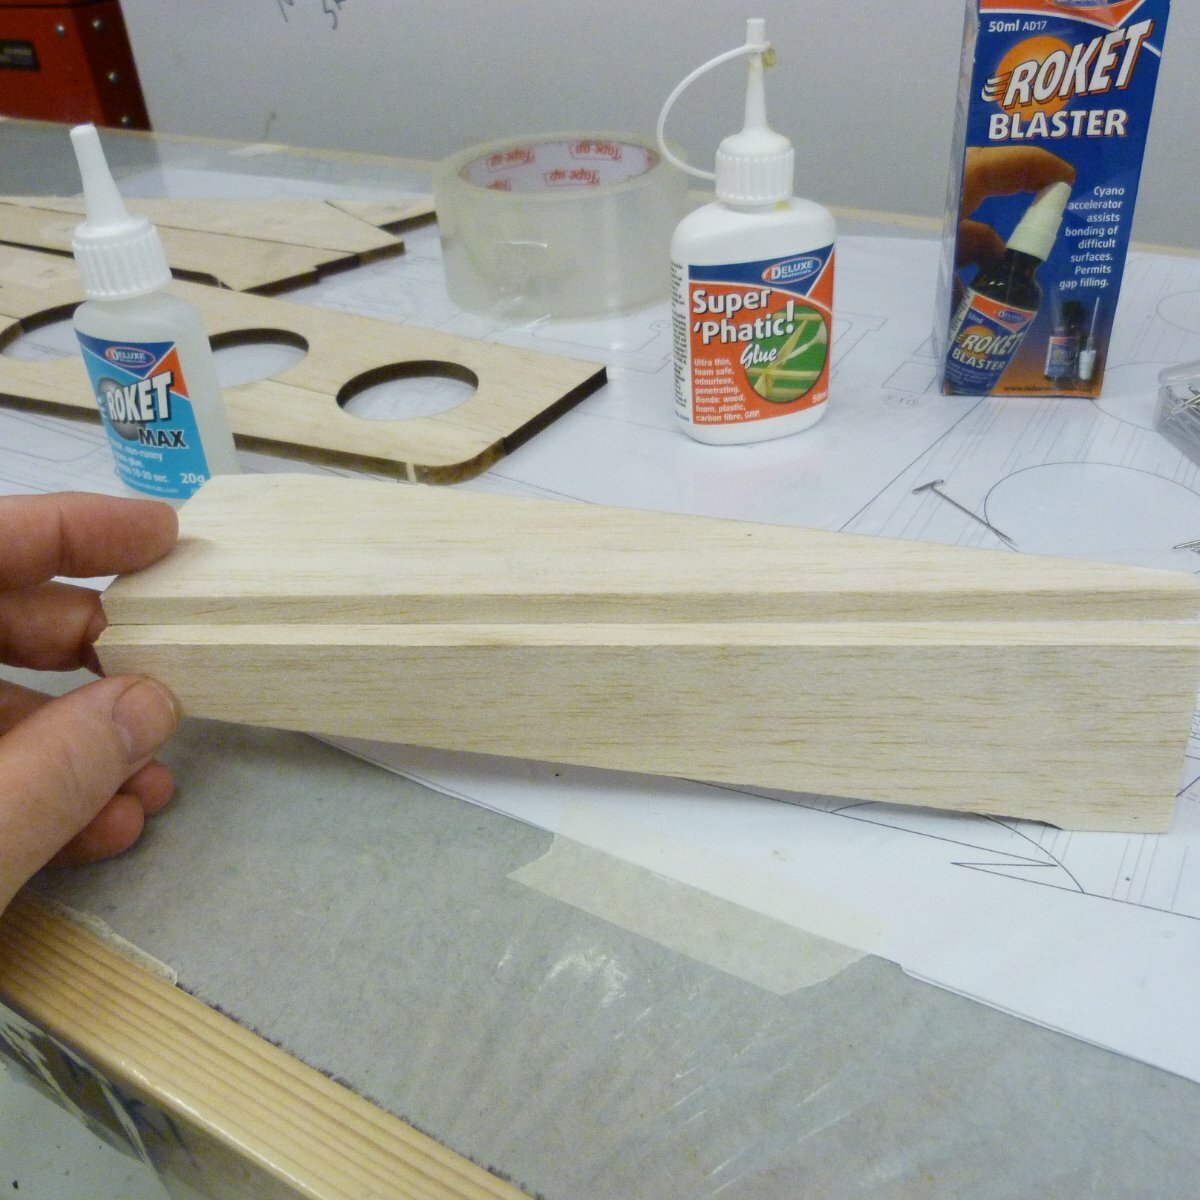
a trial piece .... using this .....

and this ....
pin the two pieces down ....
and add packaging tape along its length ensuring that it has stuck ......
and once unpinned ..... you get this like the above ......
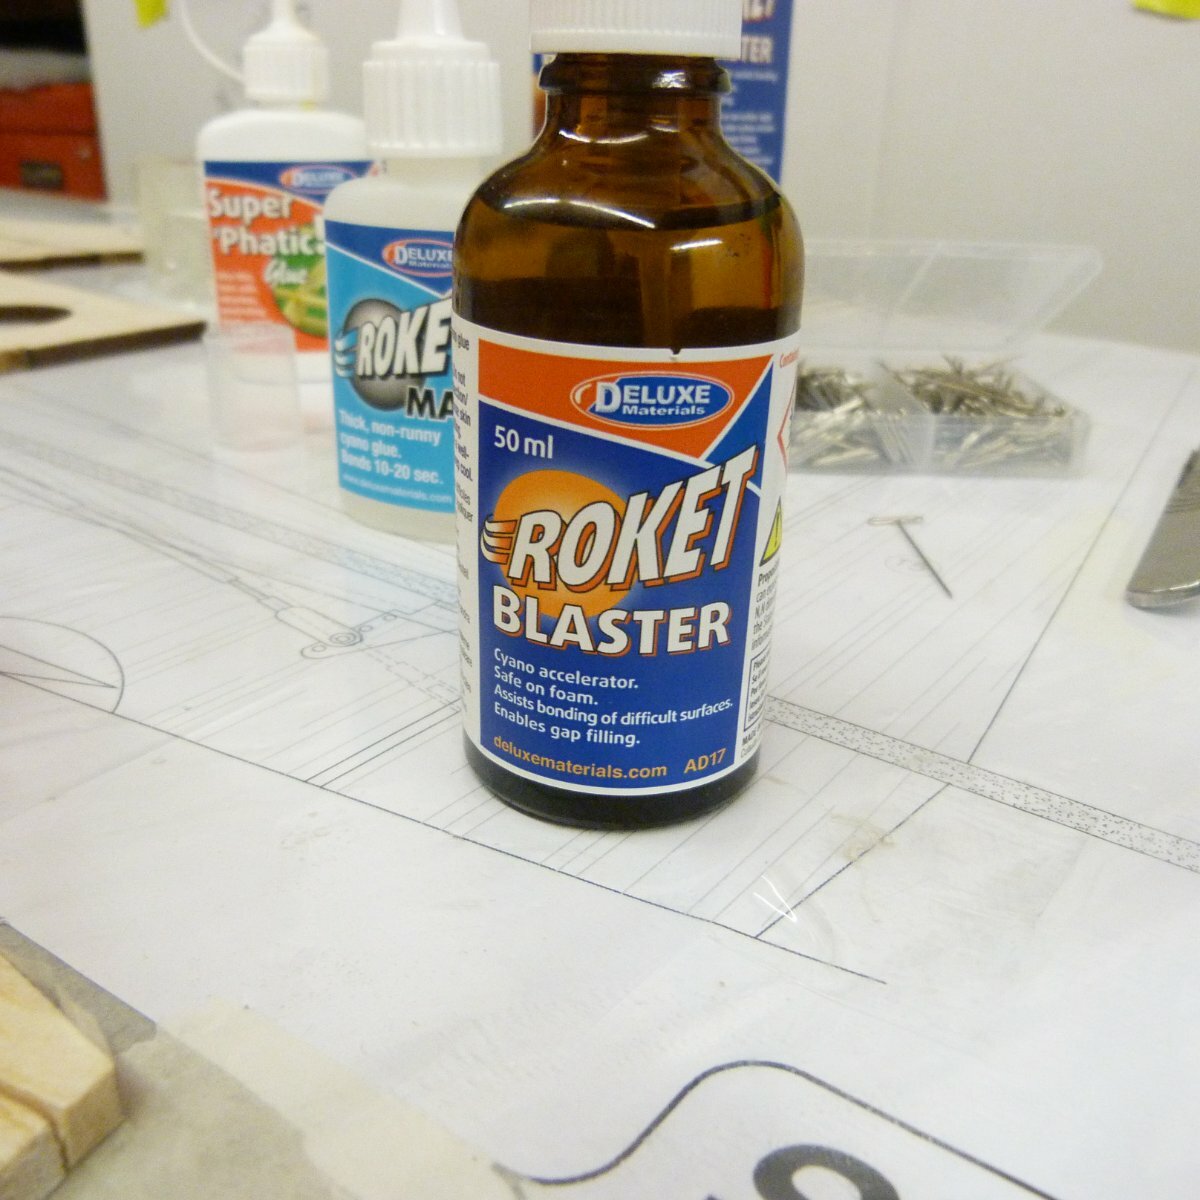
apply the thick Cyno along the join and weigh it down flat .... give a squirt of the accelerator .......
peel of the tape .....
and all seems well ....
I didn't really spend any great time sanding the two edges ..... so they may not be perfect but it proves that the tape does not stick with the CA.
I'm not trying to make a case for the CA in particular .... my concern is more that the aliphatic will take much longer to cure before the tape can be removed and the join truly hardens .... all opinions welcome .... I am maybe worrying over nothing ....
toto
What is worth doing is to trim the edges of the pieces of sheet to be joined with a very sharp knife along a steel straight edge. Then the two halves will fit together like a glove. I put CA along the back of the joint, which wicks into the joint - so sanding the other side is almost a non-issue. Done that way, the joint is almost invisible.
-
Personally, I would put another crossbeam across middle for extra resistance to curvature.
-
1 hour ago, Graham Bowers said:
What's the equivalent of securing parts with pins, please? I have a slab of marble that came out of a fireplace that I was planning to overlay with plasterboard.
Ha! As Dave Platt said jokingly [if you try pinning] "it's hell on the thumbs!"
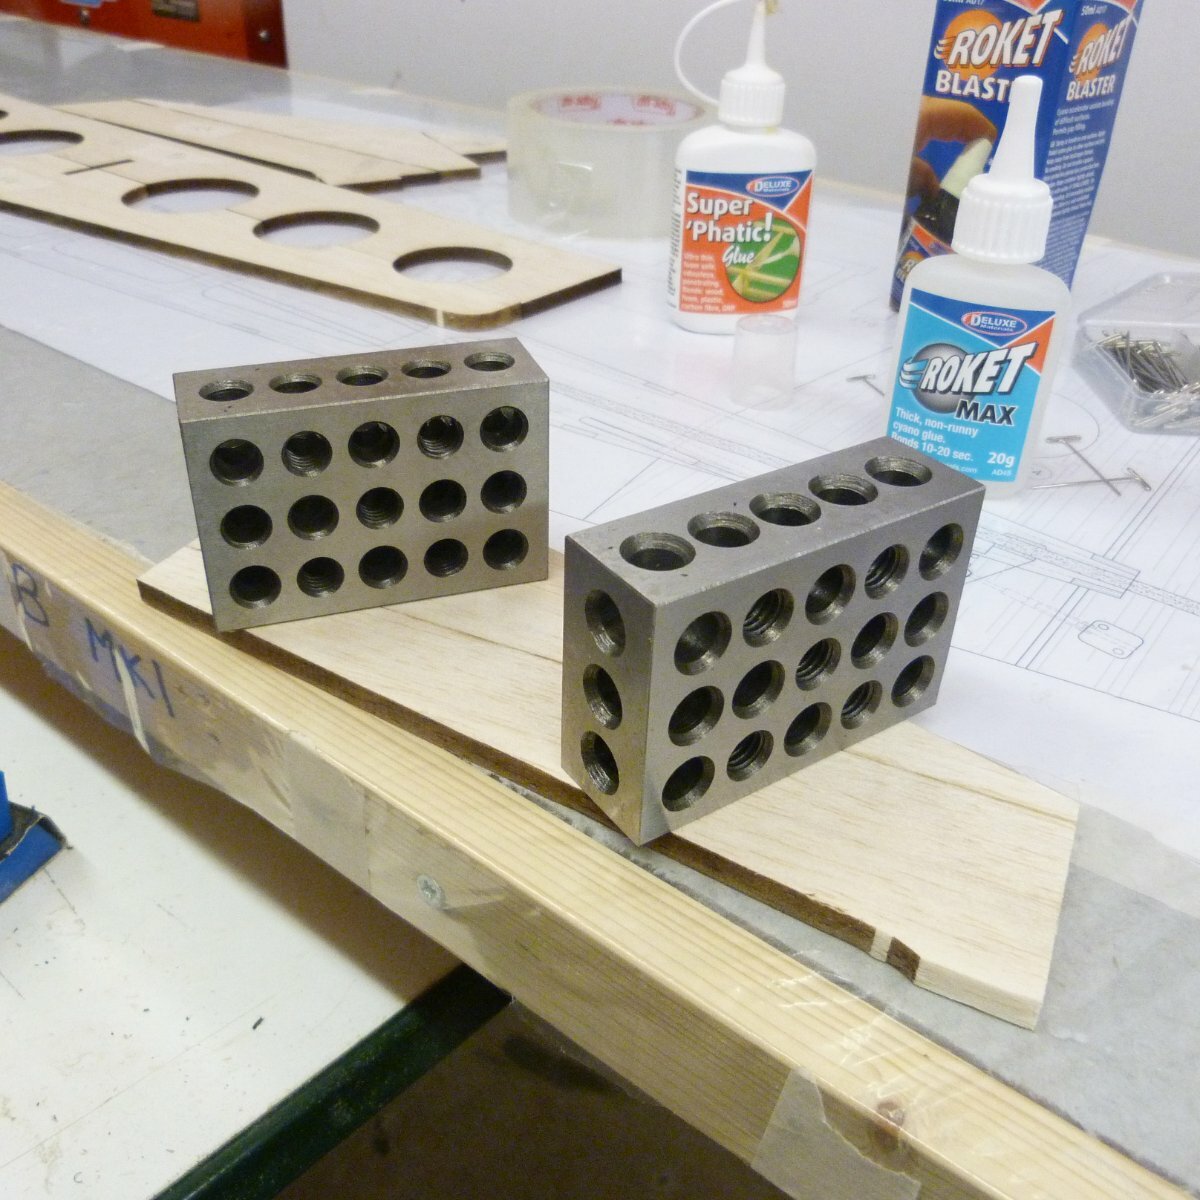
Instead use weights, masking tape, and custom made jigs superglued straight on to the glass (as in the picture).
-
1
-
-
I am completely won over to building on thick plate glass, which is dead flat, as advocated by Dave Platt.
-
Jon,
We've had recommended various solvents for cleaning old engines - diesel, petrol, antifreeze, etc. What about WD40, because I imagine that would be pretty effective (but I have not tried it)? I wondered if you had any experience with that.
-
2 hours ago, Simon Clark said:
I apologise if this has been covered before or is too basic a question but:
What is the best way to glue balsa sheets together for wing skinning etc.? I usually start by taping the sheets together on a flat surface then open up the join, add some aliphatic and put back down on the flat surface with a few weights. It works OK but I always end up with a very slight mismatch in angles, a glue line that is difficult to sand out etc. Does anyone have a fool proof method that gets good consistent results?
Thanks
Simon
I do the same, but with CA. (Actually, one doesn't really have to open up the join with CA, because it wicks into the joint.) I generally use far more aliphatic glue on models than CA, but this is a near-perfect application for the latter.
-
1
-
-
1 hour ago, Jonathan M said:
How does the model fly with the balancing stand hanging on...?
No balancing stand! The velcro is just to mark the CG position.
-
1
-
-
A thin strip of self-adhesive velcro, stuck onto the underside of each wing, also does the job.
-
Surely, the preference for two or three tubes depends on the accessibility of the fuel-to-carb tube? If it's easily accessible, two tubes for me; otherwise, three.
-
2
-


The future of ic engines in our hobby.
in IC Engines
Posted
IC glow engines are far from extinct. OS and Saito still carry a reasonable range in the useful sizes. Personally, I think the smell, mess and noise are all exaggerated, as is the cost of the fuel. In most of the clubs I have visited, members have been very happy to retreat to a nearby pub and spend more on beer (which, let's face it, is very bad value for money) than they have on glow fuel at the flying field.