


EarlyBird
-
Posts
3,613 -
Joined
-
Last visited
-
Days Won
5
Content Type
Profiles
Forums
Blogs
Gallery
Calendar
Downloads
Posts posted by EarlyBird
-
-
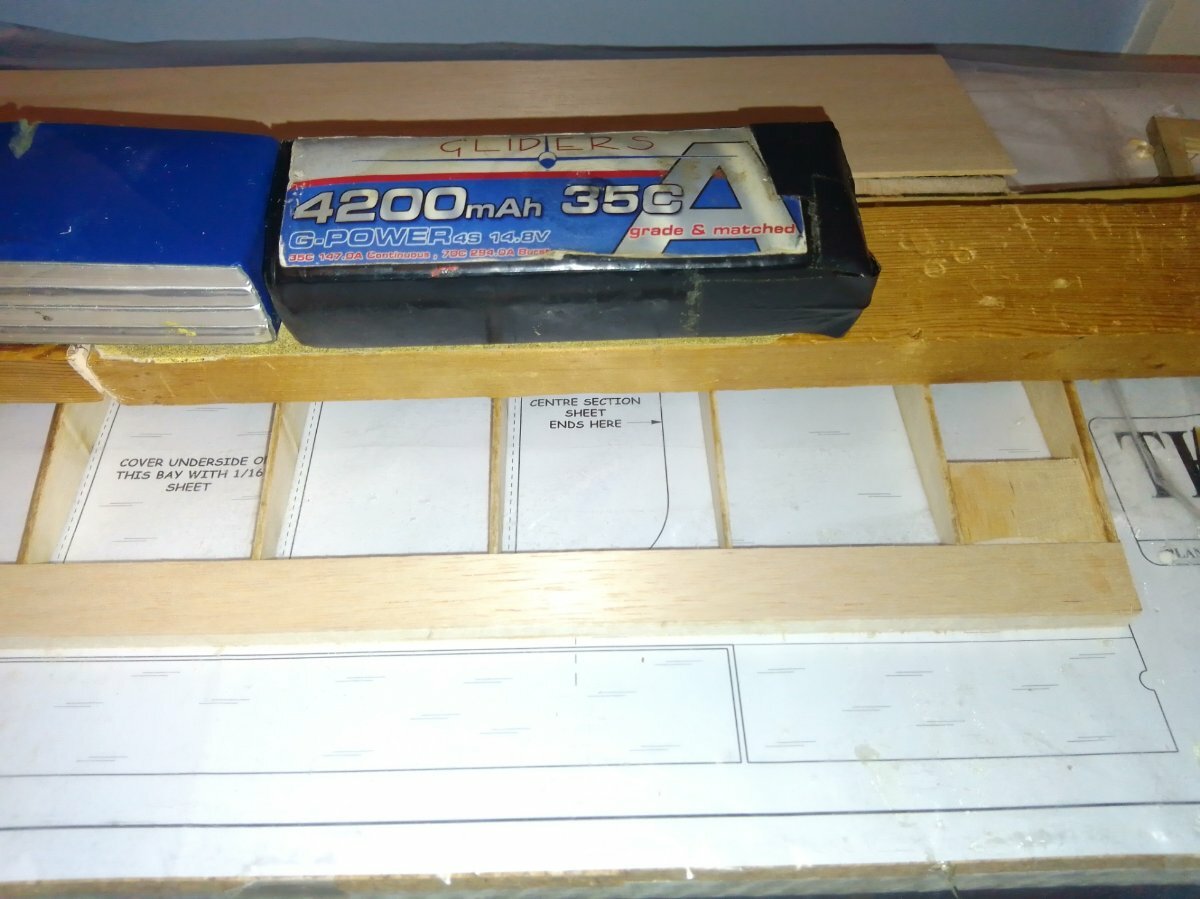
Which brings us to the top centre sheeting.
I make this from two pieces of balsa fitting tp the LE and TE respectively.

Then using a sharp pencil mark the cut line.
Cut on or to the correct side of the line.
-
TE is next so add the scrap balsa first,
Then using the LE offcut which will fit perfectly.
or maybe not, I must have cut the wrong side of the line. 😞
Only thing to do is cut another one.
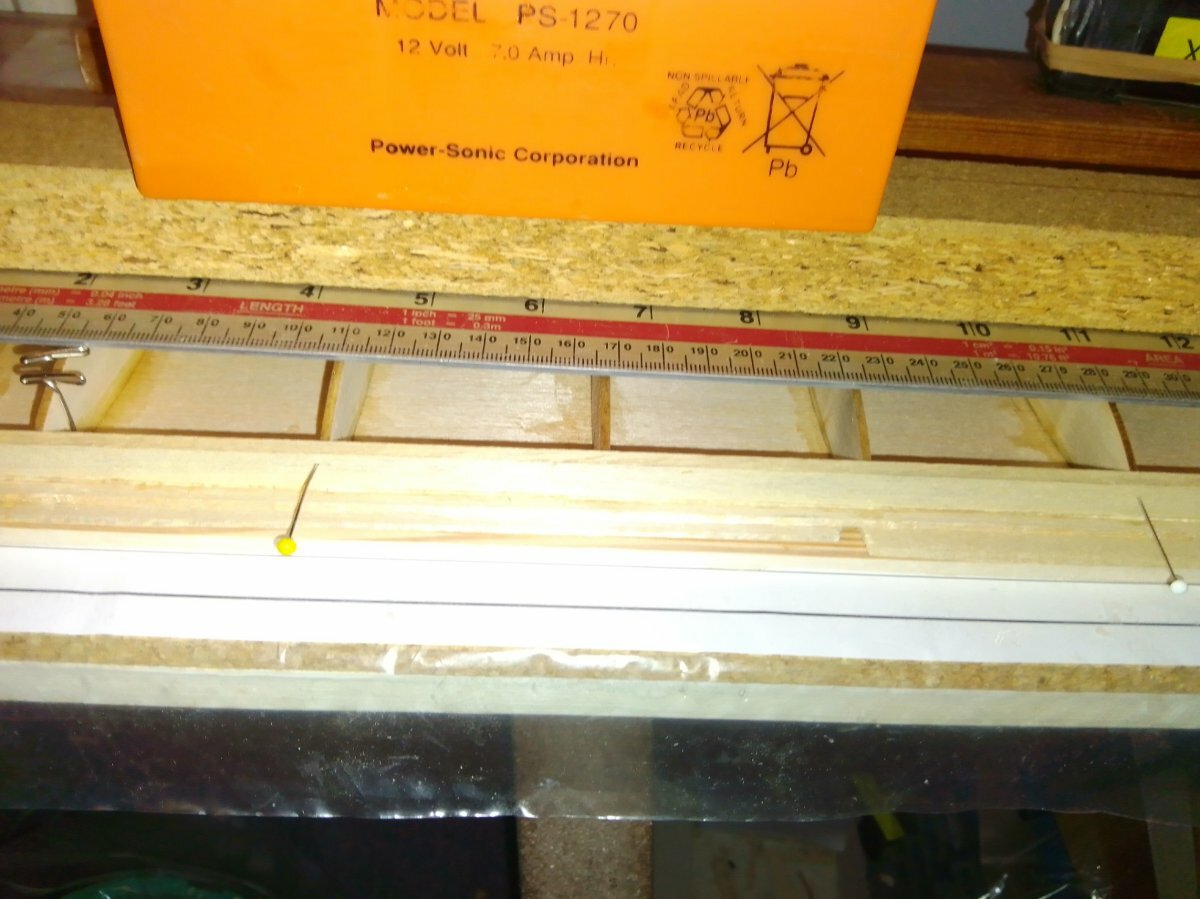
and use a ruler for a straight edge so that the rib cap strips are 119.5 mm to match the first wing.
Steve
-
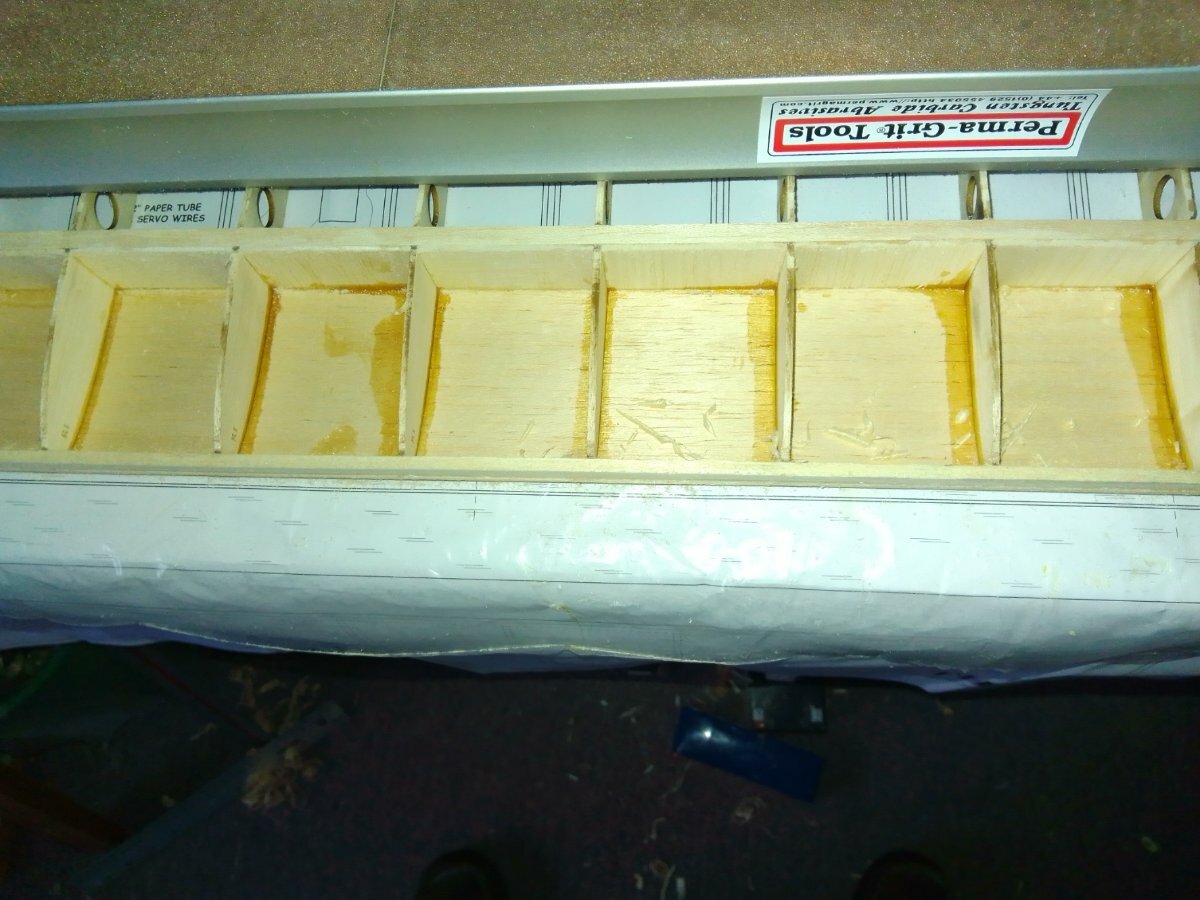
First finish the shear web.
Then set up for the LE sheeting.
and all done.
Steve
-
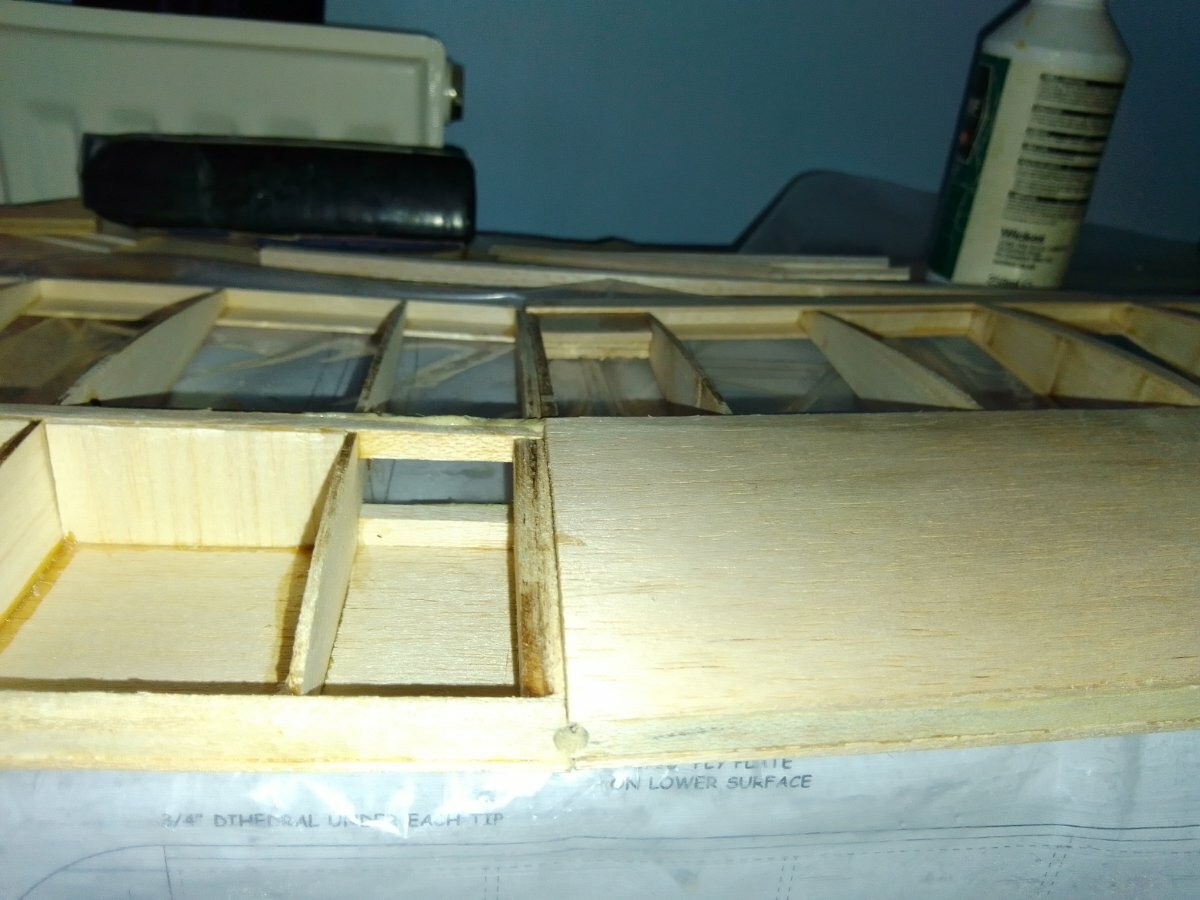
Alot of shaping and fitting over the last few days.
Starting with the LE and top spar then the TE,
I use the David Plane to start, just catching the ribs.
Then use the Perma grit block to finish, again just catching the ribs and removing the burnt wood.
We now come to the tricky bit of joining the wings. With the wing propped up 1 1/2" then the join is test fitted.
TLAR, after lots of careful sanding and test fitting.
Next is to glue it together then finish the top LE and the rest, including the cap strips.
Steve
-
 1
1
-
-
Bottom pulled up
and LE fitted.
-
Bottom spars I should have said.
Ribs and top spar done.
Steve
-
1
-
-
@bodgerep another mistake from me.😭
The first was assuming the ribs were flat between the two spars.
Steve
-
Bottom finished, at last.🙂
and second wing started.
I am wondering what to do as I am ahead of John (@bodgerupep).
Steve
-
Ready for the 1/16" sheeting.
-
A lazy day yesterday as I only managed my minimum target of adding at least one piece every day.
One cap strip.
Today I am working on the servo mount as a start, hopefully. 🙂
Steve
-
1
-
-
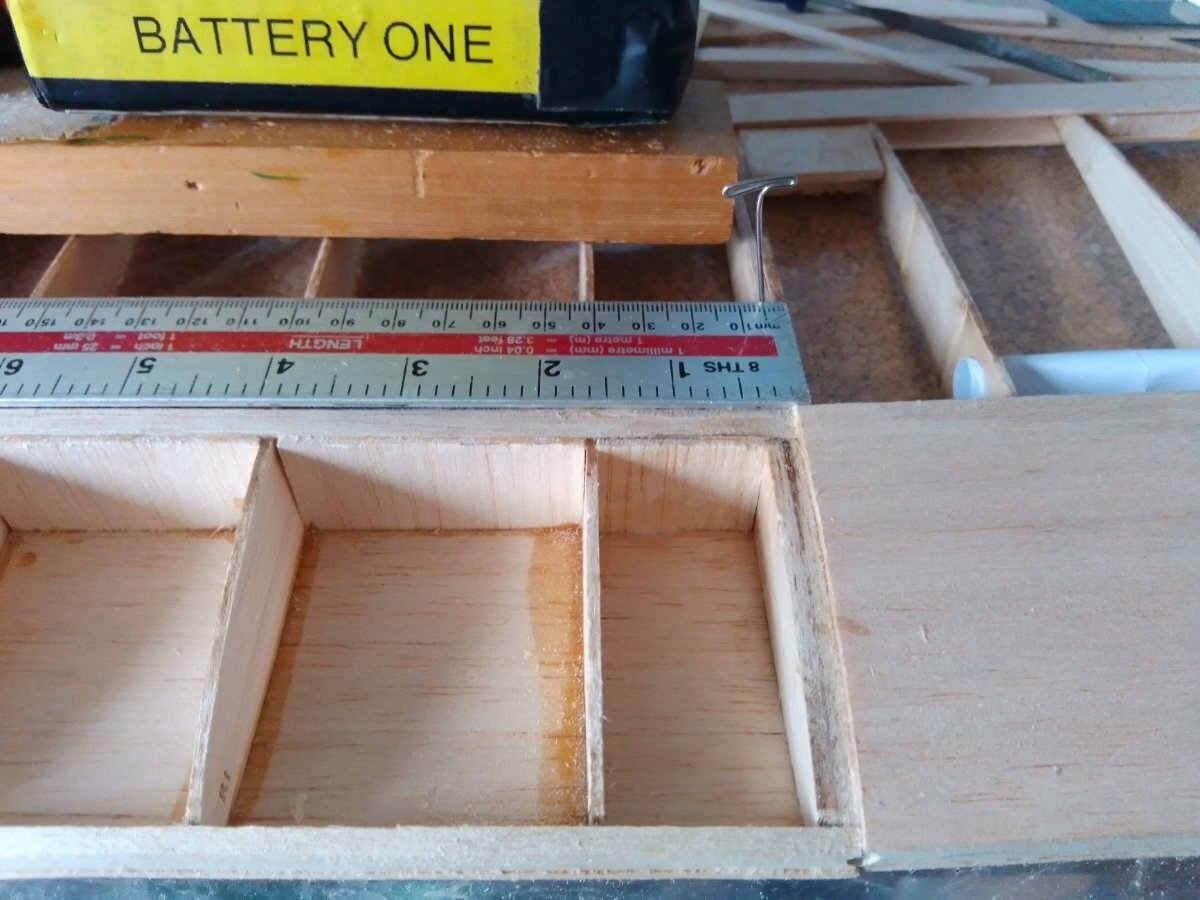
Sanded LE and tip rib then set up a 1/4" jig.
Using a piece of 1/4" spruce for the width of the cut.
The length of the cap strips was a consistent 119.5 mm so I cut a piece of scrap 1/16" exactly to this length then used the jig to cut eight strips and glued in place.
and after some sanding here we have it.
I must be learning.
Next, I cut the bottom strips and at that gave up for the day.
Steve
-
1
-
-
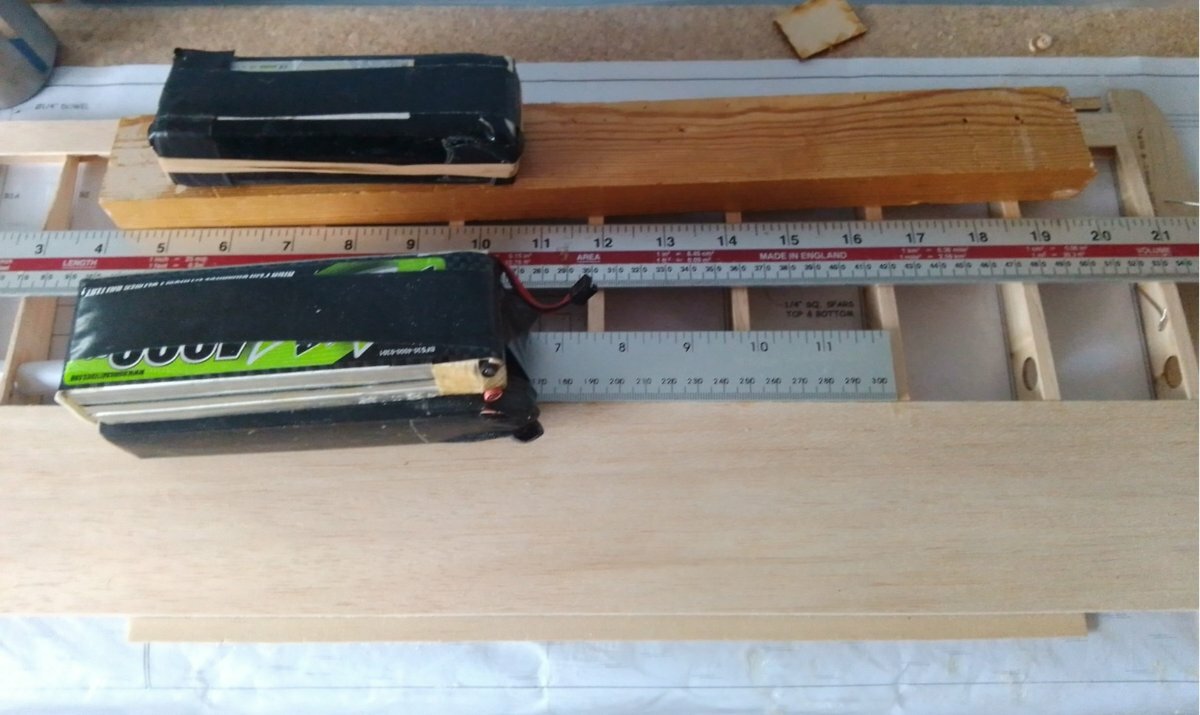
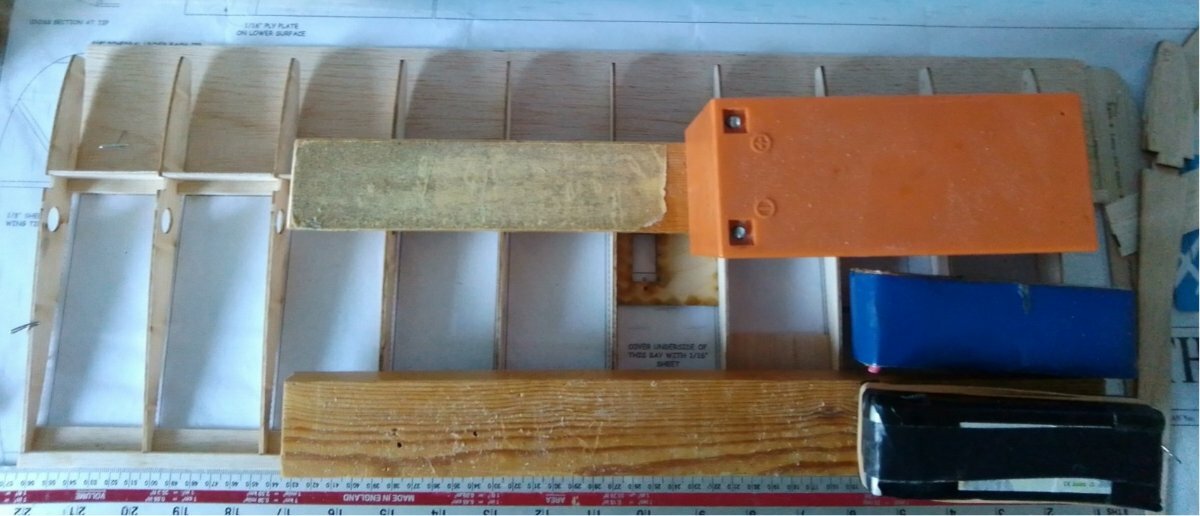
A ruler helps to position the sheet.
Damp the top of the sheet to help it bend and while it soaks in apply the glue, no rush, then lay the sheet in place and hold down with weights.
I used a 600 mm Permagrit for the leading edge, with the rough side down it stayed in place even close to the edge.
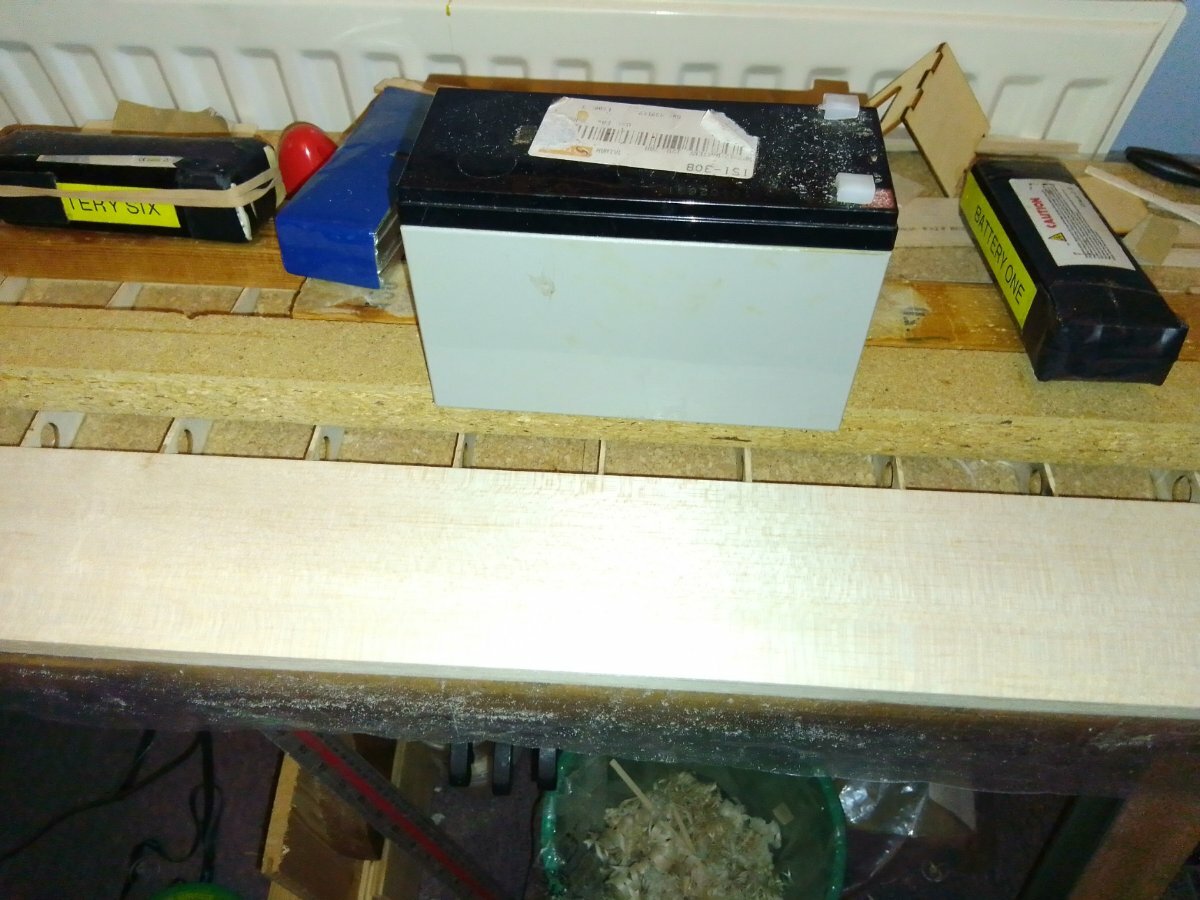
After a few minutes I moved the ruler and used 1/16" scrap to balance the wood block and batteries close to the back edge and the Permagrit as far forward as possible, adding a bit of hand pressure just to make sure.
Here it is with the weights removed.
Looks and feels good to me.
Top cap strips next.
Steve
-
2
-
-
I have to work this way as I have great difficulty using pins.
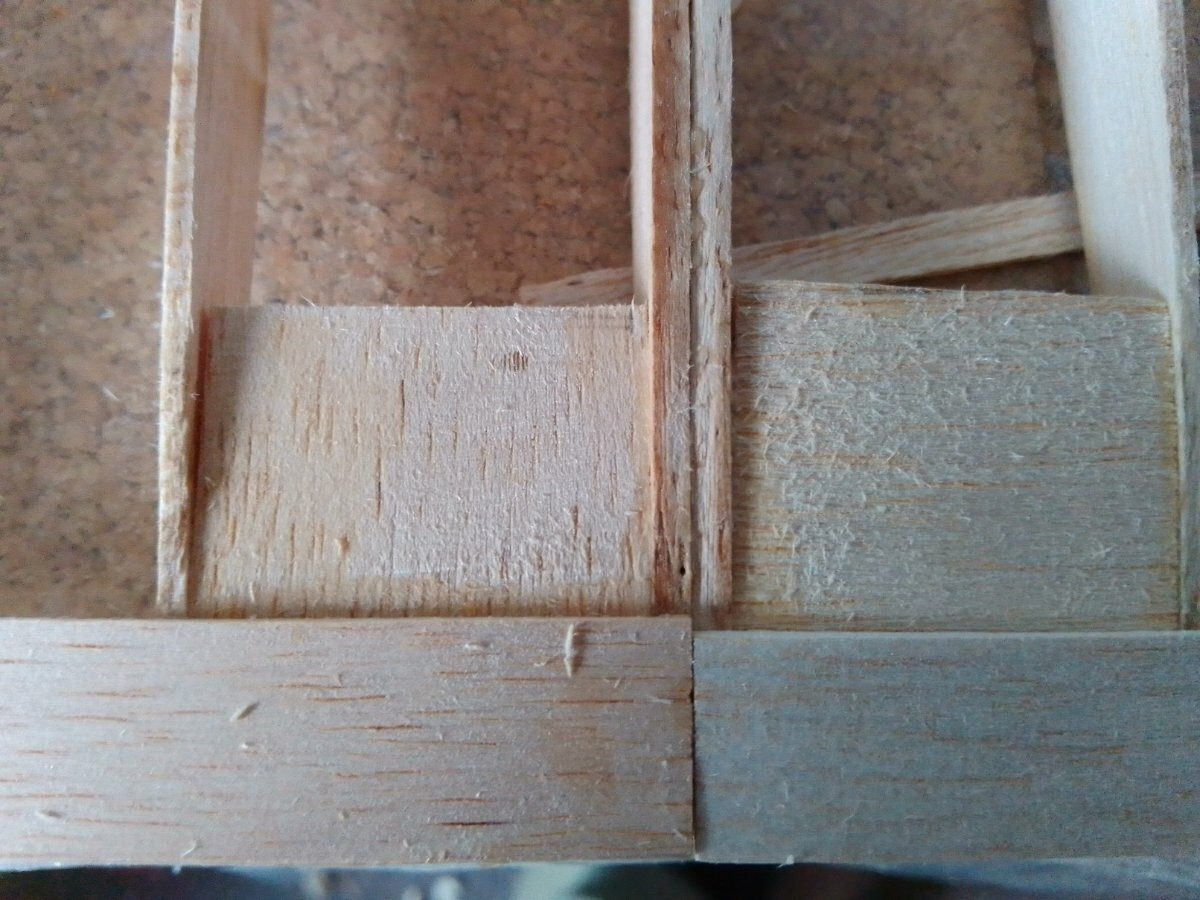
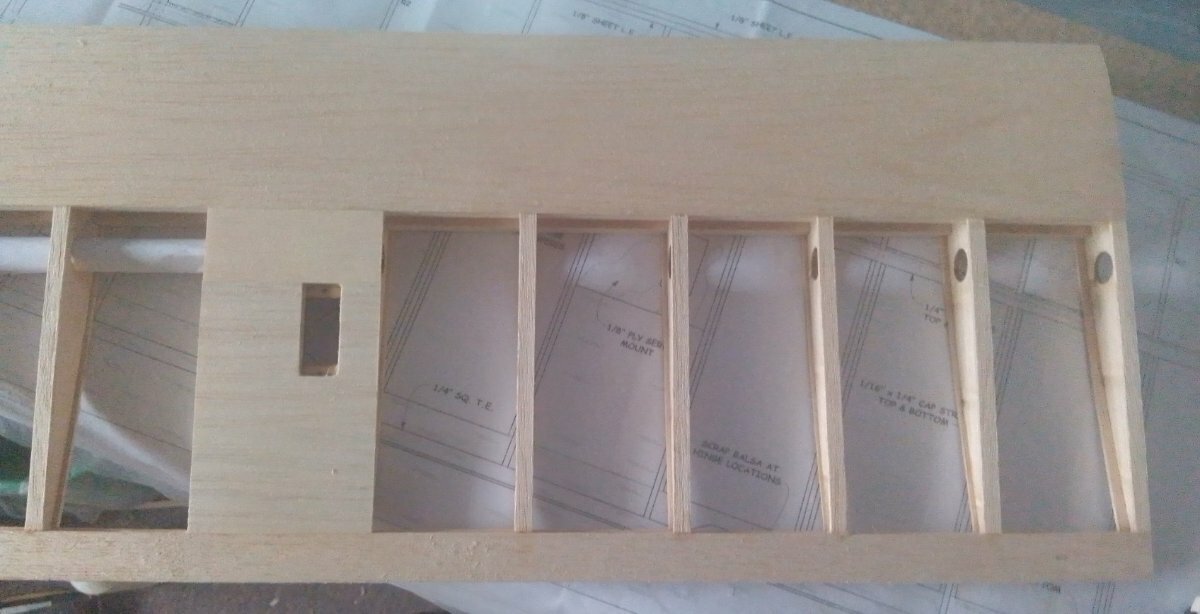
Finished shaping the LE and TE aileron spar then added the scrap balsa for the hinges and wing plate.
Then added the TE cap strip, again 17 mm cut off a 100 mm sheet which leaves enough for the LE top sheet.
I spotted a mistake. Too late now. 😭 For me anyway but John my club mate has not got this far.
Maybe.
LE top sheet next. 🤔
I have been thinking of some more bright ideas 💡 😭
Steve
-
Thanks Peter.
The leading edge cut at an angle then sanded to shape with the aid of a few test fits, Once happy I turn the LE full sheet over and cut to width, again at an angle, then glue,
Not a good photo but shows the LE and the packing.
After shaping
That's better.
Steve
-
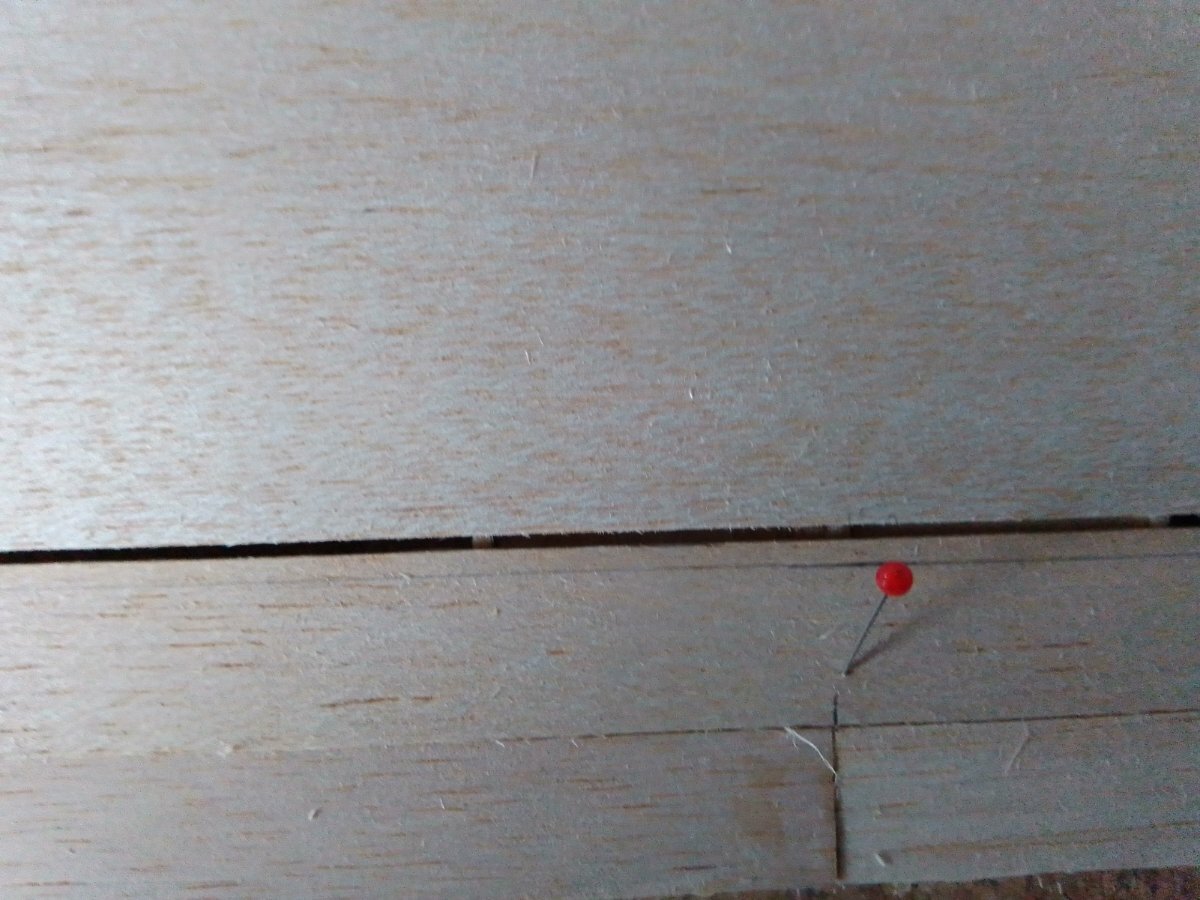
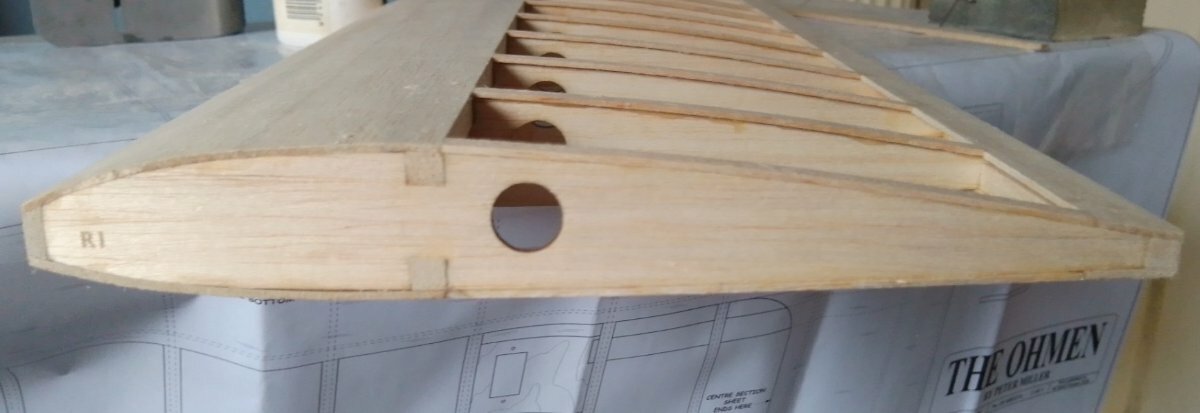
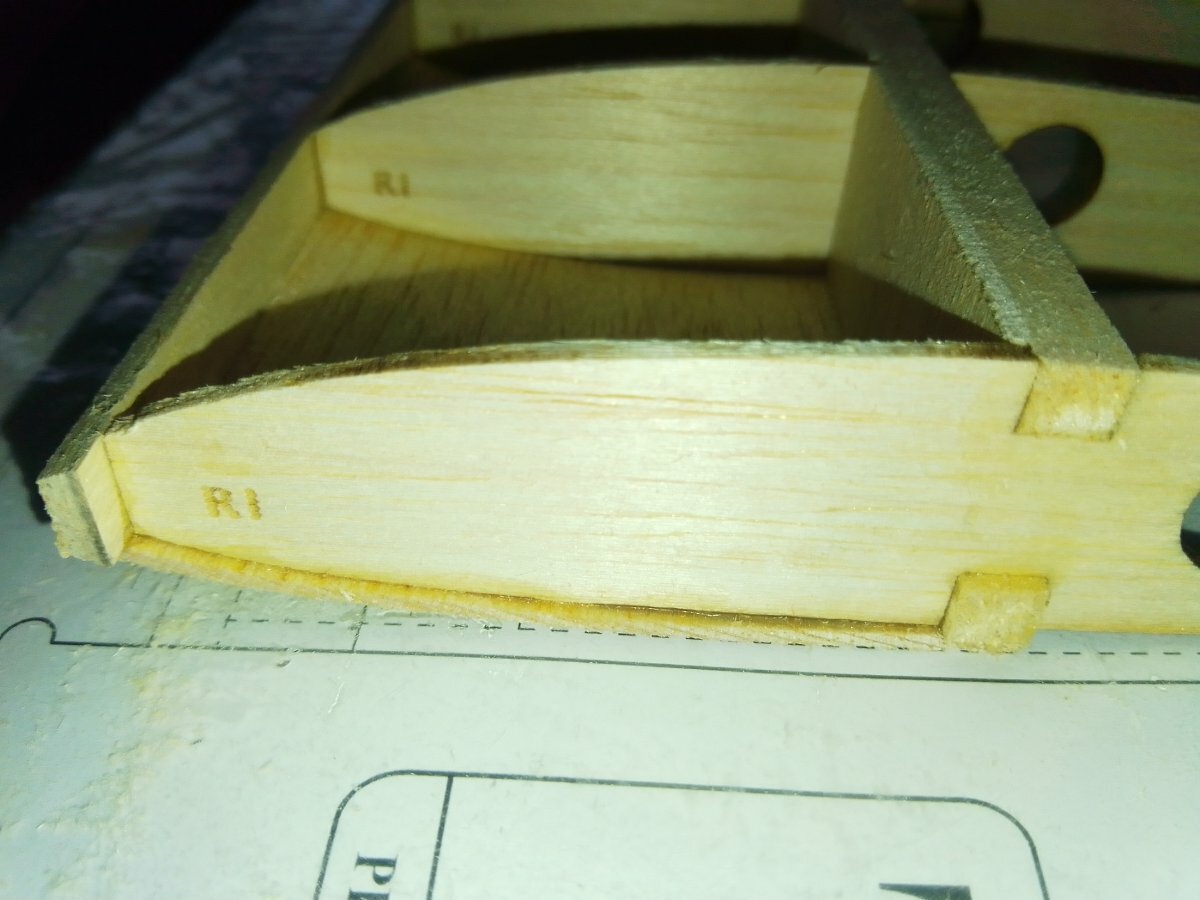
Root rib glued at some sort of angle.
Pulled up the LE sheeting. Ample weight to keep the wing flat to the board.
1/8", 1/4" and 1/16" packing to keep the sheet in contact with the ribs along their length.
Steve
-
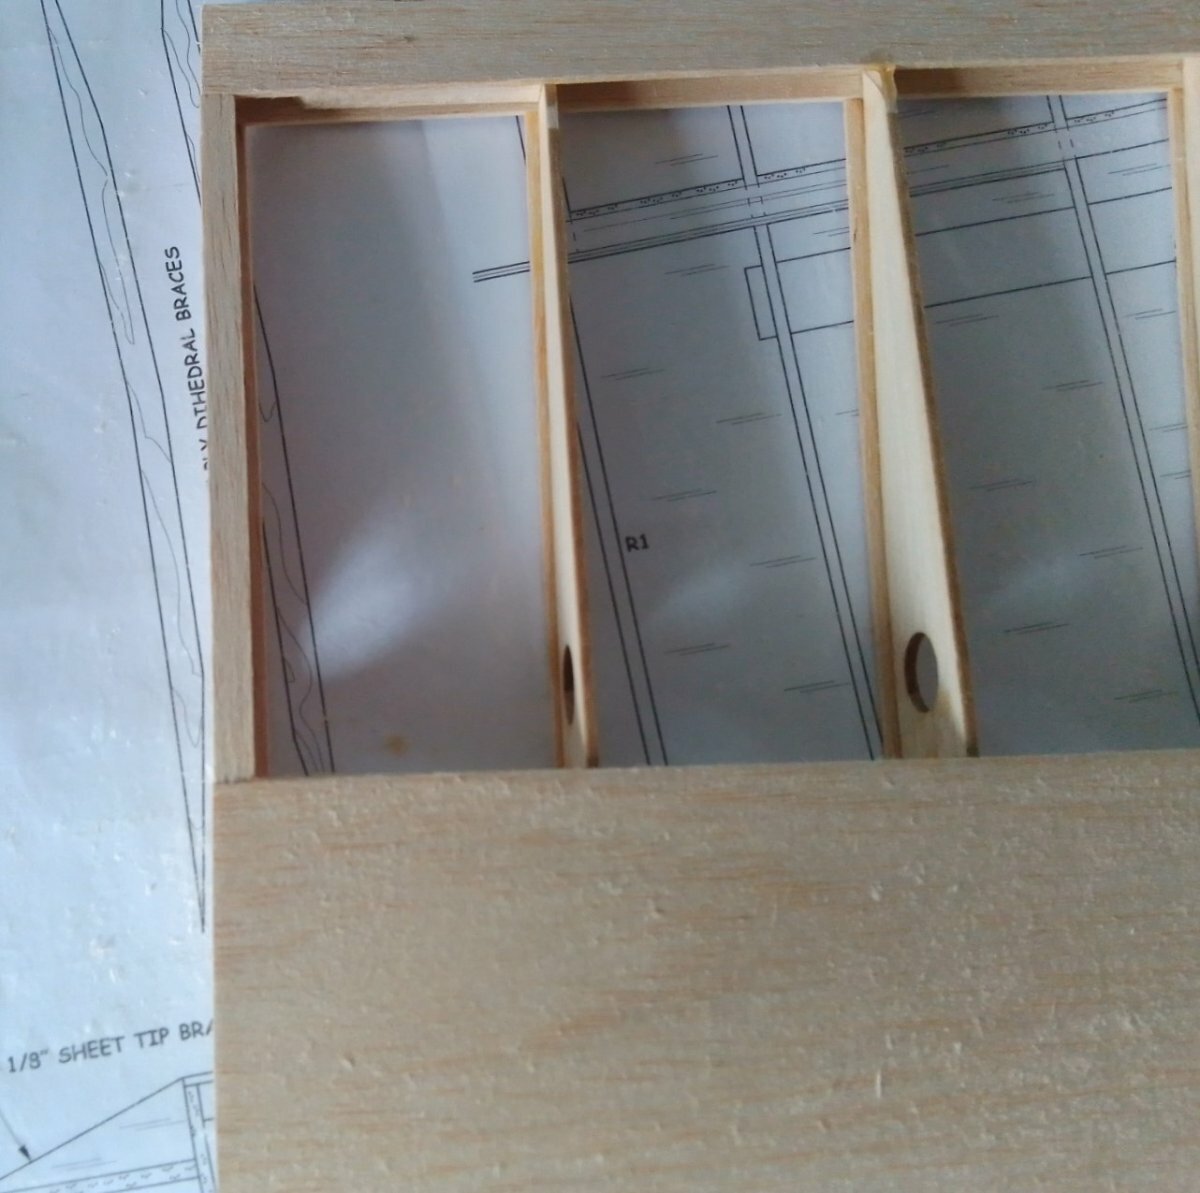
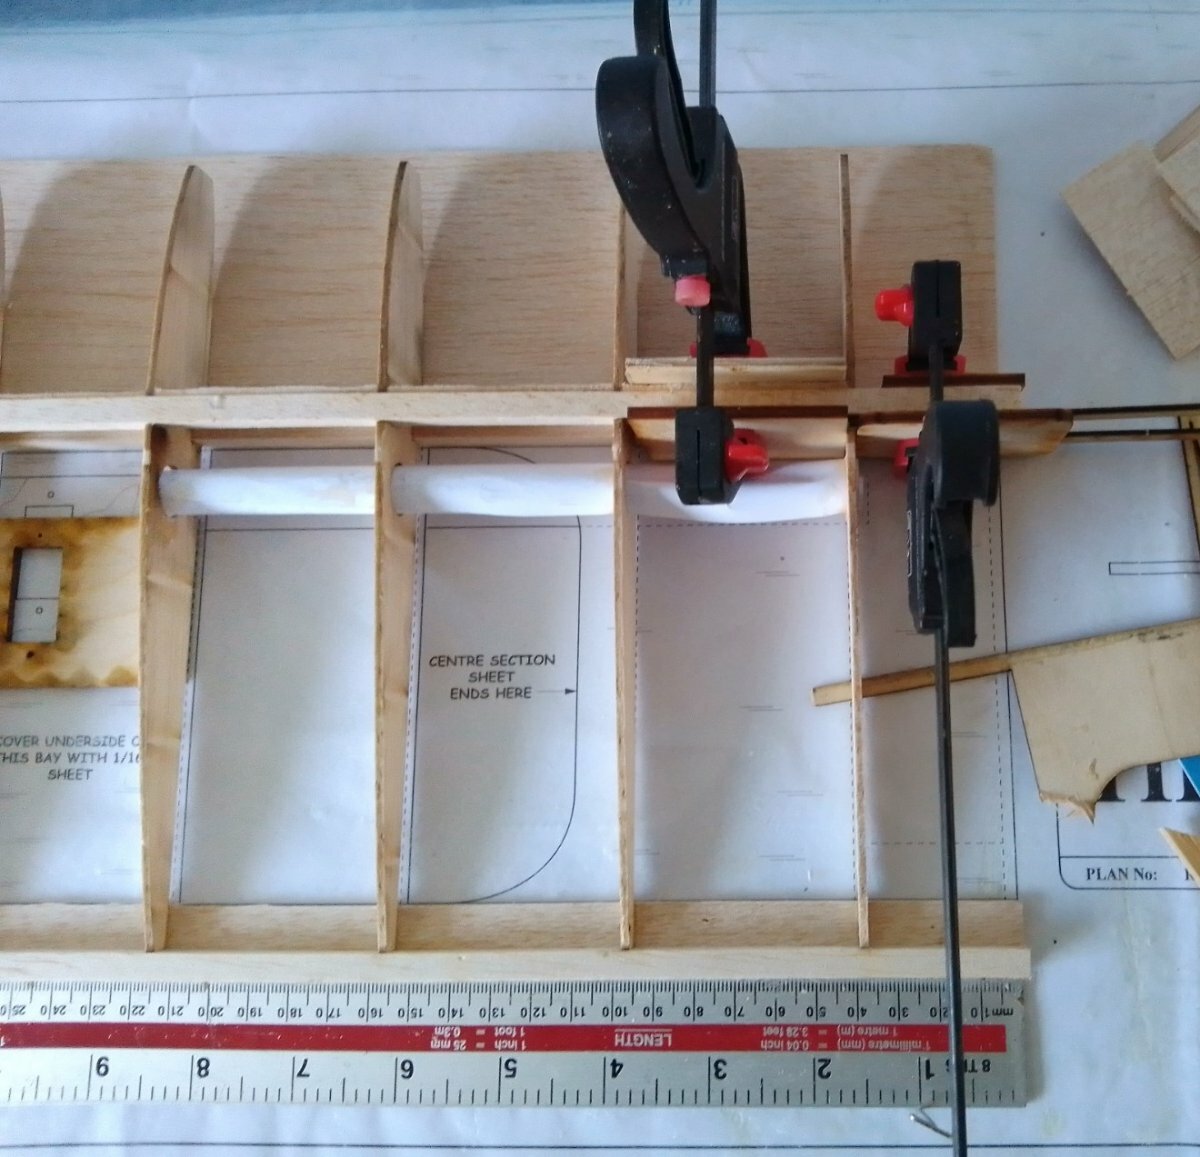
Top spar added using clothes pegs to clamp the shear webs to the spar, saves buying 2" bulldog paper clips.
and dihedral braces glued. I also remembered the paper tube but should have done it after the braces because it's in the way of the clamps.😳
the bottom brace was kept up 1/16" using scrap ply, which I had just pulled back when the clamps were in place as I didn't want it to be permanent. 🤣
Steve
-
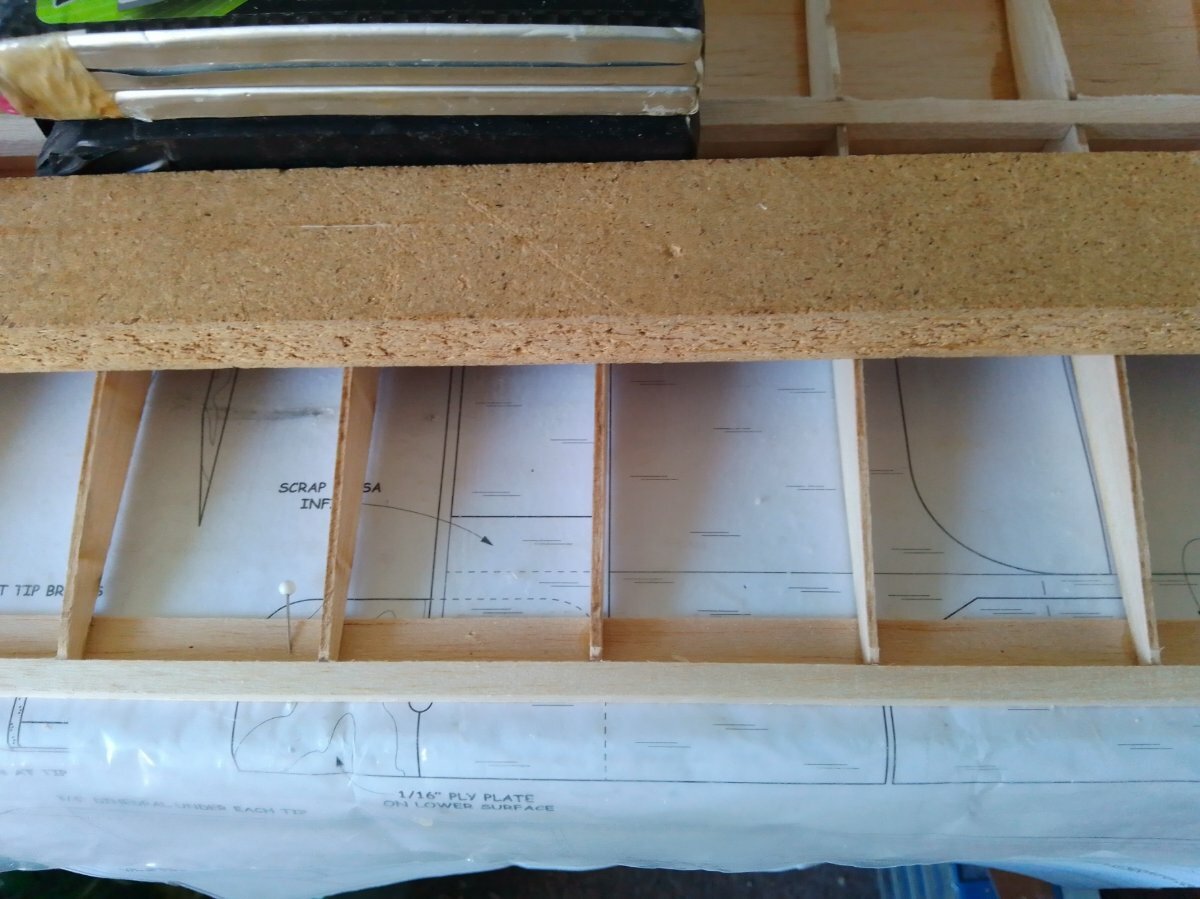
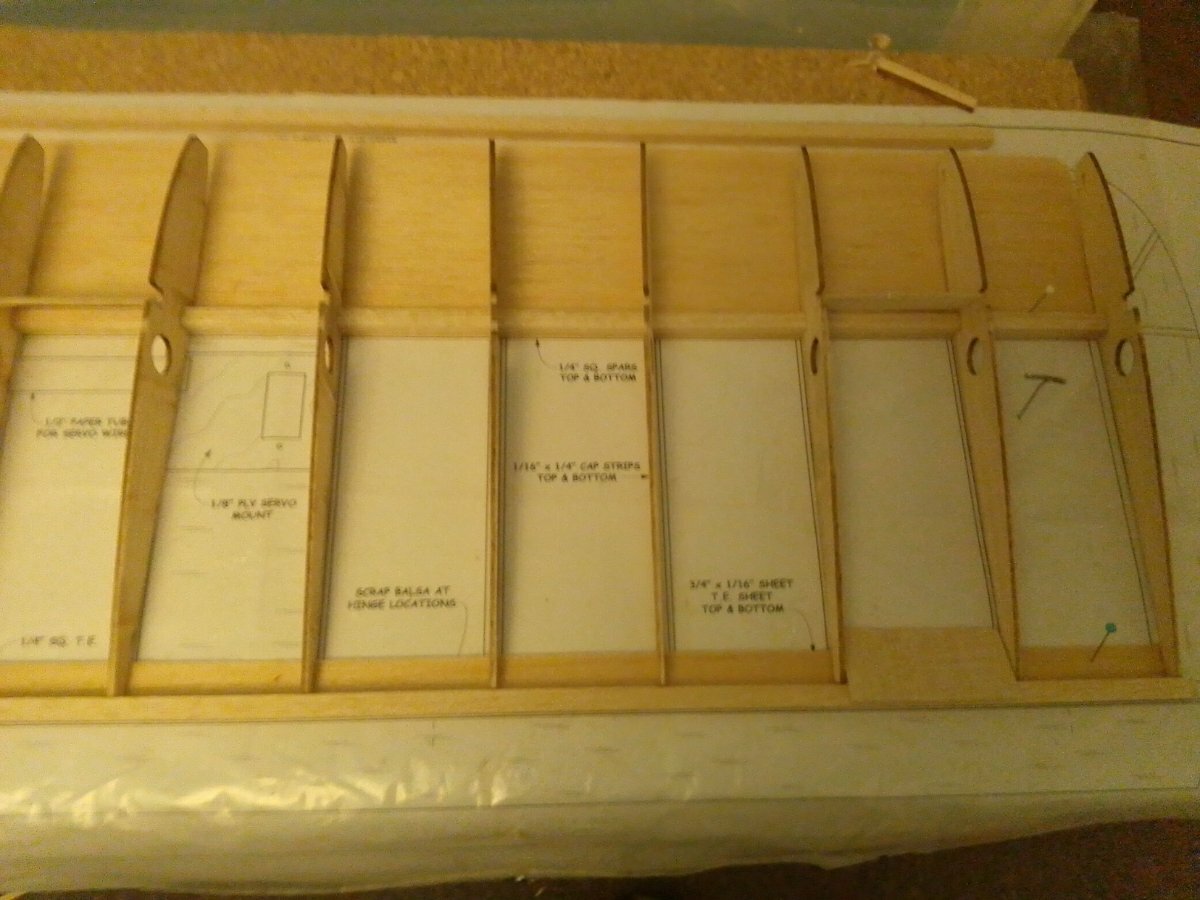
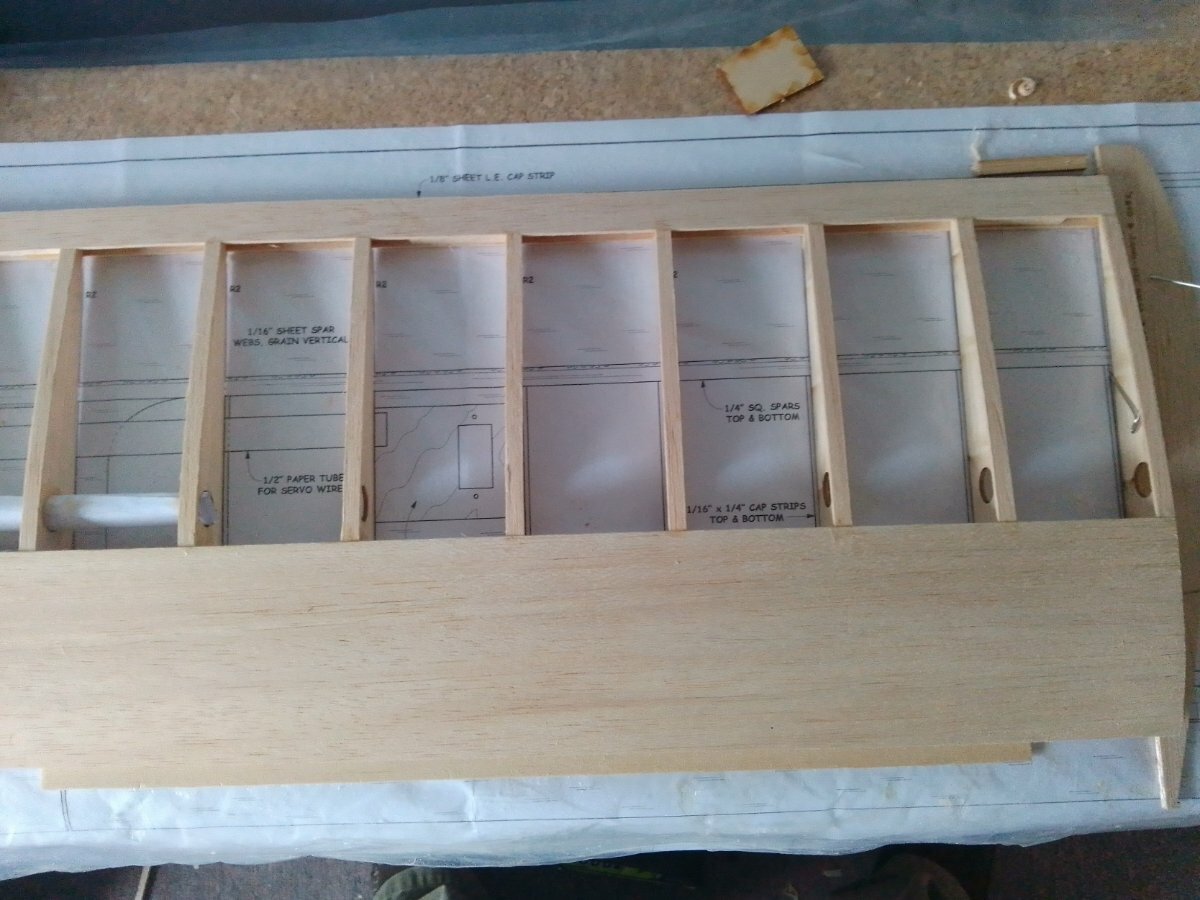
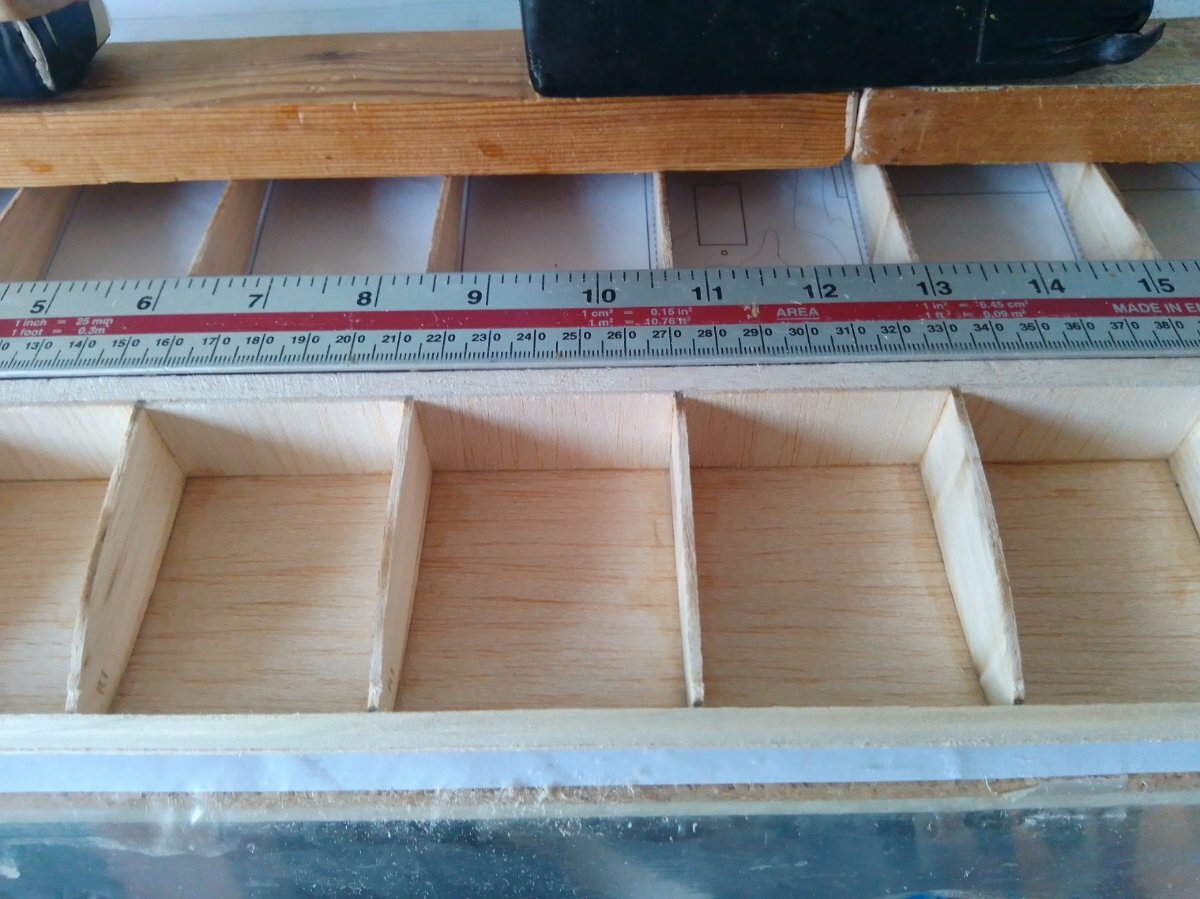
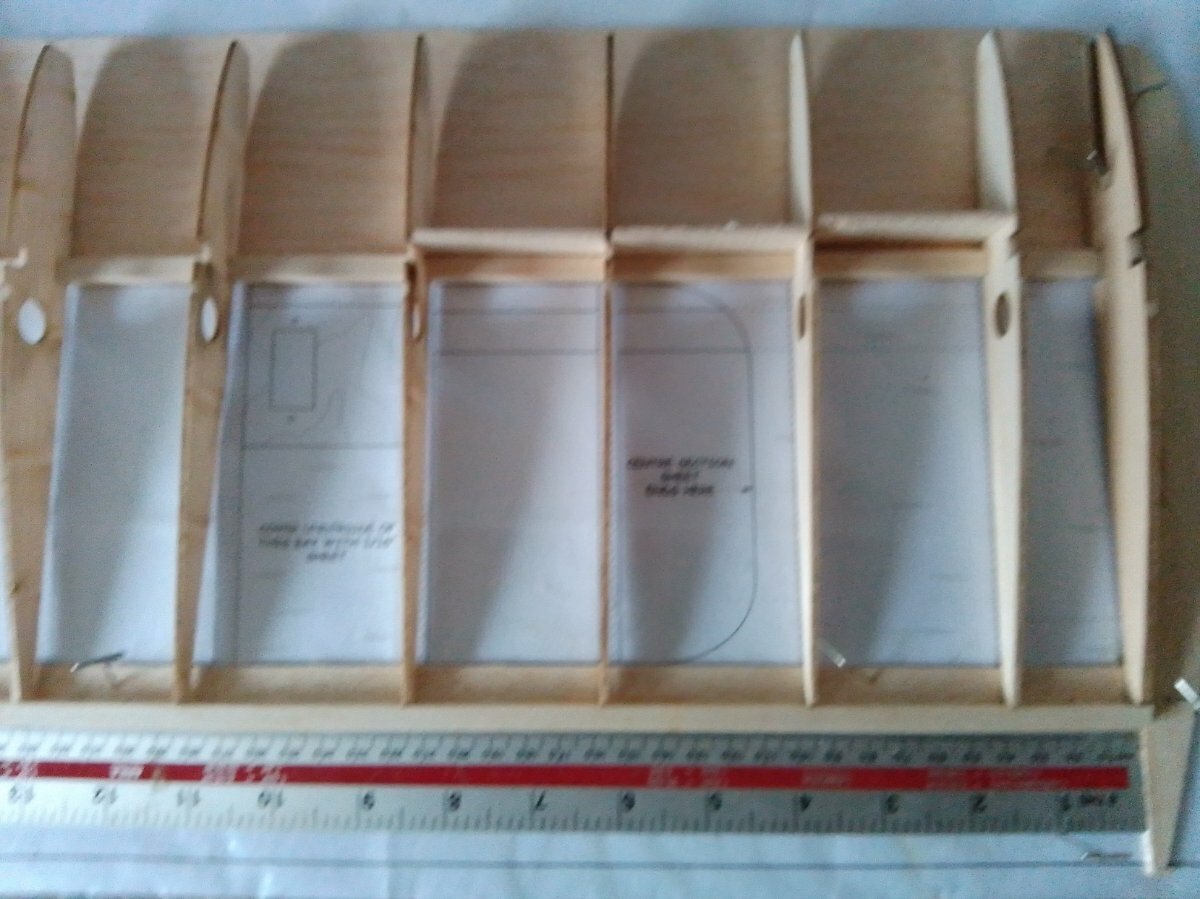
Shear webs completed and test fitted.
Started with the glue on the web then butting up the next rib.
Continued adding webs and ribs. Here we are half way.
and all done waiting for something
Ah yes glue to dry.
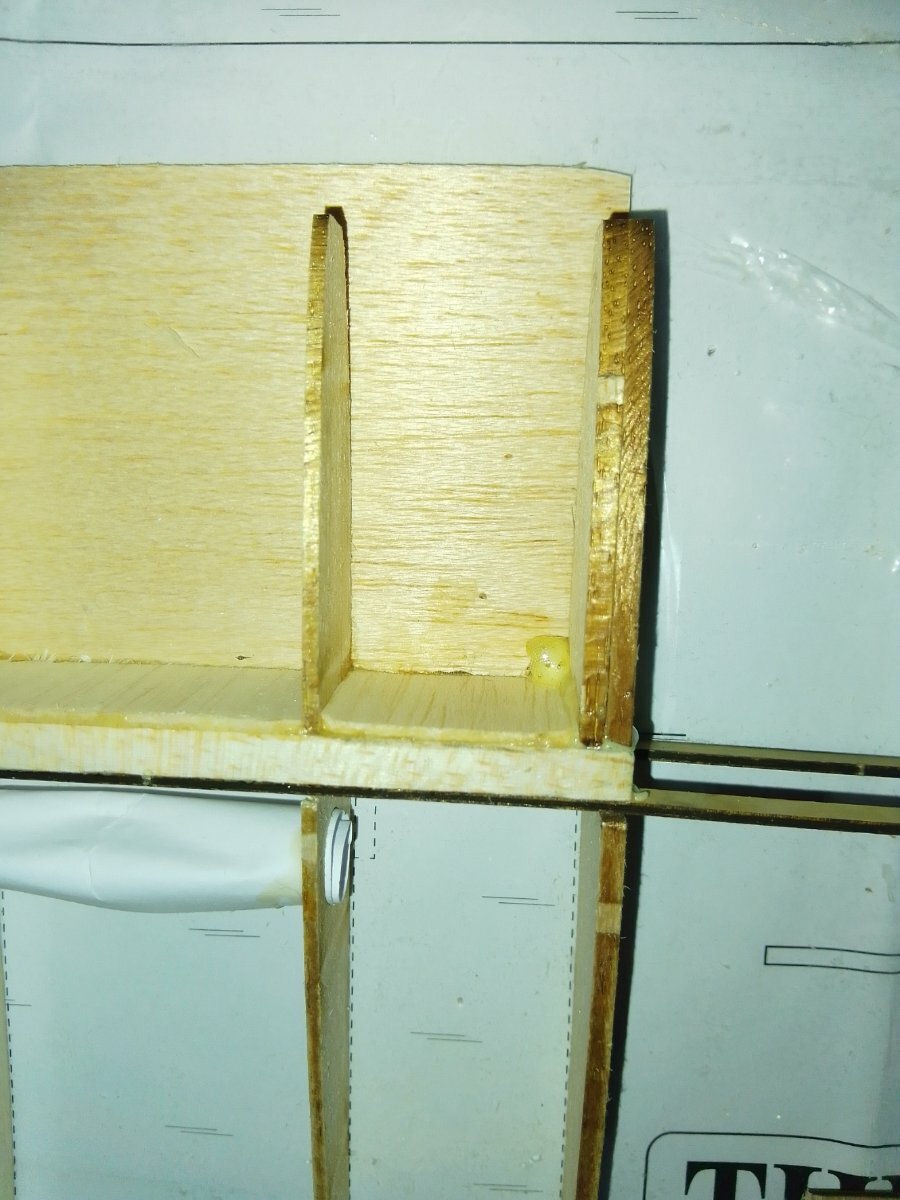
I can't add the root rib until the paper tube is installed.
Steve
-
1
-
-
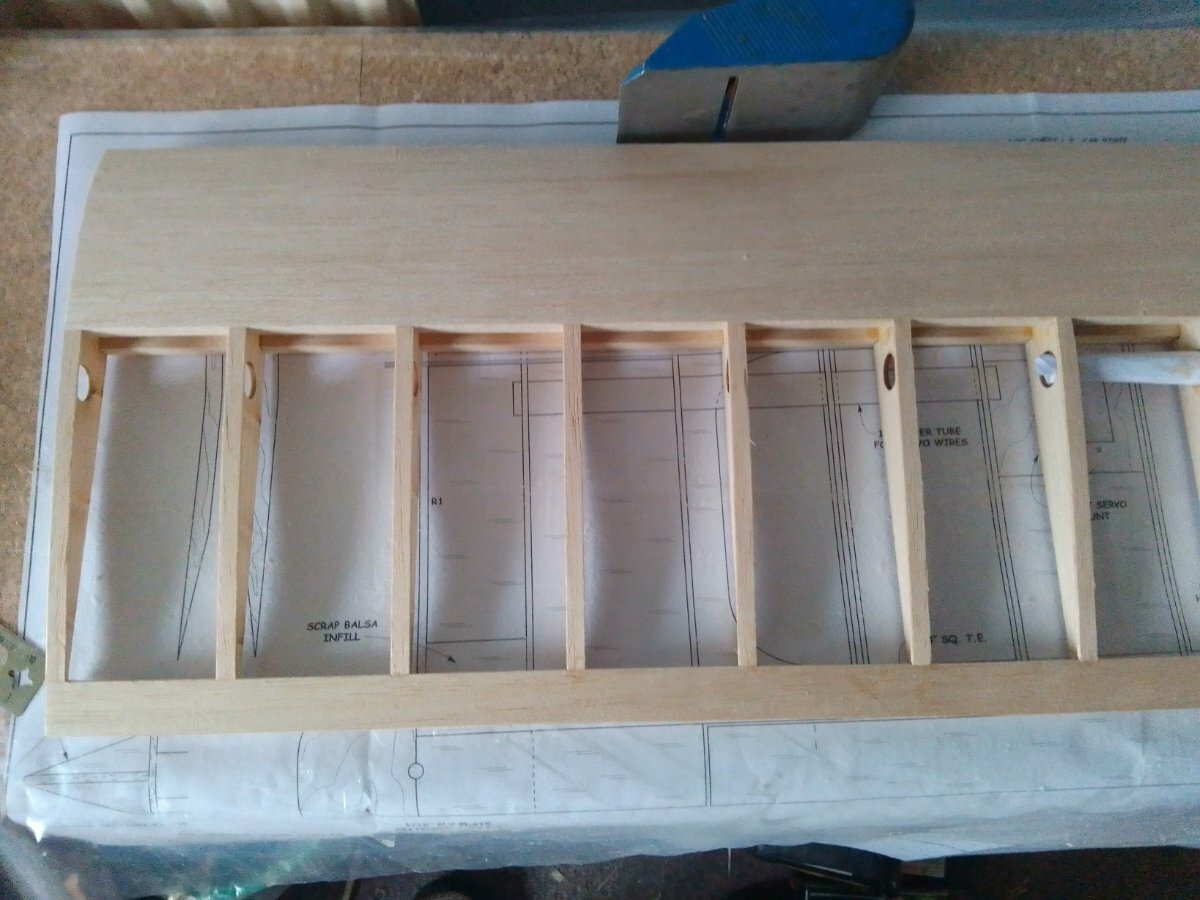
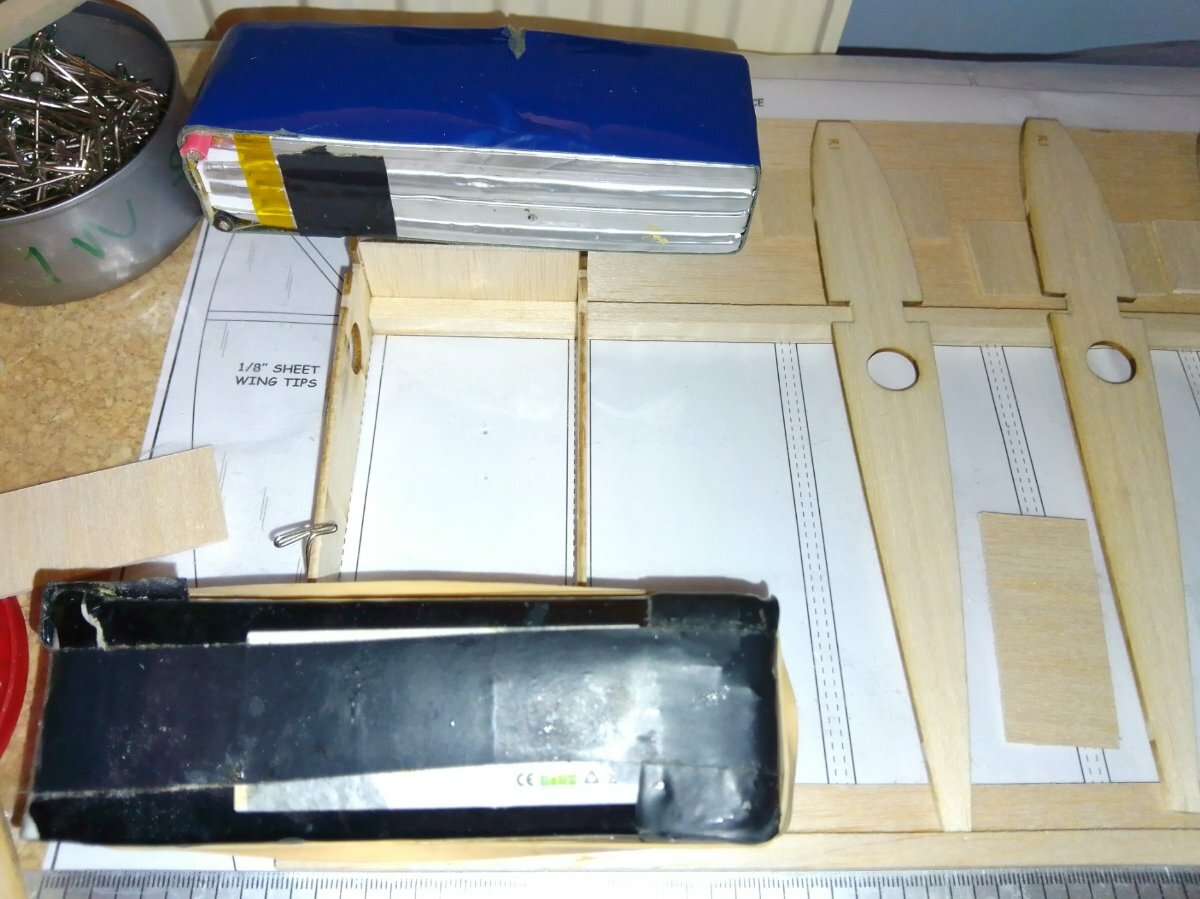
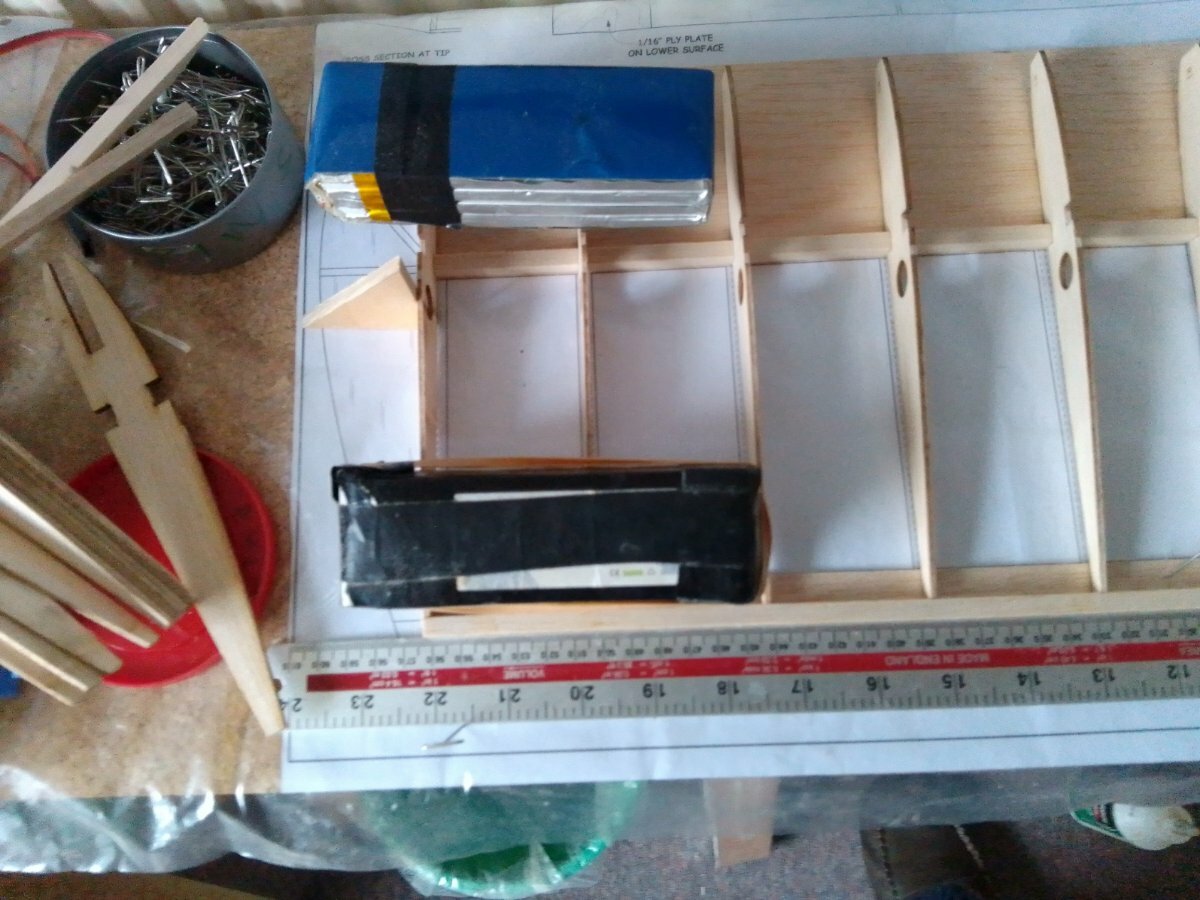
562 mm 22" is the width from root to last rib.
Set up a jig and cut six spars.
Cut two 100 mm1/16" sheets to this width then cut off a 17 mm strip for the TE cap strip,
Glued the spars to the edge of the LE and TE with the help of a ruler,
Test fitted the ribs to locate the TE,
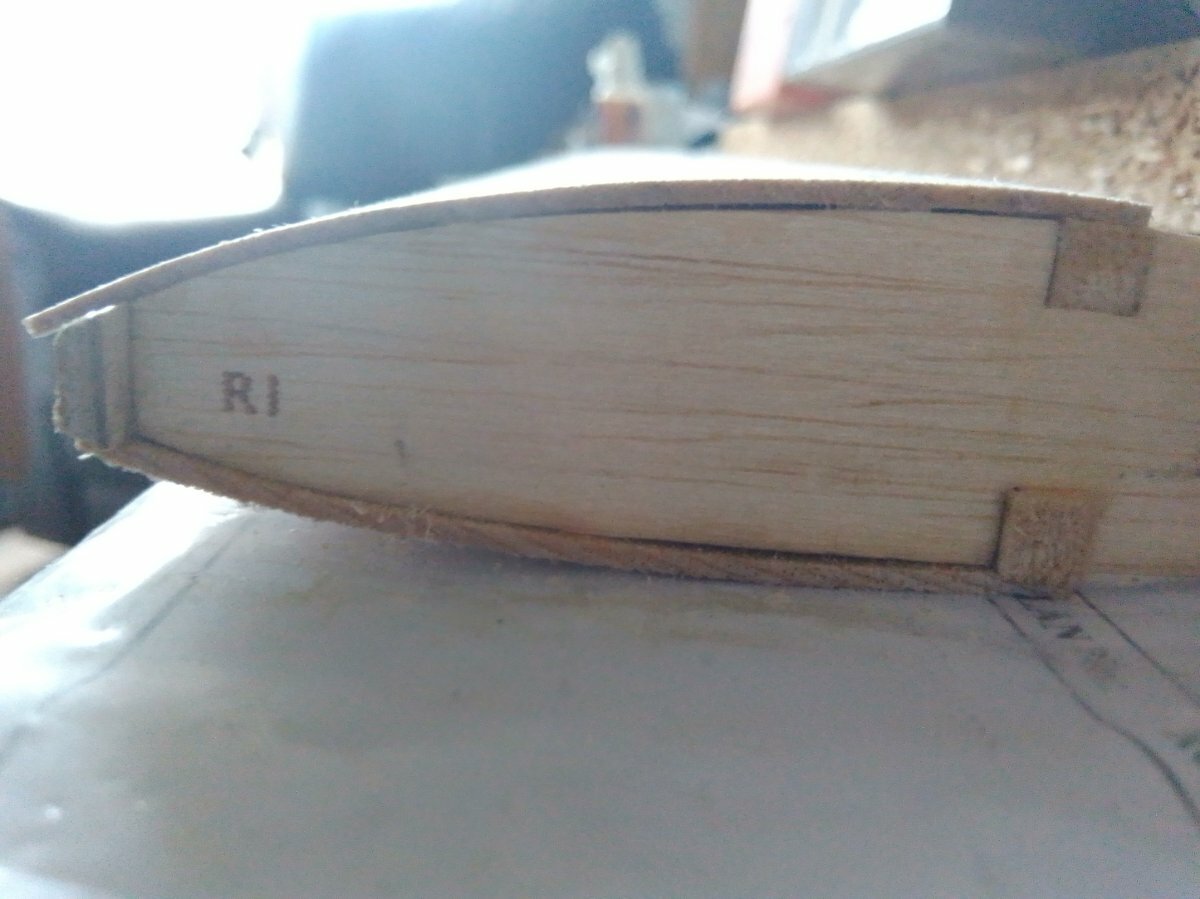
Glued the tip rib,
and started cutting the shear webs,
The root rib will be at an angle for the required dihedral.
From the plan it's 3/4" at 22" from the root so 2 degrees say, by rule of thumb.
More shear webs to make for both wings including the dihedral one.
Steve
-
2
-
-
It was my Christmas present to myself two years ago and I have just opened it.
The extra wood is for the T31M,
Started The Ohmen
Next is to measure and cut the spars and LE/TE sheet ready for glueing.
Steve
-
Thanks Peter but I bought the plan as well.
all three sheets.
Anyone think there's a lot of wood there?
-
Having given the plan away I had better correct some mistakes.
Now get the second plan pack out and start building again but this time leave the servos in the fuselage.
That was the first big mistake.
I will also include windshield and pilot.
-
-
-


The Ohmen
in Peter Miller plan builders
Posted
I check the fit and when happy (TLAR) tape the top.
Turn over and tape the full length which will form a hinge.
Turn over and remove the temporary tape which will enable the hinge to be opened for glue.
When glued it will look like this
and fit, we hope.
On the back draw the lines for the desired shape.
and cut. I also score along the centre line.
When happy glue it.
Steve