
Shane Sunday
-
Posts
503 -
Joined
-
Last visited
Content Type
Profiles
Forums
Blogs
Gallery
Calendar
Downloads
Posts posted by Shane Sunday
-
-
ive bookmarked this thread now and will be following along. i have the same kit perhaps this'll be the thing to spurn me on. looking forward to the build.
-
Hey There David. Your spitfire is looking great. Neevr worry about over engineering. that 5mm ply is perfect for the firewall. If you are going electric then stand off spacers are easy enough to make up any difference when it comes to mounting the motor. also don't worry too much about weight up her at the front end of the model. It's a spitfire and it will require additional weight up front. best of luck and keep up the good work.
-
I had been wondering when you were going to get back at this. I like your ideas when building the retract jig looks to have worked out well and will be worth the time spent on it I'm sure. WHat brand retracts did you end up with? Keep them posts coming and just know... We'll be watching you.
Shane
-
-
I'd like to add an update and wish I had some photos and a video but unfortunately I don't. Further to what I've said before about Brian Taylor models being brilliant fliers and all that. I've had this one out and in the air I think more than ten times now. Obviously the more you fly a model the better you get to know it. I started out with a 3 blade 16 inch prop on my 460Kv motor and felt it was lacking in power. I then switched to a xoar 18x8 prop and there was much better power. I touched the tips upon landing and ruined that beautiful prop. It was a little too big. I've since switched to a 17x12E prop and that's the sweat spot! I've not got unlimited verticle but I'm able to do large loops and she has plenty of power and speed now. the speed is just right for this bird.
I lovingly call her Jessie after my grandmother. Anyhow. Today was perfect for flying calm breeze up and down the runway, sun was shining and I'd had the day off. the model will twist and turn if you want her to but I prefer to fly her steady and gracefully cut up the sky lazy eights, split S, rolls, loops and diving for the runway then peeling off and climbing out and make that approach again. Landings are real easy even in gusty weather too. My last landing had my heart racing. the wind picked up without warning and I had to fly her onto the runway but she took it and came home safely too.
One of the fellas from the club managed to get some in the air shots so once he gets those to me I'll post them.
-
Hey guys. I've soent too much money on lipos and mostly been let down. I've tried Turnigy, NAno tech rhino gens ace. From 2s through to 6s and most likely thousands of pounds. Most of those brands have let me down with dead cells or just not enough grunt or life. The Graphene 4s ans 6s 5000 mah 65c lipos are brilliant. Yes they cost more but I feel they are reasonably priced for peice of mind knowing they actually do the job you put in front of them.
All of my Nano techs died. Absolute crap.
The plain Turnigy are ok for prop driven models but lack the grunt an EDF needs
The Gens ace are great wee batteries but overly expensive now.
-
I have built lots of models and crashed even more. Bought models and wrecked them. A new trany sorted the crashes so now after quite a few years I'd say it is my Peter Millar Oolladaly.
Fun easy build
Easy to setup at the field
nice and predictable yet aerobatic
Rugged as old boots.
Better than any ARF I've ever flown.
-
I've seen a couple of your models in your photos. Beautifully finished so I am book marking this build and will be following along. This isn't the same Brian Taylor mustang I built but I did attempt at a ferocious franky finish as well. I've built 2 Brian taylor models now and I'll say this, he takes a lot of the guess work out of it. Best of luck and keep us posted
-
Hey thanks guys. Nev when you do build the Corsair you’ll just love the lines in the sky. It I st looks great in the sky. You’ve got the retracts just build the wing. Then just build the rest! Look at me, it only took over 5 years. Lol. Concord are you building the 61 inch mustang? If so you’ll really enjoy the build. Mines made from Depron and it flys awesome. Sure Brian designs awesome planes. Yes we fly at an old air field. It’s a bit heat up and has weed issues but wee call it home. Although it seems that always be cold and breezy down there. I’ll post another’s video soon. Better quality. Happy landings.
Edited By Shane Sunday on 04/02/2018 07:15:58
-
Thanks for all your help guys. The people in this hobby are stellar. 7 years at it and still meeting gems.
-
Hey guys. I could use some help. I've an old OS max 40 Fp. it needs a whole new carb assembly. Can anyone point me to a replacement. I've searched the web but I'm real new to I.C. I've spent quite a bit already and don really want to splash out for a new engine.
Thanks in advance guys.
-
-
Hey folks. SOrry I let this build thread go. I'm horrible at these but I thought I'd let you all know that She is almost done and has had her maiden flight and all.
I have to say it has been a real learning experience for me. Re tooling a model to accept retracts was hard along with all the minor deviations I made from the plan. This size is brilliant for me everything fits into the car and goes together so easy at the field. The take off was easy you just have to keep in mind that she requires right rudder to track straight and she climbs out nice and easy with a 16x8 3 blade prop. She's nice and smooth in the air and real easy to fly only requiring a bit of trim to flight straight and level. It's not overly fast though. Apparently she flies more scale speed than anything. I have since changed to an 18x8 2 blade prop and there is considerable more power and speed.
The first landing was slow and sweet even for a 9lb model with lipo.
All in all a great corsair and would deffinately suggest this model for anyone looking a 60 inch F4U Corsair kit. I could even help out with the files for my retract wing setup.
maiden flight
https://www.youtube.com/watch?v=gBDJPGjNFDM
-
There deffinately is some kind soul Peter. At the moment my favourite model to fly is your Ooladally. Ive had it for years now but but somehow im only this year really getting to know it. Also when we are building traditionally it gives us an excuse to buy tools. And who doesn't love tools?
-
I love building traditionaly. It's the finishing I've a problem with. As a model build drags on I tend to lose steam. I want to build them all. Funny enough I've lots of models I've bought but the few I've built and completed are my favorite to fly.
-
-
-
Hey Trevor. Sorry I've taken so long to get back. Each flag is W=14mm H=9.
I've been trying to work on the cockpit and a couple other things but life seems to get in the way. I've been under the weather and I thought I'd just be able to crack on but no energy. I've been searching the web for ideas though. I'd come across the topflite 1/7 vacformed kit but A: it's pretty dear and B: it looks nothing like the Corsair cockpit. I'm also thinking of building it from depron so nice and light. SUre we will see. Back to it soon
-
Man thats looking sweet. Looking forward to the maiden flight
-
-
-
Hey guys I've been putting my little cutter to work. I started out making paint masks from vinyle transfer tape but they didn't work great and anything more tacky than that starts to pull the paint off. So I actually did what I always do and just cut white vinyl for the insignia. I like the look. Now I'm a bit confused how to go forward. I need to make 6 rising sun markers and I don't think at the size they need to be that the knife won't just chew the hell out of the vinyl. I could always try to source some decals from the net but at 62 inch wingspan is she 1/8 scale? I know I could actually try to hand paint them. AAAAARGH!
Anyhow heres a couple pics
photos are from my phone and it's kind of old so they are a bit blurry. sorry guys. I can aford new models but not a new phone. Hahaha
-
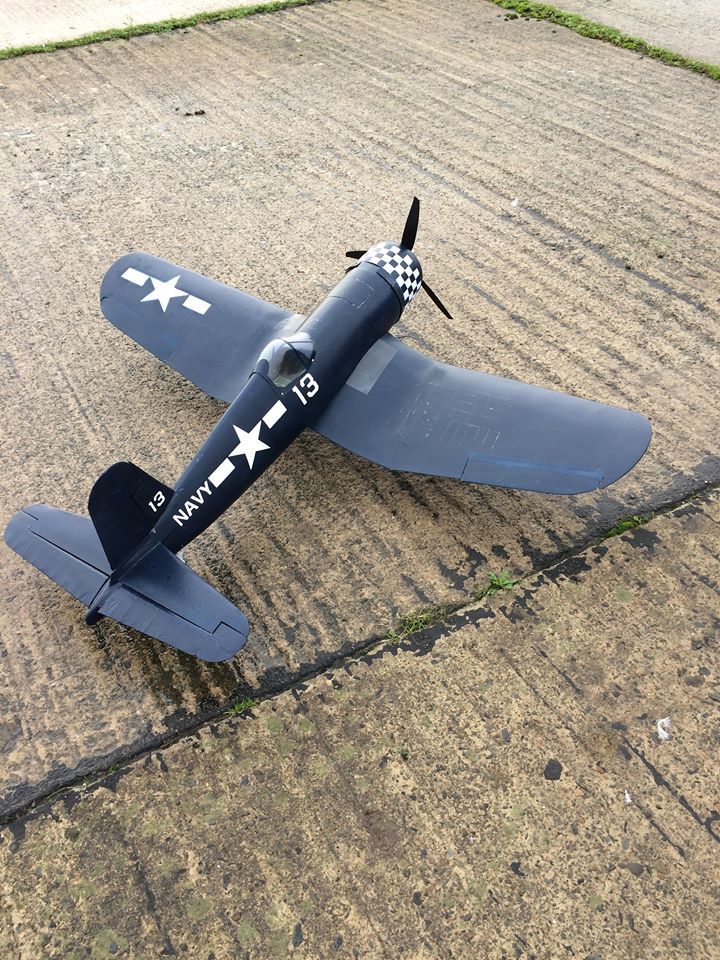
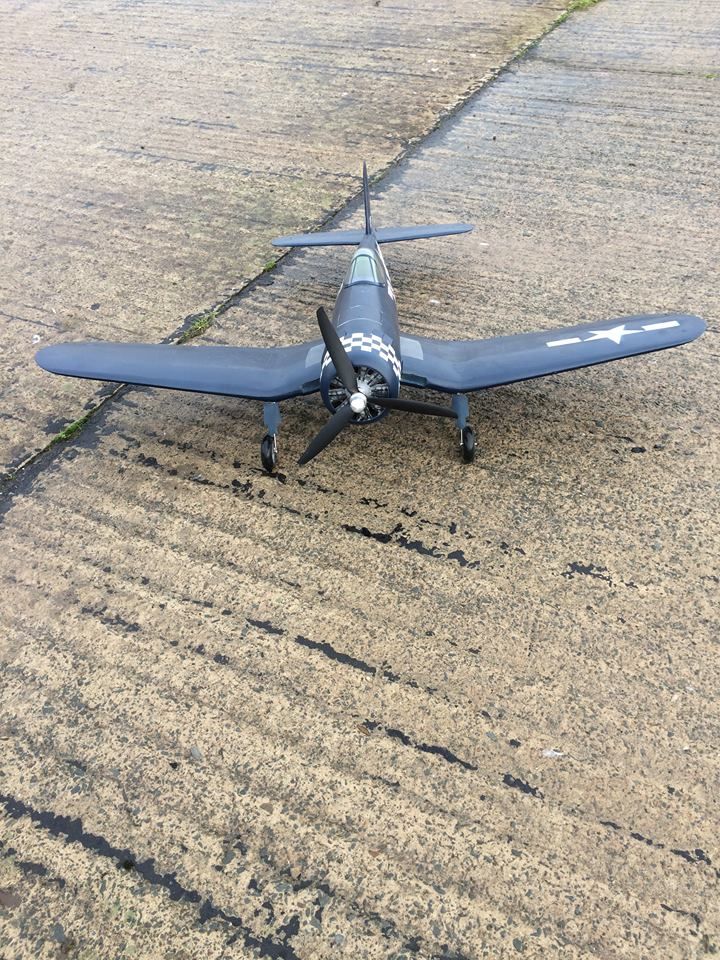
Hey Trevor like you I too get very impatient at this point and yes I went straight into paint. I was unsure what I wanted to paint her but I knew I didn't wan the same as the big one I have still in the box upstairs. So I searched and searched and finally I think I've decided on either #530 0r #13 both have checkered cowl but 530 has a checkered rudder as well. I do like that #13 has NAVY lettering on her too so still undecided.
When I'm doing a built up structure like this I like to use west systems epoxy and I use 45grm cloth on the bottom with 25grm cloth on the top. I've used PolyC on lots of foam models but I feel this needs the trength and durability epoxy affords. While I have airbrushes for the details nothing beats a rattle can from the automotive shop for shear coverage.
I had thought about getting the laser but I'm waiting for something just a bit more powerful for the machine. A 2watt laser will go through 3mm balsa in about 5 passes and just forget ply. It would be great on depron but I have the hotwire cutting attachment for that and it's sweet. Not to mention a hell of a lot cheaper.
here's a shot of how the corsair sits for now. There's lots more to do but sure it'll get there soon enough. Maybe she'll be up and flying by january when it's balmy and warm here.
Edited By Shane Sunday on 26/11/2017 19:15:30
-
Hey Trevor it's good to learn and try new stuff. On the topic of redrawing plans, I use Illustrator. The pen tool is your friend. I'll scan the plans in photoshop, this takes many scans but can be done with excellent results. I line them back up in photoshop and once I'm happy I'll flatten the image and just click and drag it into illustrator. I lock the layer the plan is on and create a new layer to draw upon. I'll use a different colour so I can see what the hell I'm doing.
Tip: replicating any part of the drawing is as simple as click hold ALT and drag.
Tip: Curved edges, using the pen tool click and drag and release when you're happy with the shape.
All programs that are new to us are daunting to start but just hold the mouse over a particular tool and a pop up will tell you what it is. Then just play with it see how it goes.
Tip: Command or CTRL Z. Your best friend. Just undo your mistakes then try again.
Really the pen tool in any drawing program is the main tool. Learn it and there will be no plan you can't recreate.
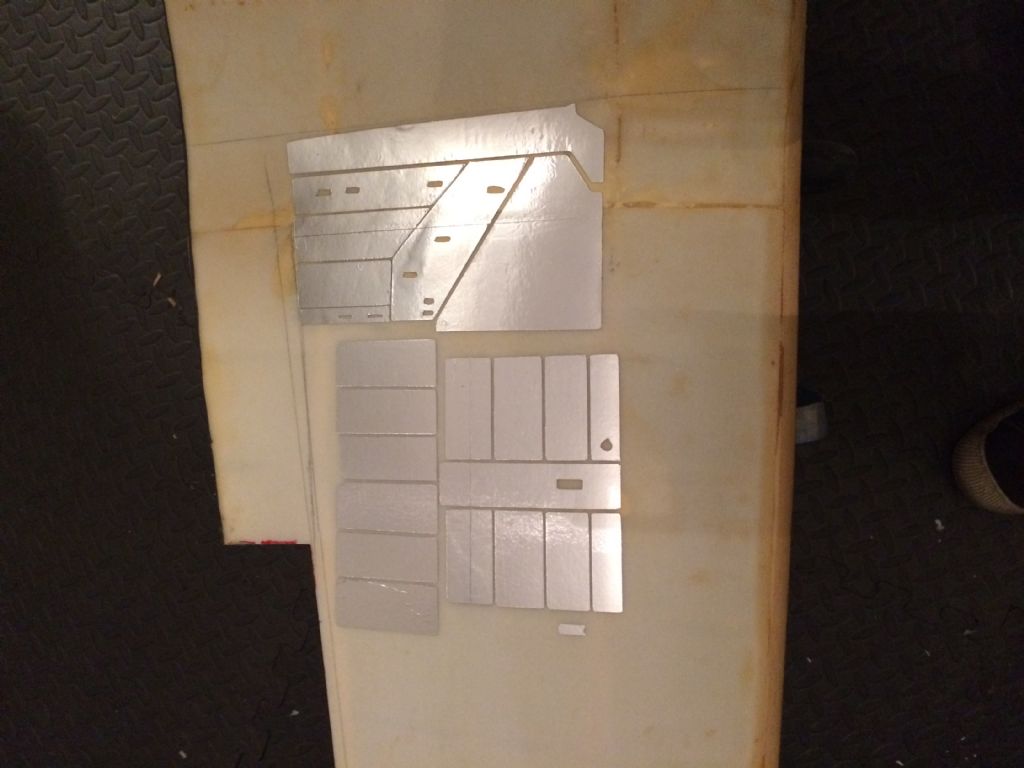
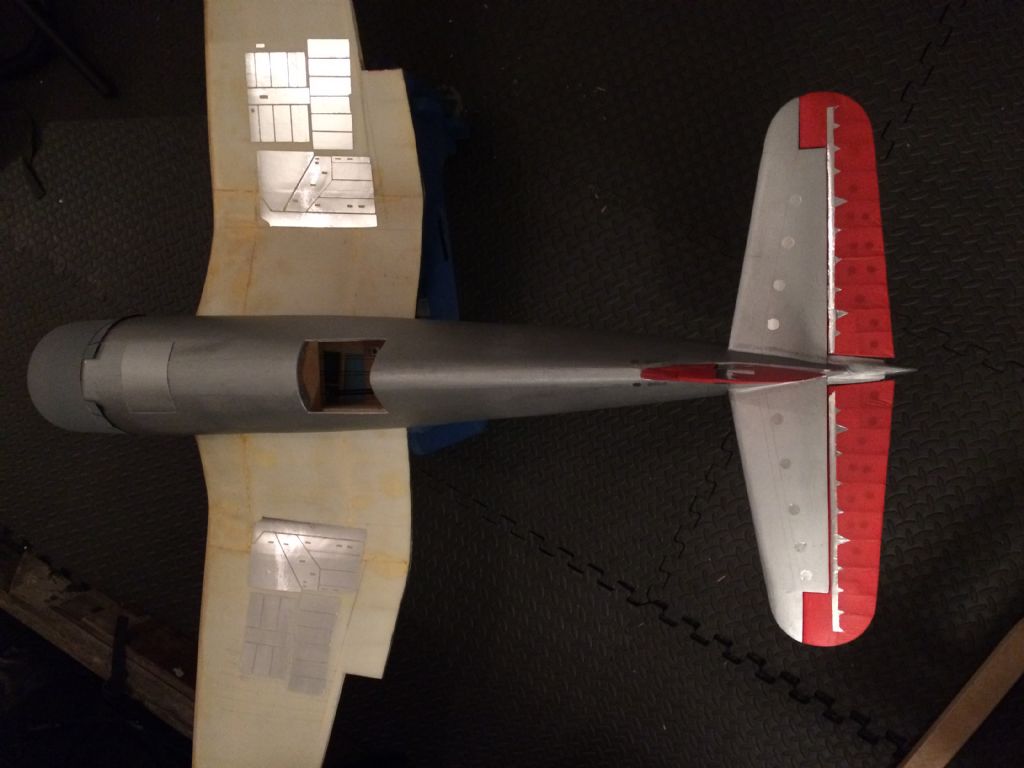
Boy. What a day! I thought I was going to start painting today as I had it off work but nooooooo! In order to complete the stickers to any form of satisfaction I had to level the bed on my stepcraft machine. I knew it was off a touch but after taking it apart I found that the factory had botched up the bed. It was like a rolling ocean! Anyway I got that done then went back to cutting alluminium foil tape. This was tricky as I needed much wider foil than I had so I used Vinyl transfer tape to stick 2 pieces of foil tape side by side to gain the width needed. Also it seems the best way to affix this to the bed is UHU por or some sticky glue. Otherwise it just snags and ruins your work. Like 6 or seven time before you smarten up and do it right. Then you need to use a knife to pick all the stuff you don't want off the cut. Finally use more Vinyl transfer tape to lift your stickers off the bed and place them onto your model.
It's not perfect but it's better than nothing on there. And it'll show up through the paint.
And this one
This has been so much work BuT I think I've got it down to a science now. A few more things to cut out and add before paint don't plan on going crazy though.







Where do you start with CNC?
in Building from Traditional Kits and Plans
Posted
CNC your own kit is such a time saver and if you're a voracious builder like me then the cost is reasonable.
Stepcracft CNC kit - @1200
dremel -@ 60
Adobe illustrator- 9.99 per month
cut 2D- @150
Mach3 - @ 150
1mm end mill - 10
6 watt diode laser - @ 660
I purchased the laser years later as I knew I would want it.
scan your plan and redraw in Illustrator. it takes some getting used to but youtube can help greatly here.
Save your drawing as an EPS file.
Open EPS file in Cut 2D. edit cut peramiters and save to Gcode
open Gcode file in Mach3 and cut parts.
I know that over the years of building models this setup has saved me thousands. I went through a period of crashing a lot of models due to a bad ( used ) transmiter. Also once you are set up to CNC parts and know what you are doing things come together so quickly. You might need a part and rather than order it and wait for the post man you can cut it right there for the cost of materials.
Greatest investment I've ever made. aside form my kids ofcoarse.