
Pete H
-
Posts
130 -
Joined
-
Last visited
Content Type
Profiles
Forums
Blogs
Gallery
Calendar
Downloads
Posts posted by Pete H
-
-
Thanks to the hard work that Mike has done to create a method to flash Multi Protocol to the Orange module and documenting the process. I now have a Radian UMX working as it should with a Taranis and Orange module.
Thank you Mike.
Edited By Pete H on 13/06/2018 23:10:27
-
Thanks Mike, I'll have a read through and see how I get on.
-
I do have a couple of Arduinos and completed a few simple projects in the past.
-
I have a Taranis fitted with a OrangeRX module and I'm trying to connect to a small UMX Radian glider.
The model binds and the elevator and rudder work fine but I cannot get the esc to arm so the motor will not run.
Any ideas?
-
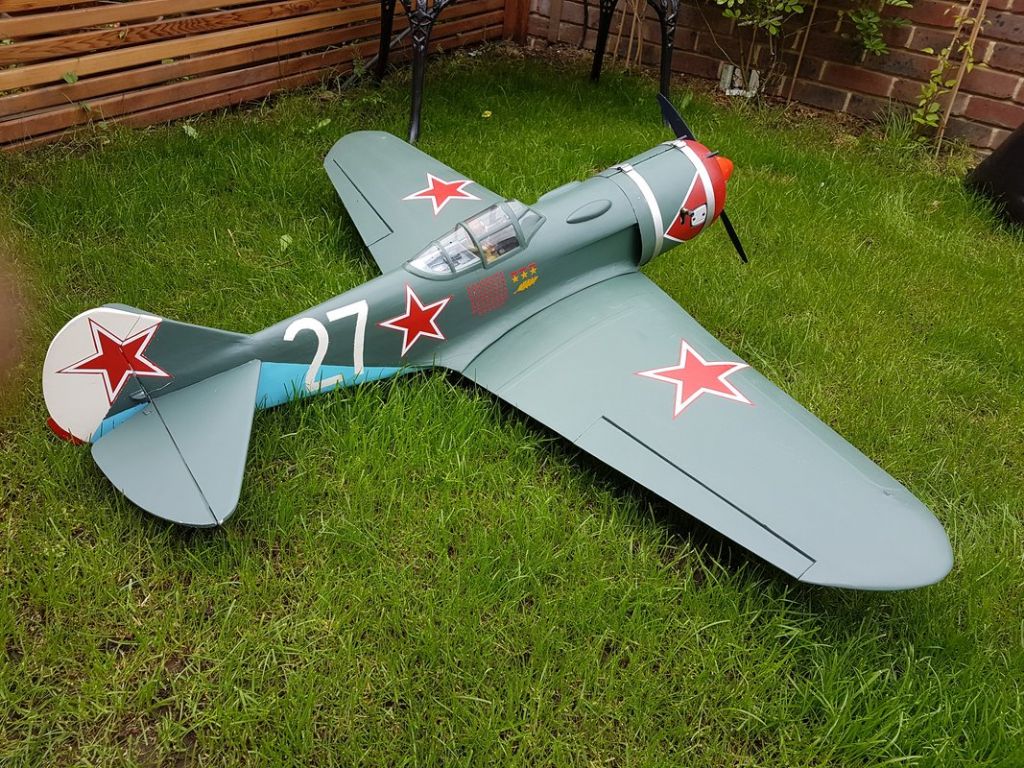
It’s been nearly a year since I last updated this build blog primarily because I haven’t spent much time working on the La-7.
The only real changes since my last update have been painting and the installation of the servos etc… The painting created far more mess that I expected and mixing the colours was difficult but I think the overall finish looks close enough.
Well today was the day. The La-7 was finally assembled and the engine started for the first time in a year.
I just need to find a spare weekend for the maiden flight.
-
 2
2
-
-
Chris, it's a good build thread you have here keep it up.
If you are thinking about a small scale kit then I have just put together a Vintage Model Company SE5A on a small table over the last couple of weeks. I must say the kit is superb and goes together very well.
I've added RC gubbins from and expired UMX plane rather than the rubber powered free flight it was designed for.
Excuse the wheels they are only temporary.
-
I tend to agree with Joakim.
Stock is needed to be able to sell.
Sites like this can generate traffic fellow flyers can see the models at the field but if when they visit the website they cannot buy the kits they will quickly move on to something else.
I brought one of the last of the smaller La7's. Why? Because it was one of two models in stock and I didn't want a Mustang. If it was out of stock I would have moved on and brought elsewhere. -
This link is a walk around of the Kbley plane. It's a Russian site with lots of close up photos.
http://scalemodels.ru/modules/photo/viewcat_cid_142.html
Jon, I'd appreciate a copy if possible.
-
Richard I will finish the smaller la7 thread eventually. The kit is currently in primer ready for sanding.
-
I've brought a 70 and 200v this year and both were stamped, although it took a while to find it on the 200v as it was tucked away on the backplate.
-
I'm having difficulty locating litho plates.
I have however found some 0.3mm or 0.5mm aluminium on eBay what would be the best thickness for the cowl? -
Great idea Jon
The cowl just touches the top fins. I'll try to get some litho plate and have a go.
-
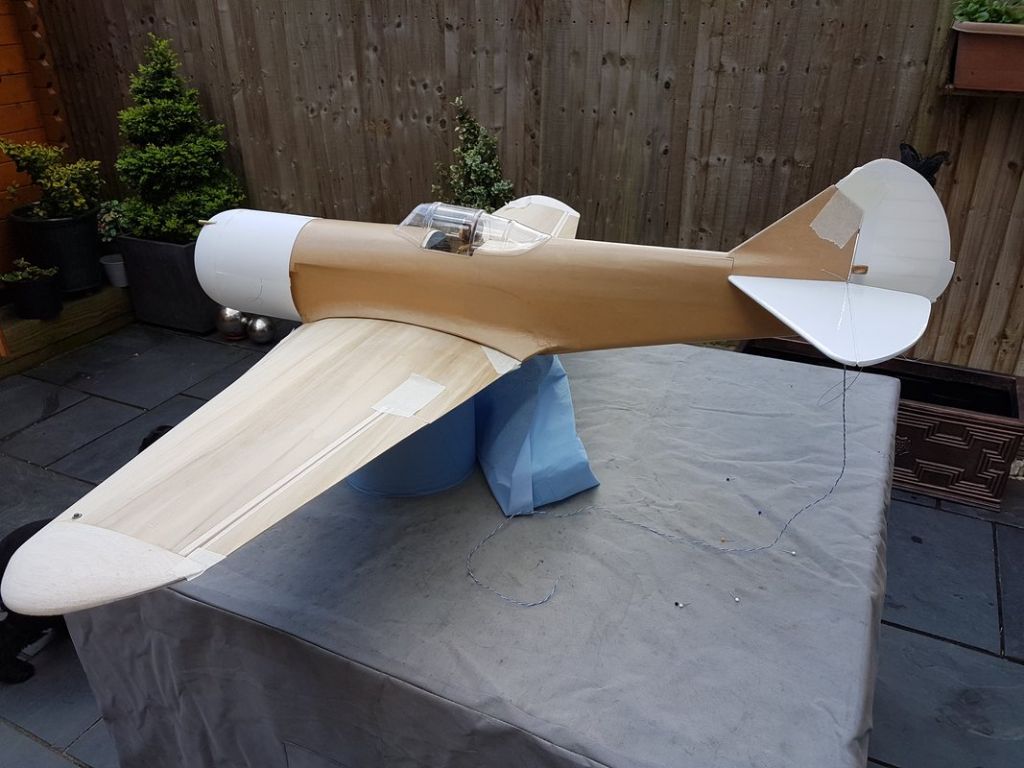
I’ve progressed a little further with the build and covered the fuselage using the brown paper method. This was a first for me but it went on better than expected which is fortunate as I brought 250m of the stuff!
I fitted a small led in the rudder and soldered the wires before covering the rudder and rear stab in solar film due to the the open structure.
The only problems I had was the rudder fillets needed far more sanding to blend the fuselage into to the rudder which took longer than expected to get right. I also had to cut quite a large hole in the cowl for the engine to fit.
Couldn’t resist a putting it all together to see how it looks.
I have to thread the lighting cable through the fuselage and hinge the rudder and connect the pull pull cables then it just the wings left to do.
-
Building for me is a more interesting part of this hobby than the flying, and I enjoy the flying. I find it makes model flying a much richer and more rewarding experience.
For instance, with an ARTF model the input is limited to fitting a few servos and power plant. very quick but doesn't fire the imagination in any way. You then take it to the field and it looks exactly the same as the plane next to it. That first flight, when the plane takes off and flies well or not, there was very little that you could have done or changed to influence how the model flies.
However with a plan, kit or own design build there are many opportunities to tailor the build to suit your own preferences. The level of detail, the weight, the servo locations, ailerons, flaps, spoilers, all these changes could have a positive or negative effect on both the appearance of the model and that all important first flight. The time spent building and thinking about the build and the problems it presents help build a bond with the plane. The first time you take it to the field knowing that the plane is unique; the questions from club mates; the skills gained. All adds to the anticipation, drama and ultimately sense of achievement from that first flight that I feel is lacking in the ARTF experience.
One does not need to have a huge arsenal of tools or building space. My first plan built plane, complete with built up wings seemed impossible at the time. However with a scalpel, razor saw, a covering iron and some mistakes. I built a perfectly respectable Thomas Morse S-4C Scout bi-plane on the kitchen table. I did a build blog at the time here.
-
That's a coincidence I downloaded those plans yesterday.
-
John, that looks fantastic.
-
It’s been slow progress a due to lack of time available to spend building.
Now that the wings are I mocked up the weight of the engine servos etc… to get an idea how it was balancing. I was pleasantly surprised to find that it was close enough that I would be able to keep the retractable tail wheel set up. The work to reduce the weight in the tail feathers was worth it.
I’ve also started on the fairings between the fuselage and wing. I decided to clad the ply plate with balsa so that I could then sand it back to blend it in.
The cowl has also been trimmed and glued together. It comes in three parts and was fiddly to get all the joints to line up. I couldn’t help thinking that it would have been easier if the cowl was made from two pieces, the front moulding and a flat sheet that is then rolled in to a tube and joined. The joint could then be on the underside. I suspect Richard will have a reason why.
The exit cooling vent for the engine was cut free and glued to the front bulkhead. Since the picture was taken I have trimmed the overhang back to the firewall.
I finally worked out the programming of an Arduino to enable navigation lights and a couple of flashing led’s to simulate machine gun firing, both can be controlled from the transmitter. Hopefully they will be visible in the air.
-
Jon that flying shot looks great.
There has been a bit more work on the wing the retracts are all in and patched up. I will cut a piece of balsa to infill the retract fixing plate and will fix this with a dab of superglue so that the retract could be removed at a later date without damaging the wing too much.
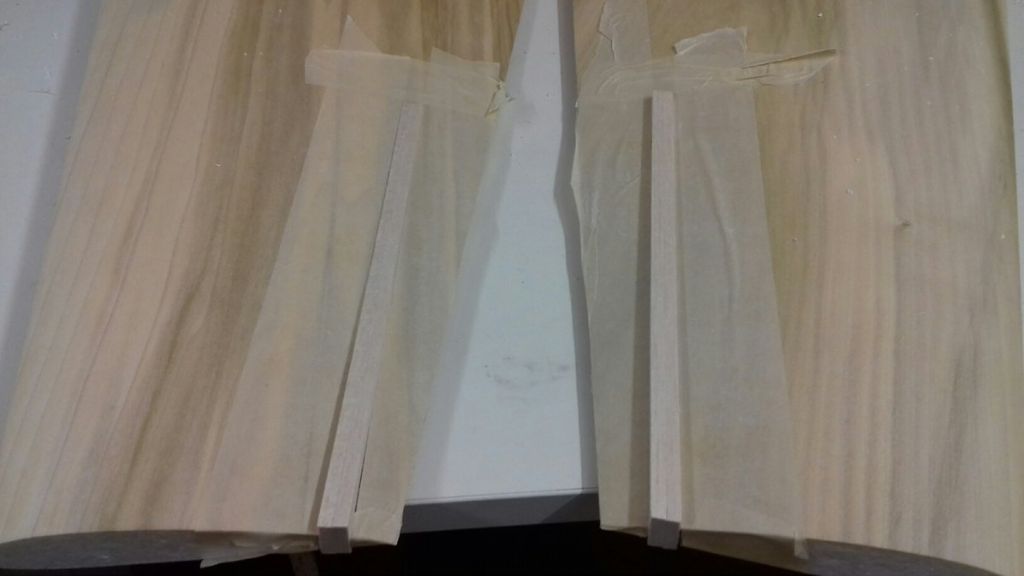
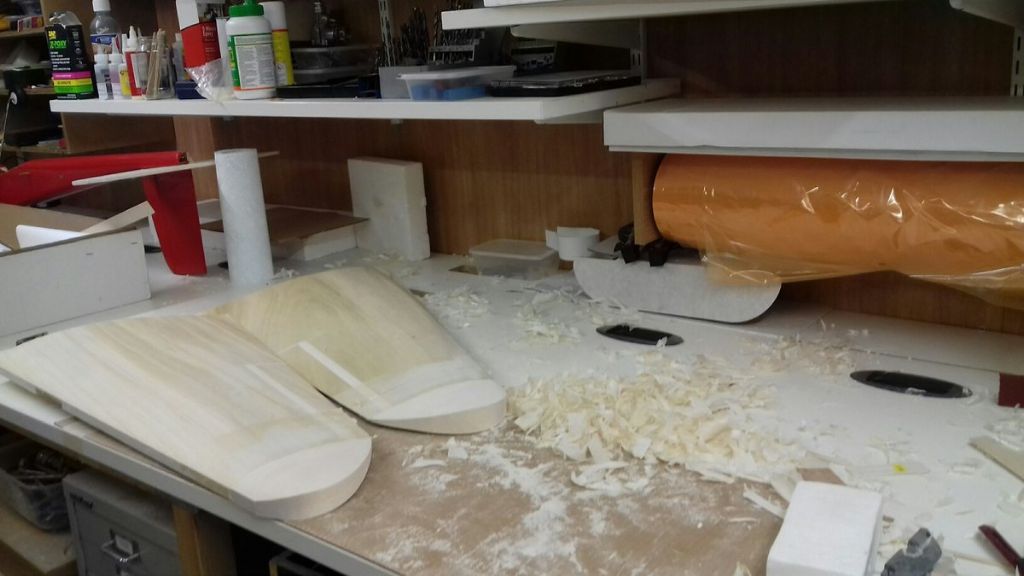
I installed the capping for the aileron whist it was still attached to the wing by cutting a slot through the veneer on both sides and removing the foam so that the capping strips could be glued in place. Once dry I added some capping to the end of the aileron and tacked on the wing tips (I need to remove later). This allowed them to be sanded to match the aerofoil.
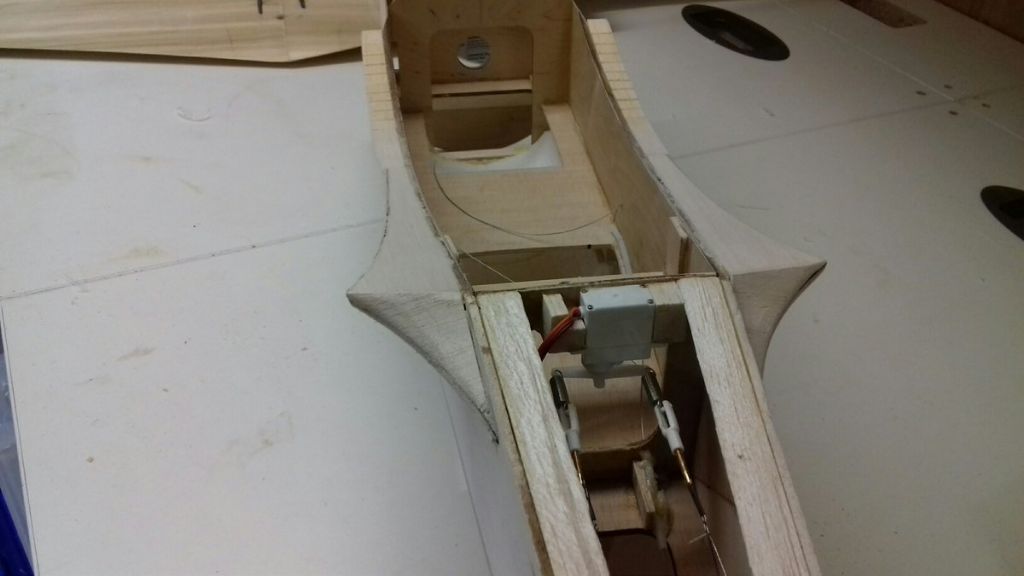
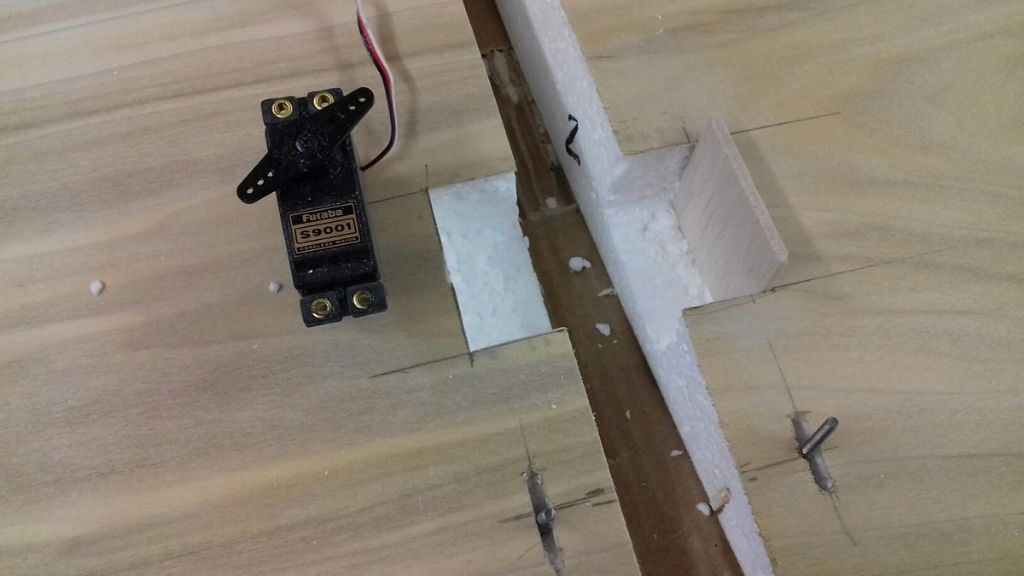
The ailerons were then cut free and the torque rods were fitted. It would have been easier to cut the servos in the wing with a short pushrod like an ARTF but I wanted the clean lines under the wing.
The servo wells were cut in.
Wires were run for lights in the tips.
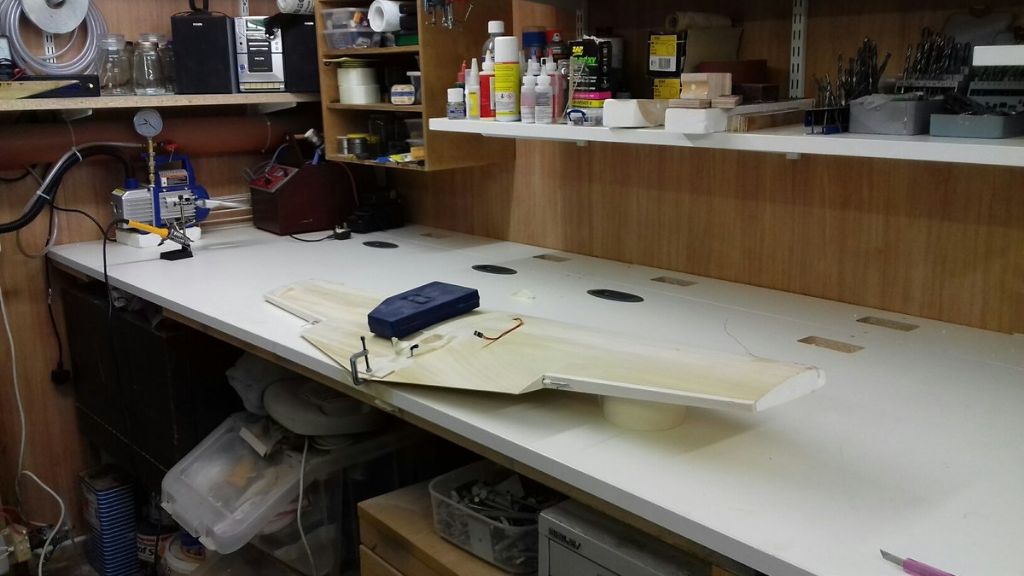
Finally the wings were joined.
-
Thanks Roger, it's still 50/50 if my retracting tailwheel stays. If I can't get the plane to balance I will remove it.
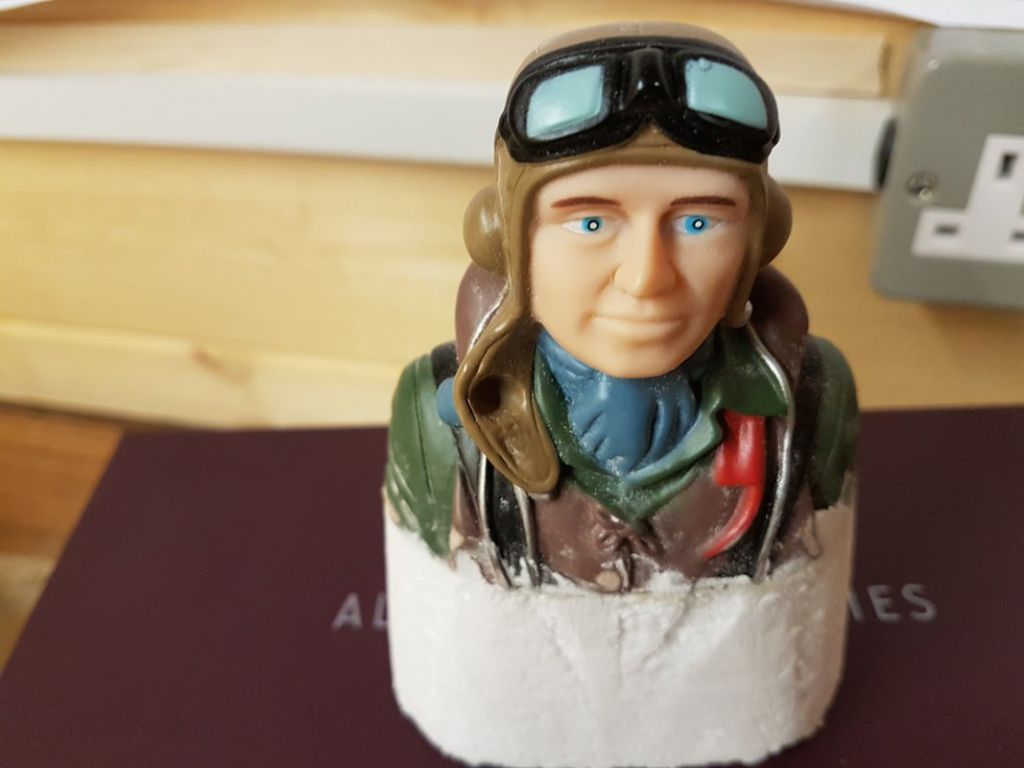
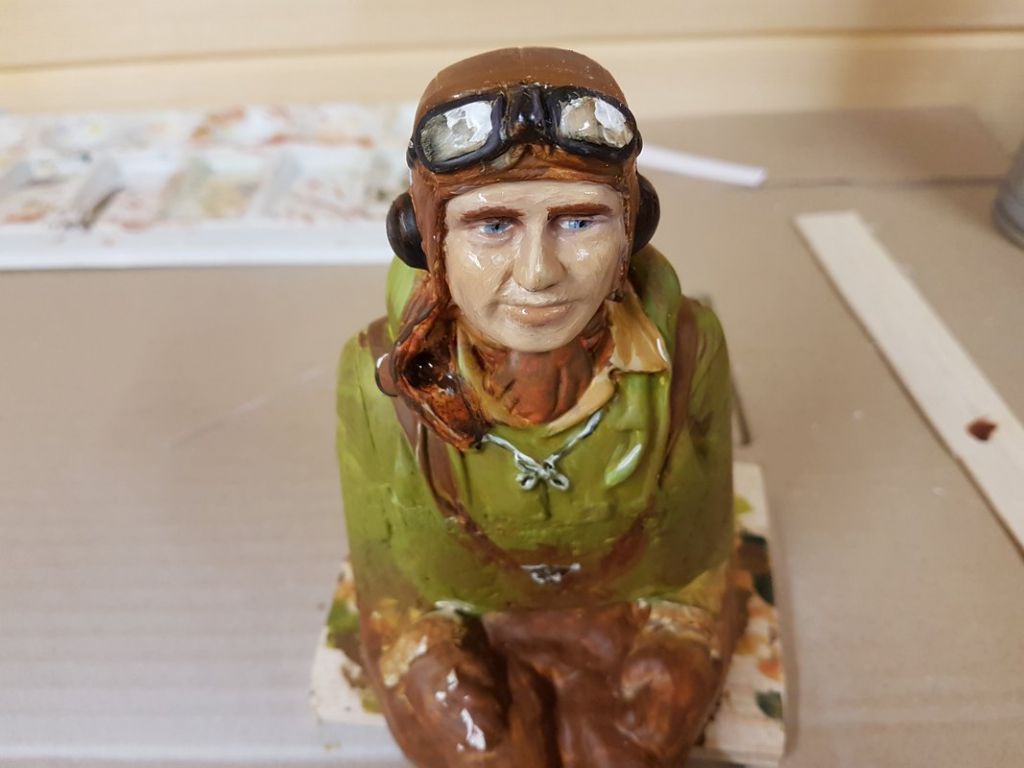
I haven’t made as much progress as I would like but I have managed to find time to repaint the pilot figure I brought. He looked a bit cheap and I also had to extend the body so that he could see out of the windows. I just used a piece of white packing foam for the body and sanded roughly to shape. Not much will be seen so I wasn’t seeking perfection.
This is my first attempt at painting a figure. I don’t think he came out too bad and he certainly looks a bit more realistic.
Before
After
I also found a picture online of a cockpit that is available for a larger model. I straightened it up in some photo editing software and scaled to fit. I think it will look ok once fitted.
Edited By Pete H on 25/02/2017 20:39:44
-
 1
1
-
-
Looking good Manny.
-
The 110 is tempting but I mustn’t get distracted.
I’ve started to cut the retracts into the wings. I started by cutting the mounting plates in to the leading edge of the wing. These are angled so that the wheels are slightly forward of the mounting point when deployed.
Then I marked the position of the wheel well and cut through the veneer with a compass cutter. This worked better than expected.
The retract units were lined up and a straight cut was made between the mounting plate and the wheel well to take the leg.
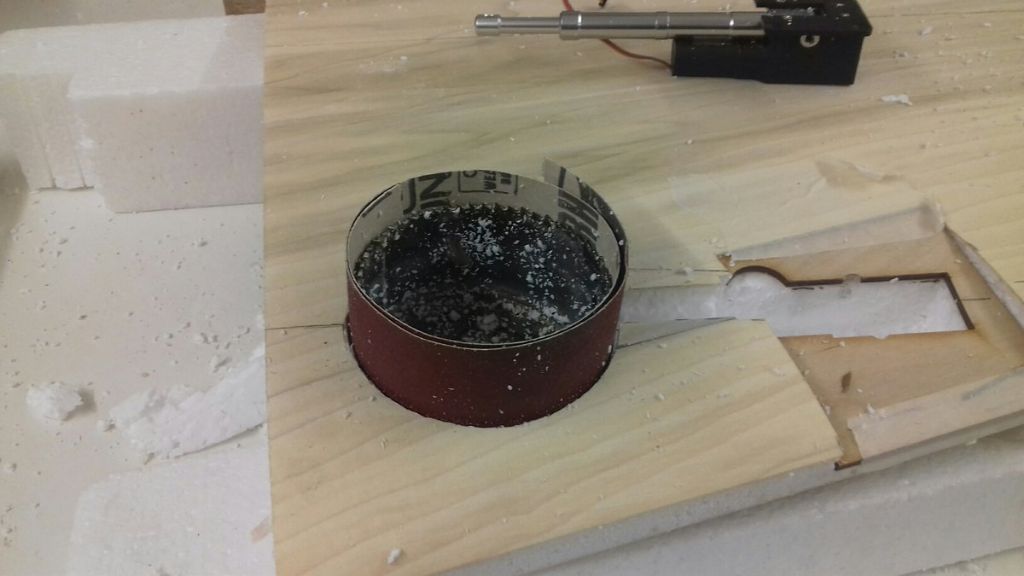
I found a hole cutter and was able to to cut the foam by spinning it by hand in reverse so that it scraped away at the foam rather than the teeth digging in and tearing at it.
The hole cutter was removed and the foam pulled out of the well. A bit of sandpaper was attached to a piece of foam to make a sanding disc to tidy up the bottom of the well.
Sandpaper was also wrapped around the outside of the hole cutter to finish the sides of the well.
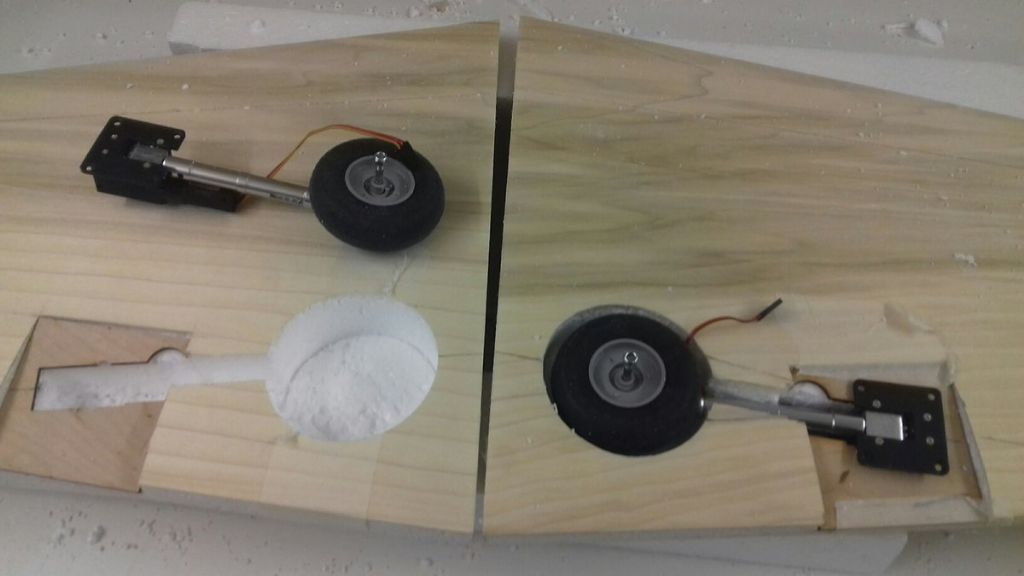
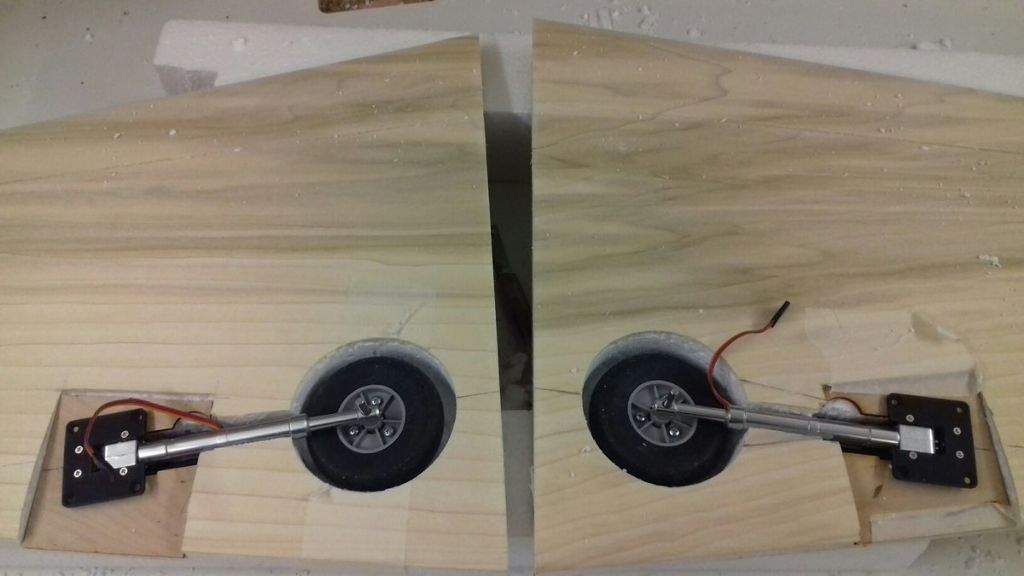
The retracts were offered up to make sure everything fits.
The observant amongst you will spot the mistake…
The wheels are supposed to be fitted to the other side of the leg. So a bit more sanding and we are nearly there.
-
Well I've started my first blog on the La7 and it does seem to provide me some momentum to the build.
The responses are interesting and useful to me and hopefully my contribution will be useful to someone else down the line.
I think it all helps.
A simple build may be boring to the experienced builder but it might just be the catalyst that someone else needs to start their first build on the kitchen table.
As BEB says 'go for it!' -
Paul,
That looks great.
There is a lot of satisfaction from turning a pile of balsa and parts into a plane that looks good and flies well. -
A bottom of the class 26. Confirming I know nothing about warbirds...










Outdoor Workshop
in Chit-chat
Posted
I would recommend insulating the roof for the summer months.
I didn't insulate mine and the roof acts like a huge radiator heating the inside to unbearable temperatures once the sun warms it up.