


Matt Chamberlain
-
Posts
166 -
Joined
-
Last visited
Never
Content Type
Profiles
Forums
Blogs
Gallery
Calendar
Downloads
Posts posted by Matt Chamberlain
-
-
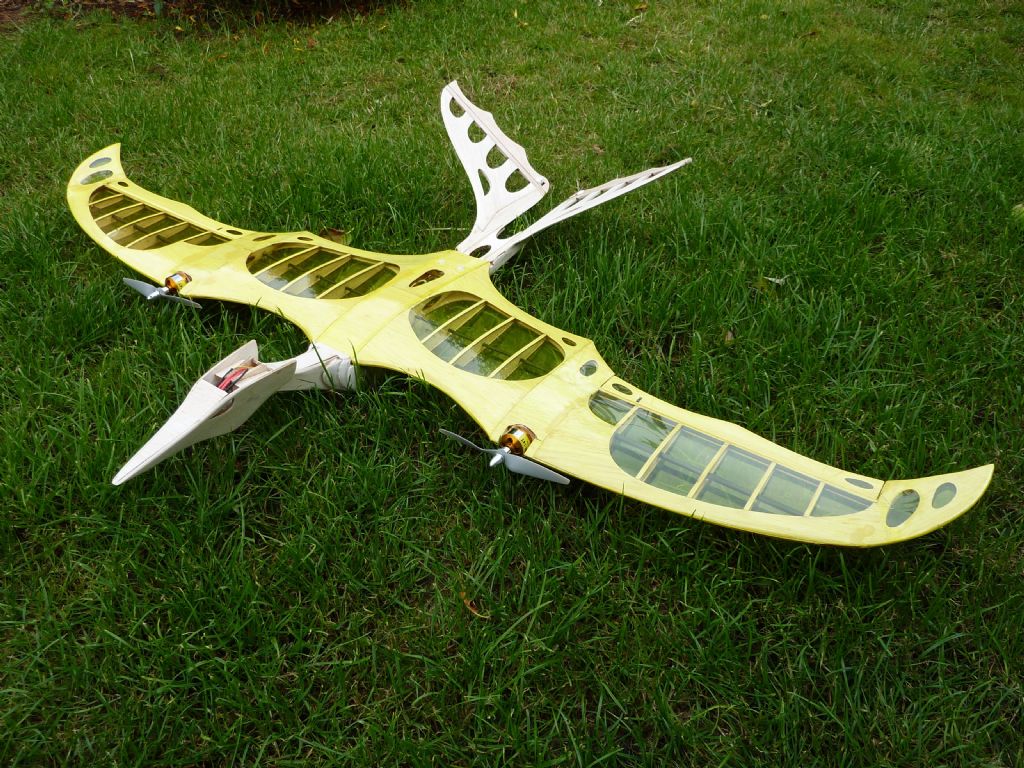
Well after nearly 12 months since the Ptero arrived on my front door step, the day finally arrived where I thought yes, today is the day to maiden her! Walking the dogs at 7am on Sunday morning without a breath of wind and a crisp sunny sunrise, I decided yeah the time was right.
I loaded her into my car along with a few other models and set out on what I hoped would be an uneventful mornings flying. On arrival at the field, I decided to warm up with my other models before finally going for it. My flying buddies asked if I'd had a photo with it first (hmmm were they not very confident it would return in one piece??), so I decided to pose with the bird first off.
3S 2200mAh battery installed, I did a range check and checked all the control surfaces once again and then ventured out onto the strip where I hand launched the Pterodactyl into its maiden flight. Wow! Straight up she went and not a word of a lie, but she didn't require any trim on any of the channels. I was stunned in how true and well she flew. I did numerous circuits before landing just short of five minutes. The landing was pretty fast, but no damage was done. What surprised me however, when I checked the battery, the meter showed there was still 82% of charge left in the pack! 18% for 5 minutes flight! This was one truly happy maiden and the sense of achievement was fantastic given the many hours I'd spent carefully building this beast!
Not content with just one flight, 30 minutes later, I took a fresh 2200 pack and flew the Pterodactyl for just short of 9 minutes this time. This time, I'd increased the rates and expo slightly, but again she flew like a dream in the 5-8mph wind. Checking the battery this time once landed, and I still had 65% of charge left. She flies around on a quarter throttle easily.
Here’s the video of the maiden flight. Enjoy!
I can't wait to fly her again and would recommend this kit for somebody who wants a good challenge.
Top marks and thanks to Ron Marston!
http://mjc70.blogspot.com/search/lab...dactyl%20Build
http://www.youtube.com/user/mjc1970tube?feature=mhee -
I'm sure you'll love your ADYX Michael. I'm looking forward to some warmer days so that I can get out with mine again.
Enjoy!
-
I've passed your details on Jen to a friend I know who has a quadcopter. Would a GoPro HD camera be ok for the job?
-
I'm having great fun with my tricopter and flying this first has really helped me transition to helicopters.I'm using the KK multicopter blue board and may move to a quad intime. Having too much fun with the Tri at the minute and contemplating whether to go FPV with it.Here are some videos I've captured with my onboard mounted GoPro:
Edited By Biggles' Elder Brother - Moderator on 08/04/2012 16:02:40
-
Another video of the excellent RC Red ArrowsThe Dawn Patrol
-
Here are a few more videos from the Saturday displays at the NATS
-
A bit of indoor flying at the BMFA Nats 2011, including a great flying New York Taxi.
-
Here's a few more.


-
A few more!


-
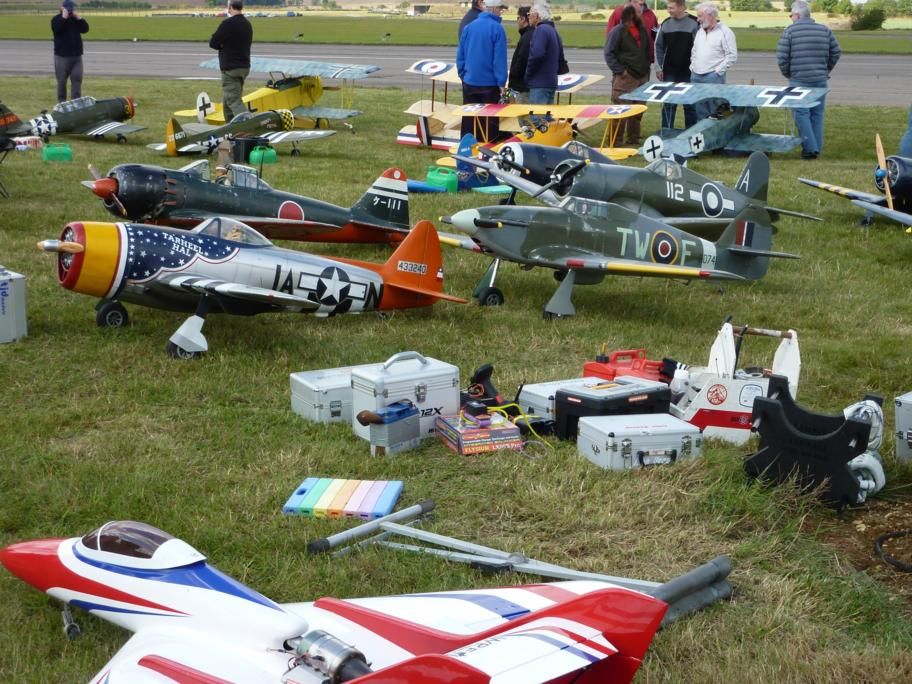
A few pictures from the Nats


-
Here's a short clip of the RC Red Arrows from the Nats at Barkston Heath on Saturday. Both days were very windy, but I had a great time there. I will upload and share more videos over the next day to two. Enjoy.
-
-
I've made a bit more progress and now have the wing covered in transparent gold Profilm. I'm going to do the body in a transparent green. The V Tail control surfaces have all been rigged up now and I just need to do the same with the ailerons.More details on my build can be found on my blog.

-
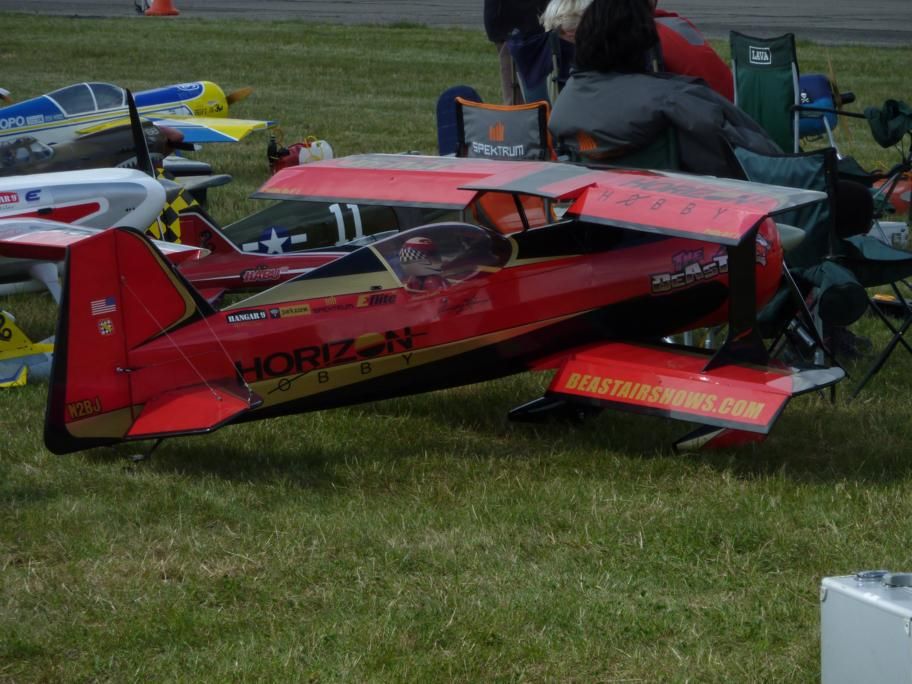
The Corsair on the Phoenix flight simulater is a very good representation of how the real PK Corsair flys in my opinion.Here's some pictures of mine flying last night.
 These great pictures were taken by Colin Wilson (see more of his excellent shots)
Edited By Matt Chamberlain on 30/06/2011 08:38:39
-
Here's the maiden flight. Nice and steady for the first few flights. She only required a couple of clicks of right aileron. Still experimenting with the location of the battery.
-
Thanks for the comments guys.Tom, no this is an electric plane and no need to go nitro.It's been designed around the Thrust 40 electric motor.In terms of whether its good plane for starting aerobatics, I would say so, but it depends on your budget. She flies nice and stable and virtually floats around on minimal throttle. Switch to high rates and kick in the throttle and as you've probably seen from other videos on youtube, you can virtually make this plane do anything.I should have the maiden flight video uploaded in the next 24 hours.
-
Thanks for the update Tony and glad you've got the Pterodactyl in the air. Having seen a couple of other videos on youtube of the 52" Pterodactyl, it does seem to be a fast bird and very twitchy!I've gone with the same power setup as you and I'll be sure to set the rates well down. Hopefully another week or two and I should be about there too.Really looking forward to see your video and hear of further updates soon.
-
Having completed the build on Saturday, a couple of weeks after purchasing I was pleased to see that we'd been forecast the best Sunday for about 12 weeks. The forecast was for bright blue skies, 8mph winds and nice and warm.The forecast was right and my new Addiction X was carefully loaded into the car ready for its maiden outing.The final pre flight checks and getting ready for the maiden.
 Cleard for take off!
 And off we go!


 Wow! The trimming comprised of two clicks of right aileron only. In low rates she was very docile and handled very nicely. I had about six flights and managed to knife edge and prop hang without any real problems!I'm certainly looking forward to getting more practice in with this bird over the coming weeks.The first few flights were captured on video too, so I'll get these uploaded over the next couple of days.First impressions are very good though and I'm looking forward to get this bound up to my DX8 once it comes back. Initially flew it with the DX6i yesterday and miss a lot of the features the DX8 offers. The 3S Overlanding 2200Mah batteries worked fine with the Addiction X.
Edited By Matt Chamberlain on 27/06/2011 12:51:12
-
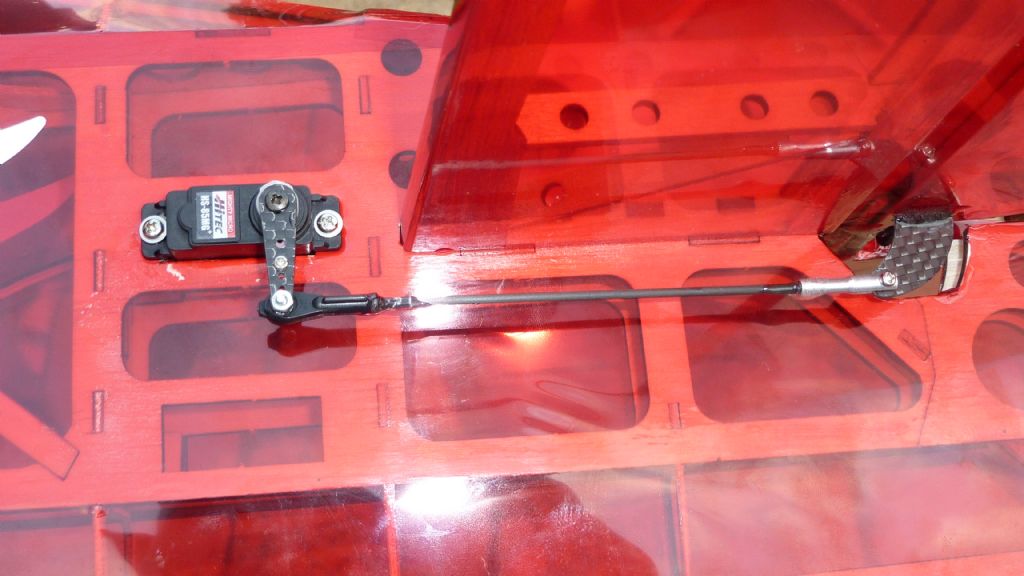
Phew...... The Rudder pull pull system has now been installed in my ADX. This has been pretty much the trickiest task of the whole build and took me well over an hour to complete. I opted for making the cut in the slot recommended in the manual and just need to tidy this up now with a carbon sticker or tape. I get full deflection in both directions which is good.


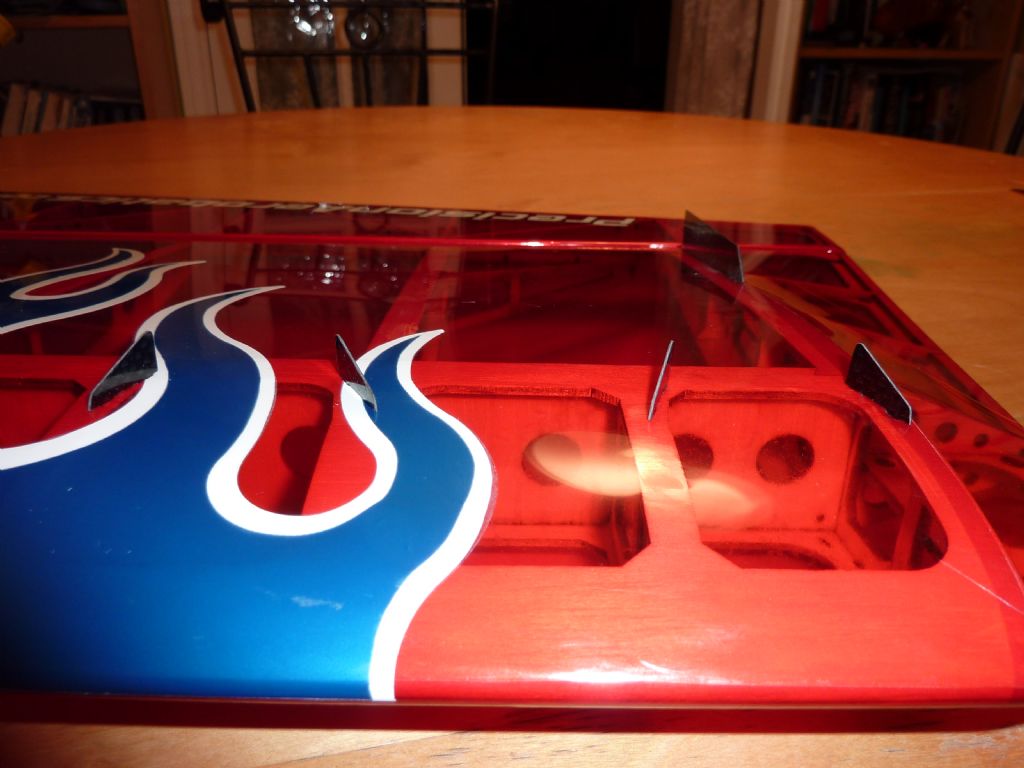
I've also blinged my wings up a bit and I've installed the optional carbon fibre vortex air generators which look rather menacing.
I'll be using a DX8 (Just got to wait for Horizon Hobby to send back my recalled DX8 now) with this ADX so this gives me the opportunity to set all three rates to a rates switch as detailed in the manual.I've also got a couple of the VOX-T40X props now which look very nice. The final steps were to add the under carriage, wheel spats, ESC and cowl all of which were very easy to fit.

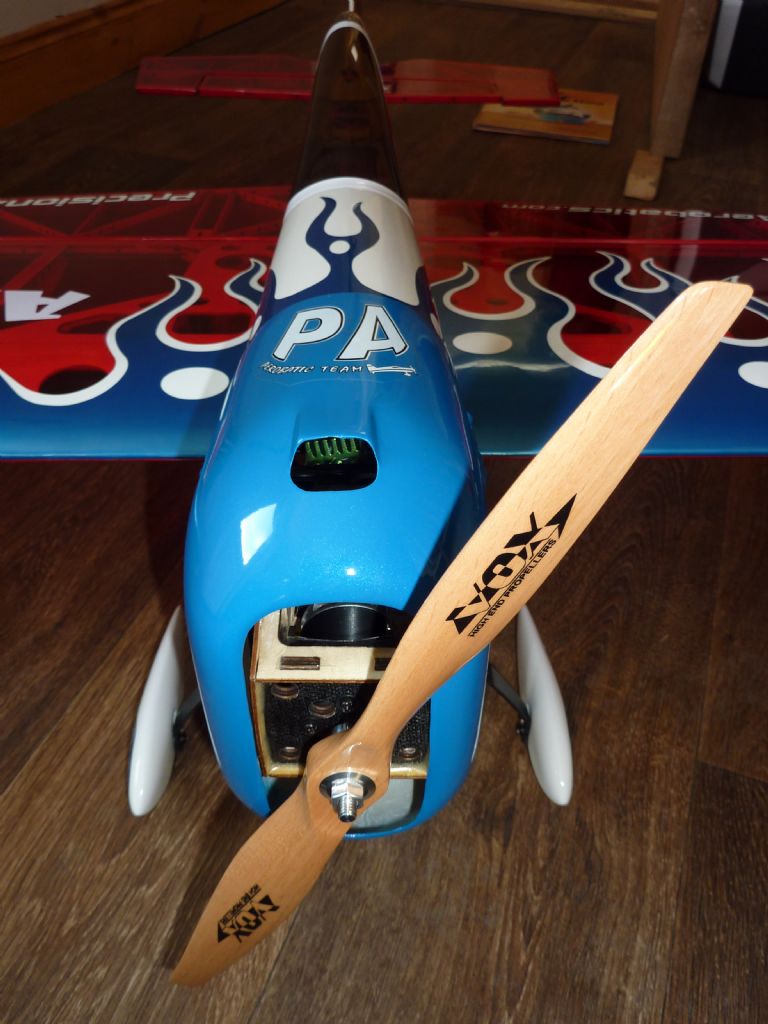 Finally the finished article all ready to go!
-
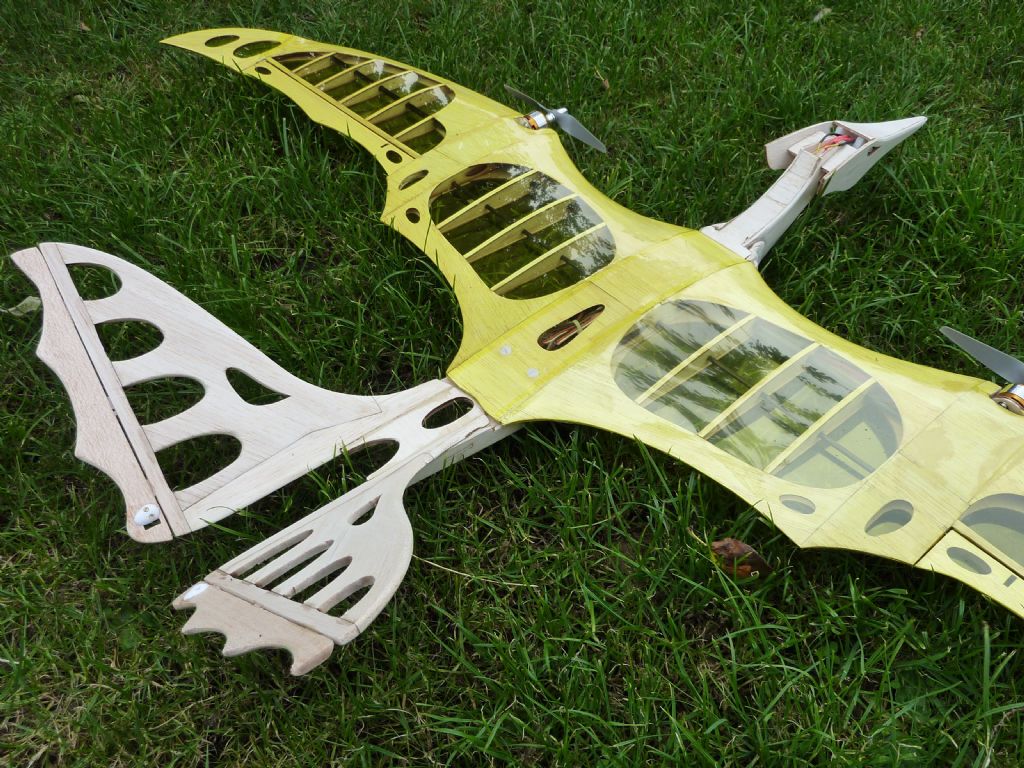
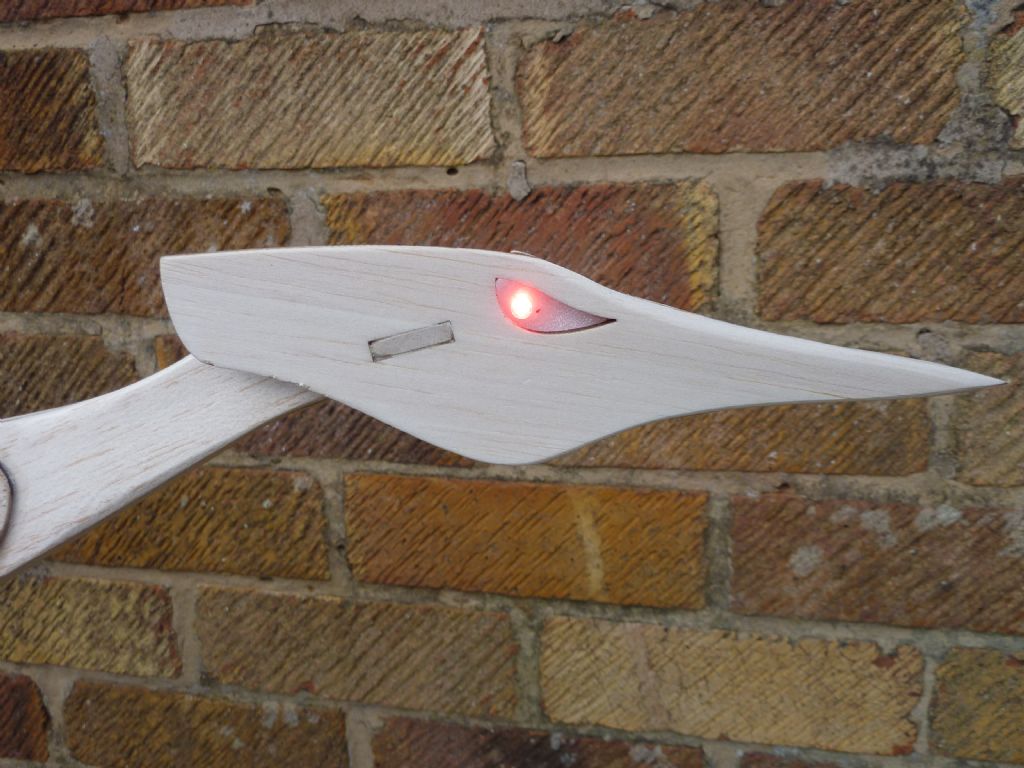
Having spent the past couple of weeks on my Addiction X build; I returned to the Pterodactyl yesterday and had a bit of fun installing some red LED's for eyes!Pretty effective don't you think?
-
A bit more progress over the past couple of days, I've now added the elevator servo using the supplied equipment.
 Moving onto installing the rudder next, I first installed the tail wheel and glued in the rudder control horn ready for the pull pull system. I struggled to find the pre cut slits in the rudder and rear of the fuselage, so following a tip I read elsewhere, I used a bit of masking tape to attach the rudder into position. Cutting down the hinge line of the tape then provided the guidance where to make the incisions for the rudder to be fixed:
 The hinges were then inserted and then glued with thin CA
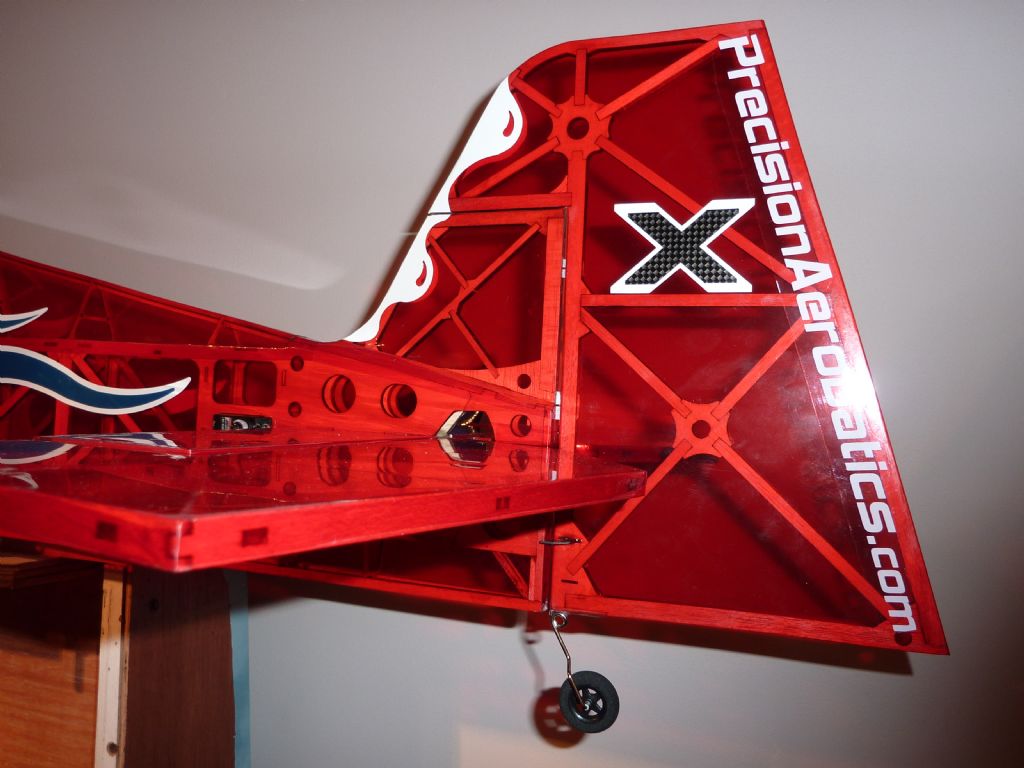


Next I'll move onto installing the rudder servo in the motor box and rig up the pull pull rudder system. All the control surfaces will then be operational then which will just leaving fixing the ESC in place, attaching the cowl and finally the under carriage. -
Having tested my motors with two 6*4 apc electric props, I noticed my wing was yawing around to the right with both props going in the same direction. I have subsequently changed the left hand motor (looking from behind the wing) to rotate in the opposite direction as the other motor and everything appears to be good now.On full power it's drawing about 16amps.Has anyone else had to make the props counter rotate?
-
A bit more progress over the weekend, following advice, I managed to swap the Hitec 82MG servos for Hitec 85MG's and have installed these in both the wings for the ailerons. I'll also use these for the rudder and elevator too.
 The Carbon Fibre control horn in place
All linked up and tested after I shortened the CF pushrod very slightly. I've also used the add-on CF servo extended arms which give greater throw. I've also attached the elevator to the horizontal stabiliser and this has been glued in place now the covering has been applied. Although not shown, I've also added the little supplied balsa wedge into the rear of the fuselage. I'll cover this later to finish off.
I've made the cut outs for the elevator servo and will hook this up next and then move onto attaching the rudder.I was going to attach the wheels to the carbon fibre stuts, but I haven't been supplied with the 2 M3 20mm bolt/axle's, so have had to order some of these separetly. The first real negative I can note from this kit! It appears I've also only been supplied with one side of covering to finish off the rudder covering strips. The instructions make reference to "strips", so I'm assuming I have to do both sides of the rudder? Luckily I have a friend who has some spare red colouring the same as the Addiction X, so it's not a problem.I will try to add a video later this week showing the electonics connected up and the control surface movements.
 -
I did a bit more work on the elevator and have now added the hinges as well as cutting out the slot ready to mount the horizontal stabilizer.The carbon wing tube was also positioned and I attached the wings for the first time to see how it all fits together.Finally I prepared the ESC with an XT60 connector and tested the motor out. I've managed to order a VOX T-40X prop direct from Precision Aerobatics which is now on route. Hopefully I won't have to wait too long!


Leicester Model Aero Club (LMAC) Indoor Flying - 26th January 2013
in Flying Sites and Clubs
Posted
For those of you frustrated by the snow and lack of RC flying, fear not. The Leicester Model Aero Club will be holding their monthly indoor flying this Saturday 26th January at at Parklands Leisure Centre Wigston, Leicester LE2 5QG between 8pm and 10pm.
BMFA membership required to fly and the cost is £5. Under 16's are free. Non LMAC members very welcome too.
We alternate betwen fixed wing and helicopters and have 20 minute slots for both. Helicopters up to 450 size.
More details can be found on the following page:
LMAC Indoor
Message me or reply if you require more info.
Thanks for looking and happy flying.