


Anthony Billings
-
Posts
158 -
Joined
-
Last visited
Never
Content Type
Profiles
Forums
Blogs
Gallery
Calendar
Downloads
Posts posted by Anthony Billings
-
-
If we are on about something that is quick and easy to build so as to encourage others to take the first step into building, then what about something that is nearly all slab and sheet balsa ie solid wings and tail, sheet fuse and such, they must be pretty quick and easy to put together.
Tony
-
So now the wing covering is completed.

Starting to look like a Super 60 now.

The AUW with all the bits added except for a tail wheel which I am waiting on comes out at 4lb 10oz so once the fuse is covered I should be around my target weight of 5 1/2 lb, this is not bad considering I am using two aileron servo's instead of one, a home made battery box and hatch plus some extra TE stock in the wing center panel and under the wing seat.
I have programmed my Tx for flaperons to give me aileron differential and programmed the flap settings although it should not need flaps the facility is there so why not have a bit of fun.
Tony
-
Finaly finished the wing sheeting top and bottom and started to get the Solartex on.


Battery box epoxied in, and battery access hatch made.

Will need to go to my LMS tomorrow to get some more of the vintage linen Solartex, I have enough of the dark green but have run out of the cream.
Next up is to finish the infill panels on the fuse, and complete the servo pushrods.
Tony
-
Hi Peter,
I too like things simple, and once you have sorted the power system then it's just make sure the lipo is charged, what could be simpler lol
Non of this running in, making sure the tank is drained after the day's flying, cleaning down and still remembering to charge the flight battery.
I may go ic in the future, but at the moment it is easier to stay electric, I have not even figured out how you ic guy's work out what size engine you need for a given model and whether to go 4 stroke, 2 stroke or petrol, that seems to me a harder choice than calculating for an electric motor.
Anyway, your plans are still the bee's knees, and I know I am going to enjoy the build when I get round to it, I have already had the plan copied so that I will have a plan on the board and one on the wall for reference.
Tony
-
SDF's calc's look spot on, and Christian has already found the purple power motor to suit, I like the purple power stuff, I have one in my Super 60. When I come to buy the motor I will get a 12 x 6 and a 12 x 5 prop and see what I get with my wattmeter.
Tony
-
Hi all,
progressing well, the wing panels are now joined, top sheeting completed except for the center section and capping strips added.

tailplane and elevator covered in solartex.

the center strip of the elevator has been left uncovered as it's the glueing surface.
Fin and rudder covered.

OK so it's all been flat surfaces so far, but I am pleased how well this solartex is going on as it is the first time I have used it.
More soon
Tony
-
I will be following this with interest, as an "electric" Harlequin will be next on the board when the Super 60 is complete.
-
My SWMBO has a list with a virus attached to it, each time I cross an item off it, another two magically appear at the bottom !!!!
I have tried all known anti-virus programmes to no avail, it appears that once you have one of these lists, you have it forever.
-
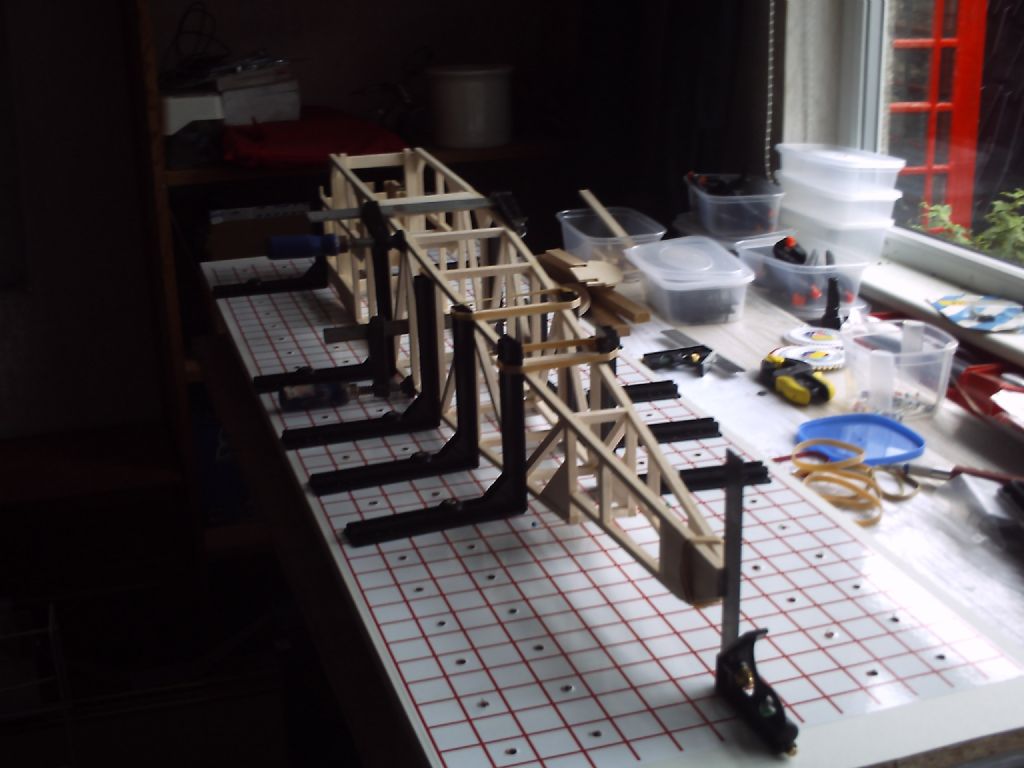
Some more work done,

the fuse out of the jig and nice and straight, some rough shaping done to the front end. the motor has been trial fitted and the mounting position marked.

A completed wing panel (except for the shear webs) at the back and the next one on the board.

showing the ply sandwich for one of the aileron servo's.

the center panel with the sections of TE stock added for bolting the completed wing.
More photo's to follow.
Tony
-
I too use a Spectrum Dx7 on my heli's and for my current build a Super 60 plane, I have had no problems with it at all, the only thing I would change on it is the countdown timer alarm, its not loud enough for me, but that may just be me lol.
Tony
-
Cheers Steve,
I thought that was the way to go, but as the instructions said fit before covering I thought I would check with other trad builders.
Tony
-
Hi all,
for those of you that have looked in in my Super 60 build, you will know that I have completed the tail, fin and rudder and I am 90% through the fuse. All I have left to do is the cowl and engine bay cheeks, the instructions state that the next thing to do is attach the fin and dorsal fin, so my question is
is it better to cover the fin and dorsal fin before attaching to the fuse or leave the covering till the end ?
Cheers
Tony
-
Hi all,
back from the North Sea and able to get some more work done.
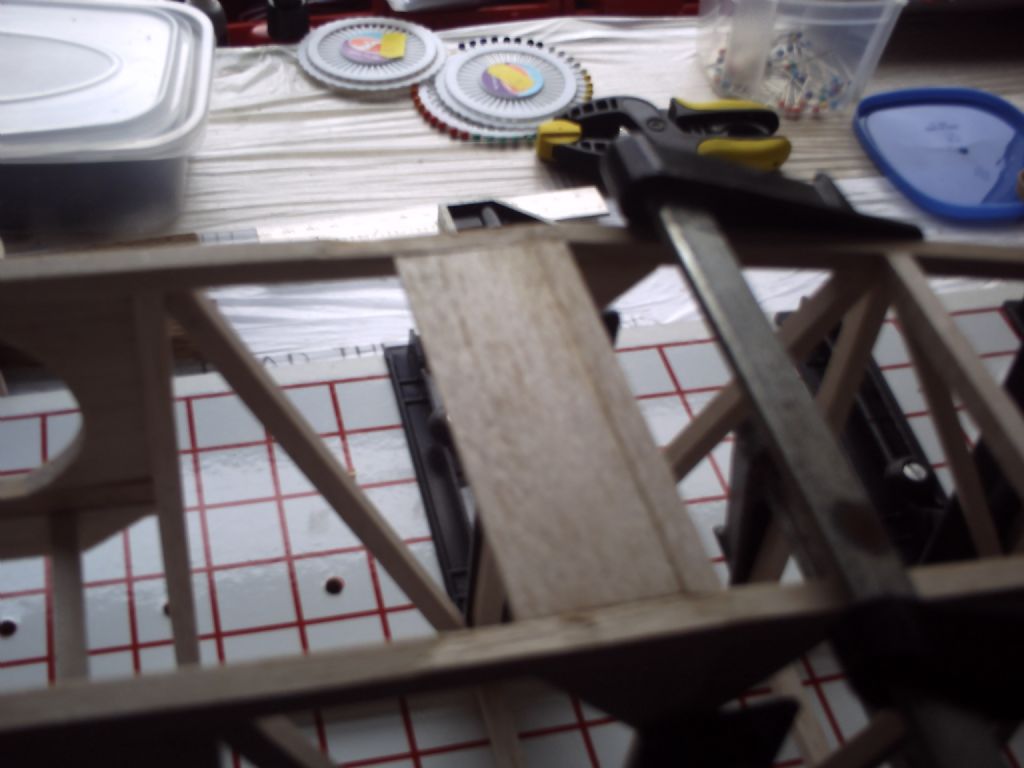
This is a section of TE stock, as I am going to bolt the wing instead of bands, I have fitted this TE so that the bolts will go through and tighten up parallel.
All cross members glued in, and when the glue has gone off I can release from the jig and see if I have built a banana.
Tony
-
Hi Alex,
I started off with Deans, then changed to XT60's, but now use EC3's or 5's depending on the thickness of the wire, the advantage to these is that the connectors are soldered out of the plastic body and then snapped into place so you do not run the risk of melting the plastic body.
Tony
-
Hi all,
after getting back from Aberdeen I started on the fuse sides.

The sides are both constructed on top of each other, I did the lower side, waited an hour or so then the top side, hopefully they will not stick to each other too much,
All the little angles for the diagonals were sanded to shape with this little bench sander.

This was an aniversary present from the wife and it has has a good workout so far.
Sadly this is the last update for a while, this afternoon I am off to Bristol ready for a stupid o'clock flight tomorrow morning over to Norway to meet my ship and then bobbing around the North Sea for four weeks whilst we attempt to do some modifications to an oil rig.
Speak to you all again in a month
Tony
-
Plus it depends on what you want to start with first, i.e. some of the foam trainers come complete with tx and rx and if you buy a decent tx first it might not be compatable with the trainer you buy.
So yes as others have said, look in your local model shop and feel the goods, talk to your local club people and decide on what you want to learn with, then see if the trainer you decide on has the option of you providing your own radio gear or if is only provided with thier own stuff.
If you end up buying your own tx then go for the best you can afford, don't skimp, you will only regret it later.
Tony
Edited By Anthony Billings on 06/05/2012 11:38:03
-
Hi Myron,
although I did not suffer a stroke, three years ago I had a triple bypass which while waiting for the op was very frightening, after the op I was off work for a year, unable to lift anything heavy for six months meant that in reality my large woodworking workshop was out of bounds but I have to say that sticking to the docs advise and taking things easy meant that when I was given the all clear I returned to my hobby all refreshed and raring to go, so in your case I would put it all away, concentrate on getting fit again and come back refreshed when given the all clear.
All the best
Tony
-
-
Hi Colin,
the tx is not binding to the Bravo, thats what the lights mean, you could keep trying, or buy a replacement board but that will mean some very fiddly soldering. To be honest the price of a replacement board is not much less than a complete new heli so I would not bother.
Tony
-
Hi all,
Djay that is a good colour scheme, not decided on the colours for mine yet but will be using Solartex as that has the linen look suitable for a vintage build, heavier than Solarfilm but apparently stronger.
So today has been spent soldering more EC3's onto lipo's and my fancy wattmeter, then starting the fin after removing the tailplane from the plan.

The tailplane will be bolted on instead of the rubber bands, so the center section has been filled with 1/4 sheet. Whilst waiting for the glue to go off on the fin, I rigged up the motor for a test but could not get the orange rx to bind with my tx so I stole a Spectrum AR7000 which I had earmarked for one of my heli's and had no probs with binding.
I ran the motor with the wattmeter inline and using a 2200mAh lipo got the following readings
At 50% throttle 180W, 3600 RPM and 0.52kg (1.14lb) thrust generated.
At 100% throttle 490W, 4890 RPM and 0.96kg(2.11lb) thrust generated.
I then changed over to the 4500mAh lipo that will be the flight pack that I will be using and got roughly the same readings so aiming for just over the 5lb AUW on completion that will be just under 100W per lb which should be more than ample. I let the motor run for 10 mins, and on completion the Lipo was luke warm, the esc was warm but not hot, and the same for the motor so happy with the set up, I then connected the lipo to my charger and it only needed to put 2002mA back in the pack so it looks as if I could get a good 15 to 20 mins of flight time.
The last thing for today was to assemble my Slec fuse jig as that is the next thing on the board.
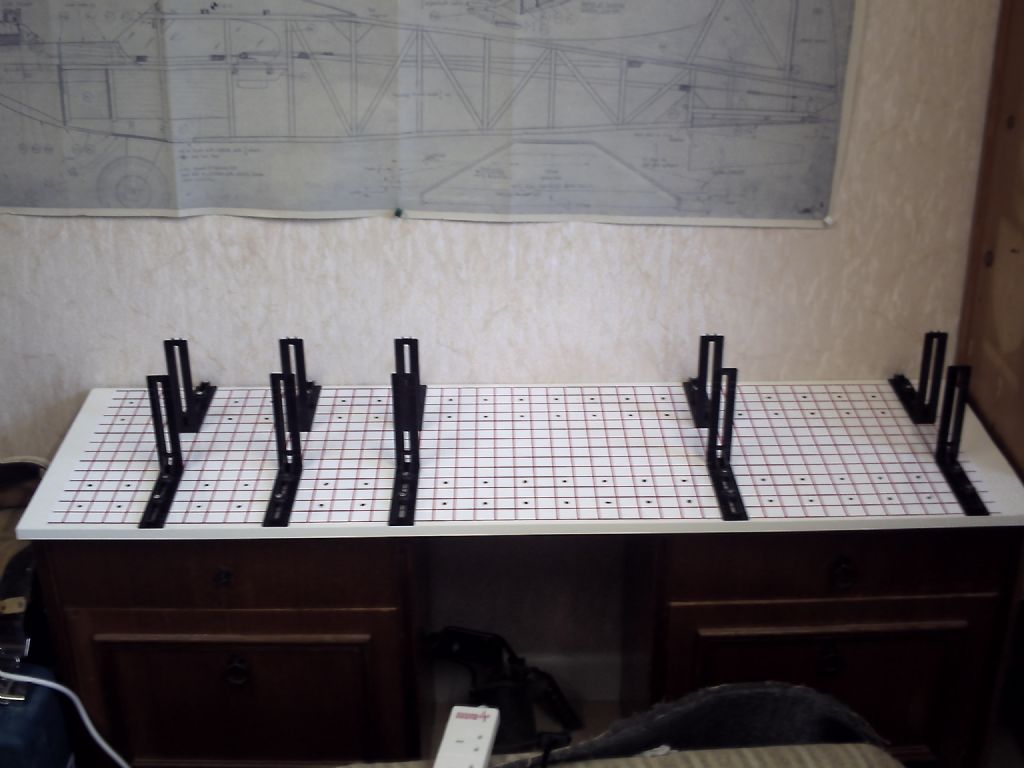
I may be lucky enough to get some more done tomorrow morning but in the afternoon I have to travel up to Aberdeen for a meeting on Fri so will not be able to make much more progress till Sat.
Tony
-
Hi Steve,
thanks for moving the thread.
As for the connectors, that is why I have changed over to EC3's, the gold male and female bullits are soldered out of the surrounding body and once soldered they snap into an internal recess, I have melted the bodies of many Deans and XT connectors, these EC3's are much simpler to solder but that still does not stop me burning myself
 I really must get a better stand instead of trying to catch a hot iron as it's falling to the floor !!!!!
All my electrics are now soldered up with EC3's as appropriate, lipo balance charged, tomorrow will solder EC3's to a fancy new wattmeter/tacho/servo tester and make up a rig to test run the motor and get some readings.
I have been studying the plans and think I have come up with a solution on where and how to locate the lipo in the Super 60 and where to form the access hatch to be able to get at it without removing the wing, so more tomorrow.
Tony
-
Hi all,
after much decorating, fitting a new bathroom, going offshore to work and sorting out my workshop I can actually start my build og the Ben Buckle 4 Ch Super 60. Chris and Andy have done excellent build threads so this will not be an indepth build blog, and I will be unashamedly copying some of Chris and Andy's idea's and methods.
This will be an electric conversion so for those that are interested I will be utilising
PPO-3542-1000 motor
PP-70A esc
13 x 8 prop
PPL-30C 3S-4500 lipo
this set-up I have copied from a customer of www.4-Max.co.uk

a copy of the plan on the board.
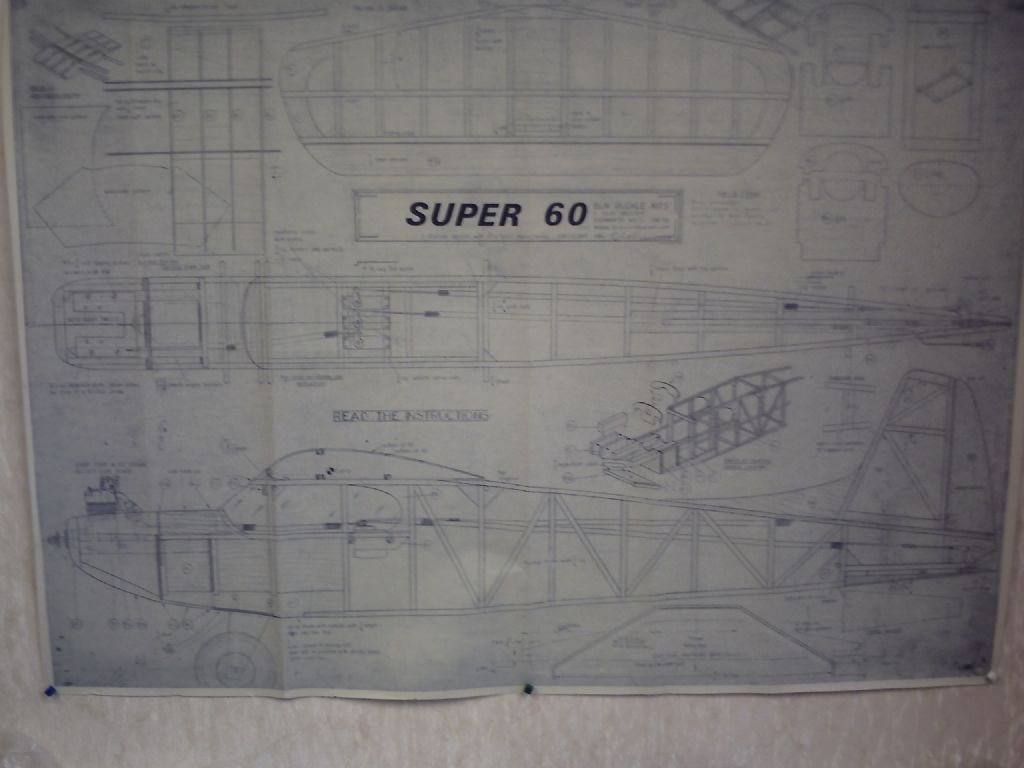
The original plan pinned to the wall.

That's a lot of Balsa.

This last picture shows the tailplane glued up and pinned to the board, so while the glue goes off I started to solder some EC3 connectors to the Lipo and ESC, not my fav job as I normally end up burning my fingers and yes I did so again this time.
I have to say that even though I have not got much cut and glued, I am thoroughly enjoying this, there is something satisfying in following a plan and getting a product that you have built yourself.
Tony
-
Hi Chuck and welcome.
Tyro = Medieval Latin t r , squire, variant of Latin t r , recruit.] tyro, tiro [ˈtaɪrəʊ]. n pl -ros
. a novice or beginner. [from Latin tīrō recruit]. tyronic , tironic [taɪˈrɒnɪk] adj ...
So really a newbie into the rc world and not really a ref to the model plane.Tony
-
Added.
Tony
At Last The Build Begins
in Build Blogs and Kit Reviews
Posted
Hi all,
well we are nearly there with the build, the main wing is completed and the ailerons hinges glued in place.
The fuse is covered both sides and the bottom.
Atail wheel added.
This is sold as a steerable tail wheel but I have left it as a swivel but with a small spring added to the shaft to take some of the shock loads.
The rudder and elevator pushrods are made up and fitted, the window surrounds painted and the first coat on the motor bay and hatch.
So only the top fuse covering to go on, fit the fin and complete the painting, a final check on the radio installation then check and adjust the c of g as required. Sadly that will have to wait as my leave period has come to an end and it's off to Canada for a month tomorrow, on the plus side, the weather should have finaly sorted itself out by the time I get home again.
Tony