
Willowlea
-
Posts
471 -
Joined
-
Last visited
Never
Content Type
Profiles
Forums
Blogs
Gallery
Calendar
Downloads
Posts posted by Willowlea
-
-
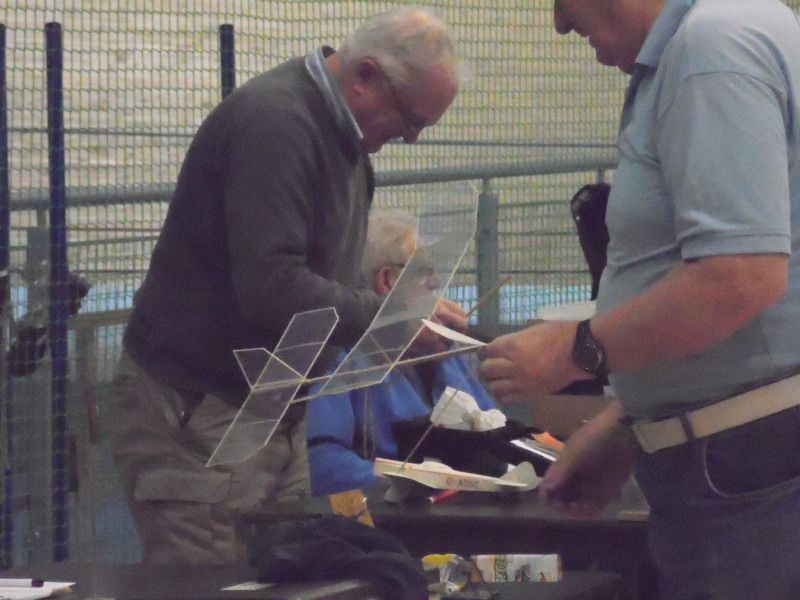
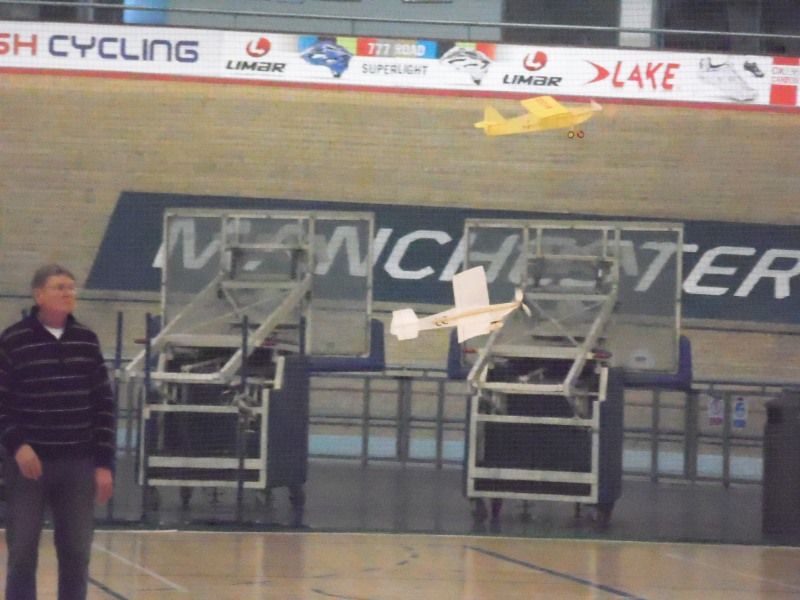
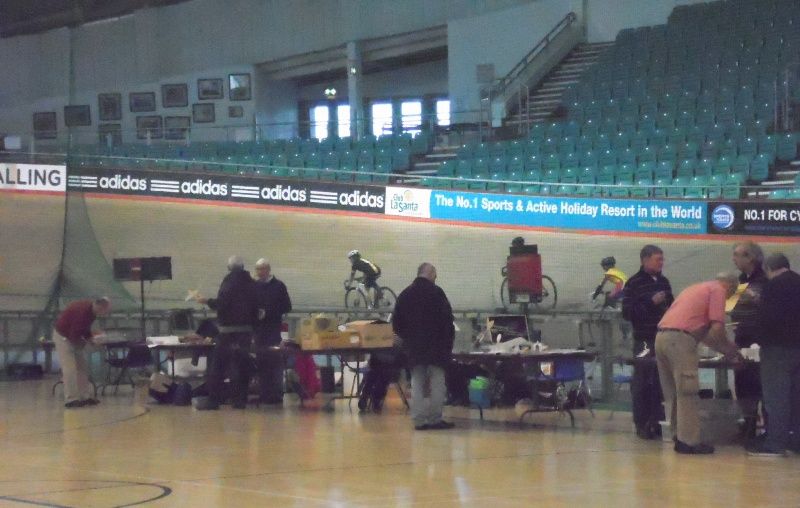
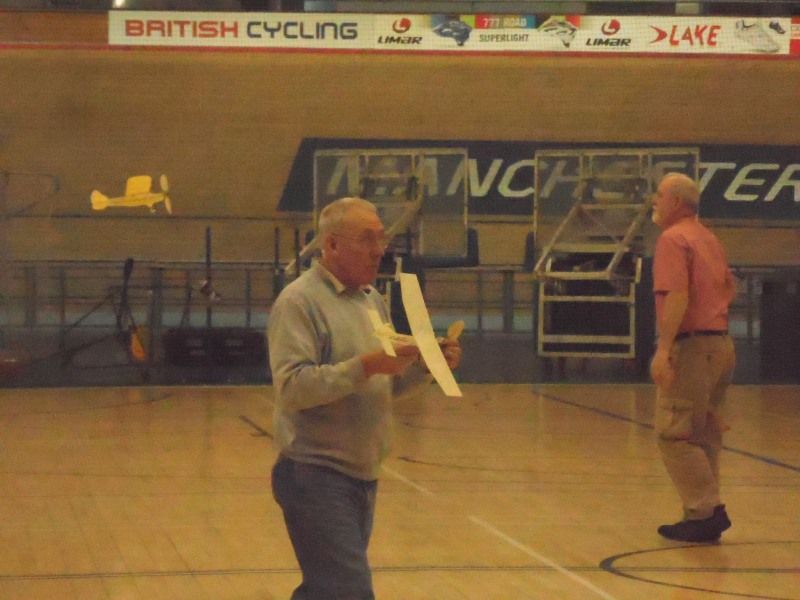
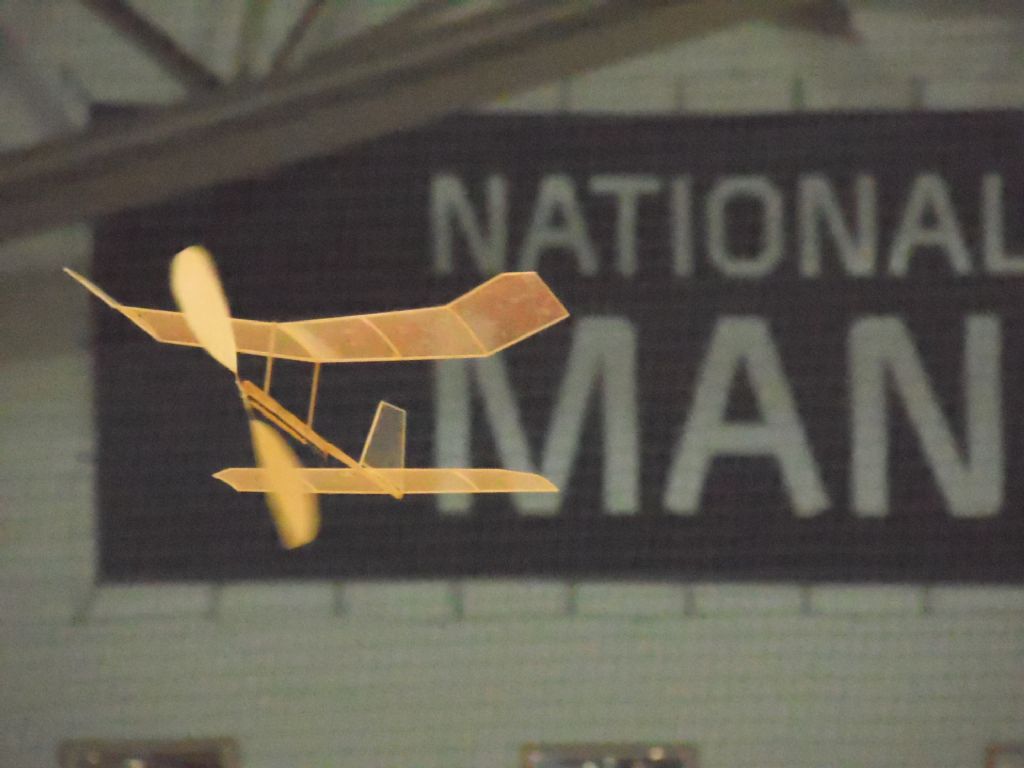
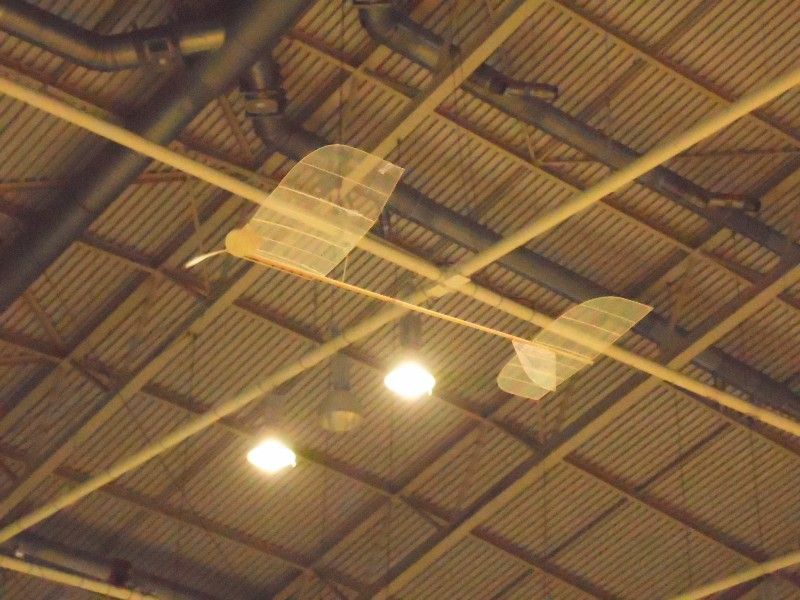
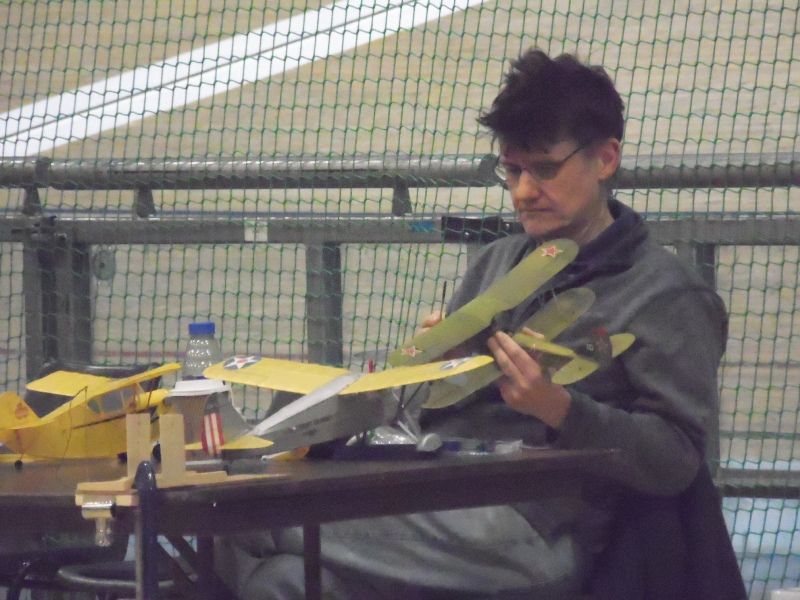
Well had a great day at the Velodrome and would like to say a big thank you to Mr Andy Sephton for trimming and flying my models- the frog, cricket and Soppy Tripe. Unfortunately the latter needs more trimming so only managed a power glide, so that will be put on hold till May at the outdoor NATS Free flight event.
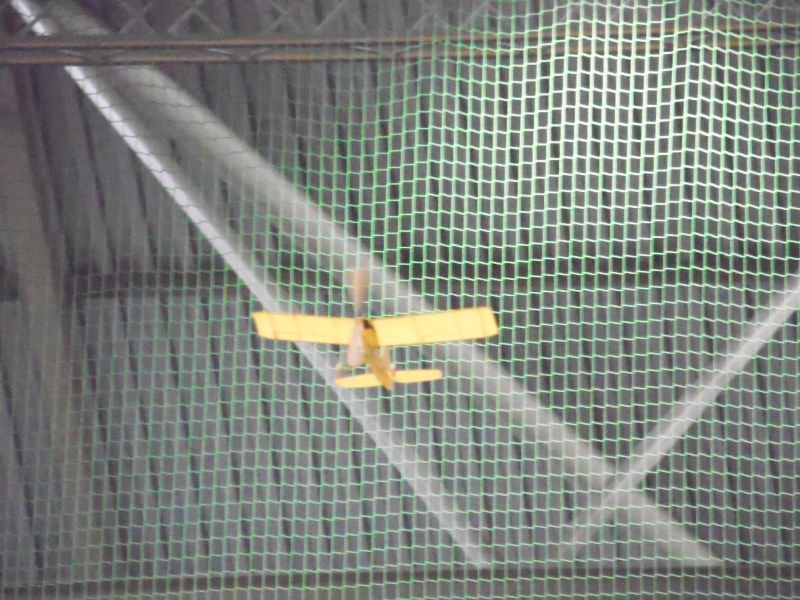
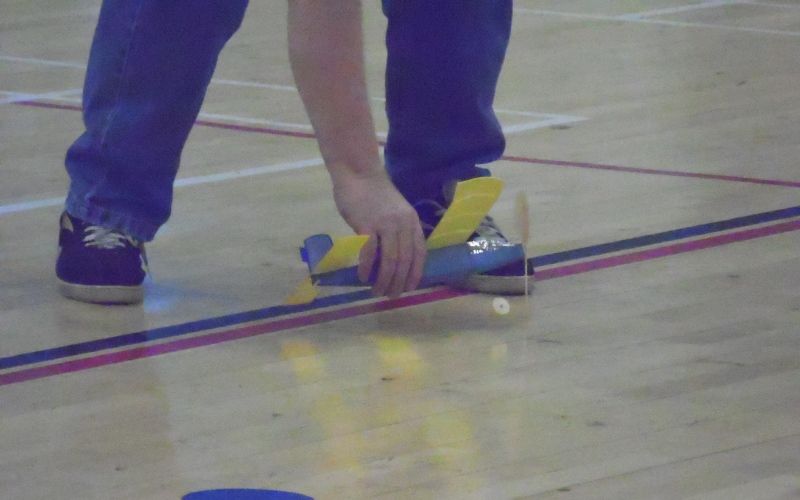
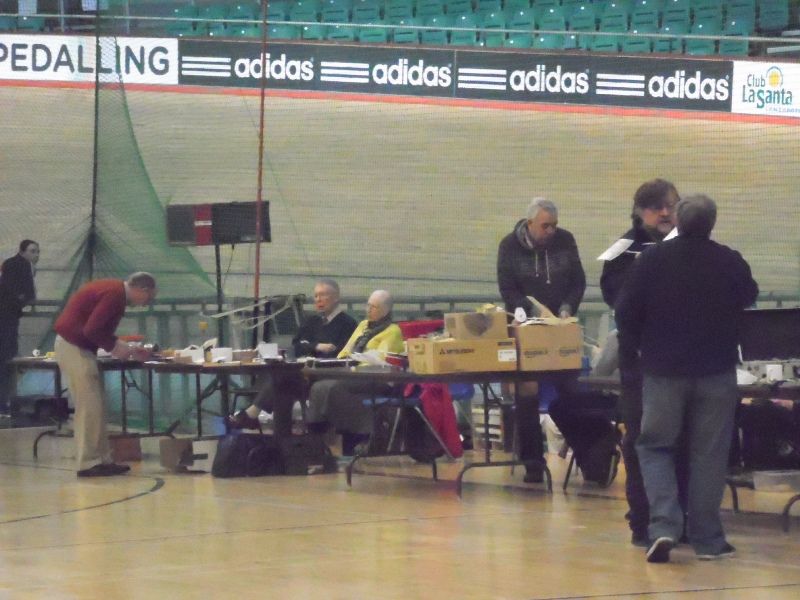
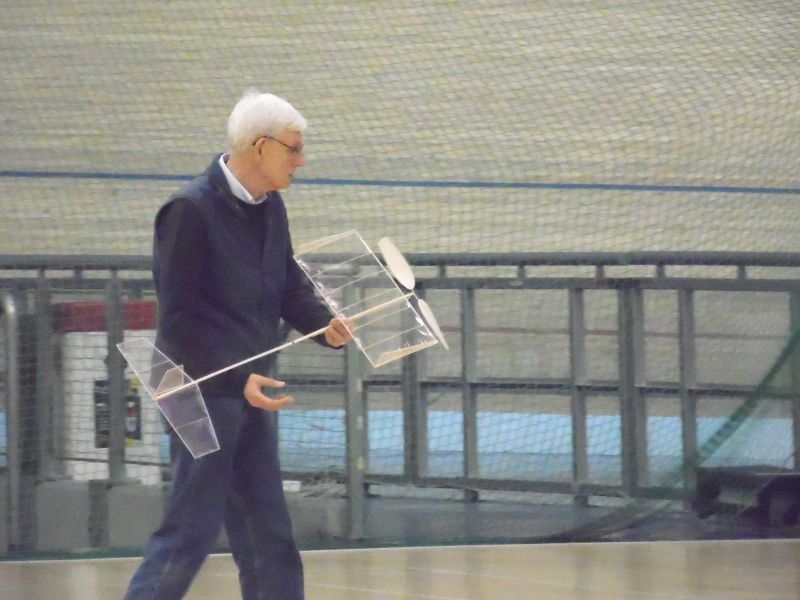
Am afraid the photos aren't brilliant, was a tad hard to get right with so much busy stuff in the background- and need to practice more indoor shots. But here are a few selections along with some videos
Andy flying
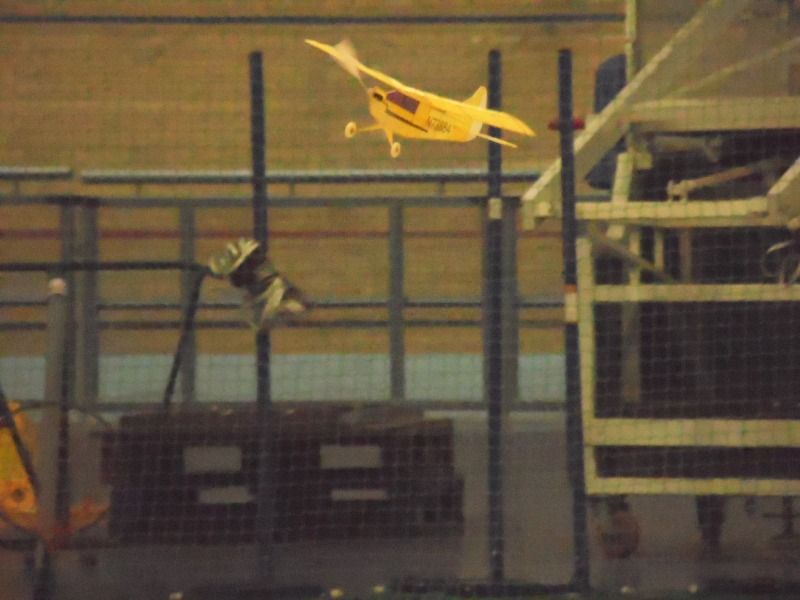
My Cricket has it's maiden, and flies!!!!
 As Andy trimmed it he said it flew pretty much off the board. It needed a bit of noseweight and the first flights were a bit overpowered with the supplied rubber, but it was flying quite nicely on 0.090" rubber in the end (supplied rubber was o.125"
My frog flew too on it's maiden
 Again Andy's assessment was that it needed a bit more of a look at, it's first flights consisted various dives into the ground and despite moving the C of G back behind the wing, it still dove earthwards. After a good look at it over coffee it showed that there wasn't enough decalage (longitudinal dihedral, or the angle between the wing incidence and the tail incidence). It eventually needed about 1/4" packing under the LE of the wing to make it fly and after that it flew brilliantly.
LOL
 you lot don't half make me laugh hehe, nice one chaps.
Will start back in earnest on this now that the Velodrome and flying the other models is over so should have more progress reports soon. Needs to be ready for the NATS FF in May. Complete with spiders as pilots in tribute

Hahaha well I might just do that Steve.........after I have cut the other 20billion for the lower wings
 Don't have any spruce at the moment but am defo going to give that plasterboard idea a go, thank you.
Have also been discussing the possibility of converting one to rudder/elevator/engine control which is a bit daunting but looking foward to having a go!
Am afraid I have to dash your dreams guys of the possibility of Wilbur,and his alterego Vilbur, still living- minus a skin
 It is with a sadness in my heart and a deep regret that I have to inform you that shortly after removing his sorry little body from the box and leaving him on the table whilst I went to look for my spider resus pack, I came back to find poor WiburVilbur was sadly missing.....................and 3 guilty looking ruffians licking their lips! The jury is out on which it was but I reckon the cat did it, in the lounge, with the candlestick!
Anyhooooooooo finally got some time to do some more to the build yesterday. Started on the fus....cos I can

I built these one side on top of the other in the hopes of keeping them identical, new way of doing this for me but using a layer of baking paper between the two sides so they didn't stick together. After cutting out the front part the longerons were all 1/16th balsa wood, with a scarf joint on the top one. The vertical spacers are also all 1/16th bar the front foremost two that are 1/16"x1/8" were all glued into place and gussets added near the tail plane seat.
And I will remember to put the other longerons on the RIGHT sides heheheWill get cracking on some more of this after tomorrows fly in at the Veledrome
And yeah I know one of the spacers is wonky but i forgot to reglue it before taking the picture

Edited By Willowlea on 21/02/2014 23:56:55
Edited By Willowlea on 21/02/2014 23:59:39
Edited By Willowlea on 22/02/2014 00:03:54
Ribs then added. Now there is an option to add extra ribs for scaled rib spacing......do i do this or not? hmmmmm have left it for now thinking the less weight the better. The leading edge needs to be packed up first with spare bits of 1/32" presumebly so the ribs are all snuggly fit in place?
all ribs attached and the gussets added looks a bit wonky on the pic, and it is a tad but nothing that cant be rectified with a spray of water and pinning down over night.
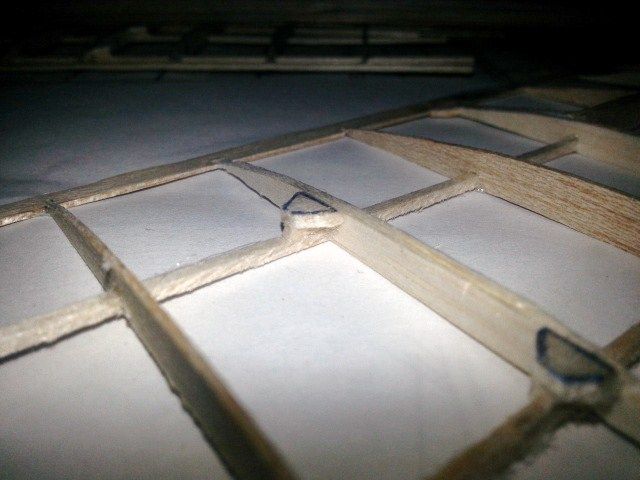
using spare bit of 1/16" these inserts were added not sure why lol
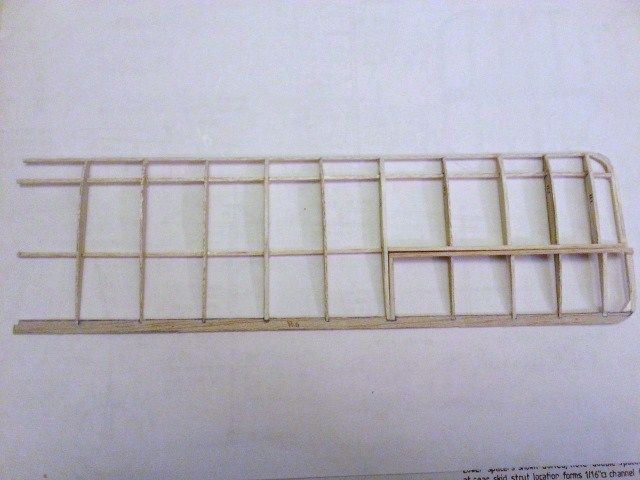
Now this is the first time I have done ailerons, so was really excited at doing them. The model can be flown without ailerons especially if wanting to save wieght however adding them means they can be adjusted for flight trimming and I thought it would be fun to have a go. First job was to take a piece of 3/16" x1/16"x1/8" for the aileron leading edge and to adding two pieces for the inside edge on either side.
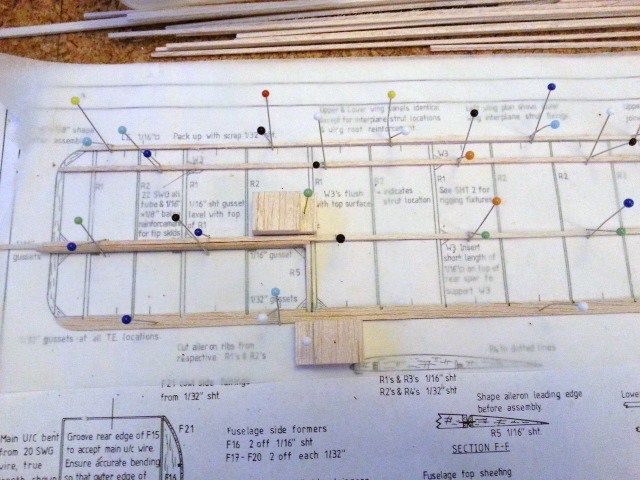
Whilst these were drying I cut the trailing edge from the prestamped wood and sanded the notches in place for the ribs. These were added to the plan along with the front spar
Aileron leading edge sanded down to be a bit more aerodynamic and added to the plans too
And the outer aileron piece added along with gussets
First thing was to do- the wings.
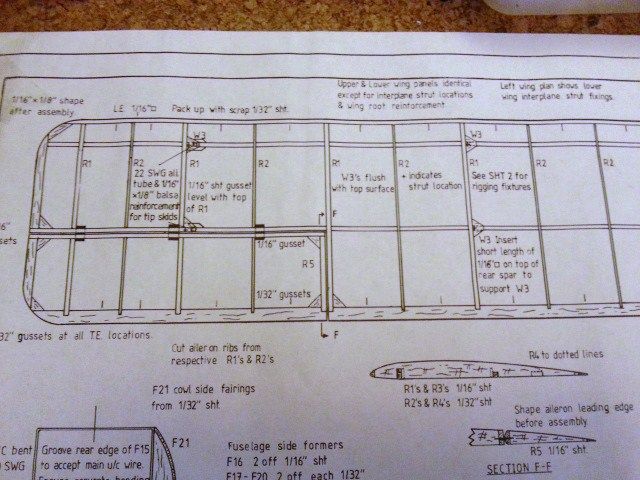
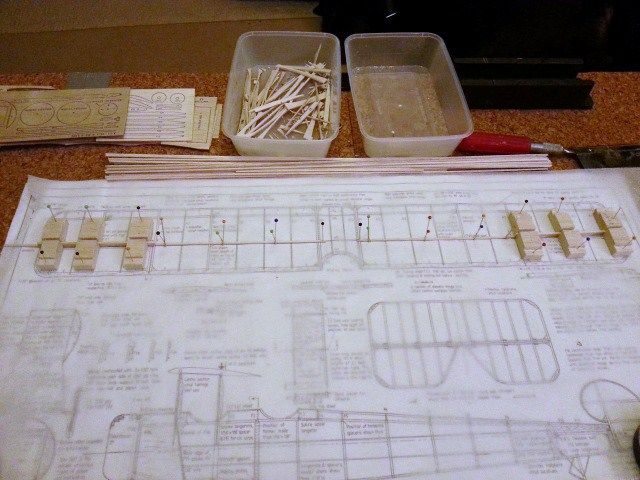
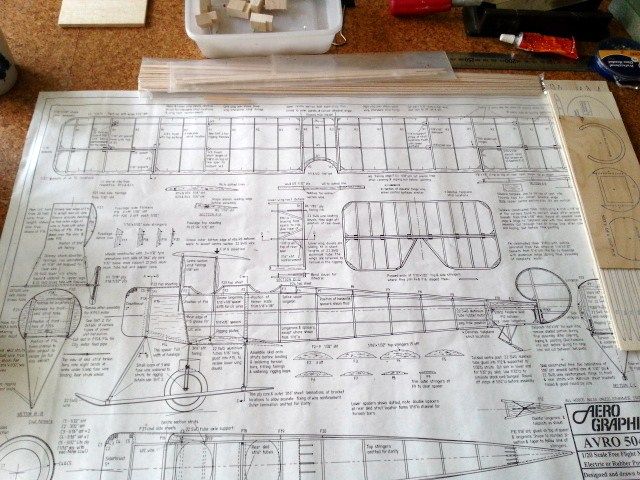
This kit comes with an incredibly detailed plan and 8 pages of instructions so nothing is left out
After cutting out the 1,600 ribs
 the first job was to get them all exactly the same sanded down. This was done by placing a spare spar into the back of the ribs and sanding them all together as one block. A few had an accident, as you can see on the pic- so I just cut a ton more
The ribs are a mixture of 1/16" and 1/32"soooo second job was to line up the rear spar. Now this is a new one on me, cos the ribs are put on upside down hehe. But after lining it and pinning the piece of 1/16th for the spar, the instructions call for another 1/16" by 1/8" to be glued on top of the rear spar behind where the ailerons will be
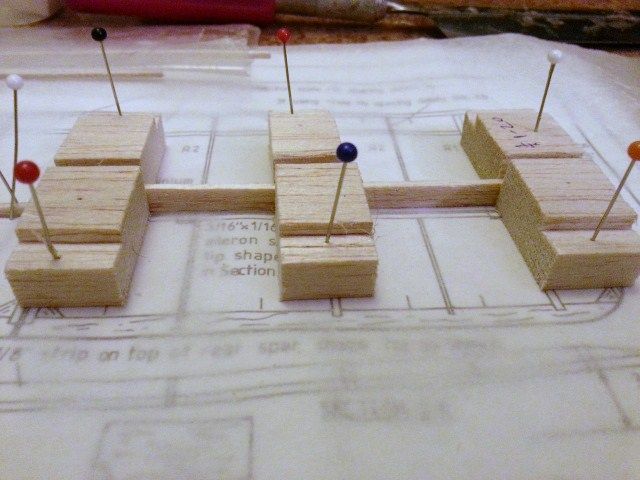
Do ya see my nice new jazzy blocks huh
 ? They work briliantly, cut using my swanky new mitre block (thank you mr cantwell
  ) so are nice and straight and ideal for lining up to keep things nice and straight angled.
Thanks to the lovely Colin and Steve I now have in my possession two lovely Avro 504's- thank you sooo much guys

One is completed pretty much, lovely build Steve, so just needs a few bits doing and covering and the other is a kit and am really excited at getting stuck into building a model with my first set of ailerons....... so here goes!
Now sadly, the poor spider that Colin sent with the box did not survive the trip, it was a tad dead. I was thinking of using it as a pilot
 but after breaking the sad news to Colin he informed me that said spider was called Wilbur who he had trained to say hello to me. So in honour of poor Wilbur, who gallantly speed his way across the counties to me I am renaming the Avro Wilbur in his name hehe.
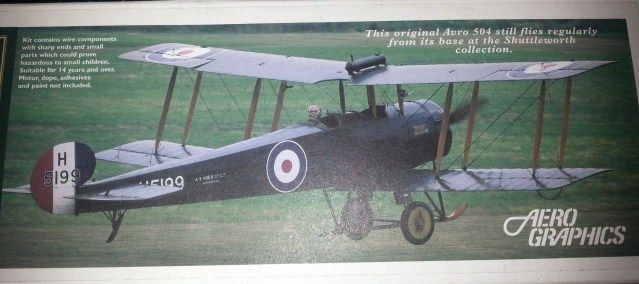
 Interesting fact here, the box shows a picture of the full size Avro at Shuttleworth and flying it is none other than my good friend Andy
 So that was a nice suprise.
Plans all laid out and ready ooooooooooo
Rofl, makes me laugh everytime. Look up the other animal videos in this series, they are a hoot

awww thank you guys, can't afford to buy many kits so all are welcome- and keeps me busy till I restart back at uni in June
 I've actualy got a ME163 kit but am scared of doing it as it looks a little bit too experienced for me with the Jet-x eeak!
Ooooo Given me an idea now Colin...I may just try duplicating the Shuttleworth collection or the Dawn Patrol, that would be cool

All hail the great Mr Redshaw - tell him he still owes me a Helena hehe

"Someone remind me what it is about building WW1 bipes that interests me?"
Because after all your hard work it is going to look and fly beautifully

oh wow, that is beautiful Jez. I would love to build a 1/3rd scale pup.
You mentioned using Ronseal Antique Pine, prolly a noobie question this, but does it add much to the weight or is that something you don't need to worry about as much with this size scale?
Brilliant Lynn! I love your creativity and imagination with your builds as well as the fun element you inject into them- the smiling face is definatly mischevioius hehe. Fingers crossed you get the little niggles out the way and the next flight is smoother, but reckon you will have it tweaked in no time hunni!

Thank you folks. That is the next challange, to see if it will fly eeakkk! And to see if I am capable of building it well enough to be aerodynamic!
Colin if that offer still stands I would be thrilled to give the Avro 504k a go
 I have an ME 163 to build but am it is jet-x powered and won't have the equipment till the 22nd but still, not quite sure I am ready for the build either- a little bit too adventurous for me right now but after a few more builds I hope to be. Will PM you Colin.
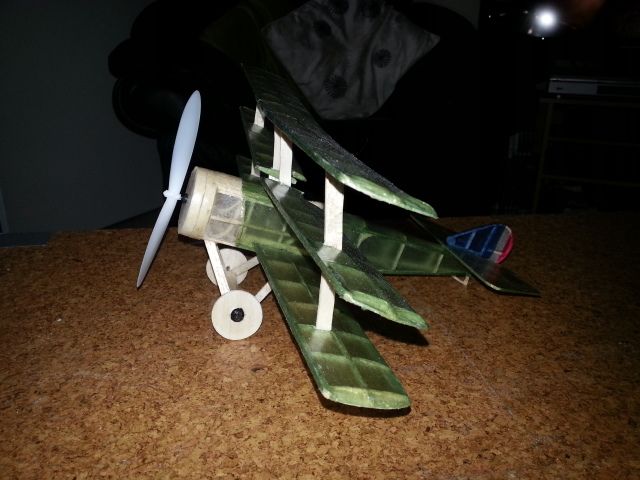
And finally, we have a finished Soppy tripe

There are still roundels and markings to go on, possible paint the wheels or stain them, possibly put the dummy engine on or not lol but nothing else will be done to this till it has it's maiden on the 22nd Feb at the FF fly in at Manchester veledrome. Will try taking pictures and a video- if it flies!!
Thanks guys, your kind words have been very encouraging (but no Tony, I am STILL not ready for the 1/4 spit!
 )
)Knowing me, I will probably wind up the motor.......and find it flies backwards into my OWN eyes!

Stephen, if you are going to watch Garry maiden his Lanc will bring it with me and go...TAAAA DAAA lol.
Keith............ Armstrong Whitworth Quadruplane on the building board
 ? Think I need a break from wings for a bit haha, next one will be a monoplane! Though I have no idea who Maverick and Icelady are??
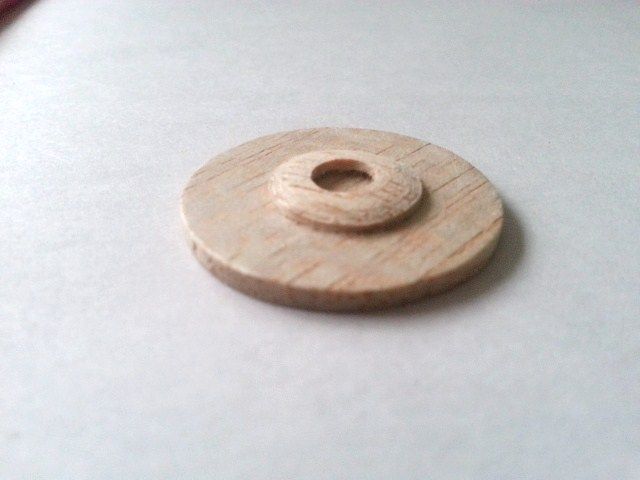
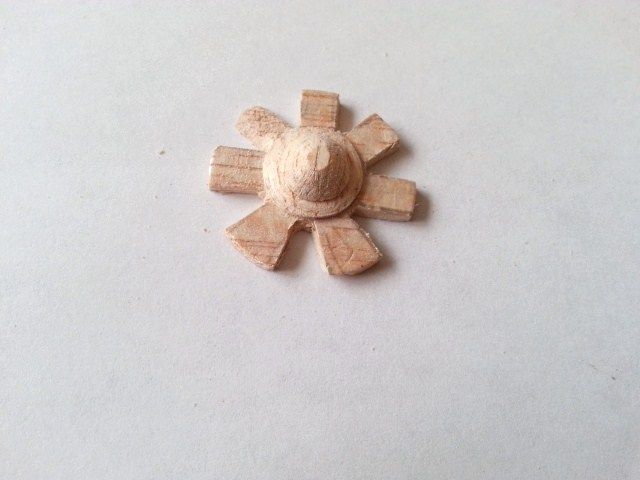
Thought I would have a go at making a dummy engine.Whether it goes on the plane is for debate but it is was more for practise than anything. If it does then it won't be going on till after it has been trimmed and flown at Manchester veledrome on the 22nd of this month.
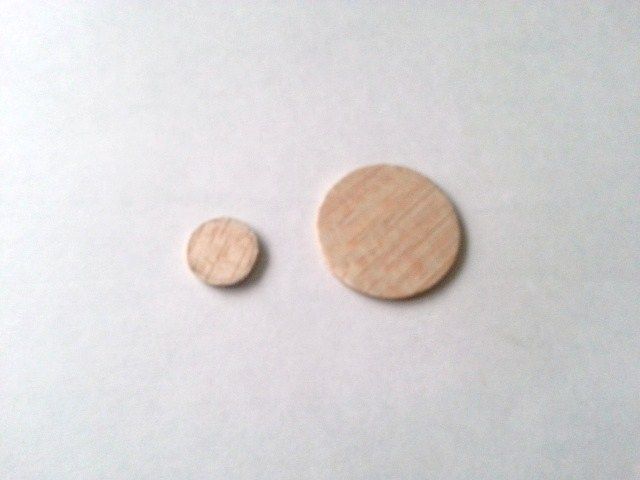
The aim was to make it as light as possible. Taking two pieces of balsa, cut and curved round with one smaller than the other.
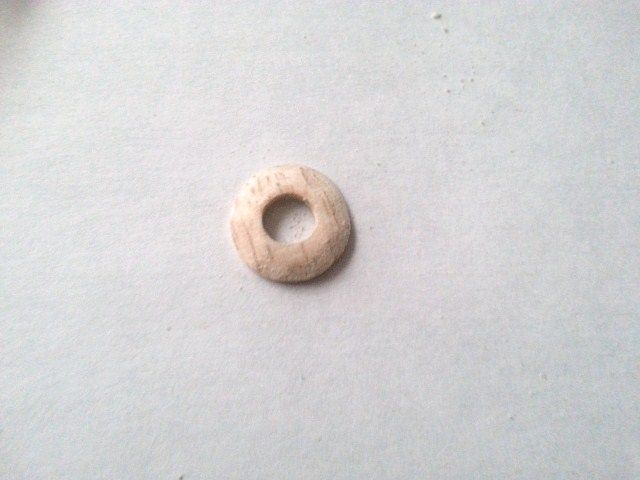
The smaller circle was bored out by hand with a craft knife and files to try to make it as light in weight as possible.
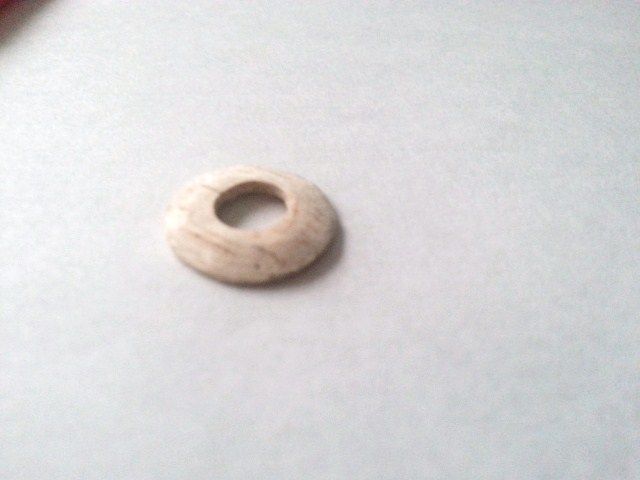
Then sanded to shape with a slope downwards.
This was then glued in the centre of the larger circle
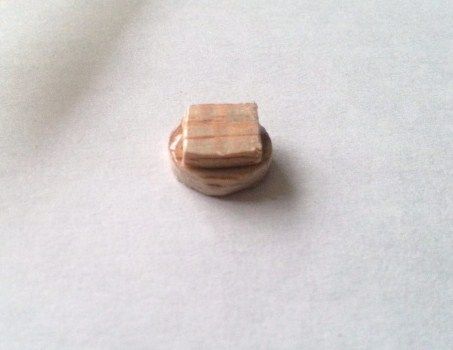
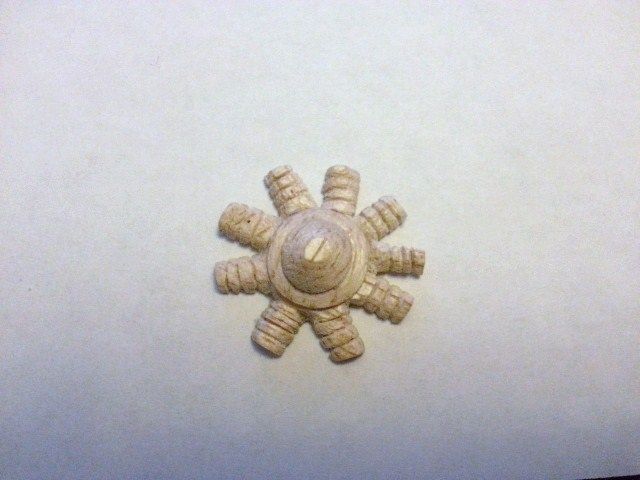
Taking another smaller piece, again a circular shape, I added a block to the top glued it in place then sanded it to a rounded shape.Again, as the polo mint hole of the second circle I bored out the middle so as to keep the weight down.
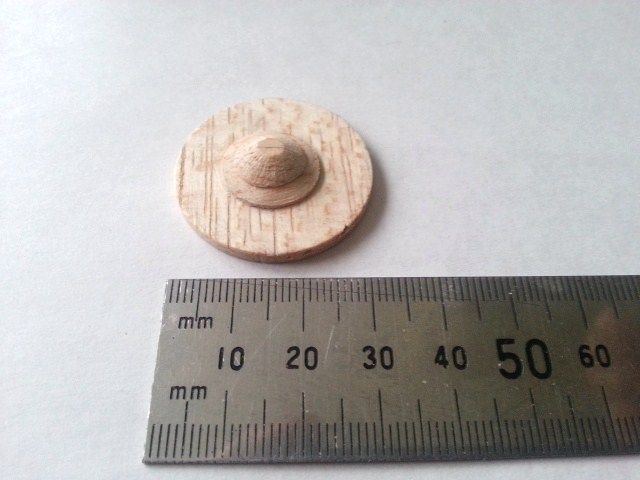
Just so you get an idea of size-
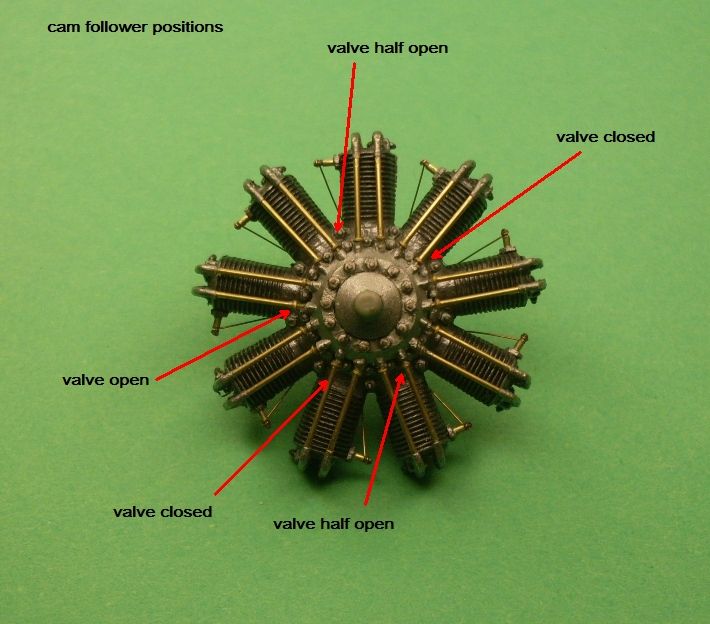
I cut the bottom circles into shapes following this picture
ok i did goof and only cut 7 piston chambers so did have to rectify it by adding 2 more, I then made lines using the craft knife
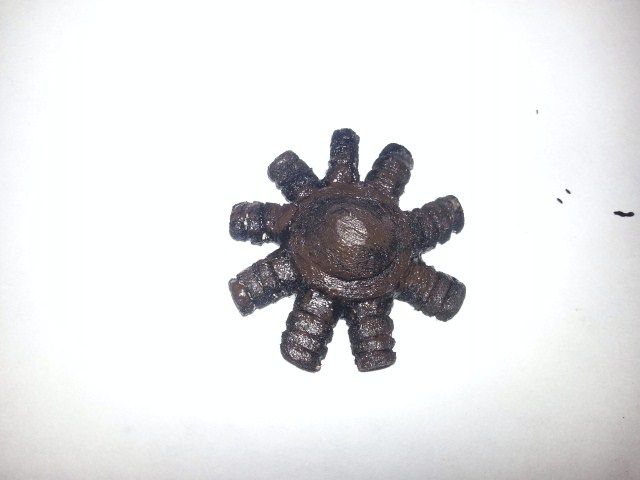
Loads of water colours and pastels, unfortunately limited in acrylic paint lol so armed with only black, raw umber, white and gold I set about trying to create some sort of effect

First black
Then a little raw umber just to give it a messy oil look
Now I did debate doing the valve pushrods (If I get the terminology wrong, blame my dad!) with strips of very thin balsa- but to be honest, it would have to be very very thin not to completely cover the pistons. So I opted to just paint lines with a bit of gold. bit of detail for the screws and voila I may change this to some very thin wire at some point, we will see

Heh Tony, chin up chuck!
 The site didn't fail because of anything you did or didn't do, it was a lovely site with very friendly peeps- it just had a lot of problems with the hackers and losing posts and you did a fantastic job when you took over. It's demise just happened to conicide, for me, with a time when I took a break, after 18months of struggling myself with my loss of confidence and self esteem. I stopped going on any forums for a while and was genuinely sad to see it was gone when I tried to log in again.
 I put away my funcub and went back to basics, doing something completely different- the Free flight models and have loved doing them. Maybe you could do the same? Build a model from scratch, there is nothing more rewarding and boosting than seeing something you create go from a bunch of balsa to a functioning model. Or maybe you could see if your club needs any instructers? Teaching others something you love can sometimes ignite that passion.
If that doesn't appeal to you then try something completely different to aviation - something you have always wanted to try, that gets you fired up again; you don't have to give up the hobby just take a break for a bit. But stop beating yourself up over not having any mojo, that will make it worse (as you probably already know in your profession
 ) just go with the flow and it will come back eventually.
And Stevo I've heard your drumming and it is fast
 but that's a good thing, still got that Pink Floyd mix and still think it is a shame you gave up! Maybe you could give Tony some drumming tips and he can take up being the first busking RC aviator
Okay, now today was frustrating because you really do need about 15 pairs of hands or the hire of an octopus to get the top wing on grrrr
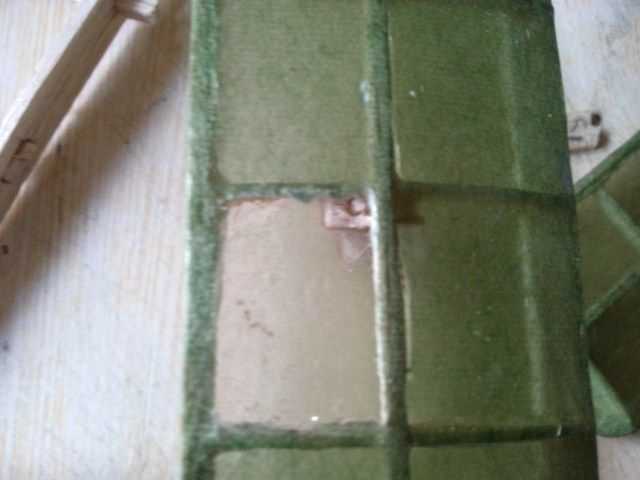
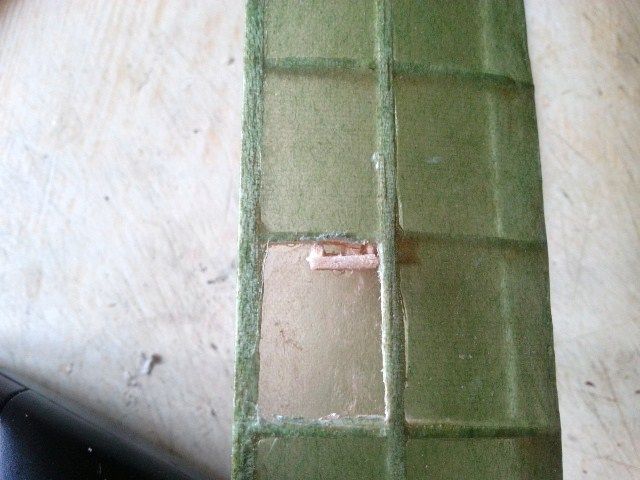
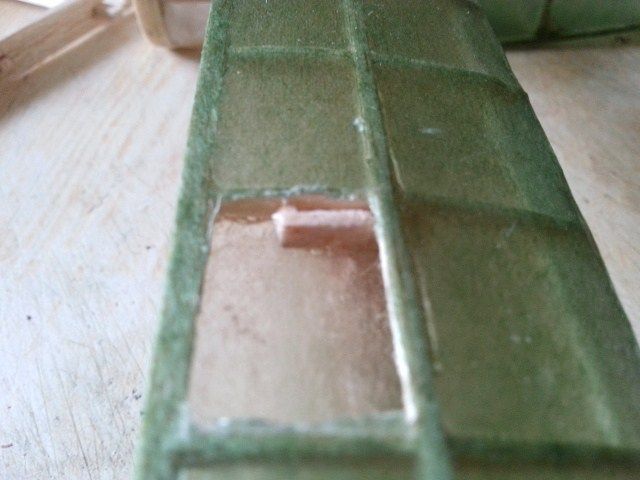
 I found I had put a strut in the wrong way- they were not all in line, so had to modify that. And I found one of the wing pockets were not long enough to accomodate the strut! So had to do a repair job, it was too snug to remove from beneath the tissue so I made another piece that would slot over the top
First I took away just the tissue on the panel above the pocket.That is a sob sob moment when you have just carefully spent hours covering it haha!
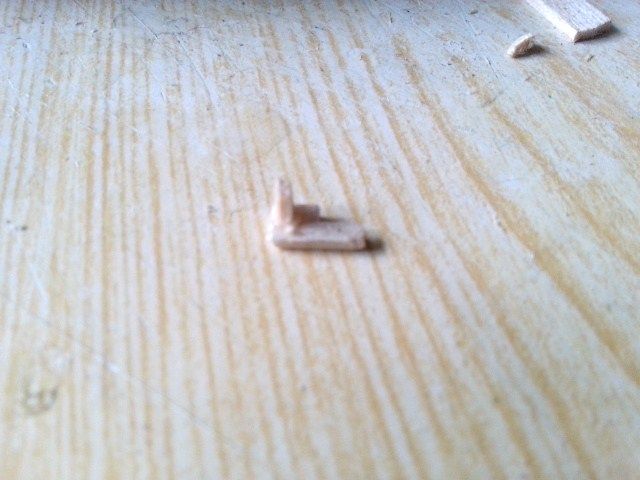
then made a half of a pocket, with a bit cut out to slot over the top of the existing pocket- the one bit I will not miss on finishing thisbuild, teeny tiny bits of 1/16th wood for the pockets arrghhh!
This was then glued in place and sanded down gently so it was it didn't stick up above the ribs
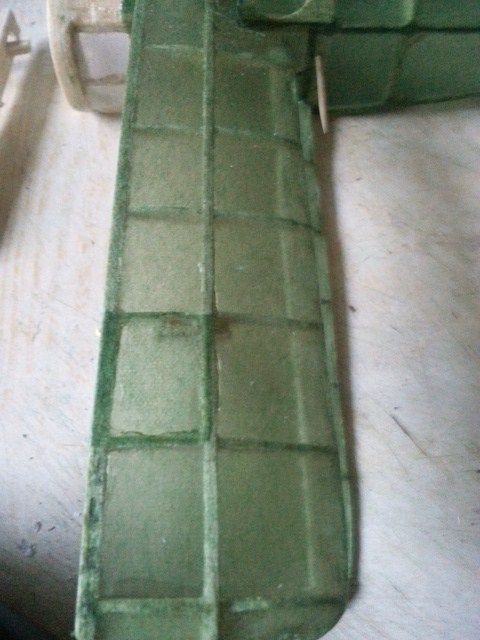
then a new square of tissue added and glued, with the dope covering over the topSo with that complete, could finish off the wings- and her she is, minus the U/C which I will reattach tomorrow
At the moment it is weighing in at 17gs without the U/C. Okay so it is not perfect, but I am happy with it....and nearly there

Now with hindsight I would have tested the dopes a bit more as even though I managed to get the tissue as wrinkleless as possible I found the next stage ( covering the whole of the tissue with a mixture of 70% thinners and 30% non shrinking dope ) seemed to add dints to the tissue that were defo not there before!
I was very kindly given two tins of dope- one non shrinking and one shrinking but was warned that the age of them was unknown and the strength. Both tins were clear and looked fine and so far have worked brilliantly for sticking the tissue to the frame, however I did do a test with the shrinking dope on the test frame AFTER and found this to be much better at retaining the wrinkle free dint free covering. The concern with that though is it may be too harsh in shrinking on such a delicate framework. The solution is going to get my head together with Andy Sephton and try out a few different ways, different dopes and see whether mine has lost a bit of it's strength.
But....for now am not too bothered, it is good enough for me for my first go at the Free Flight fly in at Manchester's Veladrome at the end of the month, and then I can do another

Moving on, all tissue was covered on both sides with 70/30 thinners and dope and left pinned and clamped lightly to prevent warping over night. Then began the daunting task of putting it together ooooooo
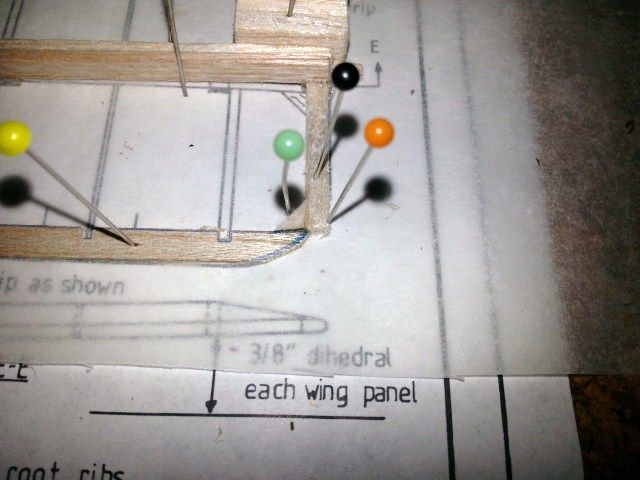
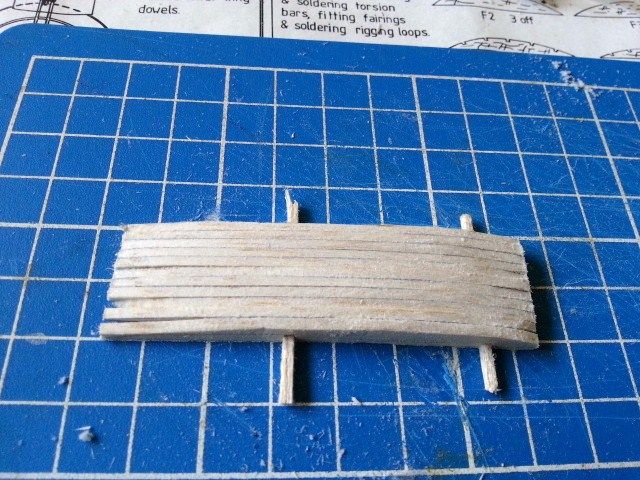
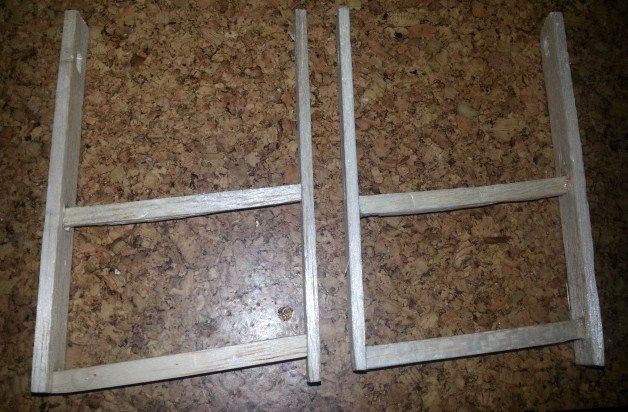
Now I did some research on line and came up with Mr Tim Hoopers ladder hehe- so hope you don't mind Mr Hooper but I pinched your idea and constructed my own ladder. Using offcuts of balsa and with the slats built into the wood and set at the dihedral of 3/8" which is roughly 9.5mms
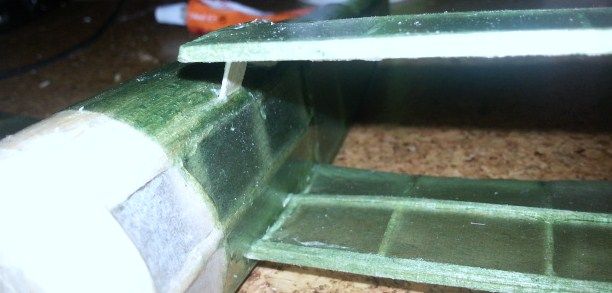
Then each wing starting from the bottom were set dry into the fuselage and checked for diheral and fit. Not perfect but it will do for my first one

So far so good so glued in place.
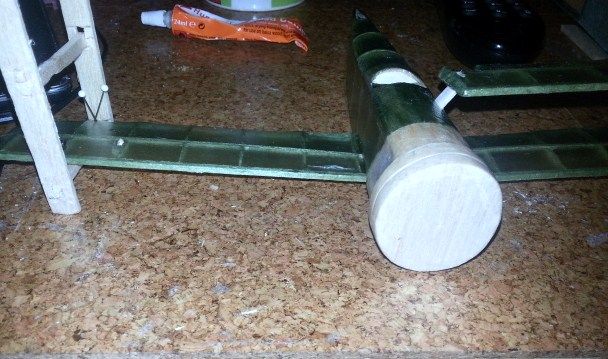
Slight alteration to the two wing struts closer to the fus. Found that the pockets were way out when putting together so there is a slight slant to each. Also decided rather than glueing them to the fus I would make smally slots so they can sit inside snugly and secure, seems to have worked phewwwww!
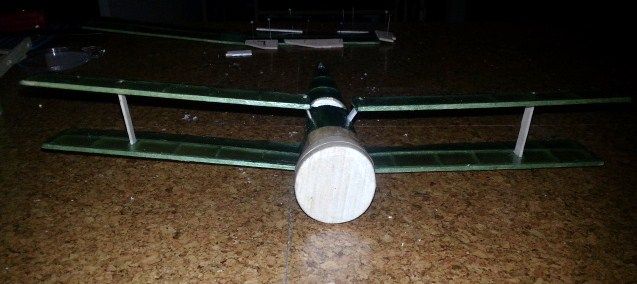
And hurrahhhhhhhhhh nearly there. I cant do the top wings as they are still drying from the doping overnight.
Believe it or not, the wing struts are actually straight- just dont look it in the pictures lol
Thanks guys.

Yes it helps a lot, especially having lost my confidence completely 18months ago- with each little step get more confident in tackling the next bit and not so bothered about the mistakes....of which there have been quite a few

Anyhooooo.......after a day of doping and spraying with water I finally finished the tissue covering.
Fuzzled it up a couple of times, took the green tissue all the way to the nose DOH! Then realised it should be just to the slant. Also wasn't happy with my first covering so redid the top of the fus to get it as wrinkle free as possible.
cheers folks

Well have finally got round to getting more covered. The underside of each wing is a natural bleached linen colour according to Mr Chaddock (I thank you kind sir
 ) so after a few experiments with tea watered down, tea bags, coffee, coffee water down and copious trips to the bathroom (too much tea and coffee!) finally hit upon teabag in hot water as the nearest match. Having soaked the Tissue paper in the tea (minus the milk - Gazza so ner
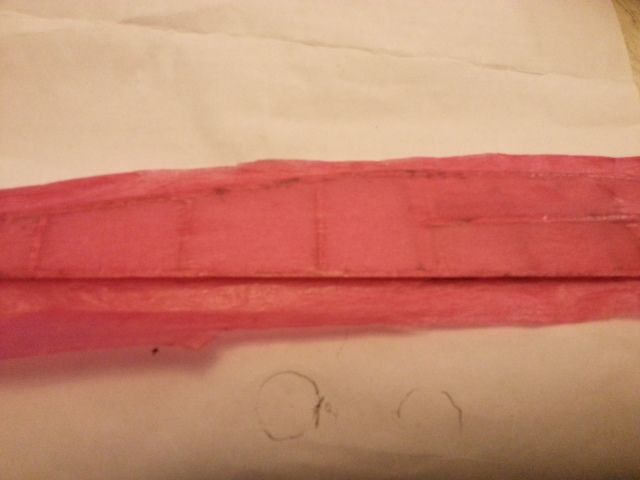
  ) left it to dry before doping the edges of the wood and applying the tissue. Bit of a fine mist with some water and now ready for the top to be covered. . Also covered the tail plane with the tea tissue and green tissue on top.
Wasn't half as hard as I though it would be thank fully and tomorrow will get on with the top and bore you with more pictures hehe.

This is the shackelton you are NOT building because you are NOT starting any new builds this year right?

This is going to another of your brilliant builds Tony
 coca cola colours right?
Well after being delayed covering this and also being nervous of doing so finally got to have a go with a few test pieces. I have only covered the Gymminie cricket and the frog, both of which didn't require the tissue to be wrinkleless and tight so was afraid of how this would pan out.
I also had lots of advice on how to do this and didn't want to offend anyone picking one method so decided to try em all using the extra piece of fuselage I made up

First piece was using PVA glue to stick the tissue to the frame and wetting the tissue completely in warm water before applying it wet. This started off fine, used spare bits of wood to pull the tissue tighter....it just went all pear shaped when I removed the wood and tried to pull it tighter by hand - found the PVA took too long to dry so the tissue just moved around as I pulled. Think I was a tad impatient and it went messy haha. Will try this method again on a bigger model because even though it worked fine to start with, was a tad worried the tissue being soaked would warp the delicate framework.
second piece I tried using dope to bond the tissue to the fuselage and after leaving the paper to drip dry from wet a little, applied it and erm.....well not so good lol! It stuck, couldn't move it and using thinners just made it worse!
Sooooo third attempt - they say is always the lucky one
 Used dope (full strength) on the balsa then added the tissue, using the thinners to dilute where the tissue had stuck (being as dope dries pretty fast on this) and needed a bit more of a tease to get wrinkle free. After a slight misting of water.....voila!
So finally having a method I felt confident with I bit the bullet and had a go on the real thing

A coating of dope first to make sure the grain is filled and it will be airtight, a light sand after it has dried and then a thin layer of dope before stretching the tissue and thinners when required.
For my first go on a model with dope am pretty chuffed with this so far. When this is dry properly will give it a coat of diluted dope. Will now attack the rest of the tissuing with a bit more confidence and a few less eeks!

Also accidently splashed the Tv remote control with thinners, ermmm am in the dog house cos it has a few slightly quirky buttons that have a mind of their own now

 but at least I didn't glue myself, teeth or hair to anything so am taking that as a step up hehe!
Edited By Willowlea on 21/01/2014 01:20:18
ah will try that on the next one then, cheers john

 Posted by Stephen Grigg on 18/01/2014 12:53:42:
Ive never actually done a maiden Sarah ,so it would be a photo of me crashing
Not you grisely chin
 t'other Stephen















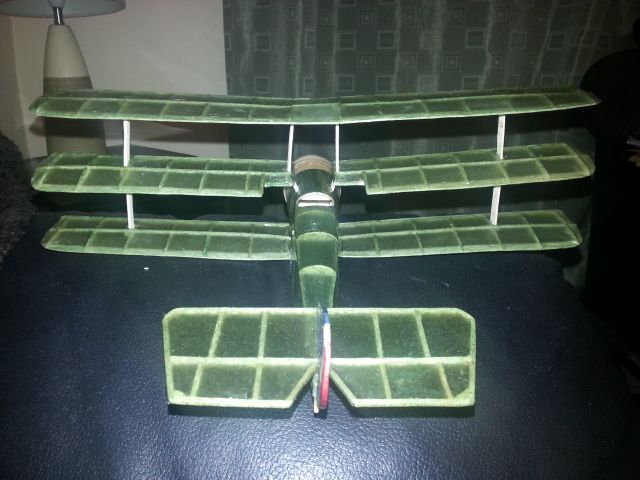

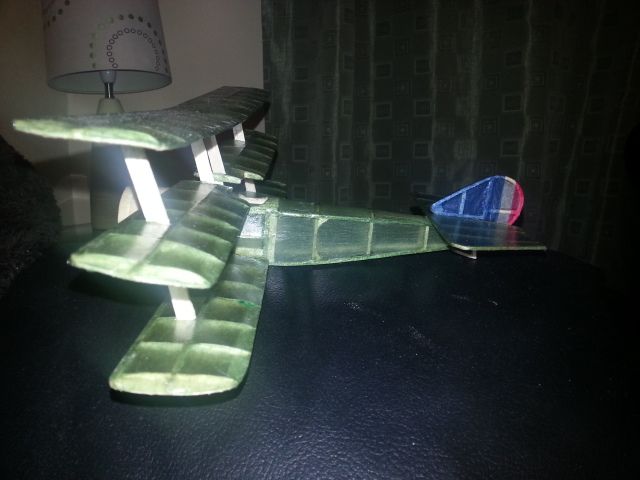
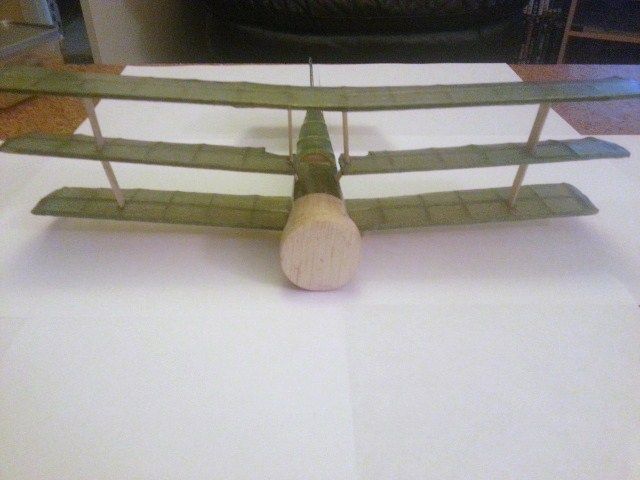
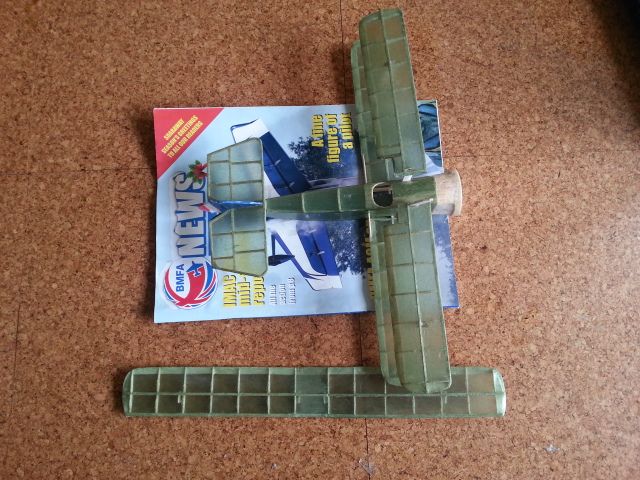



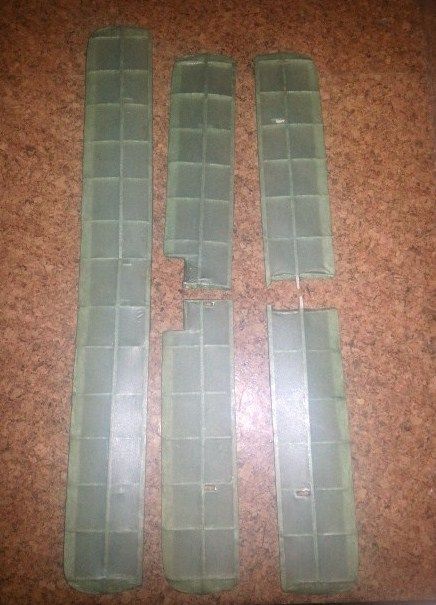
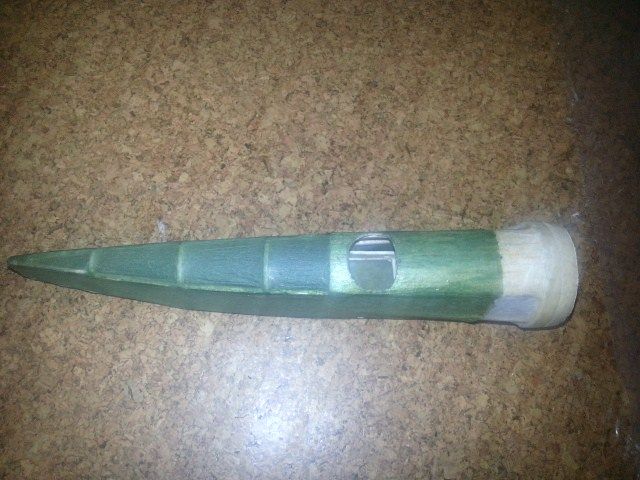

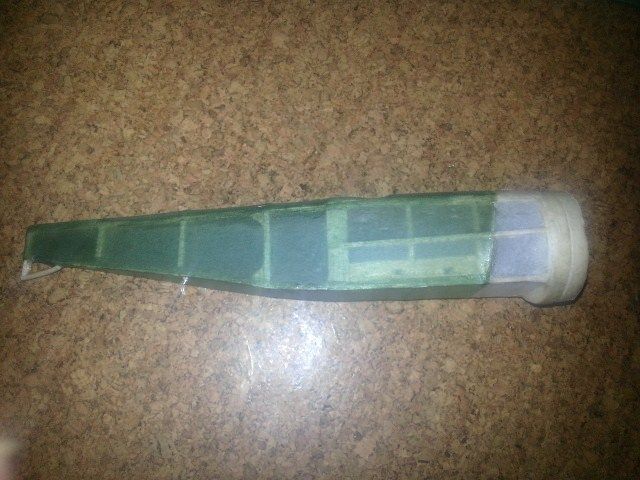
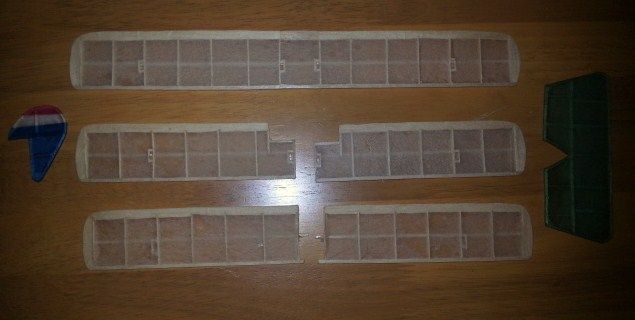


Manchester Velodrome Indoor Free Flight Gala. 2014
in Shows, Club Events and Competitions
Posted
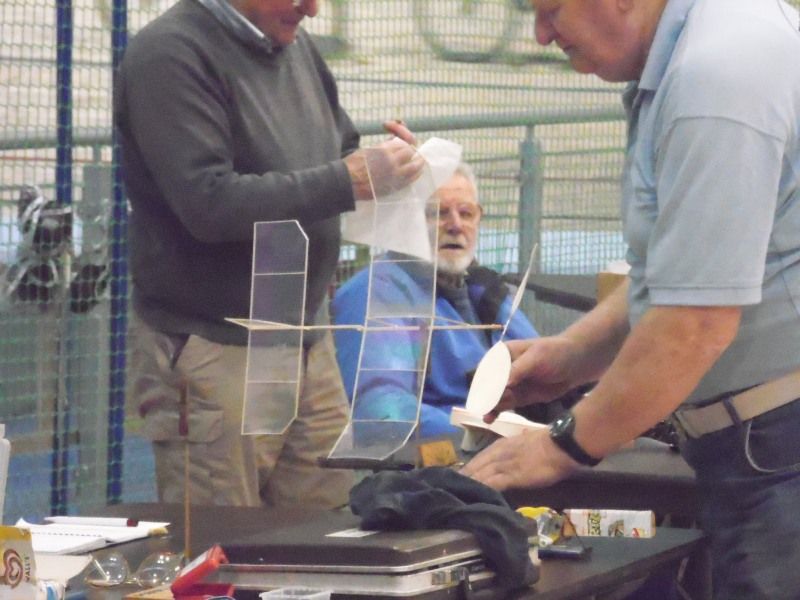
Andys winding tension thingiemibob (I need to make one of these)
Sadly didn't get to fly the sopwith tripe much. Andy had a go and the glide test was satisfactory but he decided it needed lots of noseweight so he put a few turns on the rubber and that worked ok in a powered glide. He then put a few more turns on it and launched it but it yawed right, flicked and hit the ground right wing frist breaking off all the top wings haha Andy fixed it over lunch and decided it needed more noseweight which would make the aircraft heavy and not suitable for first flights over hard floors. We decided to continue testing it in May at the NATS over long grass.
However I did get to fly the others so am a happy bunny