


David Richardson 2
-
Posts
86 -
Joined
-
Last visited
Never
Content Type
Profiles
Forums
Blogs
Gallery
Calendar
Downloads
Posts posted by David Richardson 2
-
-
Thanks Martin.
-
Another thing... While I had the motor running out the field the motor got VERY hot. What's the general feeling about cooling with the Chipmunk? There isn't much cooling.
-
I have to say that I get a bit nervous with remote applications because it is all something else that can go wrong. But needs must be. I'm on the west coast of the North Island of NZ so was sheltered from "Pam" as she slid down past the east coast and out to sea. But the Chatham Islands got it pretty bad. That's as close as I ever want to be to one of those nasties!
-
Took the Chippie out to the club field on Sunday for it's maiden and ran into a couple of problems. It had a fuel leak somewhere and the accessibility to the plug was trickier than expected. It worked OK on the bench but trying to locate the plug driver onto the plug through the hole in the cowl was a real shot in the dark. So back home I found the fuel leak in a split tube going into the carb, and I fitted a remote plug into the cowl on the same side as the remote fuel filler. When the weather clears I'll give it another go. We've just had a narrow brush with cyclone "Pam" ; nothing too serious - poor old Vanuatu copped the worst of it.
.jpg)
-
You are absolutely right, Danny and John. All I had to do was look up my own blog about page 2! It was ZK BAP. So sorry about the mix up. The advice is still good though, also I have had to add about 13 oz of ballast in the nose to get the CG right. This brings the final auw to 7.5 lb. This now gives it a new wing loading of 23 oz/ sq. ft. - still acceptable but the extra weight would more usefully have been employed using a bigger motor. All worth thinking about for the new projects out there.
David
-
Thanks Andrew, I would definitely relocate the u/c forward. Danny's advice came at a good time during my build. I had to cut new grooves in a new block, but it was before i had got the painting stage so it wasn't too disruptive.
-
Thanks, Andrew. Yes, a video. Must try to remember that one. Colin, thanks for the flap settings, good to know. With my Tx unfortunately I only have the gear switch/channel to use for the flaps so they will be full up or full down. Hence my going for the coarser setting. After it's maiden I can make adjustments if needed.
-
Thanks for your comments and kind words Danny, Colin, John and Bill. It may be a while before it's maiden but will definitely post a report on it when it happens. And, yes, I will certainly be using the flaps - I have watched full size DH1s on YouTube and the flaps don't seem to extend very far, maybe 30 deg? Anyway that is what I have set mine to for starters. I see Pete Lowe is writing up on his Airsail kit so will be interested to follow that one up. BUT, did you notice that his elevators are inside the tips? What's that all about?
David
-


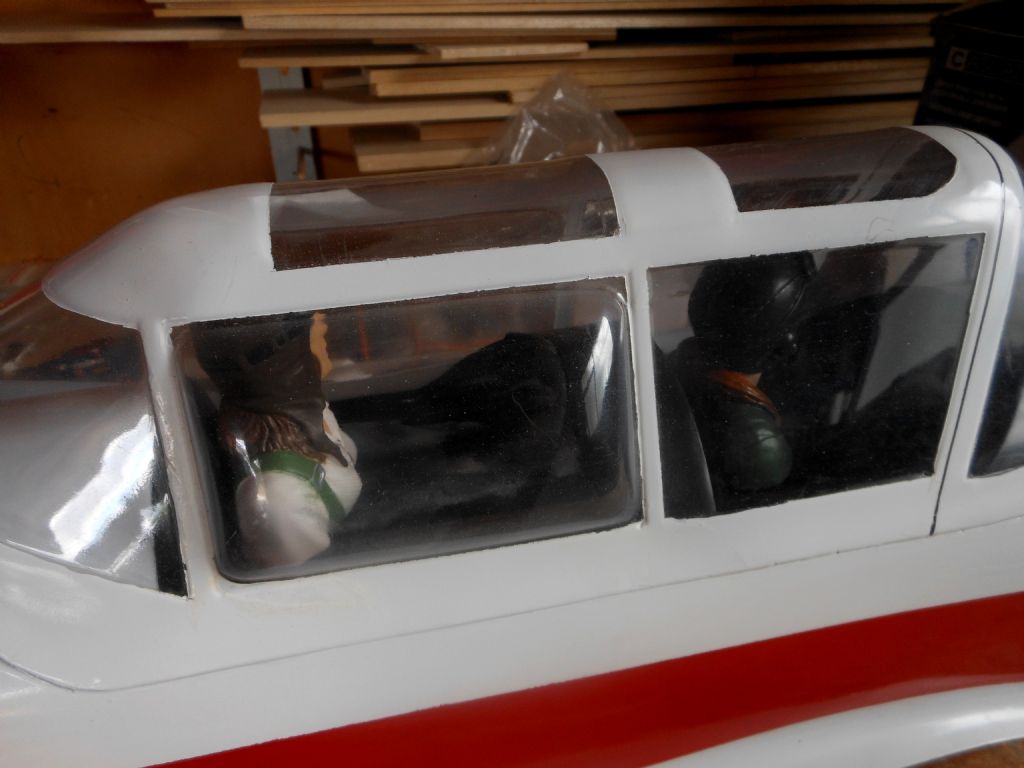
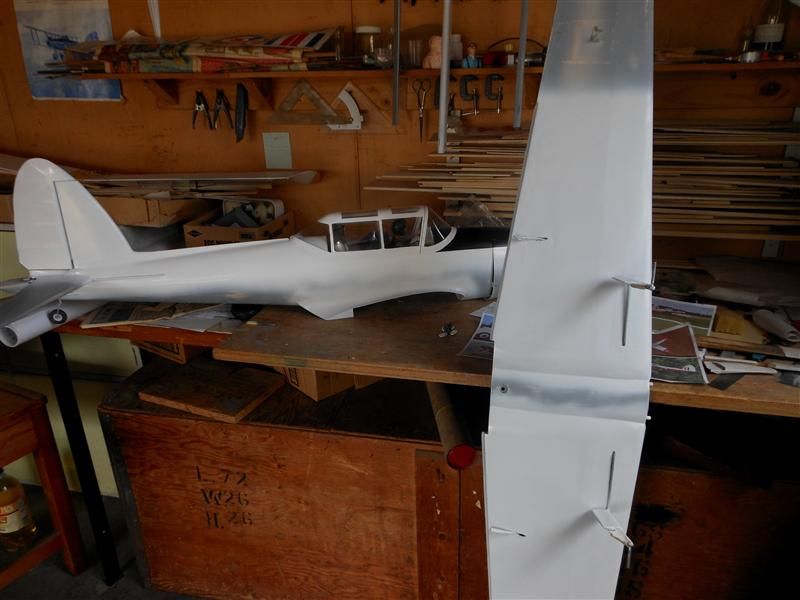
 At last, it is finished!
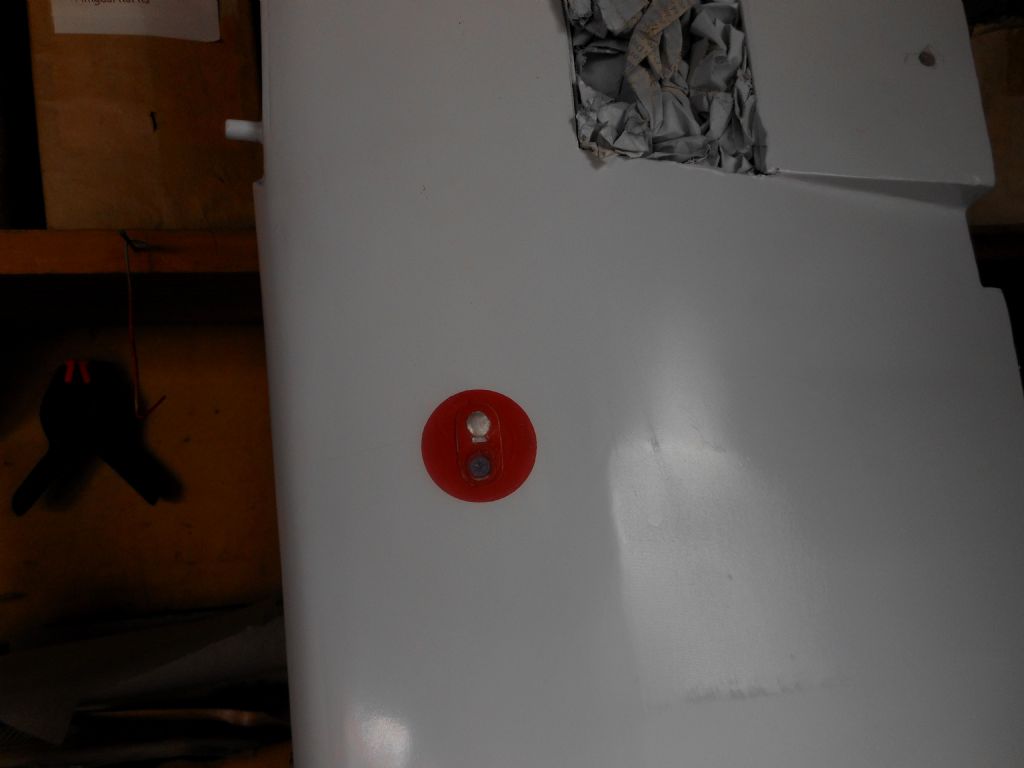
 !! All that is left now is for the R/C gear to be installed. This just means the rudder, elev. and throttle servos in the fuselage, hooking up to the Rx and batt pack and installing a switch in the side. Also I have yet to install a remote fuel filler into the side of the cowling.
So, there it is - a years work! AUW with R/C gear but sans fuel is 3.1 kg (6.8 lb) which gives it a wing loading of 21.5 lb/sq. ft. The preferred wing loading for any model is 26.0 or less. So I am very pleased with the outcome.
I didn't go overboard with detail, just a fuel filler station in each inner wing and some W&D paper strips to simulate the wing walk to break up an otherwise plain surface.
-
-
Good idea, William. The result makes the mix even murkier! It seems that WZ 879 was in a batch of 40 manufactured by deHavilland and was the last batch ever made. Photos I found 1. definitely do not have the registration number under-side. 2. the underside roundels are large and the same as the upper. The photos commonly have a white X on the fus side and a black X on the fin. This is opposed to the white 80 on the airsail model. So all I can surmise is that the Airsail Chipmunk is a bogus machine (?) Anyway, as I have mentioned before I do not intend competing with it so the accuracy of markings doesn't matter.
As an aside for ALL Airsail Chipmunk builders - note that the supplied decals are not resistant to lacquer thinners. Having put the decals on over the colour lacquer I took the precaution of testing the corner of a small decal with thinner to see if it was affected. The answer is YES, it will dissolve the decal. Why I mention this is because I will give the whole model a couple of coats of AAA Clearcoat to 1. fuel proof it and 2. bring up a shine. I have had to mask all the decals before applying the clearcoat.
-
That's a lovely model, William. Also a very appealing colour scheme - might have used it myself if I'd known about it!
David
-
Thanks for the pics, Martin. The top pic shows the numbers to good effect. I notice that they are much larger than the Airsail decals (in proportion). I don't suppose it matters much if it's not going in a competition. I can only drool at Mick Reeves competition model.
-
 Hi Bill, Thanks for your kind words. I agree with you that the large regos would be for the under-wing. but of all the photos I have of WZ 879 they were not used on that particuler a/c. Oh well, since I've got them I might as well use them. No-one but you and me are going to know the difference and the under-wing regos will help this myopic flier with
 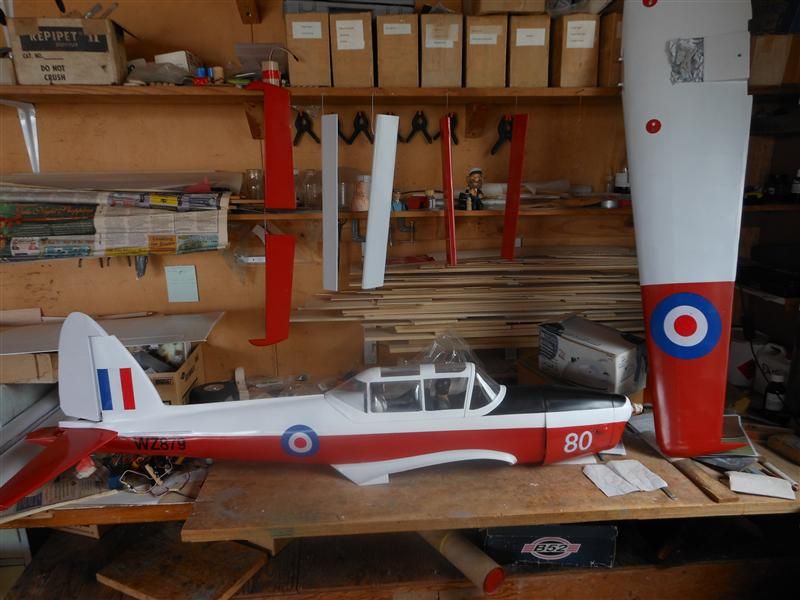 a better orientation!. I'm really not sure about the medium roundels and since I have already applied the large ones on top it looks like they will be on the under-wing.
By the way, we thoroughly enjoyed your presentation at the last club night - a real eye-opener.
David
-
Help!!! I have got to the stage of applying the decals and now I notice something that I hadn't noticed before. I am hoping that all you Airsail Chipmunk builders will come to the rescue....
The decals supplied come in two sheets - rego. letters and roundels etc. The fin flashes and white "80" are OK. But the roundels come in three sizes, two of each. The smallest looks about right for the fuselage sides and the largest about right for the wing, upper or lower. But where does the middle size go. All full size a/c pics I have seen have the wing upper and lower as the same (large) size.
There are four sets of rego letters - two large and two small. The small size look about right for the fuselage rear, but where on earth do the large letters go. Again, all full size pics I have seen do not have any other letters apart from those on the rear fus. Many thanks guys in advance.
.jpg "Chipmunk")
-

 At LAST!!! I have found a point in time where weather, family commitments and motivation have all aligned and I have been able to do some more on the Chippie viz. masking, spraying and unmasking the red. So that is all the colour coats on. Phew! Next job will be to apply the decals and permanently attach the rudder, elevators and flaps. Then a final spray coat of AAA Cleargloss (except the anti-dazzle black, natch!)
.jpg "Chipmunk")
-
 The weather has finally settled and has been fine for the past two weeks (including Christmas) so the spraying has been onward and upward. I had to eyeball the grey in the finish but I don't think it is too far away. Had trouble with the lacquer blushing which is a bit of a downer. It is 30 deg in the shade here just now but the humidity must be way up. I've still got some grey left in the jar so will give it a very thin flash coat tomorrow to try to fix it. In any case there is a AAA Clearcoat to go on when all is finished which should take care of any blushing left.
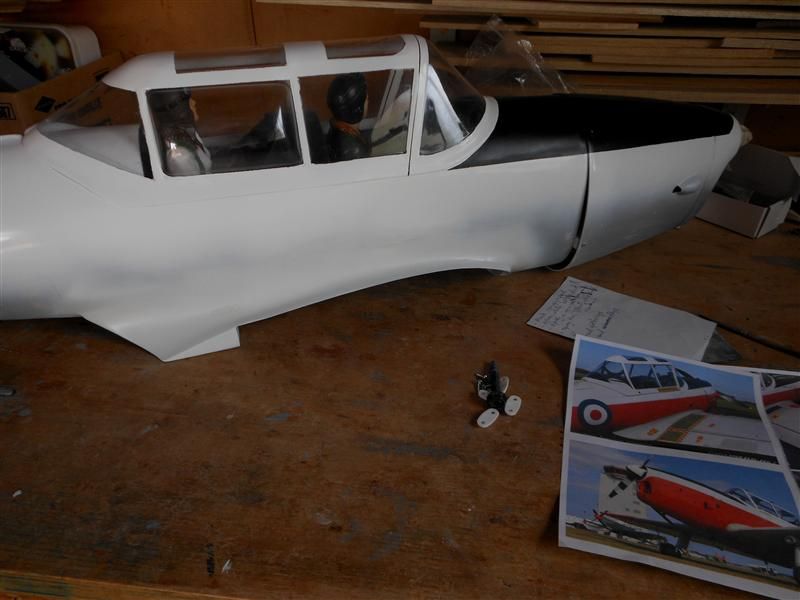
-
Thanks, Colin and Danny. Yes, I am more than happy with the underside pics of the Chippie. Looks as though the red/grey boundary lies along the Airsail wing fillet line, top and bottom. The next trick (for me) is to mix the red and grey to the right shade. I use acrylic lacquer thinned 200 per cent. It is all high opacity these days so thin coats cover well. The white only took two coats. I only purchase the lacquer in the three colours yellow, cyan and magenta, plus B&W. I figure that if a common bubble jet printer can identify and mix 4.6 million colours I can do the same for only two on the Chippie!
Cheers
David
-
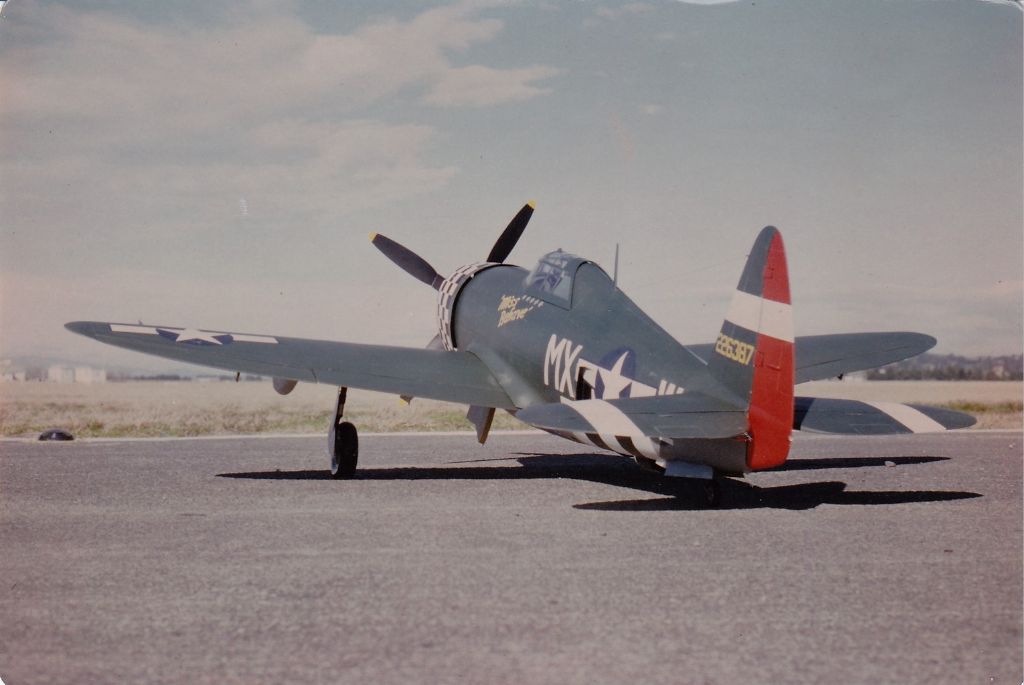
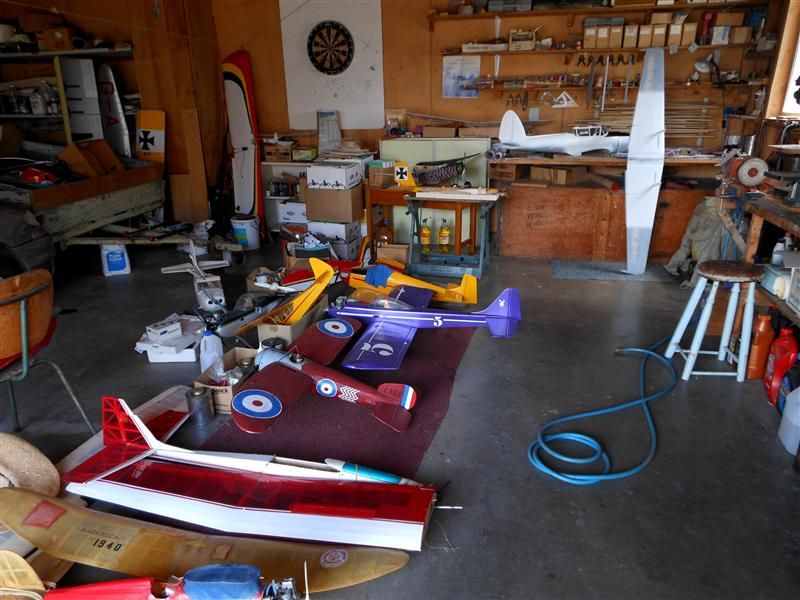
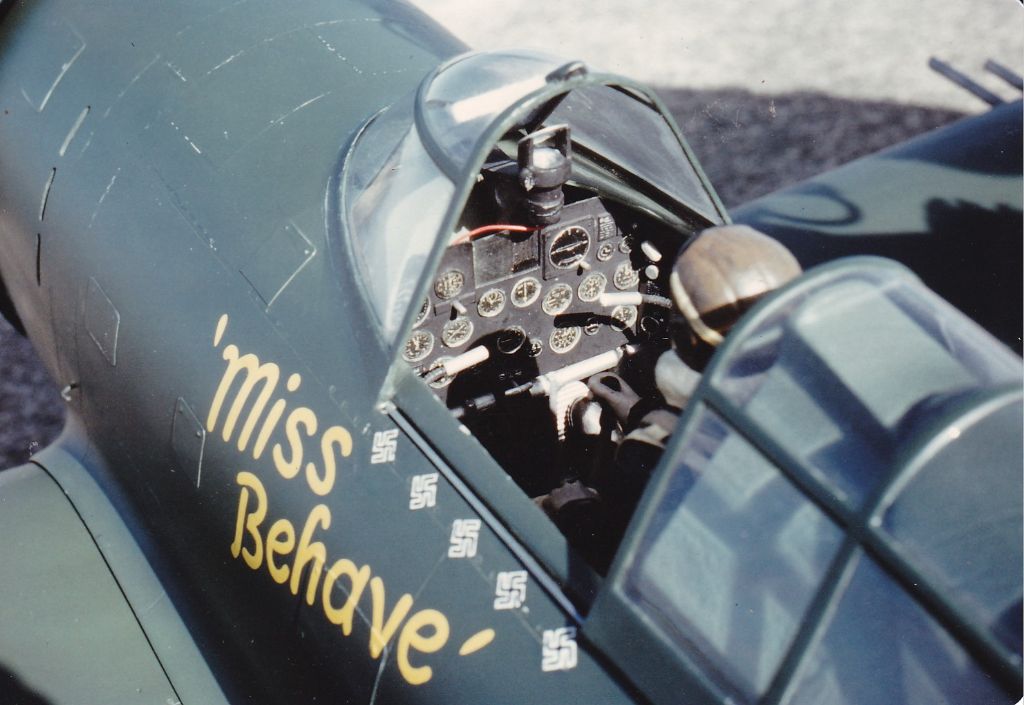 Just for you, Colin, my P47 was built a few years ago when I had my heart and soul in a build. I have to confess that I tend to take a lot more shortcuts these days!
-
HELP!! Can anybody help me with good pictures of the RAF colour scheme underside? In particular I need to know how the wing grey joins in the centre section and how the red nose underside fairs into the grey. Colin, if you still have access to WP 848 would you be able to get a snapshot of this portion of the a/c for me?. Many thanks to all those enthusiasts who will come racing to the rescue!
As an aside, has the Airsail shipment from NZ arrived in the UK yet? I will be watching with interest to see how the many builds go - all 50 of them!! Only another three days to go before the longest day of the year and then, hopefully, some decent summer weather.
-
.jpg "chippie") At last the weather has improved to the point that I feel easy about pressing on with the paint job. So have just done the white - two thin coats did the trick. Next will be the grey wing inners and wing root fairing, also mustn't forget the u/c fairings. Only four more days to the longest day so the weather HAS to improve before long!
At last the weather has improved to the point that I feel easy about pressing on with the paint job. So have just done the white - two thin coats did the trick. Next will be the grey wing inners and wing root fairing, also mustn't forget the u/c fairings. Only four more days to the longest day so the weather HAS to improve before long! The P47 has nothing to do with the Chippie project - just thought I'd get it out for an airing! This was scratch built from Brian Taylor plans and got me first place at our National Chamionships a few years ago.

-
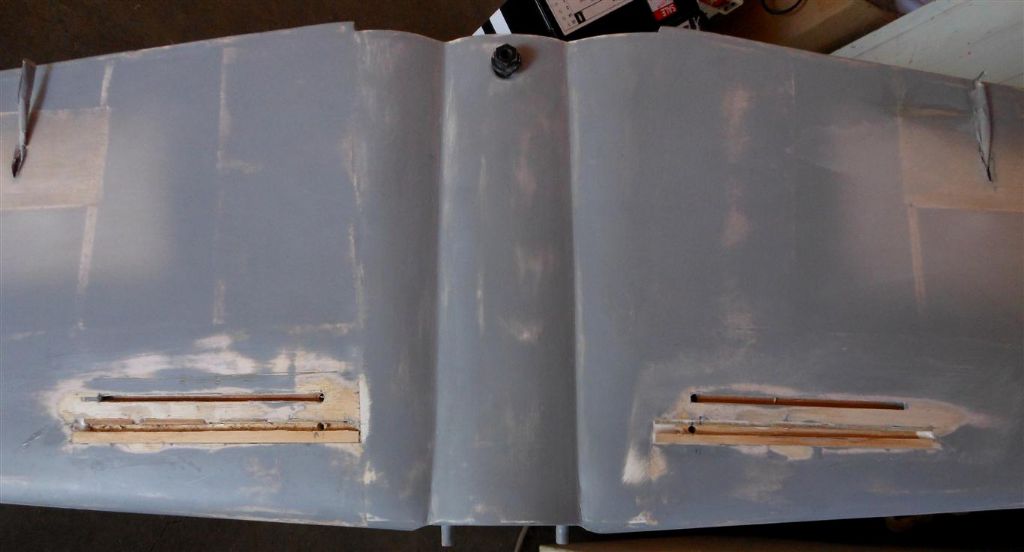
Well, that's it - done. Moving the u/c was not the giant exercise that I thought it would be. The final position is now 10 mm forward of the original. Hope it does the trick (of preventing nose-overs). Now it's back to the final colour coat. For the white I use Dulon AO20 High opacity white. As the name implies it covers easily in two thin coats. Then it's grey wings and lastly red lower fus and wing outer panels.

-
To ZK BAP,,, Well, I've bitten the bullet and started the u/c surgery. I've taken the position 10 mm forward - hope it doesn't detract too much from scale. I don't intend to compete with it but I do want it to look the part, if you know what I mean. I should have this little job done in about a week so I'll post another ic when it's done. As an aside I was reading the other day about "cuffs" around the top of the u/c fairings. The Airsail plans don't show these and I cannot see what they are meant to be from prototype photos. Any ideas?
David
-
.jpg)
.jpg) Hi ZK BAP, I'll go ahead and shift the u/c position if you think it's worth doing. Though I have to say that the present position seems pretty well forward as it is. Re. the engine size I have installed an ASP .52 four stroke, for two reasons... The recommended motor sizes are .32 - .46 2 stroke or .40 - .70 4 stroke. Your idea of a .91 will certainly provide more than enough grunt. But, anyway, I had a .52 4 stroke in a vintage "Red Zephyr" so it made sense to me to use it since it was within the recommended size range and it was going to save me having to purchase another motor. My style of flying doesn't include prop hanging so it should be OK.
Hi ZK BAP, I'll go ahead and shift the u/c position if you think it's worth doing. Though I have to say that the present position seems pretty well forward as it is. Re. the engine size I have installed an ASP .52 four stroke, for two reasons... The recommended motor sizes are .32 - .46 2 stroke or .40 - .70 4 stroke. Your idea of a .91 will certainly provide more than enough grunt. But, anyway, I had a .52 4 stroke in a vintage "Red Zephyr" so it made sense to me to use it since it was within the recommended size range and it was going to save me having to purchase another motor. My style of flying doesn't include prop hanging so it should be OK.Getting back to the u/c is 10 mm further forward enough to make it worthwhile?
Cheers
David
Edited By David Richardson 2 on 29/10/2014 03:04:44
MFs Chipmunk
in Chip Shop
Posted
Hi Martin, You've made a lovely job of it. Great colour scheme as well. Very impressive. I was pleased to see the results of your maiden, it gives me encouragement for when I test mine. I built an Airsail Chippie nearly a year ago and have delayed test flying due to other commitments. But, with the summer coming (here in NZ) there should be no more excuses. Out of interest mine weighed in at 3.4 kg (7.5 lb) including all r/c gear and a bit of nose weight to bring up the CG.