
Chris Reid
-
Posts
326 -
Joined
-
Last visited
Content Type
Profiles
Forums
Blogs
Gallery
Calendar
Downloads
Posts posted by Chris Reid
-
-
As the original designer in 2007. I think I remember Carlos at the time as contributing to my build blog. Which I am not finding at the moment.
I am talking with Basil. Any other builders out there. If I can help anyone. Let me know.
Chris Reid.
-
Great that interest in the Dragon has revived after a too long break in test flying. Will it ever be safe to go out again?
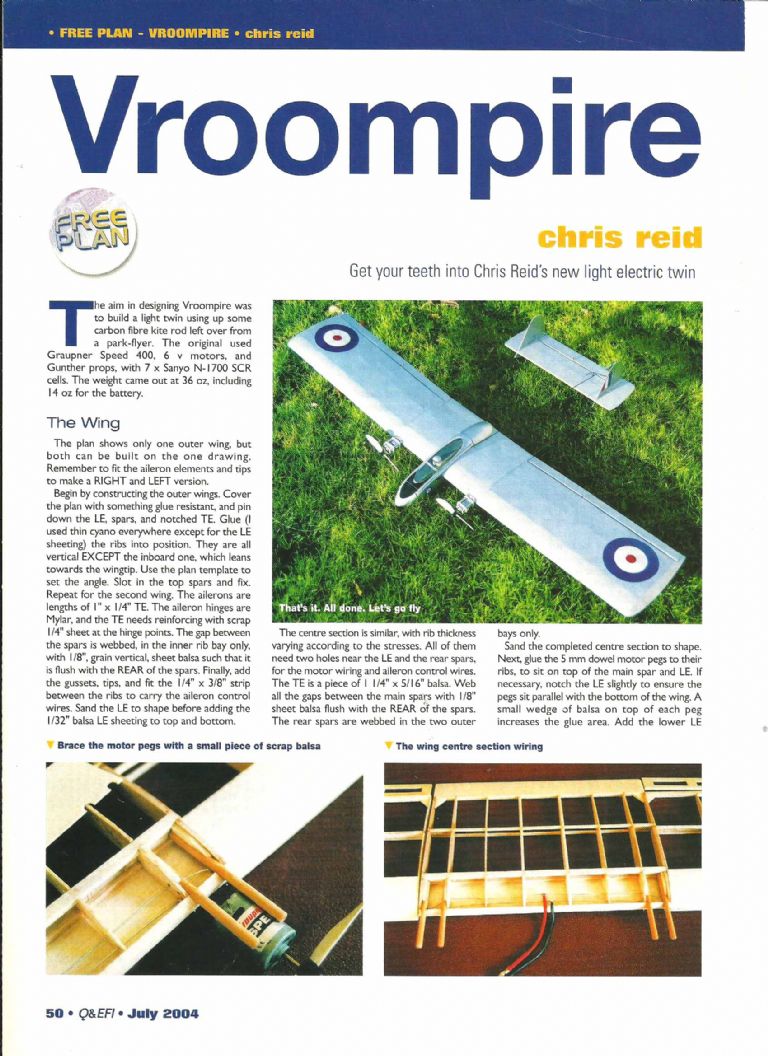
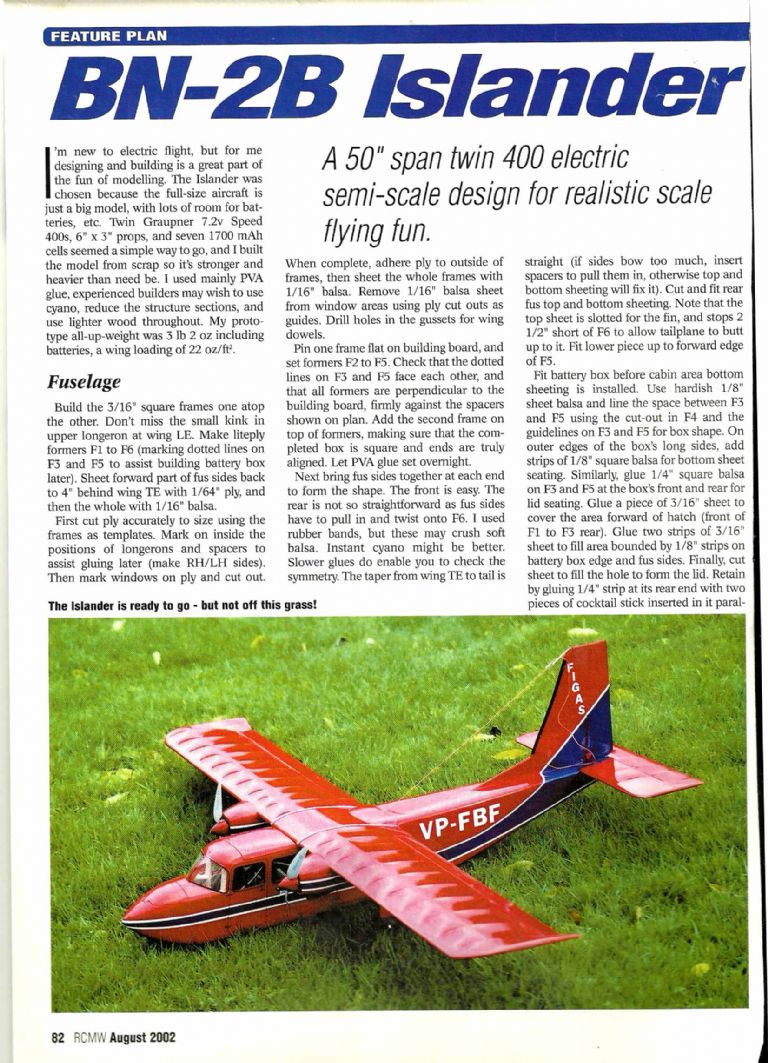
You prompted memories of my earlier twins Denis, and I am aghast to find it was 19 and 17 years ago. The Islander was marginal on power with twin Graupner Speed 400s. It would take off slowly on tarmac but had no swerving issues. It had a nosewheel which probably helped. It became much nicer to fly later with brushless inrunners replacing the Speed 400s. Vroompire was much more lively on Speed 400s. Actually a bit fast for my reflexes at the time. Hand launched there were no problems.
-
Thanks John for your very interesting input. My own installation is pretty simple with the throttle control going to two ESCs via a Y lead. My very simple Orange TX has some mixing but not up to your ideas. I am pretty confident that my reversing one motor as described above will be a fix. That, and a good rudder/tailwheel link, which has always worked well for me before. However, my advancing years means that avoidance of other people to cut the risk of covid19 has prevented further test flying. I've recently had a first vaccination so hopefully I'll be able to go flying again soon.
Chris
-
Hi Paulo,
I was sorry to read that your Agritug has had a minor prang. Mine has had several (all my fault) but always came back. Dry soldered joints can cause problems. I recently got my money back on a non-working cheap Chinese ESC, only to find later a dodgy soldered motor connection.
all the best.
Chris.
-
Enjoy your second Agritug outing Paulo. 35C here in UK yesterday! My garden needs rain, but has lots of shade. Looks like climate change is getting closer?
Chris.
-
Congratulations Paulo. It was good to see that your Agritug behaved itself pretty well on the first flight. It is always a bit of an anxious process wondering what you are going to get. It is a surprise to me too that the design is nine years old, and that I have been designing for eighteen years. Where does the time go? Your flying field looks like a pretty hot place! Enjoy your next flights.
Chris.
-
Great to see your progress Paulo. Good luck with the first flight. Mine was pretty uneventful, just a click or two of aileron trim needed. Super to fly thereafter, and still a flying favourite.
I'm not doing any flying right now. Being ancient I'm taking no risk of catching the virus so avoiding meeting other people. My DH84 Dragon (see the forum elsewhere) has yet to complete first flight trials as I've had to modify the motor rotation directions after uncontrollable swerves left on the take-off run.
Chris.
-
Interesting Paul. Nice that you saved it. I was in transition to going all electric when I designed Agritug. I imagine it goes pretty well on I/C power.
CR
-
Looks good Paulo. It's great to see another Agritug coming into being.
Keep well,
Regards,
Chris.
-
Hi Paulo,
My Agritug has a single small Hitec HS42 for the ailerons, and a Ripmax SD200 for the elevators. Both have been adequate for the model which is fully aerobatic. I'm guessing that your choice will be fine. Hope this helps,
Chris.
-
Hi Paulo,
it's great to see another Agritug being built after so long. 2011 now seems like history. I still have my original design model and, although it shows signs of a lot of flying, it is still a favourite for its friendly flying characteristics and I have kept it despite reducing the size of my fleet by disposing of other models.
keep some info coming on your build and if I can help at all, come back through the forum.
Chris R
-
Some more small progress. Small regluing of the pilot's seat dislodged by the test flight minor prang. Two oz of lead added to the nose to move the CG forward a fraction - the wings are straight but slightly swept aft of a tapered centre section, which made the result of my original graphical calculation a bit uncertain.
Finally, I bought two APC 8x6 electric props, one of which was a pusher. They needed 1/8" trimmed from the tips to clear the fuselage. I switched the leads on the starboard motor to get reversed running and put the pusher prop on that side. It looks good. The motors are now turning inwards, each at 8,700 revs at full power, pulling 21A from the 2x3S lipos in parallel. That's 215W, giving 2lb 6oz of static thrust- 6oz more than the original 7x4 props. That's around 50W/lb, enough for a scale 30s biplane.
With any luck that should fix the swing at take off. De Havilland did the same, ie reverse one prop, with their Hornet for the same reason: the Mosquito was a bit of a beast on take off, it needed a lot of rudder and differential throttle to go straight, and easily got out of hand. When it stops raining and warms up a bit, I'll give the Dragon another go.
Merry Christmas to all my readers.
-
Very belatedly, a test fly attempt has been made. Not without problems however. The tail wheel on the model is linked to the rudder by small rubber bands between two hooks. This ensures that wheel loads are not transmitted to the rudder servo. On the day, one of the bands failed leaving the tail wheel connection rather sloppy. Unwisely, I let my test pilot have a go anyway. The model revealed a strong swing to the left on take off which full right rudder did not control. When the model lifted off, it turned hard to the right and dived in; fortunately with no real damage.
Much food for thought. I am going to try some high speed taxy trials with the tail wheel properly connected to see if the swing is controllable. If not, I'll maybe fit a pusher prop on one motor and run it in reverse to even out the torque effects. The trouble with a twin is there is not much prop wash over the rudder before it has enough airspeed to work. I am also going to add some weight to the nose, as the leap into the air looked a bit like aft CG to me.
Finally, I'll contact my full size Dragon pilot to see if the real thing swings on take off. A lot of twins of the period did. Not too much of a problem on a grass airfield as one could start the take off run out of the wind and swing into it! There are lots of Dragon models flying, so a fix must be in there somewhere.
-
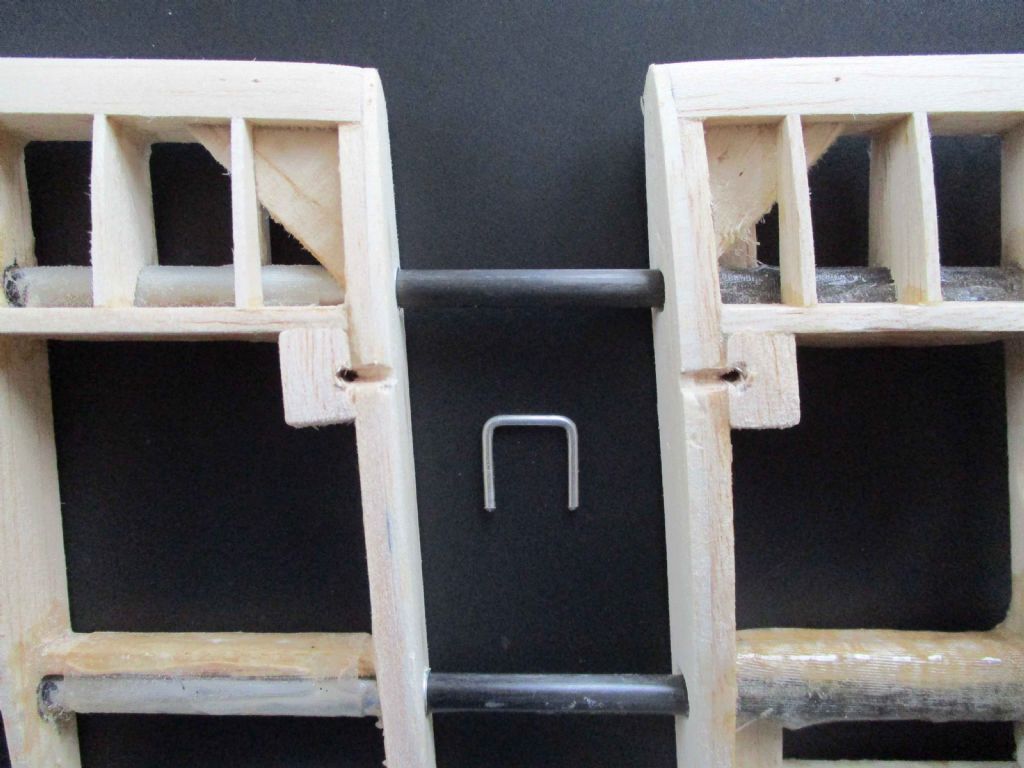
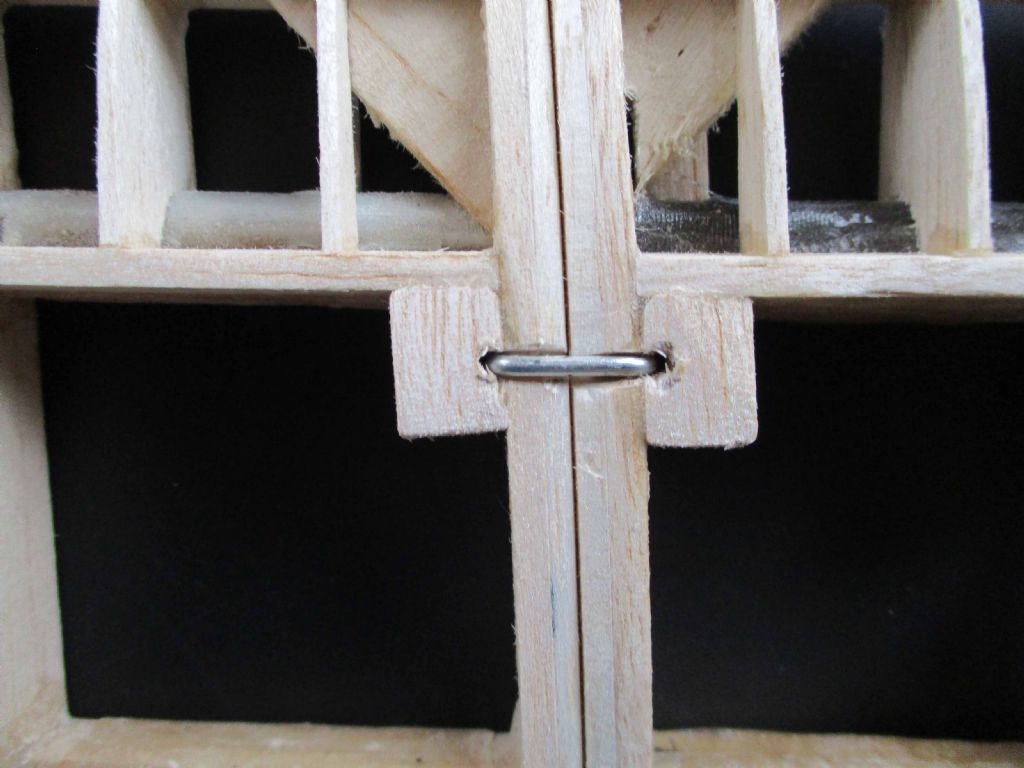
I'm not too worried about wear in my wing link staples holes. I toughened them with some cyano before covering, and I don't plan to fly inverted so gravity should keep them in! If the holes get too sloppy, they can be plugged with a balsa dowel and re-drilled. When I used carbon rod and tube wing joiners on other models, it was pretty obvious that friction and the flight loads kept the wings in place, and a rubber band and hooks link was pretty superfluous. The Dragon centre section didn't lend itself to a rubber band link, hence the staples.
I've already committed in principle do a plan for RCM&E, and I've written build notes and taken photographs as the project went along. I've been waiting for successful flight testing before contacting Graham Ashby again. As I've aged, the time to get round to these jobs seems to increase as the incentive to do it declines. If I do it it may be my last big design effort.
CR
-
Hi Michael,
I've been a bit tardy in getting the Dragon airborne, although she is ready to fly. On one recent trip to the field my favourite test pilots were elsewhere. Brilliant weather this week, but family issues and a large garden have taken priority.
It will be soon.
-
I've done some more work on the power front. I cut down a couple of 8"x6" props a bit to give me the largest prop that would fit in the nacelle/fuselage gap. A power check gave me 260W and almost 8oz more thrust which was the improvement I was looking for. Foolishly I then tried a 4S battery pack. The fresh batteries gave a surprising 500W dropping to 460W after 10 secods or so. More than enough, and not necessary, so I decided that 3S batteries would do for the test flying. I reinstalled the 3S batteries only to find that one of the 25A ESCs had given up - too many amps for too long! The ESC should have survived but it has taught me not to overpower cheap Hobbyking ESCs. A 40A one will be substituted. Even that's not going to be straight forward as the original ESC signal plug and socket join is buried in the wing. I will have to cut the signal lead off the busted ESC and join it to the new one. I have some Futaba plug and socket kits to make up a new socket so I wil probably do that.
This has delayed the test flying, but the weather has reverted to normal March so I haven't really missed any flying opportunities. I hope to get to it soon. If Dragon flies well the big decision will be whether I can face drawing up a decent plan for RCM&E. I don't have the energy I once had.
-
Hi Trevor,
My Dragon is nice but your Rapide is very nice! Lots of interesting stuff on your link Did your weight of 5lb include the 3 batteries? If so your build was much lighter than mine.
Chris.
-
Good thinking Trevor. I bought unsuitable motors having been fooled by the promise of 336W. I've just been out to measure the gap between the engines and fuselage. 8" props might just fit, they certainly will if I trim the tips a tiny bit. I'll buy some 8x6" props and give it a go.
-
Alas, scale being what it is, 7" props are as big as I can go! No room for bigger.
-
Thanks for the compliments guys.
I've done the weighing and power checks now. The latter proved a bit of a puzzle as I'm only pulling 210W on 7x6" props from both motors from 2x2200 3S lipos in parallel; my standard for larger models. The Hobbyking spec for the Turnigy 2863/8 1100Kv motors says they pull 336W each at 18A and 15v, which I should have spotted is rubbish, as others have recorded on forums various. The model weighs 4lb 12oz ready to fly which around 40W/lb, rather less than some of the tables suggest for good performance. However, as fellow clubmates and I have found, brushless motor watts go further than old brushed motors watts, on which the tables are based. The static thrust is 2lb 2oz which ought to be enough. It's a vintage biplane not a pattern ship!
I've done the CG calculations which are not wholly straigtforward for a swept winged biplane. I hope I've got it right. I just need a fine day and a friendly test pilot now. I'm a safe flyer but I'm not up to first flight out of trim surprises.
-
-
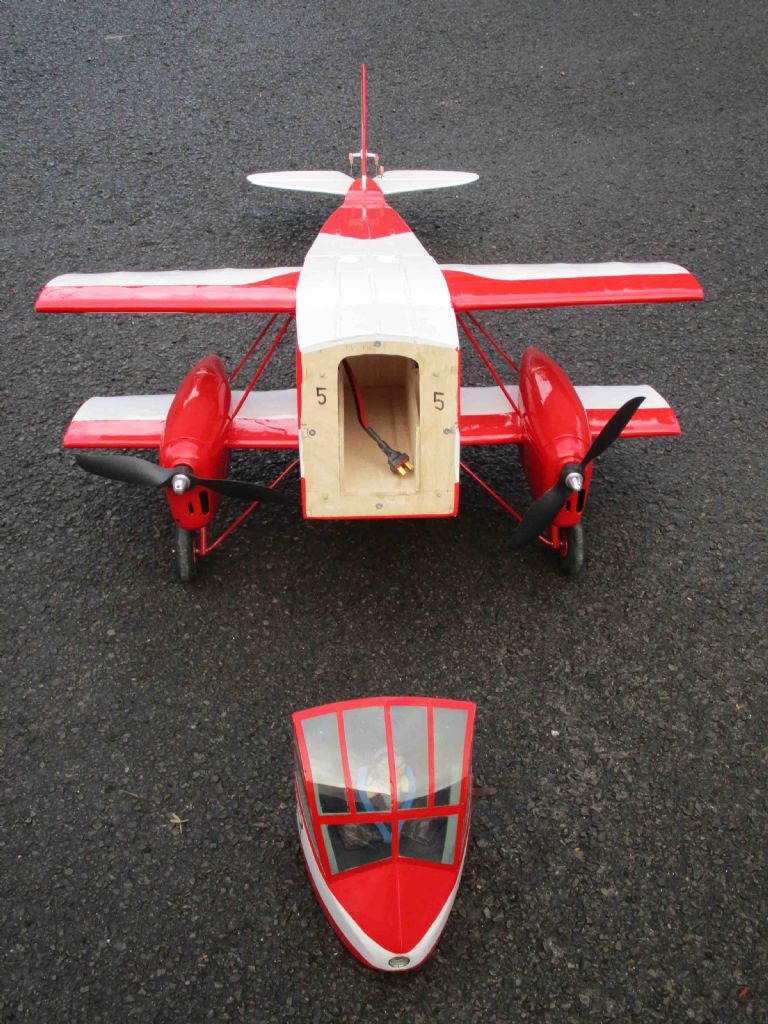
Well, we finally got there. After just over a year in production, the Dragon is 99% done. I just have to calculate the CG position, then finalise the battery location, and do some weight and power measurements.
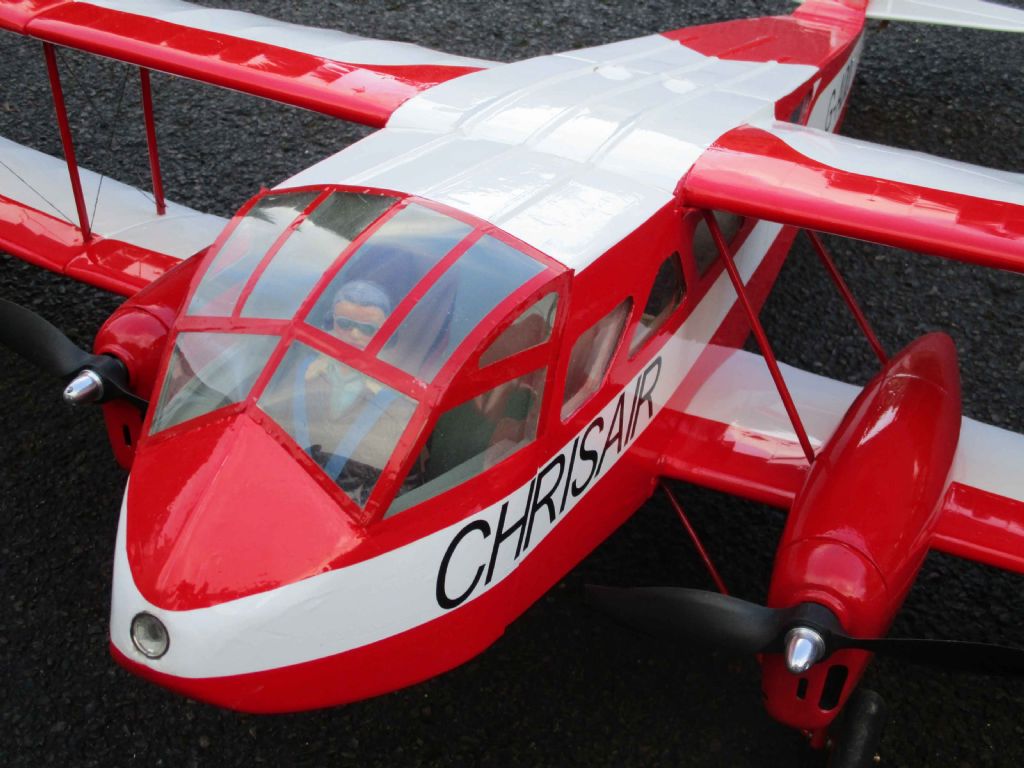
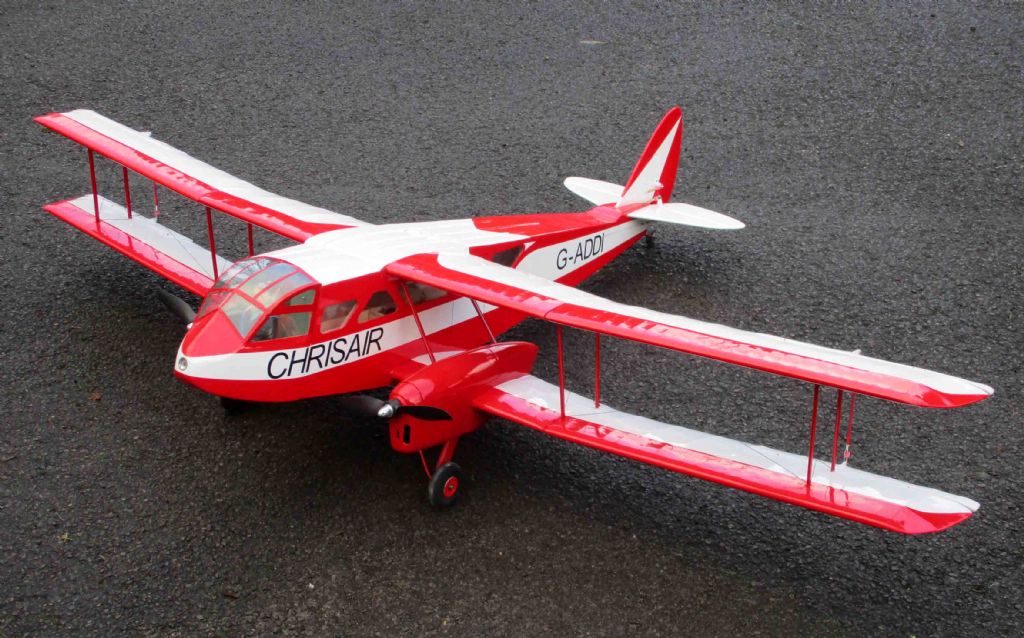
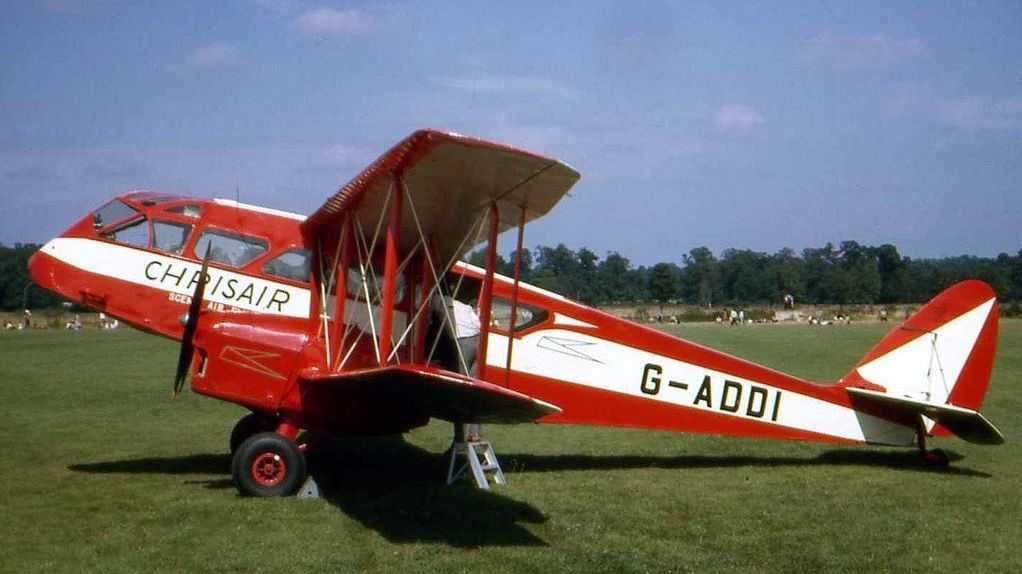
The final finishing was uneventful but took a long time. It serves me right for going for the vanity "Chrisair" colour scheme. However, now that it's done I'm pleased I went to the effort as it is an eye catching finish. The Hobbyking film went on well as always, and the minor wrinkles were easily ironed away.
The assembly of the wings into two permanent box structures proved straightforward . The wood tipped streamlined metal struts were plugged into their PVA glue filled slots in the wings and the whole, very wobbly, structure plugged into position on the wing centre sections to set. One the glue had set, the wings could be slid off the centre section in pairs as planned, and their replacement takes only moments. They are retained by what looks like a large staple that fits across the wing joints at the main spar position. The ailerons have a clevis and carbon rod connector bottom to top from the servos in the lower wings, and look to work well. At the top and bottom of each strut there's a small hole which I threaded up with cotton rigging. I'm not too happy with the result. I had found some bright silver cotton to simulate the stainless steel wire of the full size. However, it proved to have no strength at all, and was replaced with a stronger black thread. It sort of looks the part, but it serves no real purpose, will add drag, and you won't be able to see it in the air. I may remove it again.
My Dragon is not super scale as I have made some minor alterations here and there to ease the build, and also to slightly enlarge the main planes chord as I felt that the scale chord looked very narrow. I don't think any of the mods are obvious, and I'm very happy that my Dragon represents the full size aircraft pretty well. I just hope she flies as well as she looks. Test flight report pending subject to better weather and the availability of my Club Chairman test pilot.
-
Hi Tony again,
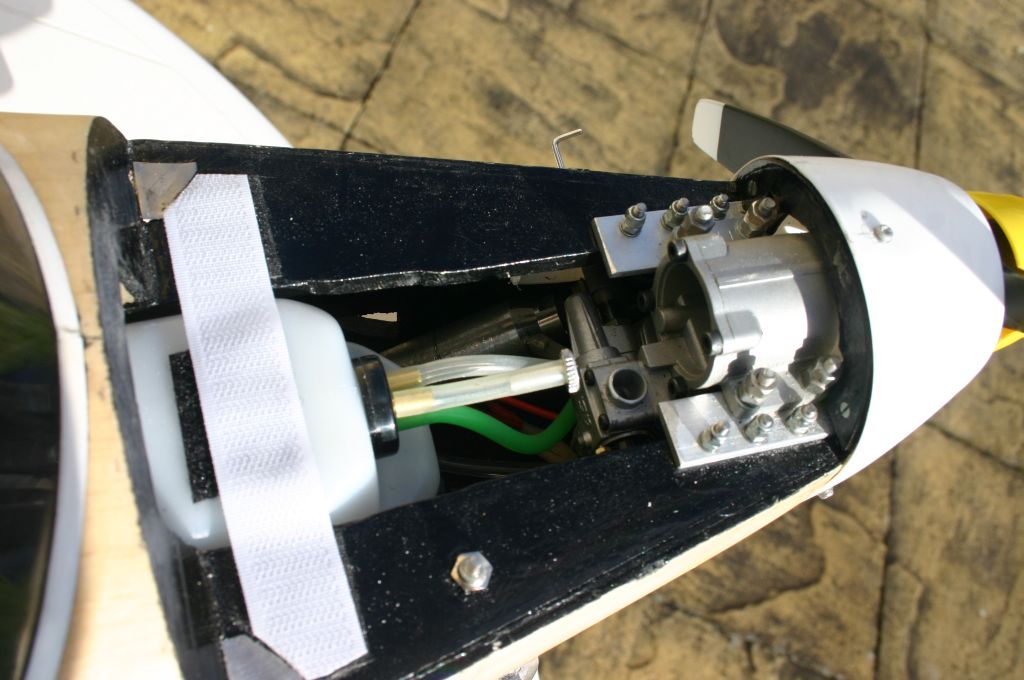
Further to my last, and I don't know why it posted twice. Checking my records, the motor I used in my AOP9 was actually an OS52 fourstroke, and not an ASP version which I used elsewhere. Here are the installation pics. There's a lot more detail I posted on ZK BAP's blog on his big Airsail OP9. The small hexagonal blob on the black engine plate is a remote plug connector to keep everything inside the cowling.
-
Hi Tony,
When I built the small Airsail AOP9, I put an ASP 52 fourstroke in it which flew it well. There is a piccy of the installation on my original forum build blog. With the addition of an exhaust adaptor I got all the silencer inside the cowling, and was able to build a replica of the full size exhaust on the outside with a short bit of silicon tubing leading to it. Good luck with the build. There's a lot of AOP9 info on various blogs on the forum. Mine flew pretty well, but was twitchy on the elevator - a common experience. The full size aircraft had some dodgy flight characteristics too.
Merry Christmas,
Chris.




Scottish Aviation Pioneer by Chris Reid C of G Position
in In The Air
Posted
As the original 2007 designer of Pioneer, I did not build mine from the published plan which had several errors not on my original drawing. Looking at my published copy today, I am not happy with the CG positions shown. I did have a CG issue on the first flight as I had not included the wing slats as part of the wing chord.
Thus if I built one today, I would set the CG at max 33% of the chord back from the leading edge including the slats. This will be safe.
Chris Reid.