
maurice northcott
-
Posts
234 -
Joined
-
Last visited
Content Type
Profiles
Forums
Blogs
Gallery
Calendar
Downloads
Posts posted by maurice northcott
-
-
Hi All
All sorted now, thanks to Kevin "kevin b"
Thank you
maurice
-
Hi All
As it says on the Title, I am after getting, buying or borrowing the Brian Taylor Plan of the Focke Wulf Fw190.
No other plan will be of use, it must be Brian's.
Any assistance would be greatly appreciated.
Many Thanks for looking
maurice
-
Sorry for the delay since last post. The reasons are many including enjoying flying and doing some other projects, but the main reason was that the wings I had built by somebody else was not in my final opinion what I was happy with. Took a long long time reaching the decision, because I now have to build the wing. Still, I have made a bit of progress on that with the ribs drawn out and the retracts decided upon. Just need to draw the plan and sort out a few other things. I hope to be cutting wood in a couple of weeks. Hope to be back soon......
Cheers
maurice
Edited By maurice northcott on 20/08/2017 18:06:41
-
I agree with Donald Fry, to argue merely gives credence to the "conspiracy theorists".
Had Apollo 11 (or indeed any other manned moon landing) happened when the group I belonged to met in the Wimpy Bar and later pubs, had anybody come up with the "non believing" comments, they would have been given short shrift (eg "Oh please go away, take a Bob Martins and lay down for an hour" or "Don't be a 'wotsit' all your life" ) and discussions on other subjects would continue unabated. Nobody would spend anytime arguing with the "non believer".
Where has this direct and clear communication disappeared to and why?
Edited By maurice northcott on 21/07/2017 09:31:44
Edited By maurice northcott on 21/07/2017 09:32:14
Edited By maurice northcott on 21/07/2017 09:34:30
-
In our Club, we call the standard box mounted to the side of any DLE a "Noise Diverter" for the simple reason that that is all they do. All DLE-users in our Club have fitted reasonable mufflers or inserted the "pepperbox" type of noise reducers and much experimentation is done with props.
Edited By maurice northcott on 17/07/2017 18:12:31
-
About 1530, over Welwyn Garden City, 1 - Spitfire and 1 - Mustang in very close formation. About 1600, same location a single Chinook.....
-
Posted by gangster on 29/06/2017 10:26:23:
... the senior having a flat bottomed wing and the Custom a bit symmetrical.
Correct, the Custom was what I call semi-symmetrical, but it also had tapers on the L/E & T/E in plan view.... In fact a number of years ago I made a sport model based on the Custom but increased overall dimensions by 10% - reduced the thickness of the wing (for a bit more speed) and was fitted with flaps as well as enlarged ailerons and elevators. Powered by Irvine 53. Many in the Club liked it because it was attractive and also performed well.

Edited By maurice northcott on 29/06/2017 11:12:11
-
Yes, my first RC model was a Trueline Senior Executive with an OS25. Then another with an Enya 35. Then another with an HP40F (went like the proverbial). Contemporaries and similar were the Jolly Roger range of kits (I had a Jolly Roger GT). In the meantime, I had a Kamco Kavalier as my first low winger, again with a trusty HP40F. Followed by the (then) Unique Models Hawk 70, converted slightly and painted to resemble a Magister with an HP61F. Great memories......
From memory, the Trueline Executive Senior plan also showed the Custom Executive side view, together with the root section of the latter, but not the tip section which was different (but that cant be too difficult to "guesstimate"
.
Edited By maurice northcott on 29/06/2017 08:45:08
-
I asked my Female Unit this fictitious question:
"When I was 6, my sister was half my age. Now I am 66, how old is my sister?"
Answer, after about 1 solid minute "33"
Dont laugh, please..........
maurice
-
Yes, the change from Dark Earth and green to grey and green was ordered by the Air Ministry to be gradually introduced as and when it was convenient after 15 August, 1941.
As always with colour and camouflage the story is a lot more complicated than my simplistic statement.
HTH
maurice
Edited By maurice northcott on 25/04/2017 10:48:46
-
Looking good Dwain, very good

-
Hello All
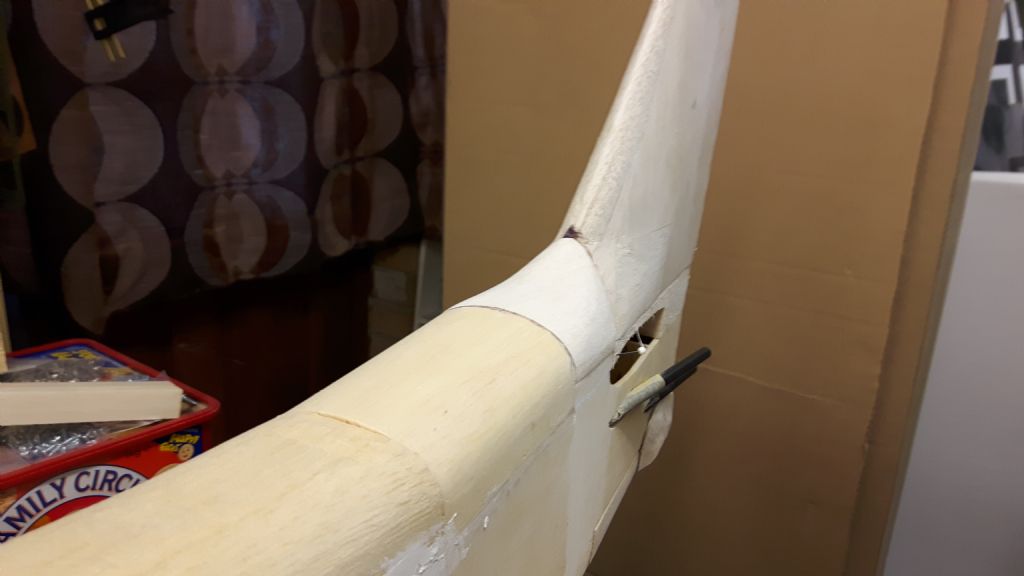
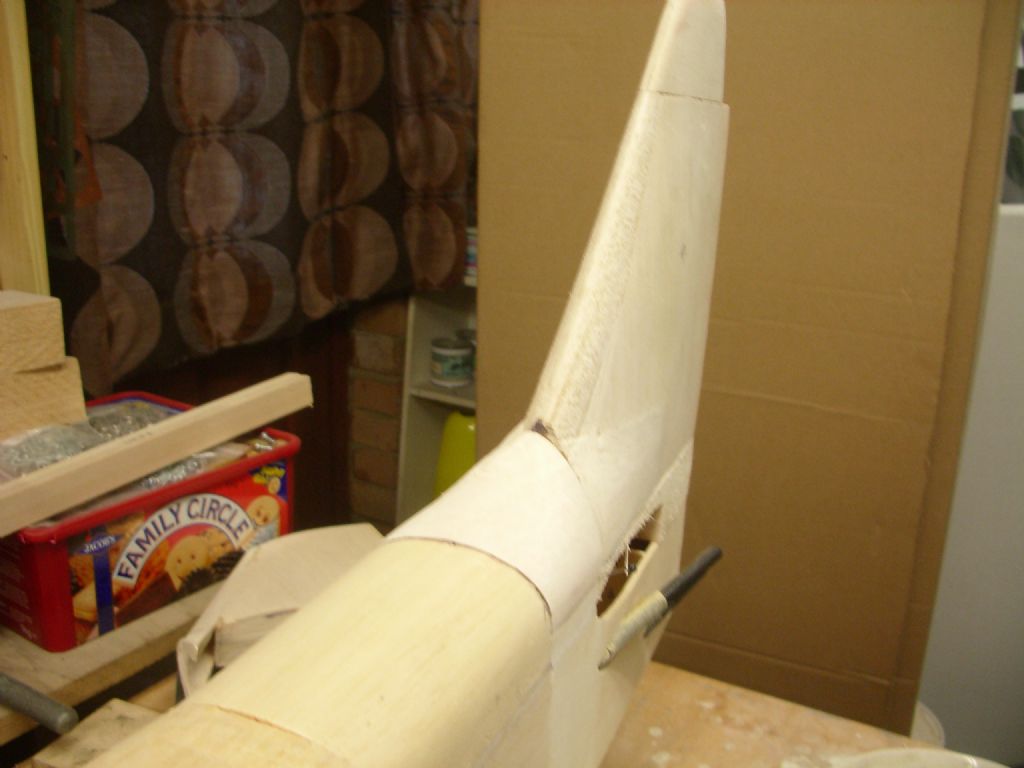
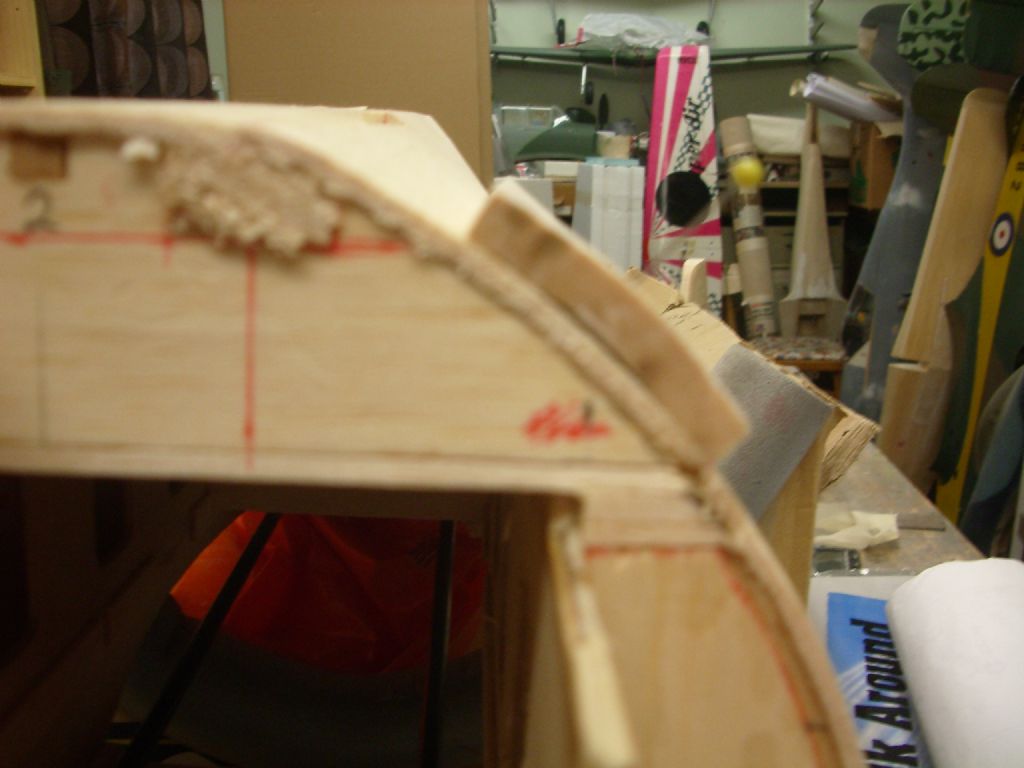
Well, today I returned to the Fw190D after doing some work on the large Wot4-type thing I been working on (boring), and a lot of research on the 190. I finally found a section of the full-size that I knew was somewhere, and the exact position of that section on the aircraft. This enabled me to continue with the fin to the point where I cannot proceed further before other work (Photo 1)
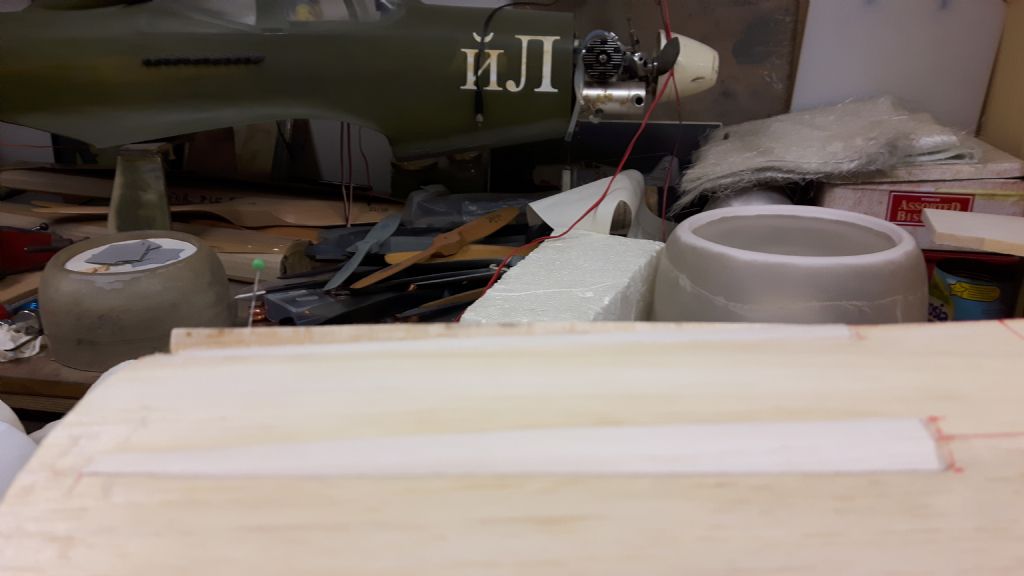
Then I moved to something else that had been bugging me for a while. When I originally built the fuselage I foresaw it as being a 190D-9 and consequently cut in the upper cowling gun troughs, since the change of mind to a D-11, those gun troughs have been sitting there laughing at me. Well today I got my own back. The troughs were filled with some 1/2-inch balsa dowel (glued in with PVA) and were later trimmed down using a large knife (photo 2) then with a plane and Permagrit sanding block (photo 3) - these are now ready for final finishing.
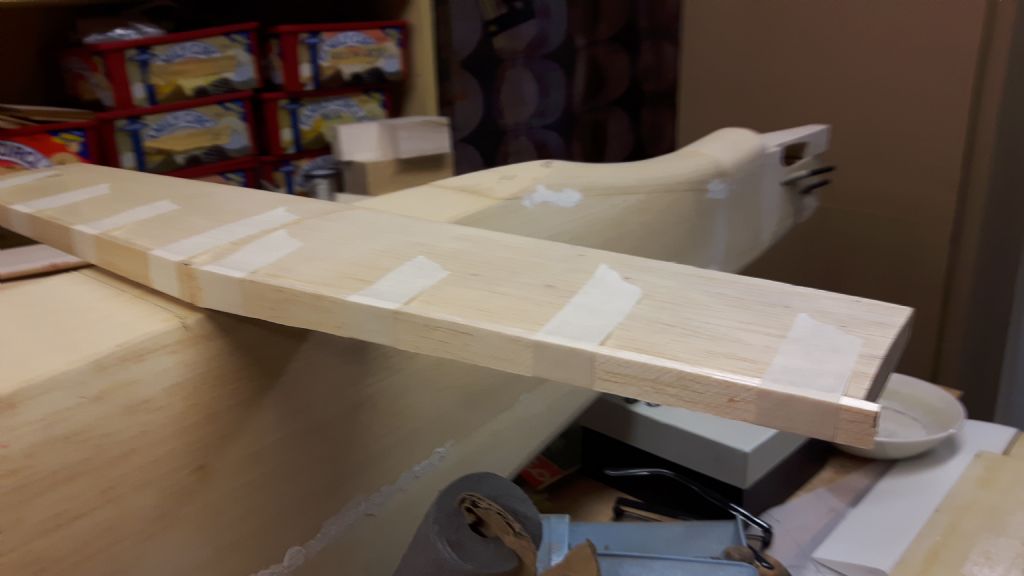
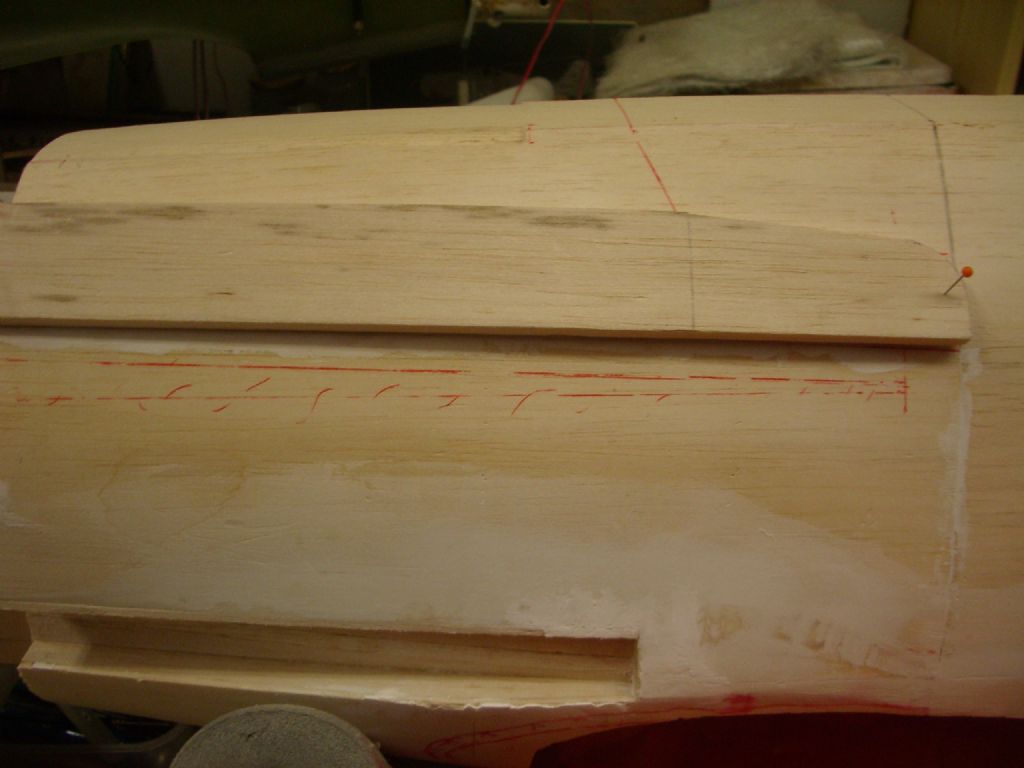
Next up was the fitting of the leading edge to the horizontal stabiliser as photo 4 - these were fitted with PVA and strapped in place with masking tape. Tomorrow I will progress with shaping the leading edges and the stabiliser tips...
So there we are, its good to be back, seems like a lifetime away

Cheers
maurice
-
You could always try the old Brian Taylor method (we used to kid him)...... install a deflated balloon behind the c of g and just prior to flight, pump it full of helium.

Seriously though, I am sure you will have a nice flyer for those balmy Summer evenings...
Cheers matey
maurice
Edited By maurice northcott on 27/03/2017 11:26:32
-
Sorry to hear the day was not 100% good after all your efforts.
However, you are a "dyed-in-the-wool" aeromodeller, so I am confident that you will persevere and succeed.
Good luck
maurice
-
Well done Colin.
Good luck today

-
They did use 3 Bf110 to tow a Gigant, but all 3 Bf110 were totally separate aircraft... https://www.youtube.com/watch?v=6D-NE8vX25I This was rather dangerous and led to the Zwilling described earlier
Edited By maurice northcott on 20/03/2017 20:36:23
-
Sorry chaps, its fictitious. Was built by an American plastic modeller for a "What if....."

-
Thats great Dwain, just the type of thing I was after.

Cheers matey..

-
Dwain, its a 190D.
Thanks
mo
-
Hi Cymaz et al
I dont know where 20kg came from. My original post stated "... weight about 20lbs."
But I am more interested in a suggested power train......
maurice
Edited By maurice northcott on 18/03/2017 15:35:08
-
Thanks Pete B

I think even I would have trouble making an 80-inch 190 coming in at 20kg finished weight

maurice
Edited By maurice northcott on 18/03/2017 15:26:32
-
Hi All
Anybody got direct experience of putting electric motor in a model of the following size & type please?
If so, could you please suggest a power train for the following?
Size 80-inch span and length, weight about 20lbs. Wing area: 7.2sq.ft. Wing loading (calculated) approx. 2.78lbs/sq ft. Type: WW2 fighter of good performance.
Many thanks in advance,
maurice
-
Thanks Dwain.
Well since the last time I posted, I spent the 4 intervening days at the Field, so not much more done. Today was as so often in scale modelling, a lot of thinking, quite a bit of doing but not much to show for it.
Some more work done on the fin.... the fin cap was roughly shaped and more whittling and sanding around the lower leading edge and the base block was added on the right hand side..... I think it is gradually getting there.....
Some more shaping of the undertail fairing and the addition of the bulge blanks.
The pins and tape taken from the engine cowling bulges. The photo shows how the bulges have retained the curve that was induced by soaking them in boiling water and strapping them to the cowl with a bit of 3/32-inch balsa below the centre of them to accentuate the curve. When dry and released the induced curve reduces a little but is still sufficient that no stresses are induced when finally gluing........
Off the the Field again tomorrow if the weather remains clement.....

See you soon.......
maurice
Edited By maurice northcott on 14/03/2017 20:14:24
-
Hello All,
Please bear in mind I have written the operations for each item below as if it were carried out in one go – they weren’t – each operation on the various subjects was carried out as time allowed. Consequently the various operations on each component was carried out in rough parallel.
All this followed a visit to the dentist L
Well, first up was the easiest, the fin cap. A couple of blanks cut out with the bandsaw then glued and clamped together. Shortly after they were shaped in profile with the sanding disk. Then they were matched to the top fin rib – they were trimmed with the Permagrit and then glued in place with pva and pinned. Shown in the first photo, although camera angle has enlarged some bits and reduced others, same as I told the wife.
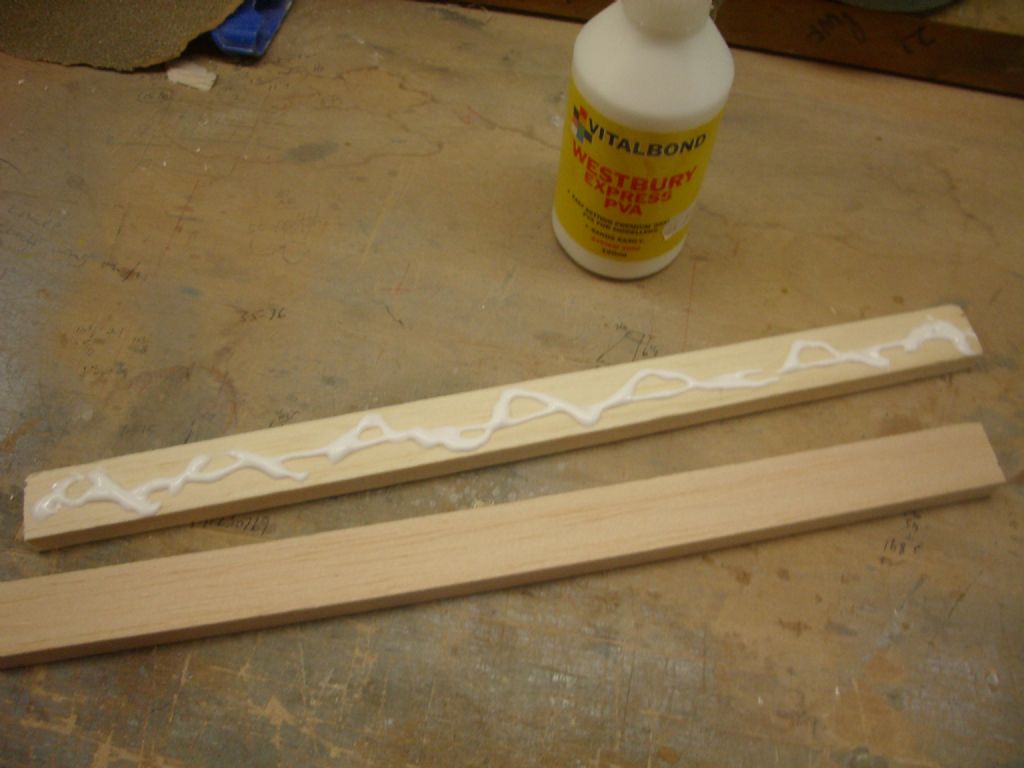
Next was the rear fin extension. This was one method used to enlarge the fin area of the full-size 190D. Like most other WW2 fighters, the 190 series suffered from “snaking” and “porpoising” and various methods were tested to reduce these effects. It was a simple parallel section fitted to the rear of the fin post 125mm wide (to scale, almost exactly 24mm). Back to the model – two blanks were bandsawn from ½-inch light balsa and pva applied to one face of one blank (photo 2).
This was smeared evenly over the face with a bit of spare wood (photo 3).
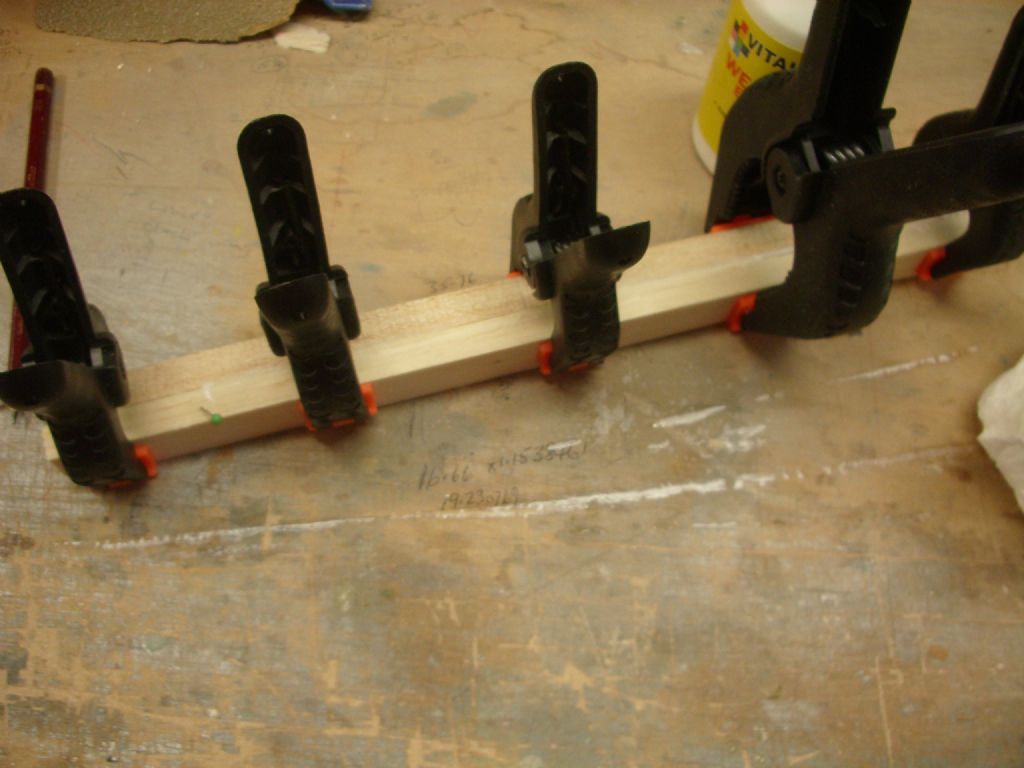
The second blank was offered up to the first, straightened up and kept in place by a couple of pins until the clamps could be applied (photo 4).
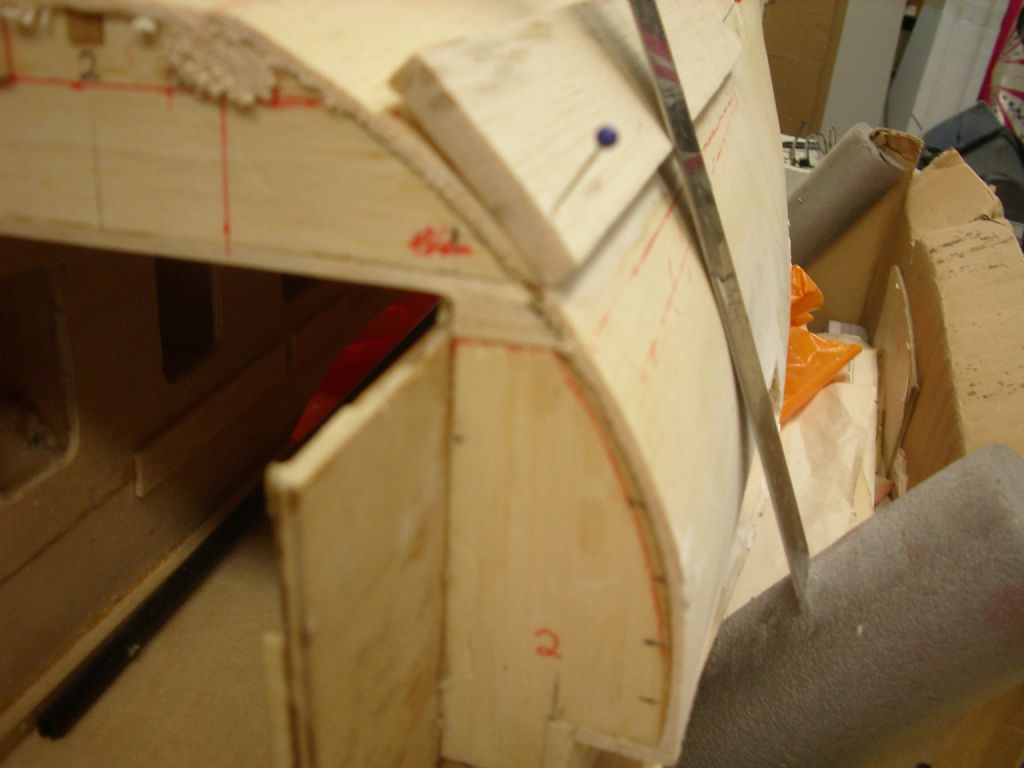
The two blanks for the upper parts of the engine cowl bulges were measured and cut out of soft ¼ sheet balsa – I chose soft because I knew they would have to bend a bit. One of them was pinned into place on the forward upper cowl along the hinge line in that position. The rear end tapers off over what would on a D-9 be the top gun cowl, but the D-11 did not carry guns in that position (photo 5).
Photo 6 shows a view from the front to show 2 things – one is the amount of bending needed so that the blank stays in contact with the cowling (I think it will be necessary to soak the blank in water and bend it over a former and let it dry overnight – when doing this I find it best to bend it a bit more tightly than is necessary and it will return a little, but still retaining the amount of bend required). The other thing shown in this photo is a straight edge running down from the blank until it touched the side of the cowling – this will be the approximate line of the lower part of the bulge. I am thinking at the moment that the best way to produce the lower section of the bulge will be soft sheet again, but with micro-balloons filler forming the absolute lowest part where it blends into the cowl. We shall see….
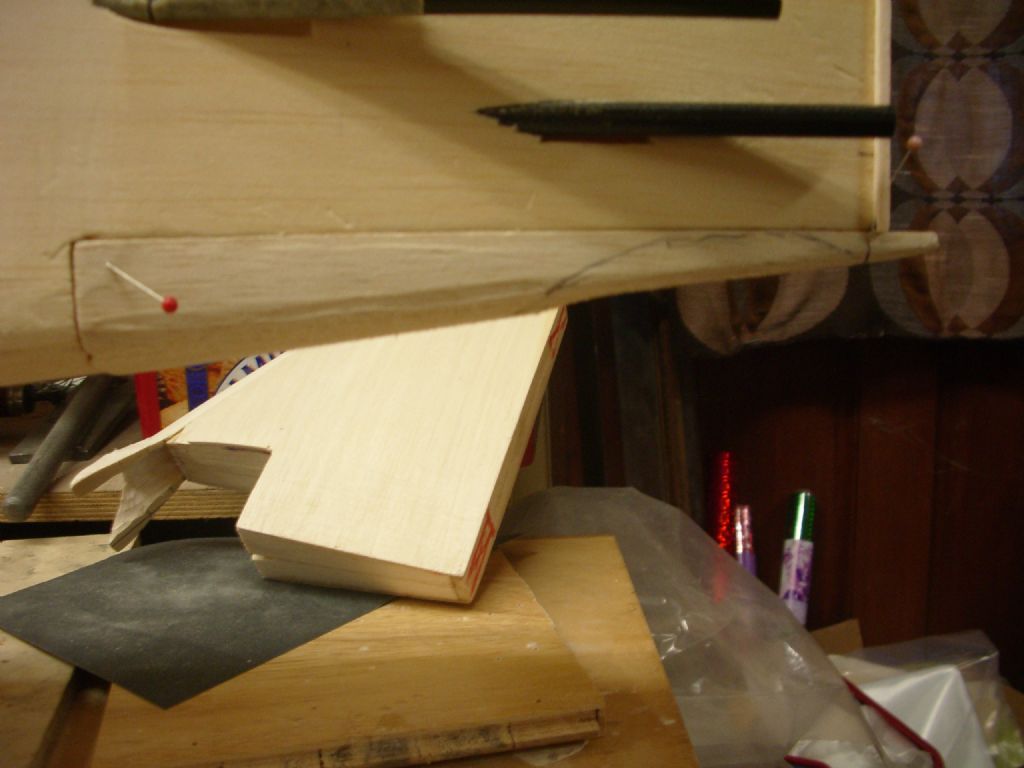
Last are the often missed bulges around the tailwheel retraction area. The rough-hewn tail underfairing is shown pinned in position in photo 7 (first attempt at fin in the background - never throw anything away until 3 models further down the line, otherwise you will find you need it.

The next photo (number 8) shows the tail underfairing flat on the board and should explain pictorially why the bulges are necessary – when the tailwheel retracts, the front of it would retract into the hole in the underfairing (just), but look at the aft end, its far too narrow for the tailwheel, consequently the need for the bulge both sides.
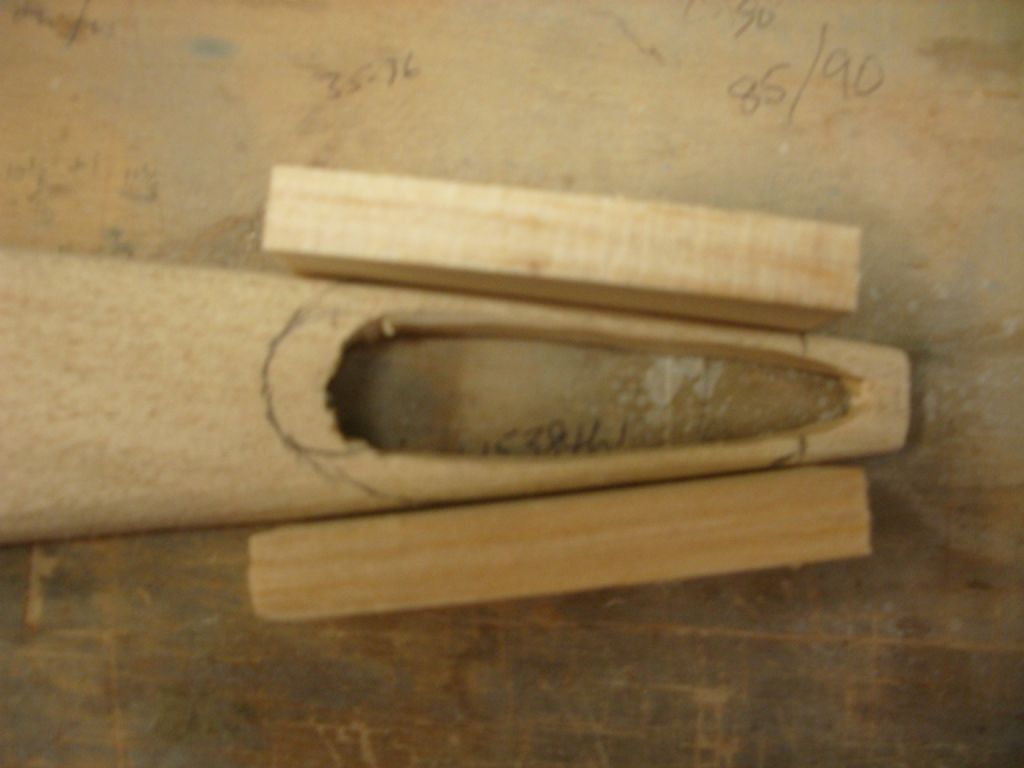
The last photo (9) shows the oversized bulge blanks alongside the tail underfairing. When fitted and hollowed, these will allow the tailwheel to retract. However, I will not be fitting or finally shaping them until after the underfairing is finally fixed.
That’s most of it for today, there was a bit more work done on the fin but I am sure you have seen enough of that to date .. I know I have, but work will continue

Cheers all
mauric





An aeromodelling moment.
in All Things Model Flying
Posted
FANTASTICO!!!!! Very pleased for your Friend
Please let your Friend know that after many years in aeromodelling, competing and watching P47's all over, I have never, ever yet seen one that does not behave. Perhaps that may have calmed him just a little prior to his recent great flight................ :-D
Please give your Friend my congratulations.....