
Graham Davies 3
-
Posts
1,067 -
Joined
-
Last visited
-
Days Won
12
Content Type
Profiles
Forums
Blogs
Gallery
Calendar
Downloads
Posts posted by Graham Davies 3
-
-
-
Horses for courses really. I like building in all it's forms. I'm not looking forward to the triplane project though...
-
Thanks Nigel,
As a NOB, or ARSE (See Richard's other post!), I'm keen to do anything to encourage new builders and preserve our odd obsession of creating plumes of balsa dust. For those that haven't yet discovered the joys of emerging from the man-cave bedecked in 'man glitter', and have yet to experience the gentle amusement of being able to pick out the exact hole pattern in your crocs from the dust embedded in your socks, a built up wing can seem daunting. The foam wing may help transition a few more builders into the dark arts!
Graham
-
Robin, very interested to read your considered and intelligent comments regarding perceived value of both cars and, well, pretty much everything else. I fully understand your view of the Wot4, although i have a very old AcroWot and find it reasonably aesthetically pleasing.
Any Of Peter Miller's designs are likely to produce excellent flying models, and all tend to look good. But unless you are a prolific builder, it's a fair point to say that you may well miss much of the summer with a plan built model.
Have you considered one of Richard Will's smaller offerings? I approached Richard with a view to buying one of his 63" Spitfires. These are fully built up, full-fat kits that are intended to produce good flying, but realistic models. He instead advised and provided a 55" Tempest using a foam wing. It's nearly finished and we are almost exactly one month from my first email to Richard. It's taken 2 or 3 weekends to get to the state we are, and I am 2 weekends away from it being ready to fly. It's going to weigh around 5lbs, get about 8mins on a 3000mAh Lipo, and has cost me a total of £200 including buying a load of paint etc.
Graham
-
Did a quick weigh today. With all parts except:
- Snakes and control horns
- decals and final finishing
- pilot and cockpit cover
- Undercarriage
- Spinner (I forgot it...)
- Connectors for the ESC
She comes in at 4lb 5Oz.
It's going to be light!
For all the foam wing cynics; i don't think it would have been any lighter with a built up wing...
Graham
-
Thanks Jonathan,
It's going to get a bit of weathering. All being well!
Graham
-
-
Hi Alan,
They do indeed. They have a Tempest V and a Tempest II. However, the V (which is my version) is in silver and yellow. A fabulous scheme, but not the one in my mind's eye. My personal recall pulls up a standard camouflage with invasion stripes, so that's what I want mine to look like. As such, my reference is much more vague.
To be honest, the point we are making here is that I don't WANT to be pulled into exact colour matches. Because the reference is so vague and varied, it gives me a free reign to apply artistic licence to the finish. Who's to say what is correct? If my model is seen by 15 people in it's life, I'll be surprised. If it makes one of this smile, and that one is me, then the job is done!
Graham
-
Couldn't agree more Richard; our models are rarely examined close up. In fact, in current times and with my eyesight, 6ft is more than too close!
Having spent a load of time looking for pictures of a suitable Tempest, it's surprisingly hard to find common agreement on colours. An average google search throws up a lot more pictures of models of Tempests, than actual Tempests. And those pictures are split into 'very good pictures of a few restored or remaining aircraft' and 'poor/ old/ monochrome pictures of actual aircraft'. So, as you have wisely advised, mine will be my own interpretation on what looks good, and 'right', done to my own ability, and ensuring I end up with a flyable model I'm not too scared to play with.
So, my Tempest will be in Acrowot colours...
<Considerable spat tea now being wiped of Wills walls...>

-
I'd been watching the weather forecasts to find an evening to fly. This evening showed a nice gentle northerly, but also rather a lot of rain, so I went back in the garage!
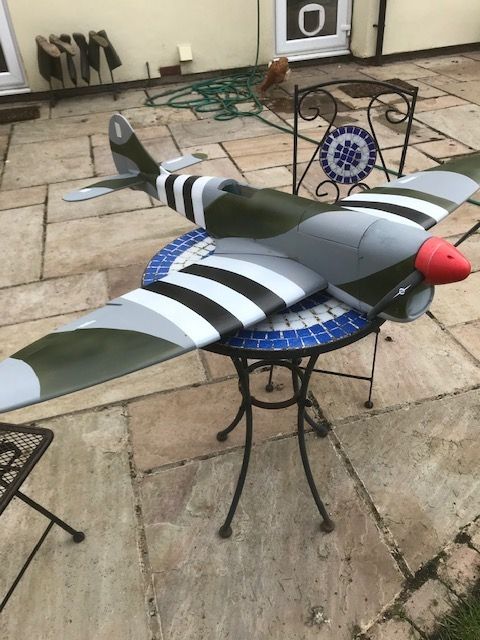
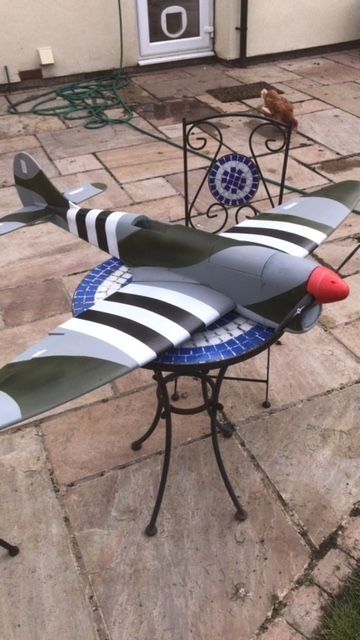
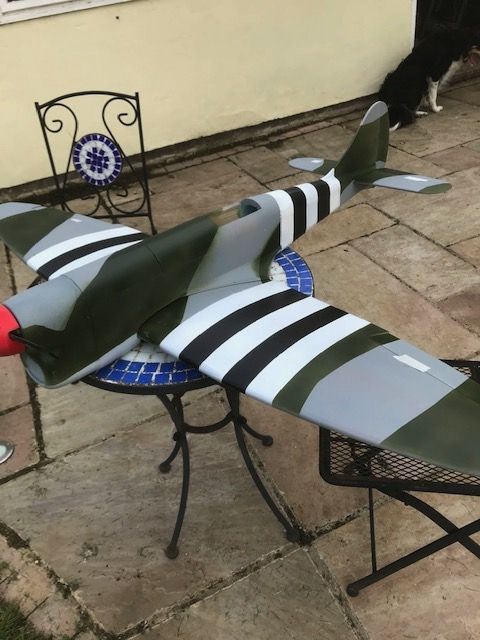
Airframe is now doped and the first coats on. Light grey on the underside and a darker grey on the top. It's starting to look good now.
Regarding finishing; this is something I'm looking forward to a number of years learning the art. I am not looking for full scale; I want a sports model that looks like a real aeroplane so have realistic aspirations. If it looks good as it flies past, my work is done here. It already looks better than my Acrowot in the background! That one is 'naturally aged' by 20+ years in my loft, 10 in someone else's and having an old cold water tank dropped on it. It's a little known technique amongst the scale glitterati...
Graham
-
Looks great Ron.
I'm going to do the same regarding the base coats; acrylic rattle cans. If I didn't have a keen mate, I'd find a way but this is not an area of strength for me!
-
Jon, I'm getting a bloke to do it! I'm no good with an airbrush, but I know a chap who is!
Graham
-
Kim, a good point. Whilst a Mini-ogue would be convenient for storage purposes and would occupy much less workshop space, it would be largely impractical...
-
Hi Jon,
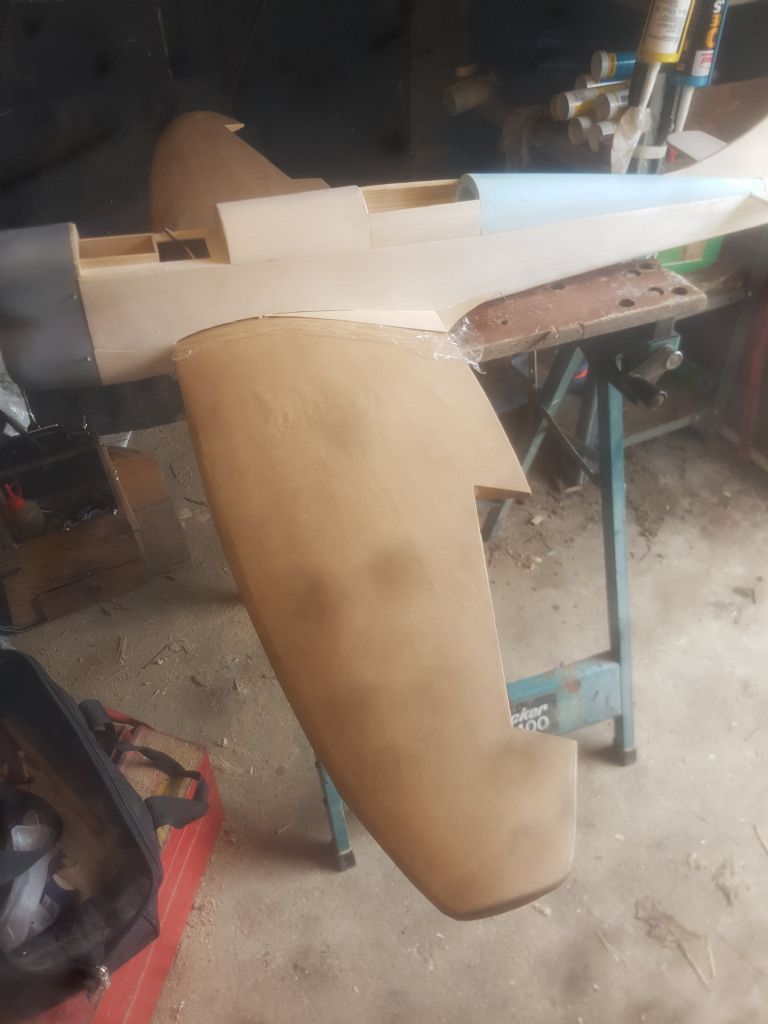
I have to confess this is the first time I have covered a model in brown paper. Definitely won't be the last though. It has significant advantages, in the right circumstances. As long as the structure is sheeted (either a veneered foam wing, or a fully sheeted built up structure), it is possible. It gives more strength than a shrink film finish as the dope provides significant surface strength, is easy to apply, and once fitted, stays fitted. It's also MUCH cheaper.
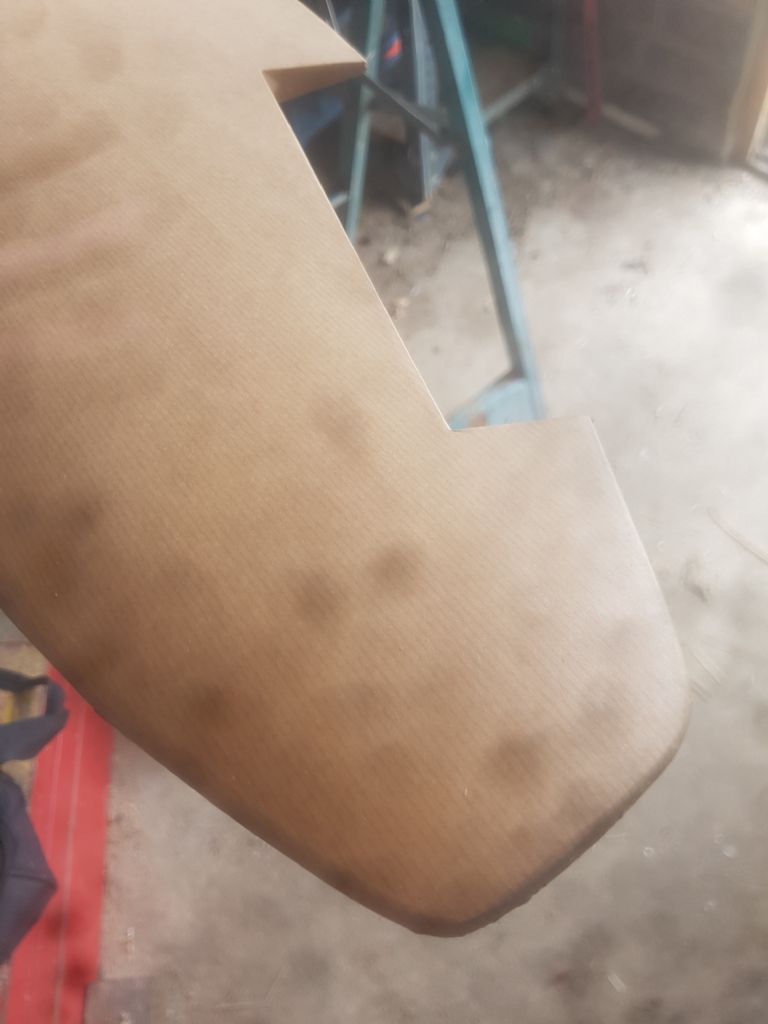
I did the wing with two large pieces, lower side first. It's easy to work from the middle outwards, and use a heat iron as you would film. The heat gun makes it dead easy to get around curves. I 'topped up' the PVA for the edges, just to be sure there would be no lifting. To be honest, not really necessary unless you can see loose areas as once it's on, it won't come off without leaving half of the paper behind.
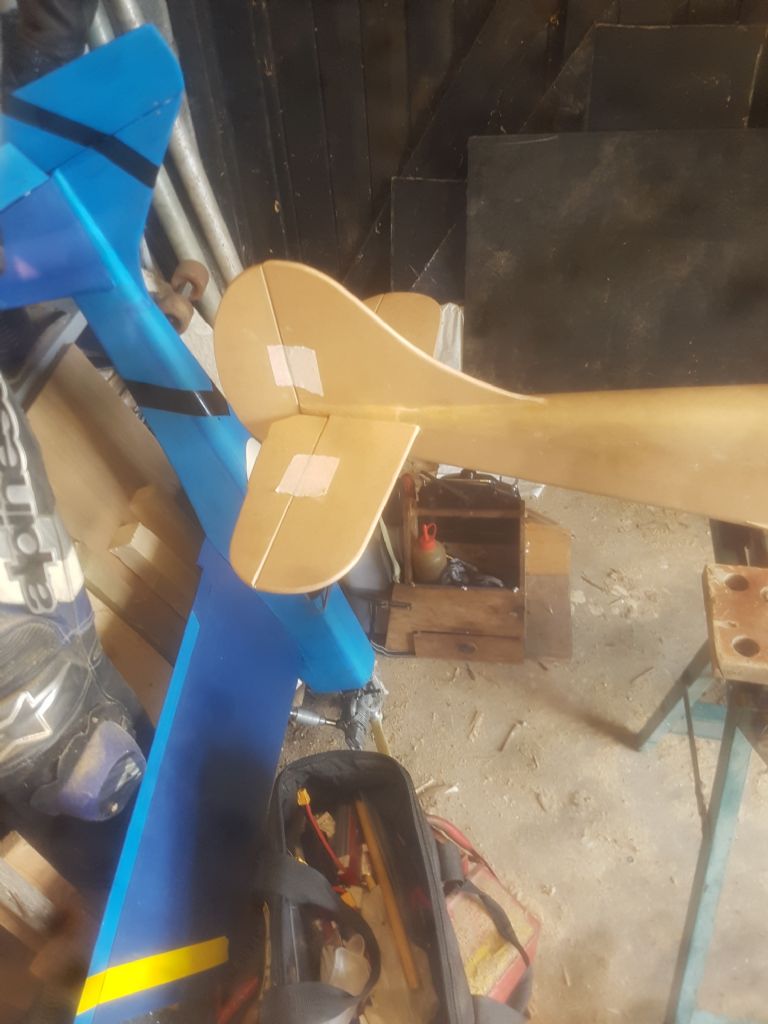
I did the fuselage fin first, and included the fin fillets and 1/2" of the top side of the horizontal stabiliser. The fuselage underside, the fuselage sides. This was easy enough, and included 1/2" of the lower side of the stab. Then fuselage top and finally underside followed by top side of the stabiliser (really easy as I had already covered the roots above.
Control surfaces all separate, and straightforward.
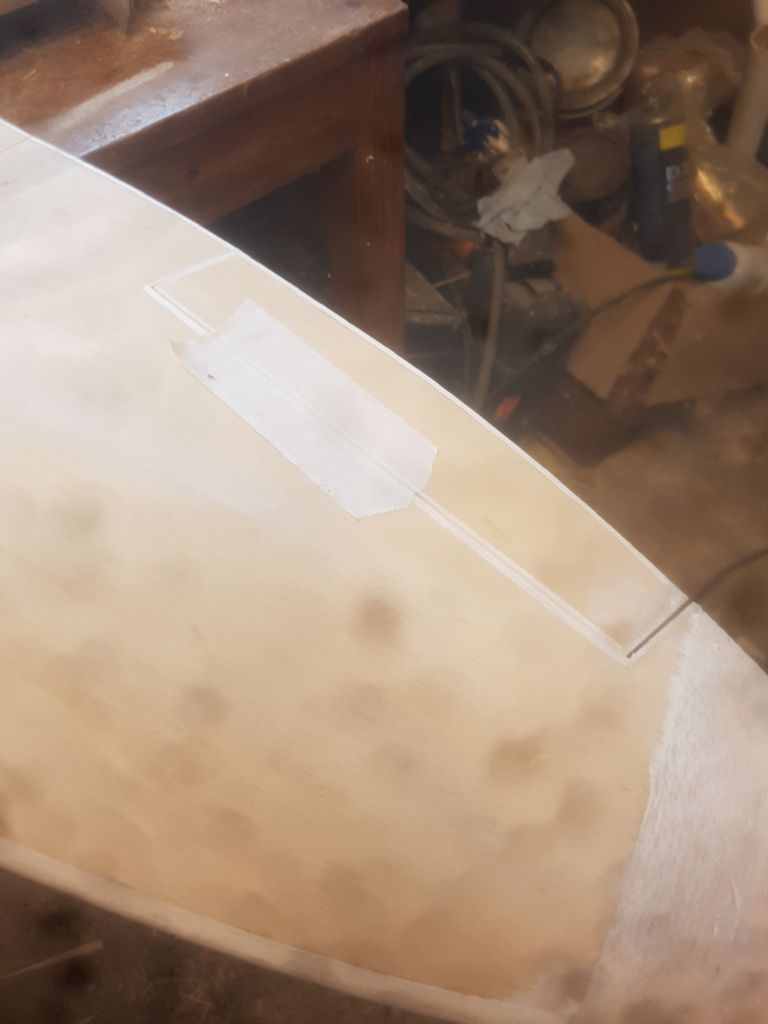
As Richard says though; get decent glue. I have a few bubbles to attend to. Either cut 'H' slots with a sharp blade and peel back the paper, glue, and iron back down, or a hypodermic and inject a little ova into the bubbles. It's a bit time consuming, but not a big deal.
This is where I'm up to. Next step is a coat of non-shrinking dope, and filling/ sanding, and onto paint. Richard has loads of tips to make this really easy. Im going to spray with acrylics and then wheel in a great mate of mine whose interest is 1/72 scale to a very high standard. He's going to airbrush the panel lines and weathering detail.
Then I have to try to not smash it to pieces!
Good luck; you'll love the kit!
Graham
-
Currently working on the Minogue-alike. Obviously, there is a considerable amount of product testing. It's a dirty job, but someone's got to do it.
We will of course have a bespoke NOB-friendly Kylie-clone, especially for you.
I'll get me coat...
-
Hi Richard,
The bubbling is not too bad. I did consider calling a halt until I had some other glue, but I experimented with the amount I put on, and thickness and the problem is not too bad. The aileron was an early attempt and is about the worse. I did the wing first and there are 3 bubbled areas on both the top and the bottom, so that leaves a lot that is fine!
It's not the end of the world at this stage as I can spend another evening or two getting these as flat as possible. I will change glues before my next brown paper excursion though.
Haven't looked closely at the positioning of the stacks, but they appear to be half on the cowl. is this right or are they further back?
There are various bumps and blisters on the wing on your model too. I'll look at the drawings and see what I can add.
Then it will be onto the cockpit...
Graham
-
Evening all,
Been busy in the garage today, so missed much of the fun on 'the state of the play'...
So, covering pretty much finished. I'm having a few bubble issues, but I'm sure I'll prevail.
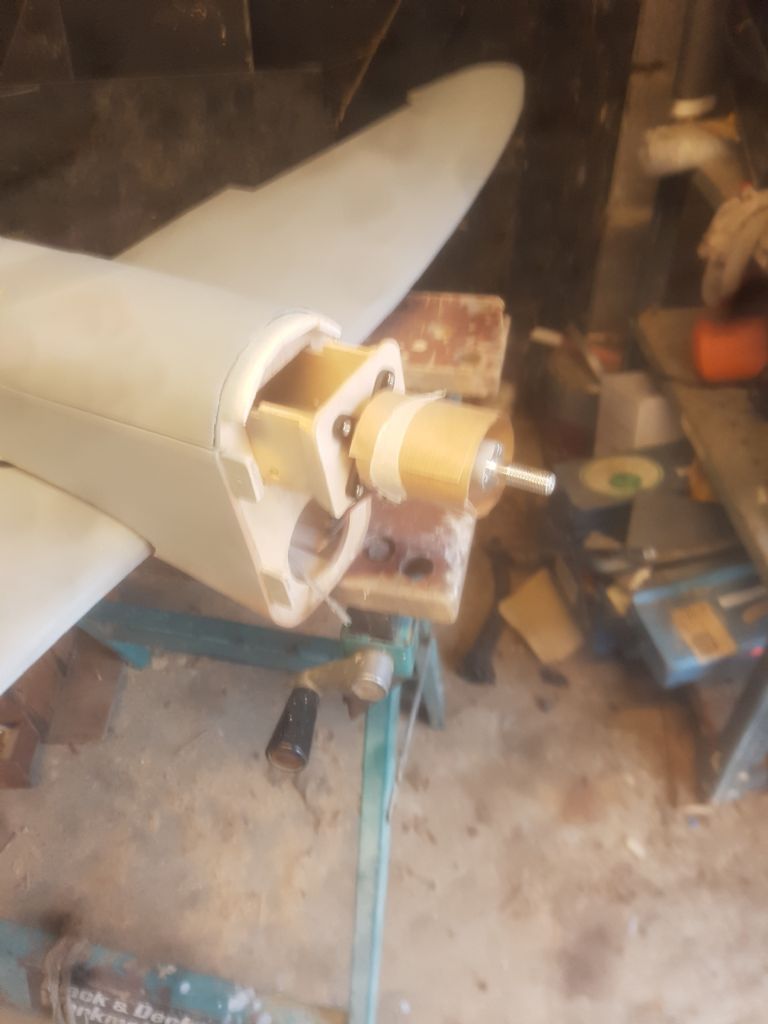
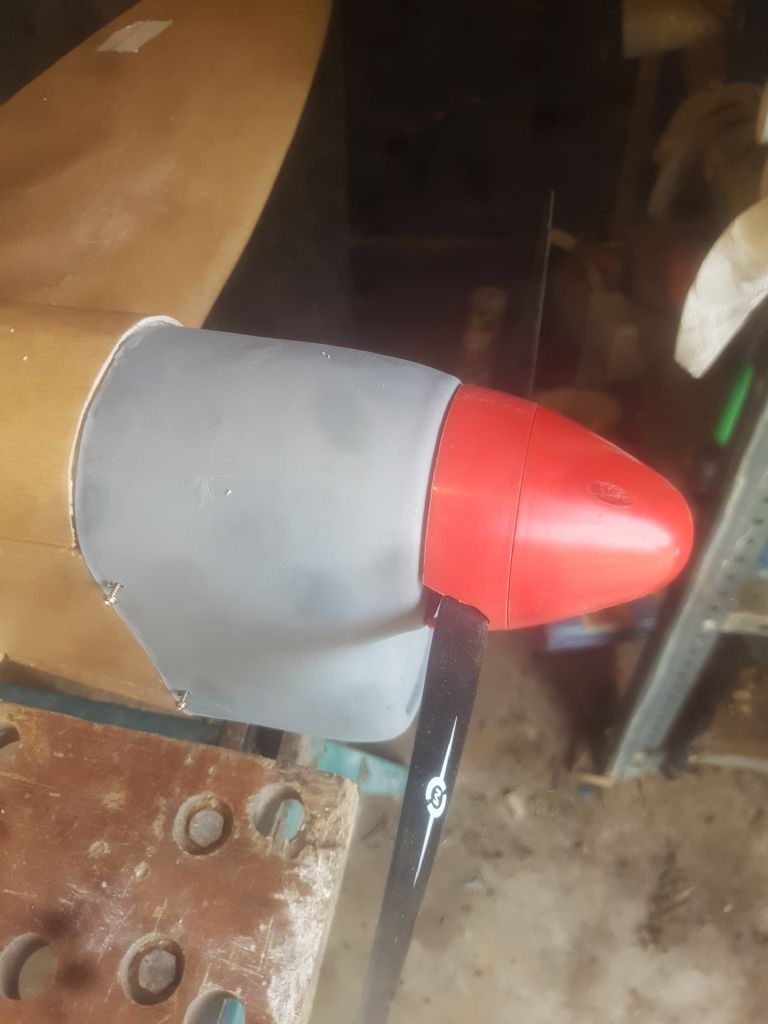
Otherwise, it's ready for a coat of non-shrinking dope, and onto paint. I've fixed the motor mount now so the spinner gap is nice and tight.
Not long now...
-
For all the good solid technical advice this forum has provided, it all falls into a back seat when compared to this thread!
I am actually working on importing a Chinese Kylie Minogue. We expect a reasonable facsimile, although at a slightly reduced scale, and with some questionable functionality. For most people, it will almost certainly be good enough. However, all good NOBs know the benefit of crafting their own...
-
I consider myself more of an Ambassador for Richard's Splendid Engineering.
Or so my wife says...
-
Ron, On the strength of that comment, you can take the rest of the day off on full pay!
-
I've actually gone upmarket and used Waitrose brown paper! Actually the only place locally I could get it! The PVA is a builder's grade and generally good, but clearly not as good as it could be! In fairness, there was one bubble on the underside and 2 on the top, so not widespread. I'll give it some attention later.
I'm really impressed though. A thought struck me whilst I was happily applying paper; I have an Acrowot in the loft awaiting refurbishment. If I sheet the turtle deck, I can cover it in brown paper and give it a warbird paint job. That would pick it out from the crowd!
-
Evening all.
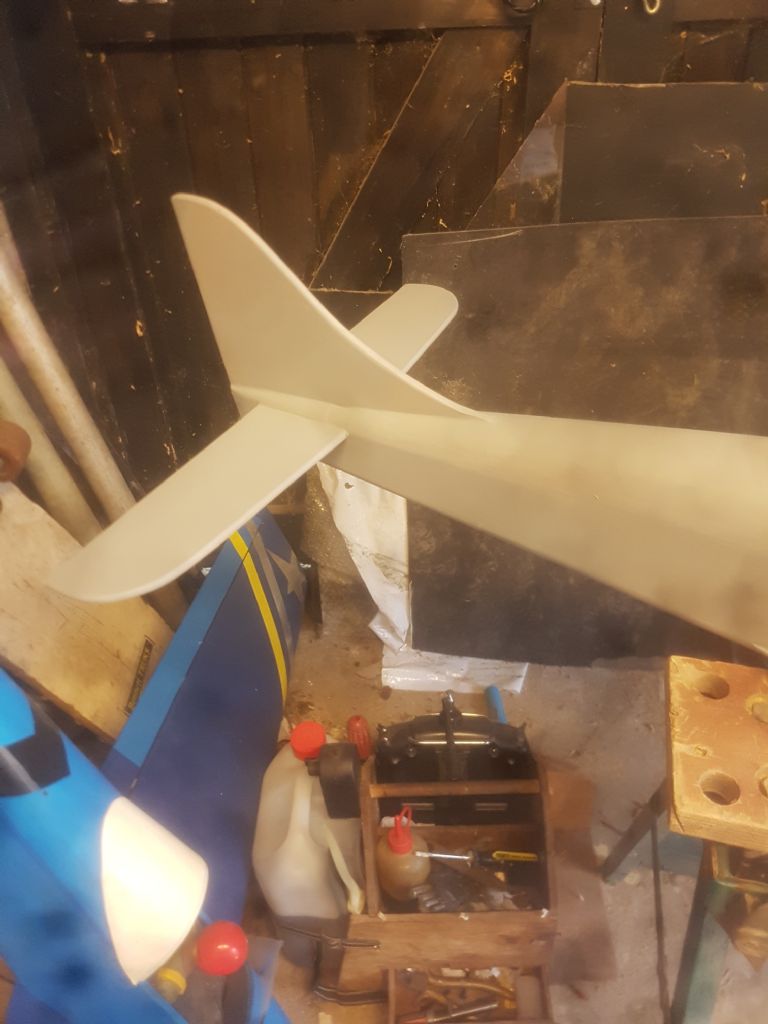
A bit more progress. The airframe is pretty much done. Sheeted under the chin and lined up the cowl today. Just completed the wing fillets which will just need a few strokes of the sanding block tomorrow. Motor is mounted to the motor/ battery box and just needs lining up to the cowl and gluing into place.
I covered the wing today using Richard's magic brown paper idea. So, how have I got this far without discovering this before? I pasted the paper with slightly thinned PVA, left it for a few moments and then ironed it on. Piece of cake! It irons on really well and goes around curved better than shrink film. Only challenge is a couple of bubbles where I need to inject a little PVA and tack it down. It looks great though and masks a lot of finish challenges that I would otherwise spend ages filling.
Fuselage and control surfaces to cover tomorrow, then a coat of non-shrinking dope, and then onto trying to avoid messing up the paint. Talking of which, I bought some great paint from my employer; Rapid electronics. I got Ambersil grey acrylic primer, which is a pretty good match for the underside, and Plasticote primer which is a darker grey for the top. £6 a can and next day delivery!
Graham
-
Thanks Ron.
Yes, it's moving at pace. I have since glassed the inside of the cowl. Well, some went on the cowl, most of it went on me, the cat, and random assorted things I touched and couldn't then let go of. I'd forgotten what a horrible job it is! I can now line up the front of the fuselage and will be then ready to cover.
The wings are finished. I have to say, they are some of the best quality foam wings I've seen. But taking a saw to them to cut the panels for the polyhedral is really scary!
Graham
-
Got a lot done today. The wings are pretty much done. I have used lightweight glass cloth to reinforce the centre join and will put a second layer on tomorrow. The ailerons are separated and lined with 1/8" balsa. I have completed the servo boxes, so once the second cloth layer is done, they are ready for covering.
fuselage is nearly done. I have carved and shaped the foam decks. The rear deck will not be sheeted, but covered directly with brown paper. I have sheeted the front deck. This is not yet fitted as I have still to cut it in half for a battery hatch. I'm not going to do this until I have glassed the inside of the cowl (awaiting some resin). This will allow me to adjust the height to get an exact fit to the cowling. Richard's idea to make a 'sliding battery box/ motor mount' is brilliant. I will be able to get an exact fit of the spinner backplate to the cowl once this is fitted.
Tail is fitted and drying. I have pre-carved some filler pieces and once these are fitted and the ply deck under the nose, it will also be ready to cover.
And then I need to start making it look like a Tempest!
Great, easy build so far.
Graham






Arduino programming for beginners.
in Gadgets and Electronics
Posted
Hi Chris,
with my work, I decided our company needed to understand Arduino/ Internet of Things and all the other 'stuff'. I bought an Arduino MKR 'kit' which included lots of bits and pieces, went to the arduino website, and followed a few projects. The first one took me ages, but then I started to understand what it was all about.
I created various projects that were work related. Such as scrolling messages on an LCD screen that changed when switches were pushed and triggered indicator lights (My company manufactured the switches and lights).
I recommend 'playing'. Try buying the MKR1000 kit as it has everything you need (even a mini servo!), and then google 'arduino projects' to get an idea on what the collective genii in the world are imagining. when your kit arrives, follow the basic instructions and try out the basic projects they give you.
It's surprisingly easy. If I could do it, anyone can!
Graham