-
Posts
8,533 -
Joined
-
Last visited
-
Days Won
4
Content Type
Profiles
Forums
Blogs
Gallery
Calendar
Downloads
Posts posted by Chris Bott - Moderator
-
-
All documented in this thread, Jon. You can see how long we've had them.
I'm just converting mine to 6S Lipo with the battery hatch being the exhaust deflector area.
-
Excellent, it's really nice to see the fruits of a design when it's put together by someone else. Thanks Phil.
-
This is very off topic so I think if further discussion is required we'd better make a new thread or move to an existing one on this subject.
The spinner was printed on a Creality Ender 3 Pro. But only having had the one printer, I can't claim to have much knowledge on chosing one. This printer proved to be a good one to start with, particularly at that price point.
Most of this will sound negative, don't let that put you off, it's just a list of some of the frustrations.
I did find it tedious to have to level the print bed for almost every print, but it just needs doing. I've added a number of upgrades, most of which are cheap enough to buy. The best one though has been "auto bed levelling" but that required both adding of hardware and an update of software. Doing the software required connecting to the main PCB, using the Arduino IDE and making config changes in the actual firmware, so it's not for the feint hearted.
I think more importantly, you need to be able to design your own objects so it's equally important to find a way to do that. I'm still trying to learn the Fusion 360 software package and am doing OK. It's still hard to pick up again if I have a break from it though.
More recently I've been having trouble with print settings and there can be hundreds of settings, depending on the slicing software you use. I believe it's down to inconsistency in the PLA materials I'm buying, but it could be wear in the machine or something I'm not understanding yet. It's frustrating to have bad prints come off just because you've started a new reel.
-
Thanks Phil. Useful info. I guess I installed those a while ago.
-
Wow look at that! Hasn't that come up nice?
-
Posted by Andy48 on 30/05/2020 12:44:23:
Nope. Dead easy. Install Companion on the computer first, and as Peter says you must use the right radio profile before installing on the Horus.
Not quite up to date, but fairly close: **LINK**
One distinction some folk miss is that you must chose the right radio profile even before you use companion to download the radio firmware. That's beacause it then downloads the specific firmware version, according to the profile choices you made.
-
Looks great. You're right, the display does look the same. What a shame the pinouts are different.
-
That's great news, thanks Dennis.
-
Hi Dennis,
No, I always see a white screen for a second or two, then that gets replaced by the expected screen. I've never had one stick at white.
-
Blimey, that's a complication you could have done without. Well done on persevering. I look forward to seeing your finished unit.
-
Dennis, if you're still looking in, I've calibrated 3 new meters this evening and all 3 couldn't be adjusted quite enough on the current range. I can only assume that this batch of resistors have slightly different values to ones I've used before.
So, I had to alter the multiplier in the line measuring current to 45.
i.e:-
Amps = (((Atemp+LOOPS/2)/(LOOPS))*((1.1/1023.0))*45*TrimA)+0.11 ; -
Hi Dennis. That's sounding very positive.
All I do, to be honest, is:-
- Adjust volts - Apply a voltage to be measured, I tend to use a 1S battery for this because that's the typical use case, and check this voltage at the same time with a multimeter. Adjust Trim V until the readings match. Then if you like, try at other voltages.
- Adjust amps. This is a little more tricky as you need a source and a load so that current passes through the unit. I use a bench power supply that has a current limiting adjustment and a car headlamp bulb. I put a multimeter in series with the bulb, on it's 10A range. Then I adjust the current to something like 2A on the multumeter and adjust Trim A to make the wattmeter read the same. I then try at around 1A just as a check. Without the adjustable supply you could use a battery but will need a load that will draw an amp (or two amps). The actual value doesn't matter as long as you can read it with the multimeter in series at the same time. Even powering a model via the wattmeter and a multimeter in series will do, although you may find there's too much volts drop through all those wires to allow the model to start up.
-
Hi Dennis yes the latest version is V0.3.
Here's all the links etc in one place.
Sketch OLEDPwrMtr V0.4.ino (V0.4 includes the change to the line three posts down).
.stl file for PP3 Battery Box
.stl file for Middle section
.stl file for Bezel/Front is from the bottom of this page on the Bitsbox website
Bill of materials
Edited By Chris Bott - Moderator on 02/06/2020 21:31:01
-
Welcome to the forum Martin. That Stampe is looking great. Keep us posted on progress.
Edited By Chris Bott - Moderator on 23/05/2020 22:28:58
-
Dennis, thanks for pointing that out, the 1uF tant is indeed C1 and not C2. I'll correct the bill of materials. -ve end goes to ground which is a thicker PB track.
-
Posted by Paul Marsh on 22/05/2020 12:22:03:
Did have Taranis, but even I couldn't get round the logic, could not even reverse the throws on a basic 4ch model and Found that to reverse, you altered "weight" whaaat? does not compute!
Absolutely incorrect, Paul (Although it would work). To reverse a channel you go to the outputs page, i.e. the one that relates to the output of each channel and you just reverse the direction. Couldn't be simpler.
The mistake people make is looking to do it the same way as other makes with their prescriptive menu system. Get your head around OpenTx and what each of its few pages are for and it's pretty simple, really.
Everyone is different though which is why different systems suit different people. Nothing wrong in that.
-
Thanks everyone.
Phil I'll send you a PM
-
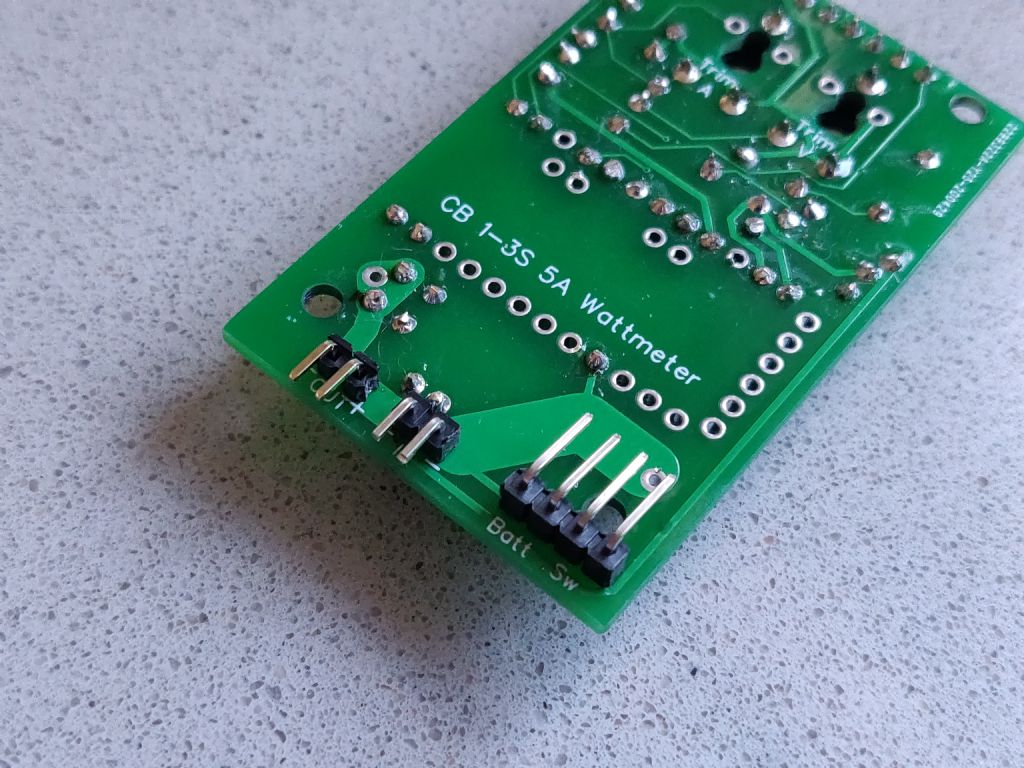
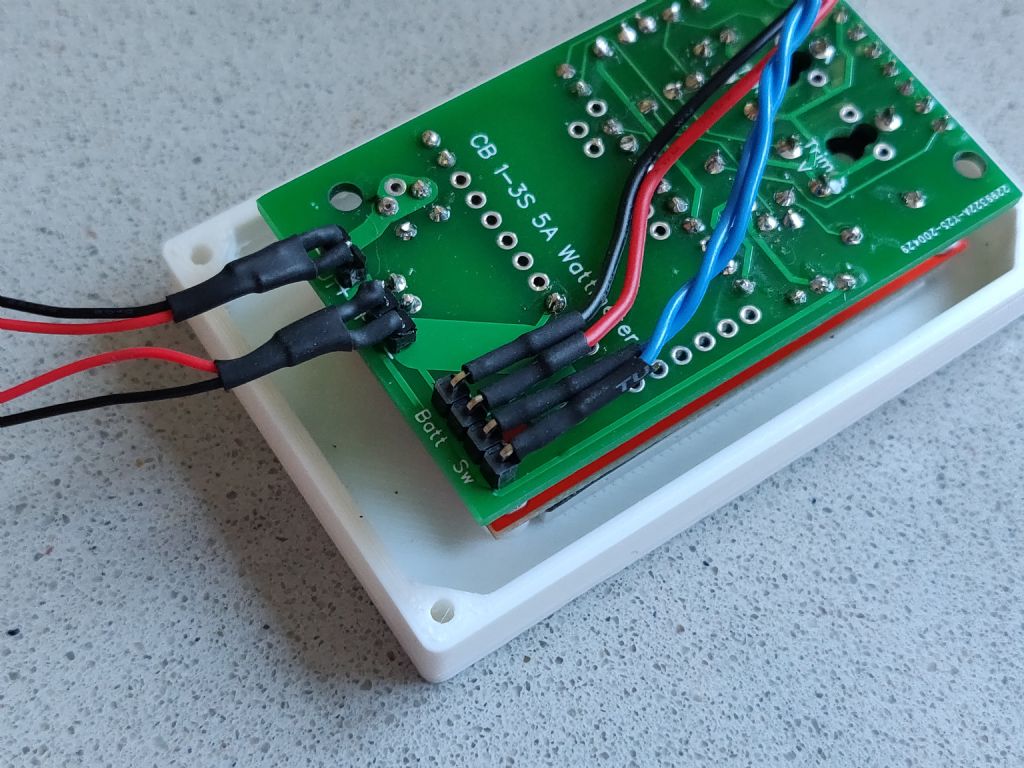
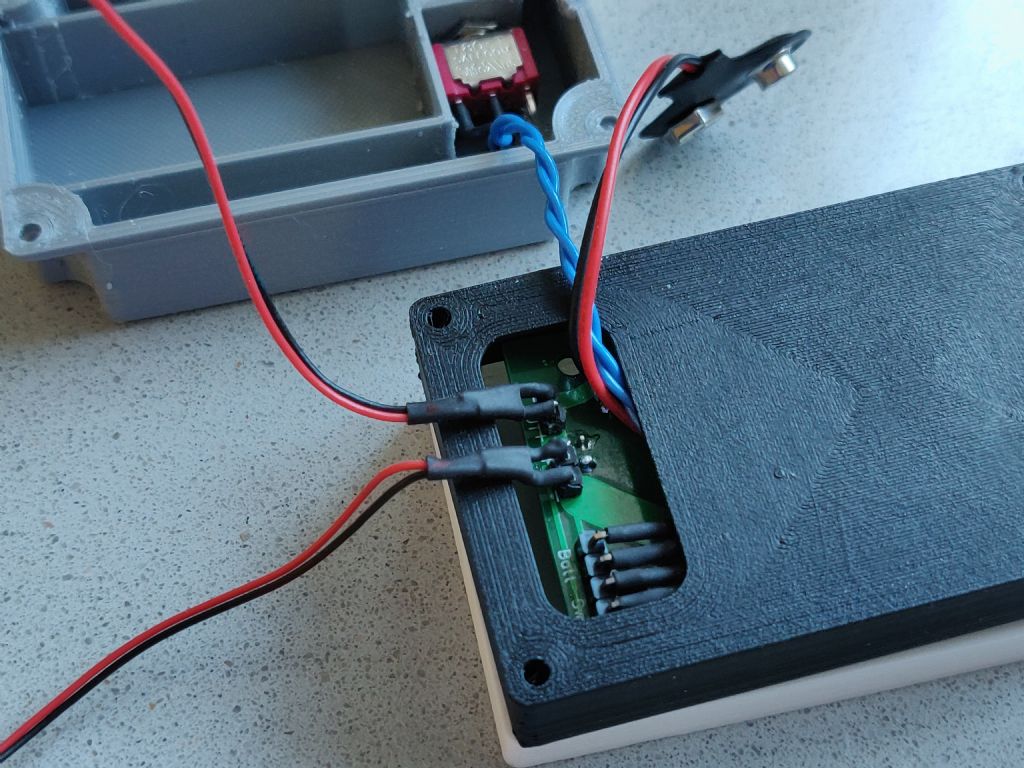
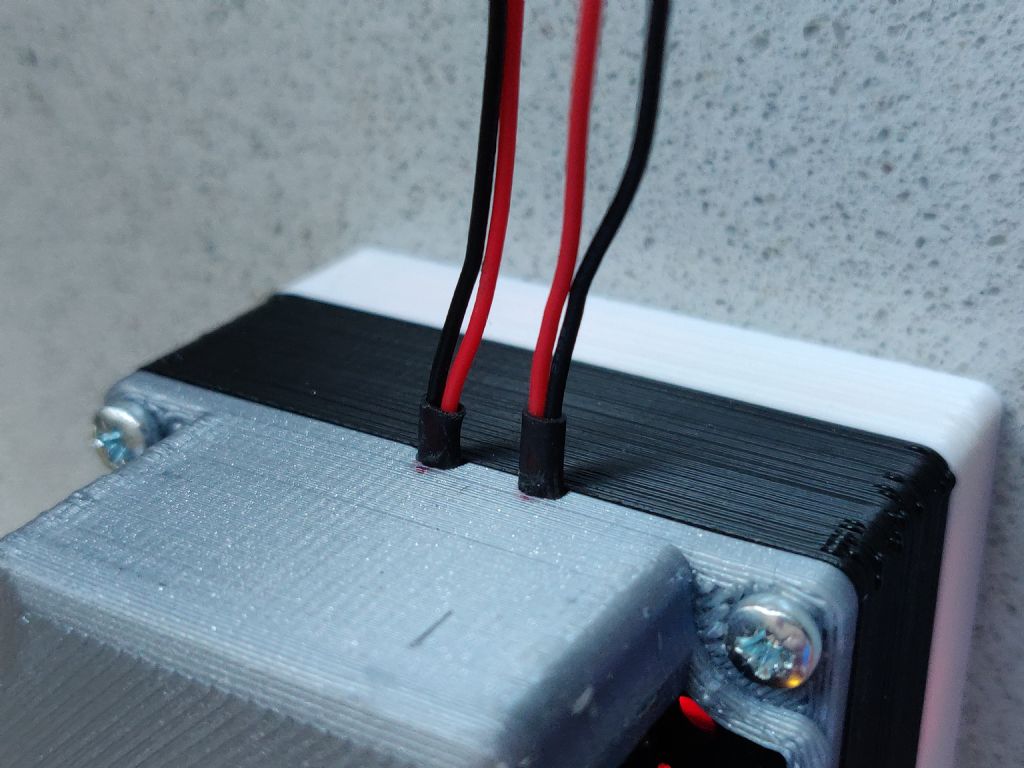
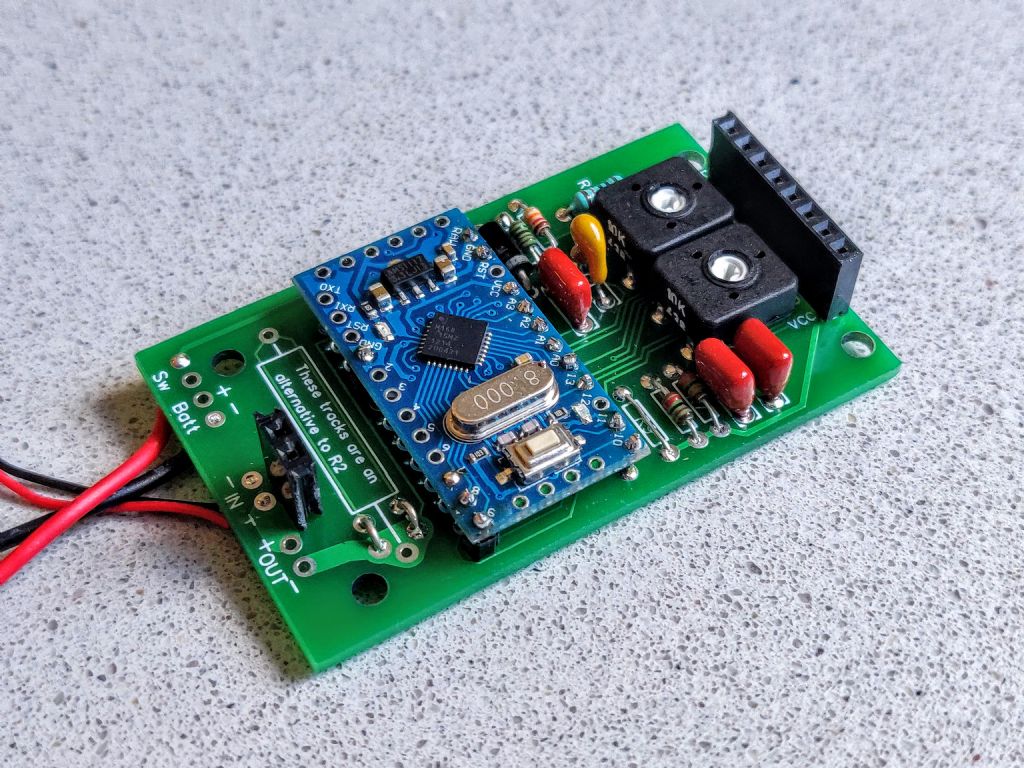
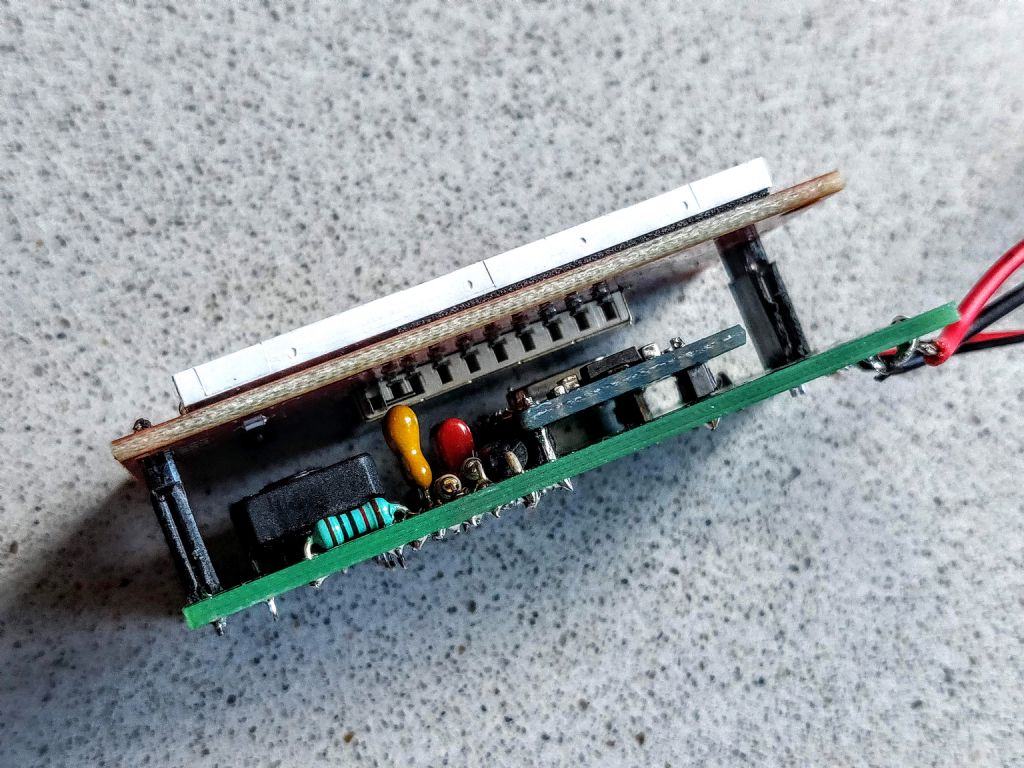
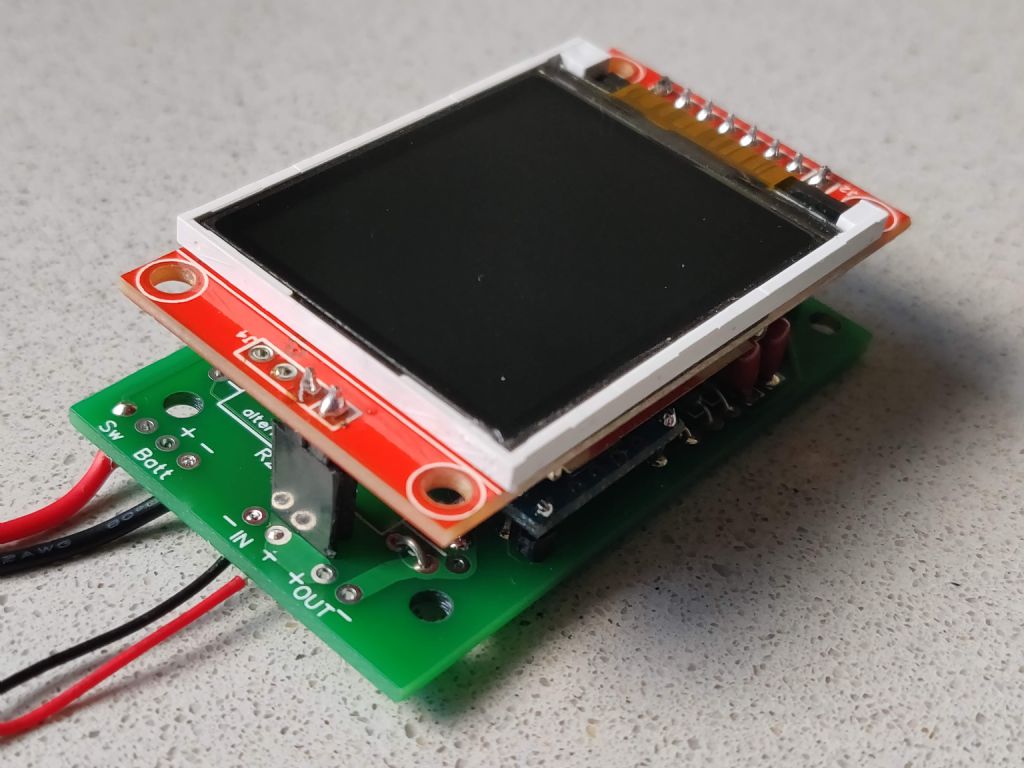
So with one kit, two cases and two PCB posted out and a fully built one on order I thought I'd better post how I finished the built one off.
I think the pics are self explanatory. There's a little bit of "dressing" of the wires to do to make sure the PCB isn't lifted off its connectors. Some heatshrink has been added to try to afford a little strain relief and the case has been filed to accommodate the flying leads.
Edited By Chris Bott - Moderator on 19/05/2020 15:48:22
-
Hi Robert. Welcome to the forum.
What are you hoping to do with your models? Stick to drones? Take up photography with them or maybe racing? Or move on to planes or helicopters?
-
Andy I did wonder about this well before Neurons appeared but never did try anything.
It shouldn't be too hard to, at least, alarm if the difference between RPMs is above a threshold. The pilot could then elect to take action. Maybe reduce throttle or even deadstick to landing.
-
The multiplier is in the Tx, Peter.
Edit the RPM telemetry parameter and there might even be two adjustments available IIRC.
-
Thanks Danny.
Right - we now need to discuss kits of parts etc. I'd like to keep costs down as far as possible for everyone. I'm up to around £120 spent on development parts. I don't need to make that back or break even or anything but would like to make a dent in it at least.
Which way would anyone interested like to go?
I will list a set of part numbers available from bitsbox.co.uk. (There are plenty of other suppliers).
As well as that list, builders will need PCB, 3d Printed case, 4 screws, flying leads to suit your batts/models.
I could do pre-programmed arduinos, I could supply full kits, I could build fully tested units.
So, my first stab at prices are these:-
- Complete, built and tested - £40 you'll still need to add flying leads - post at cost.
- Full kit - £30 - you'll still need screws and flying leads. - post at cost.
- PCB - £2 each + £1 postage (I've done that before)
- 3d Printed case - £10 - post at cost.
- Pre programmed arduino on it's own - £5 - post at cost.
Obviously I'd combine post, not interested in profiting from that.
I'm not keen on buying stock just in case I get an order, so all orders would be subject to a short delay while I get the parts.
Here are the parts that can be had from bitsbox.co.uk
I'm quite happy to be flexible, take suggestions, buy in the right flying leads if we can identify them and a suplier, etc etc.
Edited By Chris Bott - Moderator on 23/05/2020 11:52:47
-
-
Peter - thanks for the update.
I'm hoping for a component delivery today so I can move this along.






Seagull 80" DH Chipmunk
in Scale and Semi-Scale kits
Posted
The sea fury does have quite short wings. I always notice that when i fly mine.
They look great though, just a shame they dont make any noise.
Lack of noise is a huge bonus for me. Each to their own, eh?