

.jpg.7951d02cee4f9c5d1c8e168209950a0e.jpg)
EGB 953
-
Posts
124 -
Joined
-
Last visited
Content Type
Profiles
Forums
Blogs
Gallery
Calendar
Downloads
Posts posted by EGB 953
-
-
So I set out today to do the fuselage. Unfortunately, there was an error with my order and I was sent the wrong engine mount so I couldn’t drill the mounting holes.
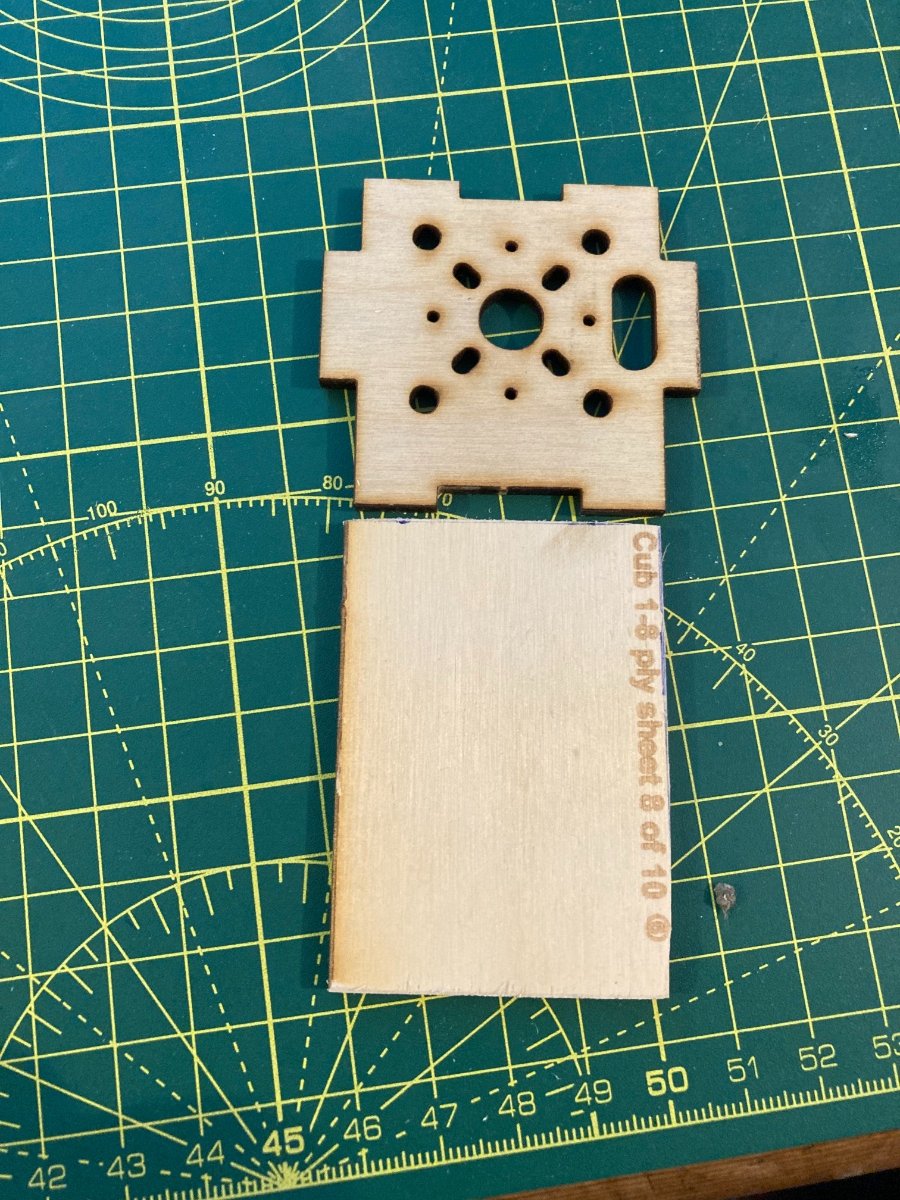
However I am following the rest of the instructions/video and I trial set up the engine mount ply box. It is as I thought, not strong enough for the engine so I used some left over ply to make a second firewall which I will glue to the supplied one. I will fuel proof it with some epoxy.
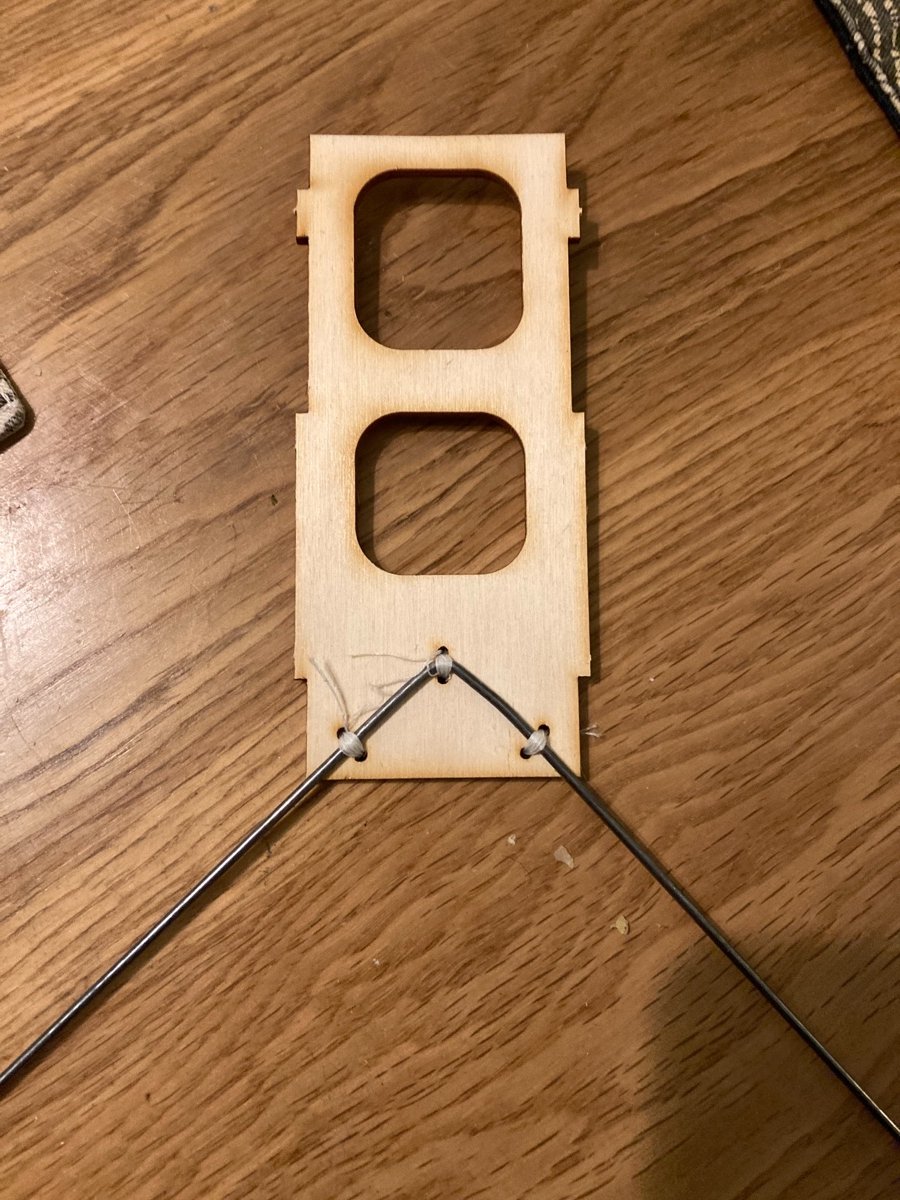
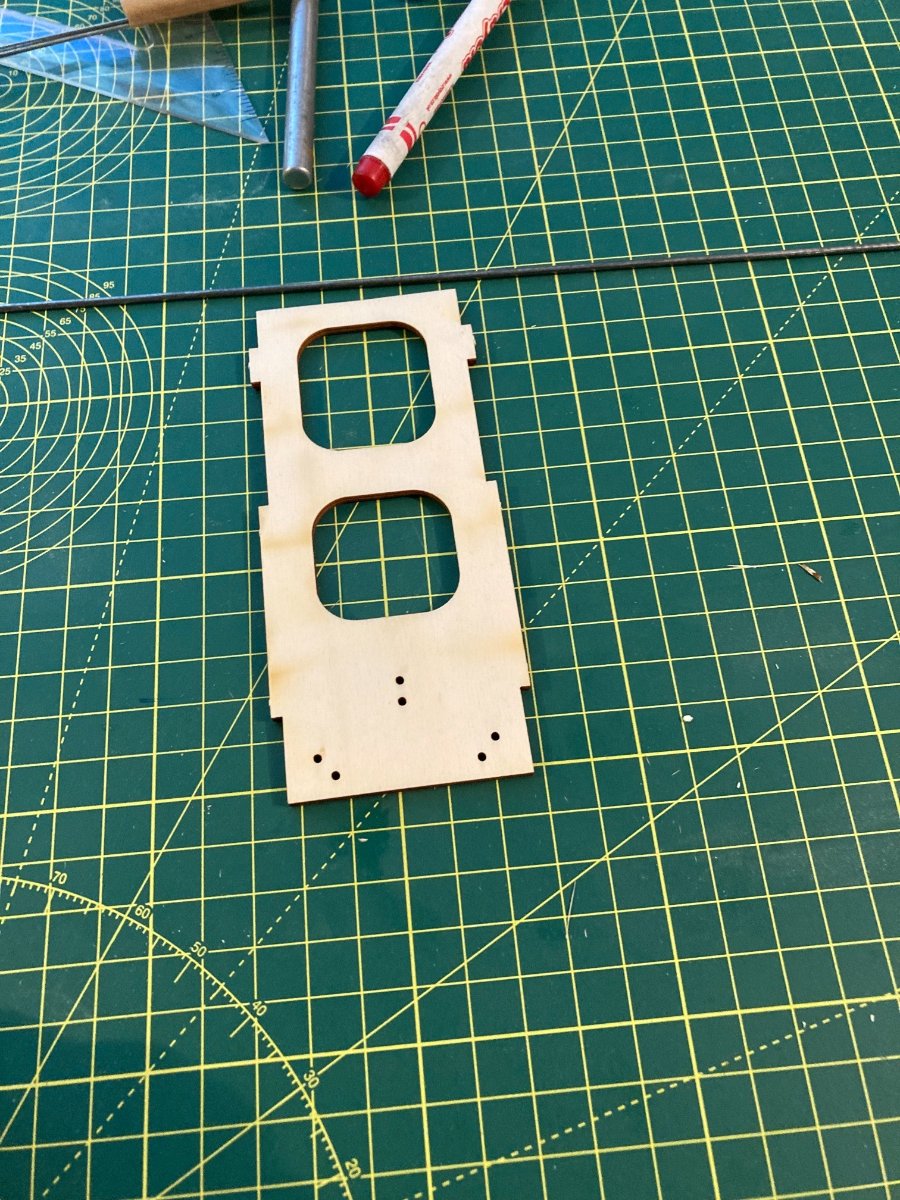
I then set to making the landing gear, which involves cutting then bending the wire to the correct shape. Cutting was a bit difficult but the evening was easy. I then stitched it to the ply former and tomorrow I will epoxy it while chasing up the engine mount.
again, I would really like to have a plan to consult rather than the video. Much easier and as parts aren’t numbered either would save some time.
I also found the 4 ounce tank is too big for the narrow fuselage so I will go with the 2 ounce one which will fit nicely and there’s room for some foam to keep it cushioned.

-
8 hours ago, EarlyBird said:
What force is required to make it straight?
Very little I would assume.
Just looked at the build video.
We can stop talking about building boards and pins.
This is a self jigging slot together build.
I would slot the wings together and check for straightness this is all done before applying glue. Then take a photo as I am interested to see how it looks.
Thanks for the advice. Much appreciated.
-
10 hours ago, EarlyBird said:
Assuming the spar is 1/32 or 1/16 then the force required to pin it to the board will be minimal and have no effect on the straightness of the finished wing.
It is 3mm ply. Do you mean it shouldn’t be a problem?
8 hours ago, EarlyBird said:What force is required to make it straight?
Very little I would assume.
Just looked at the build video.
We can stop talking about building boards and pins.
This is a self jigging slot together build.
I would slot the wings together and check for straightness this is all done before applying glue. Then take a photo as I am interested to see how it looks.
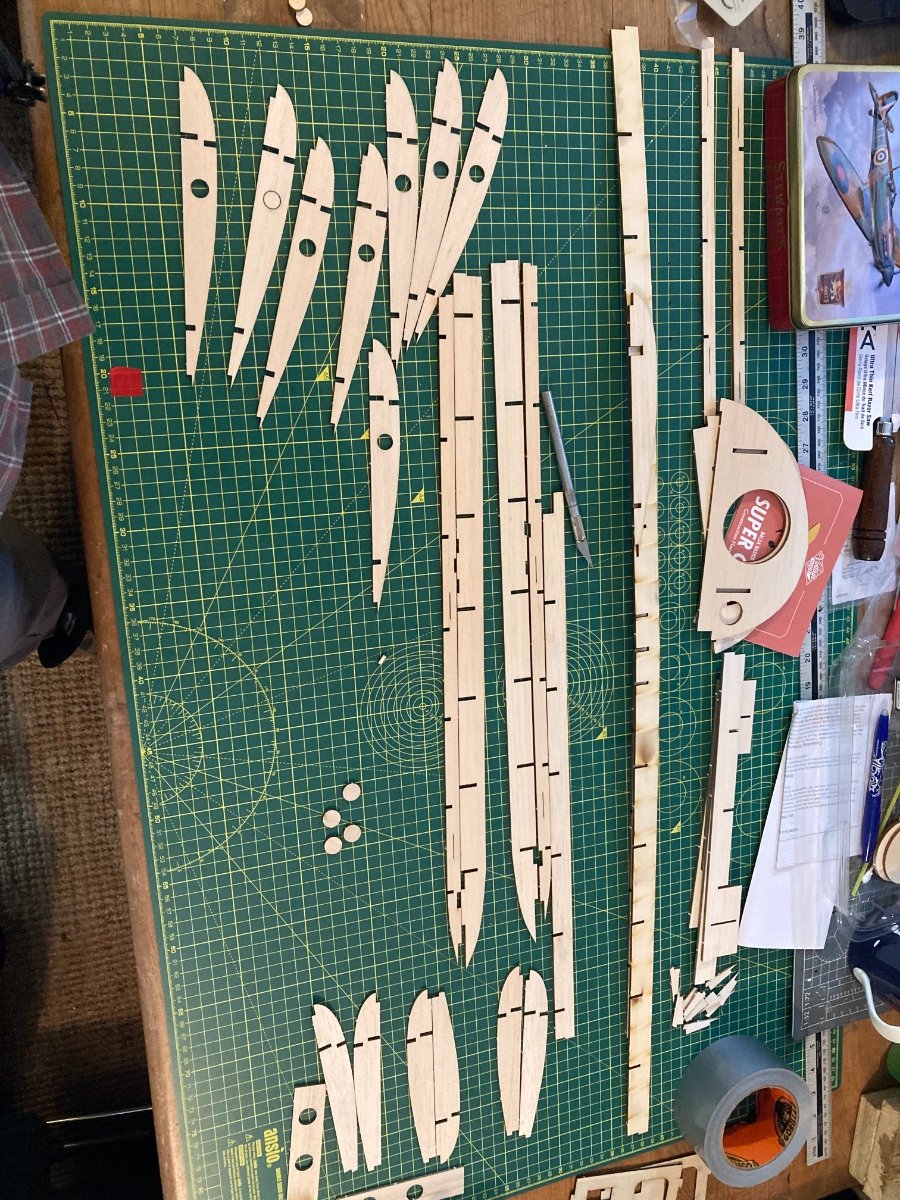
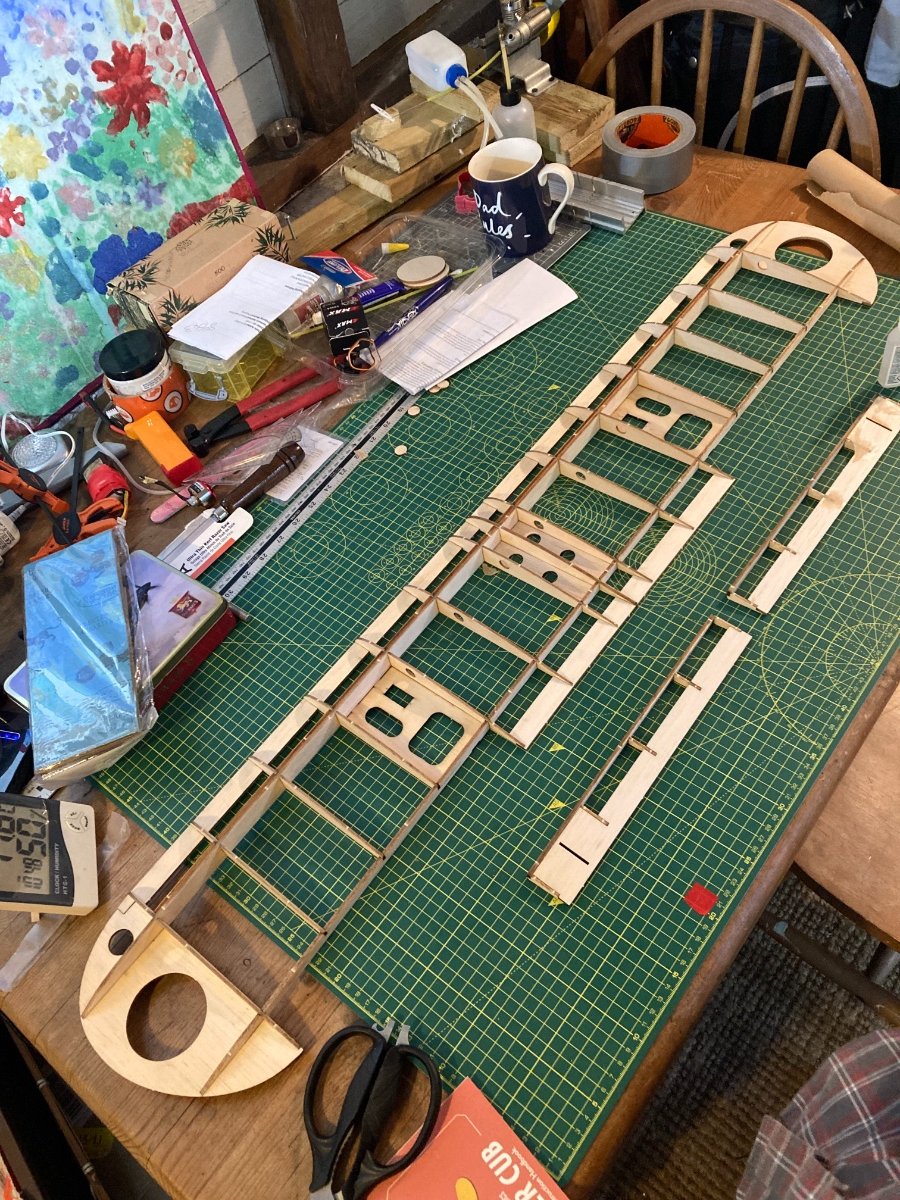
So following the instructions I got all the components for the wing out and separated. Came away easily and very neat too. These laser cut parts are excellent.
Then onto putting it together. Despite the warped main spar it goes together easily and very quickly and in around twenty minutes it was ready for gluing with the warp almost imperceptible. Sometimes the video is hard to follow because the impressive young chap who does it moves to quickly and you have to try abs figure out which piece goes where. A few shots without his hand sun the way would help- as would a full size plan!
A little bit of testing suggested that the gluing would remove the rest of the issue so I went ahead.
I confess I had forgotten how awkward super glue is with balsa especially the recommended thin cyano but I Confess it makes it easy to glue. So a few minutes later and it was done. I puts some grease paper underneath to I didn’t glue it to the Mat. This was sensible as it did run through in a few places.
I then left it to fully dry and made the ailerons which were a bit fiddly but went together easily enough.
Tomorrow I will sand the aileron edges and tidy up any sharp edges on the whole wing. The holes are cut for the hinges but they will need covering first.
then I will start on the fuselage. As I am going to put a nitro engine on I am going to double the firewall with another sheet of ply. Then add the engine mount after I have drilled the holes for mounting it. I will then have to see how the fuel tank fits. I have a four ounce and a two ounce. Not sure which to use - I do want to keep the weight down but two ounces may not provide very long flight times. So, TBC.
enough for one day but I must say I had forgotten how enjoyable making your own plane is.
-
 2
2
-
-
3 hours ago, EarlyBird said:
What force is required to make it straight?
Very little I would assume.
Just looked at the build video.
We can stop talking about building boards and pins.
This is a self jigging slot together build.
I would slot the wings together and check for straightness this is all done before applying glue. Then take a photo as I am interested to see how it looks.
Thanks. Will have a go this afternoon.
-
1 hour ago, EarlyBird said:
Assuming the spar is 1/32 or 1/16 then the force required to pin it to the board will be minimal and have no effect on the straightness of the finished wing.
It is 3mm ply. Do you mean it shouldn’t be a problem?
-
43 minutes ago, Andy Gates said:
I agree with Keith on this one.
Wet the spar with a misting spray bottle on both sides and then weigh it down while it dries. If you are in a bit more of a hurry then steam the ply wood and again weigh it down until its dry.
I would not like to build a wing on a deformed spar.
That’s my concern. Thanks for the tip!
-
Having returned to the hobby after around ten years away and the last time I built a balsa model more than 35 years ago, I opted to start with something that looked fairly easy. The vintage model company 4 channel cub trainer looked the part with laser cut parts a simple design and video guides. Now I have an old Thunder Tiger 15 which I am going to use, so a bit of engineering needed as the cub is designed for an electric motor.
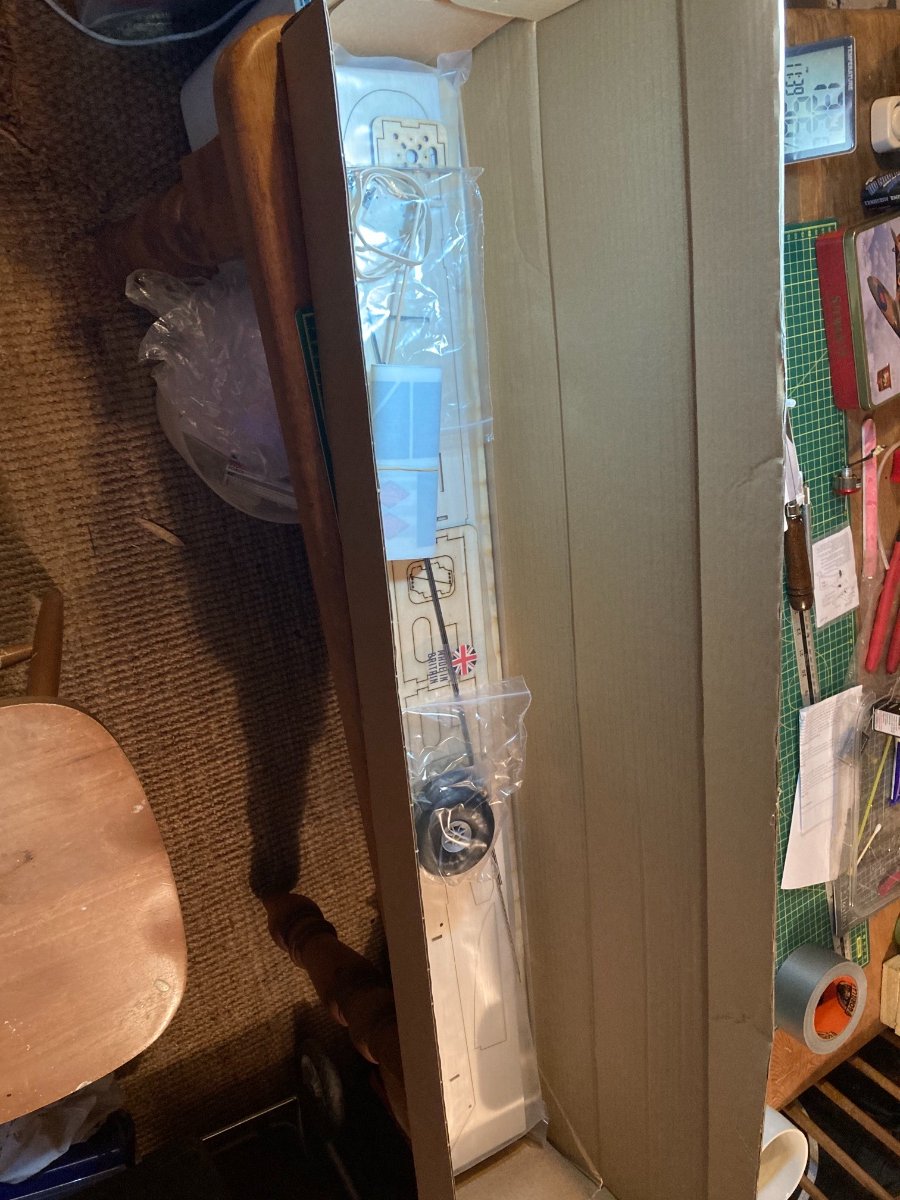
I ordered the kit and it arrived in a couple of days, I must say the service is impressive. I got a few extras to help with the build. The box is nearly
packed and The wood comes nicely sorted and sealed in plastic and the extras are all there. Especially positive are the great lol looking wheels.
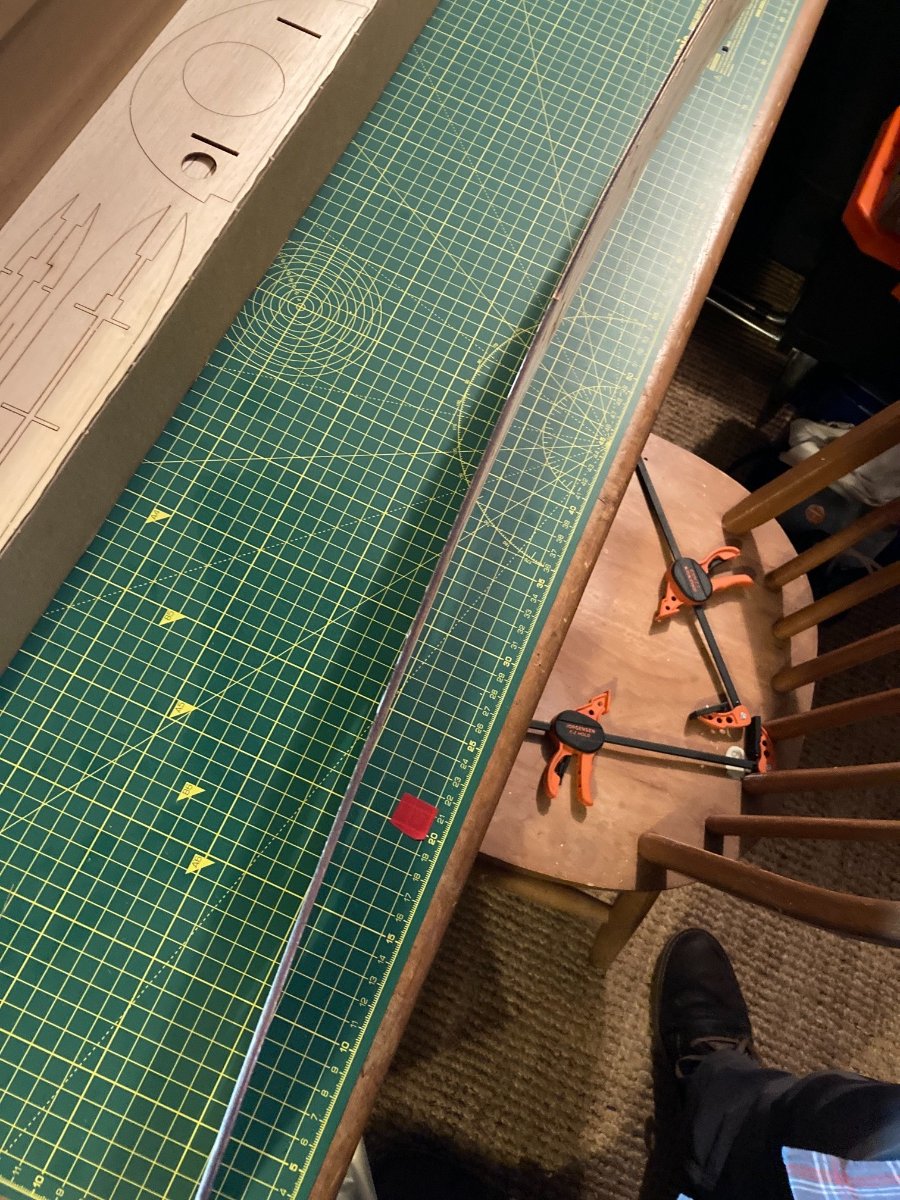
I wanted to start with the wing as that doesn’t require any modification and would get me started quite quickly but hit my first hurdle a, quite badly I think, warped main ply spar. See the photo.
so my first question - how to eradicate the warp? I have it sitting overnight with a reasonably light weight pressing down to correct it but I am not sure that will be enough.
-
22 hours ago, kc said:
I metre is really quite small for a Cub and will be a tricky model to fly if overweight, so ensure it's built light and use a film type covering not 'tex.
Solartex is always considered much easier to use than Solarfilm as it goes around complex curves more easily. Same would apply to other 'tex materials. Solartex and other 'tex materials are considered to be more scale like as they are not glossy However for a small model you really need to use film as it's lighter and Supershrink Polyester from Solarfilm would seem right as it's currently available in Cub Yellow.
If you have not used heat shrink film or 'tex before then be sure to watch the Solarfilm video which shows the inventor - Derek Hardman -giving all the tips you need. It's on Youtube as well as on DVD. It will be an hour well spent. 2 tips he gives are leave plenty of excess at wingtips to get it around the curves and don't overheat with a heatgun but use a sample to get the iron to correct temperature. All his tips would apply to other makes too.
The HobbyKing film is fine & cheaper per metre as it's 5 m rolls. but not always in stock in many colours.
Thanks KC!
Great advice.
-
18 hours ago, martin collins 1 said:
I use Polyspan on all my models that size, light weight, looks like tissue but MUCH stronger, great base to spray on to as well.

Looks great, how easy is it to apply? And, can you brush paint it?
-
13 hours ago, ken anderson. said:
check out rapid rc,they have a good selection of covering,i heard mention that some of the film they sell is hobbyking stuff... they do excellent mail order also.
https://www.rapidrcmodels.com/
ken anderson...ne..1..... film dept.
Thanks!
-
46 minutes ago, David Davis said:
EGB you don't tell us how big your Cub is. If it's more then 5 ft/ 1.5 metres in the wingspan, I'd advise using Oratex. If it's less I'd use a film.
It's smaller, (1m), what is "film" and whats the difference between Oracover and Oratex?
-
About top purchase my first kit in 20 years. Cub, am going to cover in standard cub yellow but am confused about which covering material to use. Recommendations and guidance on what the differences are would be much appreciated.
-
Thanks for all the advice, going to try running it this weekend on the bench.
-
1
-
-
On 02/10/2021 at 16:00, J D 8 said:
The carb barrel stuck. A soak in some fuel and some warmth from a hairdryer will free it.
So, I don't possess a hair dryer, but a good soak in some fuel and whacked in the oven for 5 minutes on 180c. Thank you for the good advice. Took some effort but came out eventually. Now all cleaned up. My only challenge is I don't know how far in the spray bar goes into the venturi ...
-
1
-
-
On 02/10/2021 at 22:00, Nightflyer said:
The Mini Super is a great little flier, not quite as stable as its bigger brother but only to be expected being a smaller model, but the performance is pleasant and forgiving enough. I have a soft spot for the Keil Kraft and Veron designs of the day. I quite fancy building another and have the plans when I get time. Having built a Super 60 before and enjoyed that very much. Although many years ago not long after Instarted rc flying at a Hastings club auction I got a Super 72 that was a scaled up 60 built to fly across the channel, which it had done successfully. So hope that kind of gives some background of the pedigree of the design family.
Thanks for the advice, much appreciated.
-
Thanks will try that. It is being very stubborn!
-
1 hour ago, J D 8 said:
Irvine 46 head I am working on before and after 15 min's in boiling water and then a Dremel with rotary stainless steel wire brush. [ fine stainless is quite soft, softer than normal steel ] Good thing is you can get the crud from between the fin's.
That’s superb. I may try boiling. Nothing else is working.
-
45 minutes ago, Kevin Fairgrieve said:
I use an ultrasonic cleaner on mine.
Just so happens I have one cooking right now.
Looks very satisfying!
-
So, oven actually helped except for the bit of the carb that controls throttle (don’t know the correct term). It is jammed and I can’t get it out. Any advice on what I can do?
-
I am cleaning an old gummed up 0.15 thunder tiger. Pretty gummed up, can’t get the back plate off. Will a short spell in the oven help? Low temp?
-
Good advice. Thanks. What’s it like to fly?
-
2 hours ago, kc said:
You could get the Mini Super plan free on Outerzone and print it out on an A4 printer 'tiled' or put the pdf on a memory stick and take to a copy shop for printing.
Many other plans on Outerzone too together with the build articles and some books.
My advice is to make sure your .15 engine runs OK before building a model to suit!
Very good advice! I am going to clean it up this week.
-
14 hours ago, Jim Carss said:
Mini Super great little model and flies a treat
14 hours ago, Jim Carss said:Mini Super great little model and flies a treat
Looks good, I see you added ailerons and flaps, did you reduce the dihedral? How easy was it to build?
-
15 hours ago, Martin McIntosh said:
A Mini Jazz would be ideal for it, not a scale model but simple and cheap to build, great fun to fly as well. If anyone else looking at this is interested I may be persuaded to part with my OS 15 LA, ex Mini Jazz.
I will investigate, thanks for the suggestion, my building skills are fairly rudimentary so it sounds ideal.


![DSCF0227[1].JPG](https://forums.modelflying.co.uk/uploads/monthly_2021_10/273382079_DSCF02271.JPG.85a5ce7f9d3c76ea928d2ac2fb1cdc9e.JPG)
![DSCF0228[1].JPG](https://forums.modelflying.co.uk/uploads/monthly_2021_10/2081849358_DSCF02281.JPG.e0d6b6744dea4748411011851f2c4e86.JPG)


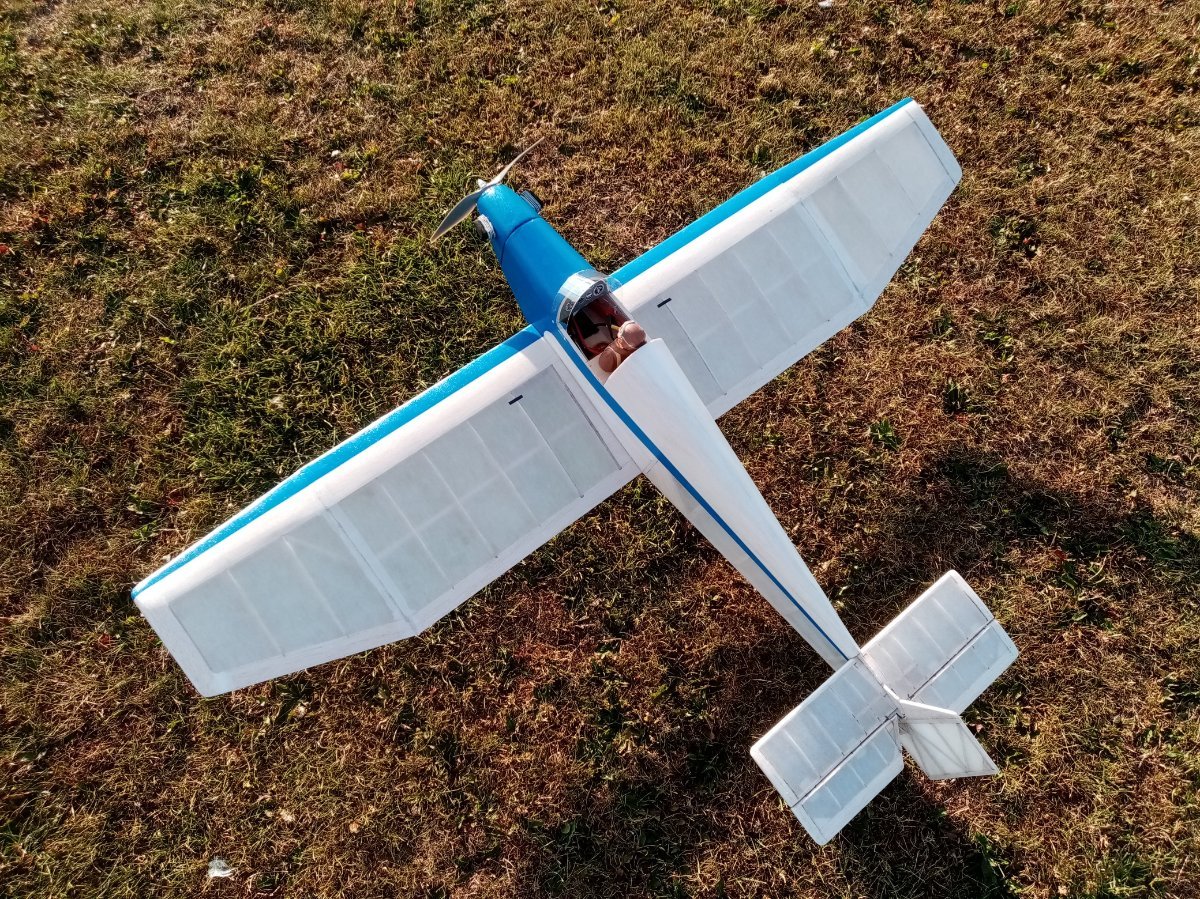
Vintage Model Company cub 4 channel trainer.
in Beginners
Posted
It’s the Ansio A1 self healing mat, bought on Amazon.
The spitfire looks nice.