
John Timmis
-
Posts
577 -
Joined
-
Last visited
-
Days Won
1
Content Type
Profiles
Forums
Blogs
Gallery
Calendar
Downloads
Posts posted by John Timmis
-
-
Hi all.
I'm looking for a new project, don't like to have an empty building board for too long. This one has been on my 'To do' list for a long time, trouble is I can't find my copy of the magazine. Can any one help please. I can download the plan from Outerzone but it does not show the front fuselage for the DW1a version (inverted engine) which is the one I fancy. The drawing for the inverted engine was shown on a separate page of the magazine. There was also a good 3 view drawing in the mag.
thanks in advance.
Cheers John
-
Hi
Nigel, Levanter thanks for the replies.
The motor is accessed through the hole behind the spinner, you just need a long Allen key. The motor is fully enclosed . I did make an extra cooling slot in the bottom of the cowl for the motor. I was glad of this when, having fitted the prop & spinner, I came to unscrew the prop nut & the motor spindle turned with the nut & the motor could not be held. Fortunately ,It was possible to insert a length of hardwood through the cooling slot to engage with the slots in the motor casing.
The wing has 2 servos in the center section, one to drive the ailerons via bell ranks & the other to drive the flaps via pushrods & rotary drive. I did it this way because: I already had suitable servos, I wanted to avoid a very long horn on the flaps ( necessary because they are bottom hinged), I like to try new ways of doing things.
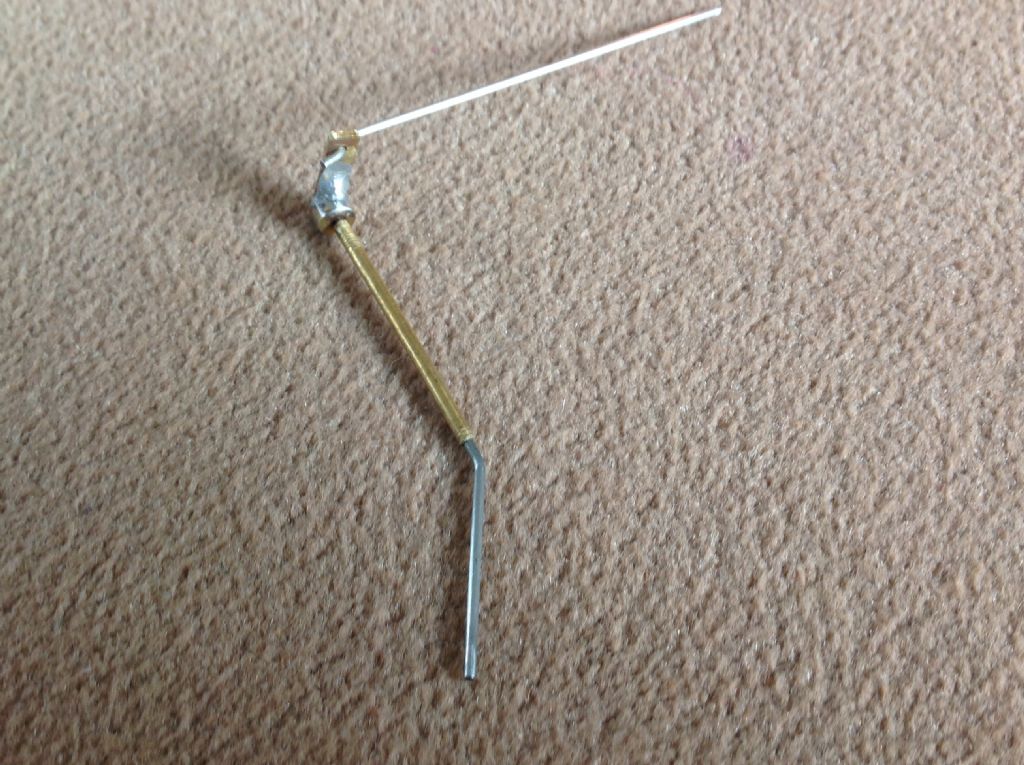
I didn't take any photos of the build so I can't show the installation. The drive was cobbled together from bits that were in the workshop ( brass tube , piano wire, couple of collets, Paxolin for the flap boxes). it all works well, the essential things are that the bend in the torque rod must line up withe the flap hinge pins, the torque rod must be a good fit in the flap box.
The photo shows the working pieces, the flap box is 2 rectangles of paxolin separated with ply spacers, I think the torque rod was 14swg, don't make it too long.
Hope this helps. Good luck if you try it.
Cheers John
-
Hi Folks
So how did it go then?
Too exciting by far. More of a first "FRIGHT'.
Saturday morning , batteries all charged ,nice day; what could possibly go wrong?
Well the flight proved two things: there was plenty of power & the c/g was too far back. It really was uncontrollable but was gaining height fast. At fair height the motor was throttled back & I managed to find a rather twitchy trim which enabled one circuit of the field & a safe landing with no damage. Luck was certainly on our side.
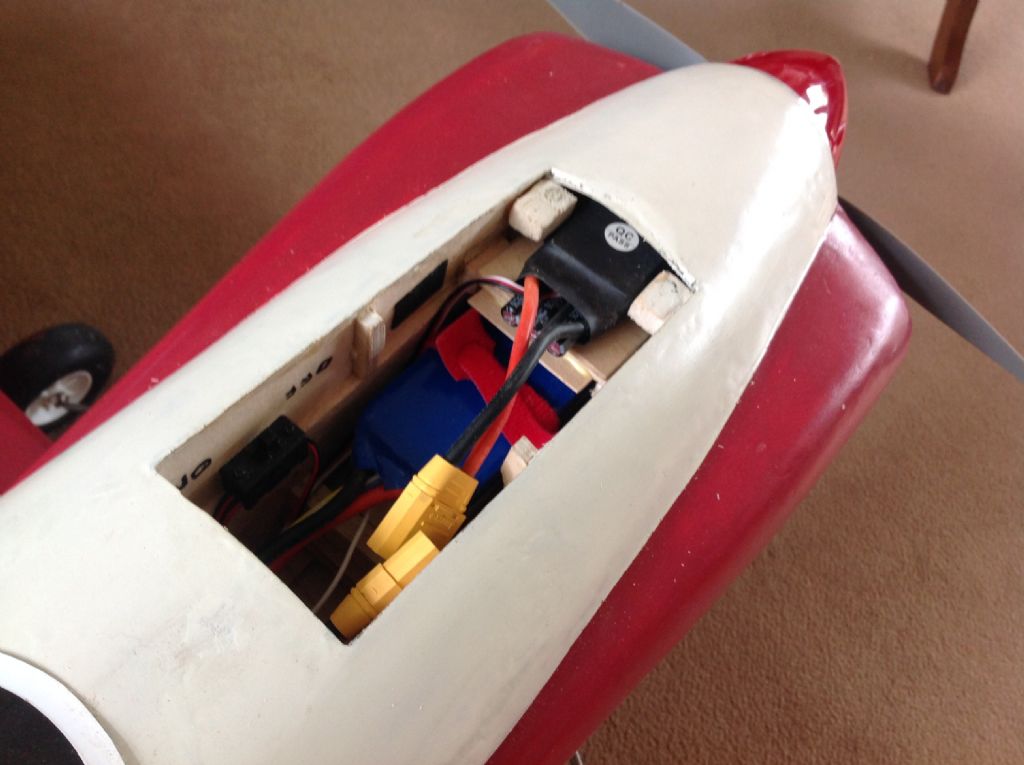
So back in the workshop, the flight battery has been moved forward 6" & the ESC relocated above the battery. It's a bit cramped bot it all goes in, just.
Move forward to Wednesday. Now how does it go? In a word BEAUTIFUL. Changed a tiger into a pussy cat. Your Grannie could fly it now.
Looking forward to lots more flying. Very lucky to get away with though. I must have been a very good boy recently.
Cheers John.
-
Hi Folks
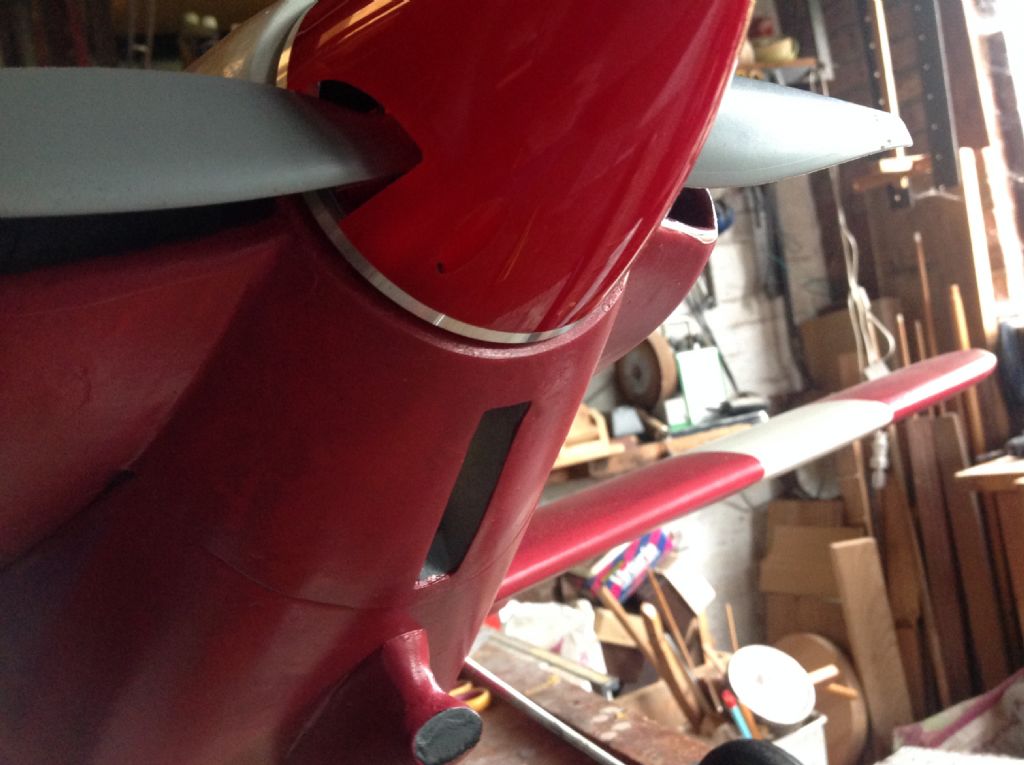
Latest thing from the workshop is a Van's RV3. Basically it is Peter Millers design ( freebie plan from a couple of years back) enlarged 25% & converted to electric.
I don't like to have an empty building board for too long. With the Hurricane finished,but still not flown, I decided that what I needed was a straightforward scale model (no fussy detail) , robust & with a good strong U/C, about the same size & weight as the Hurricane & using the same 6s batteries.
This is what emerged. Not much needed to be changed but
 there is a closed loop rudder linkage & homemade rotary drive for the flaps, undercarriage can be removed for straightening out if necessary.
Power train consists of: Ripmax Quantum II motor, 80amp esc, 6s battery, 13x4 prop. On a fresh battery it gives 1360watts. Weight is a tad under 9lbs.
Hopefully first flight is tomorrow. Pilot looks a bit pale but then she has never flown before & hasn't had time to put on her make up either.
Fingers crossed ( thanks Peter)
Cheers John.
-
Hi
Thanks everyone for the help & suggestions. The job is getting there although slowly. I am having to stop & clear the nozzle very often. I would like to say that I am a big fan of Aldi & am sure that the problem is with my technique not the kit.
Cheers John
-
Hi
Did anyone else buy one of Aldi's compressor / airbrush sets?
I bought one a couple of months ago & unboxed it yesterday to spray the latest build. I'm using B&Q matchpot paint (valspar) thinned with water. Results so far are disappointing . Pressure is about 35 psi, the paint has to be thinned so much that you get hardly any volume on the model.
Does anyone have any experience or tips?
Cheers John
-
Hi
Thanks for the replies. I'm in the middle of 2 weeks away from home at the moment & access to wifi is a bit intermitent, I'm not ignoring your replies, please keep them coming.
I don't think it's the battery, I have 2 6s , Both are good & balance well. The motor runs & sounds fine most of the time, there is lots of power but it does sound a bit rough for the short time it slows down. When it picks up again it runs ok.Nothing seems to be getting hot. I'll do some checks when I get back home. It sounds like the esc to me. Will report back.
Cheers John.
-
Hi,
Yes it's electric.
Cheers John
-
HI
I'm hoping to be able to pick someone's brains here.
Now that the council have cut the grass & the weather has improved, I've been flying the Chippie.
About 2 min into the flight the sound of the motor changes & it seems to loose a few revs for about 5 or 10 secs, the motor then picks up for another 2min then this repeats again, for the rest of the flight. It sounds a bit like an over compressed diesel. The same thing happens on a ground run, the throttle setting makes no difference.
Any ideas please?
Cheers John.
-
I agree with Martin.
-
.Hi all
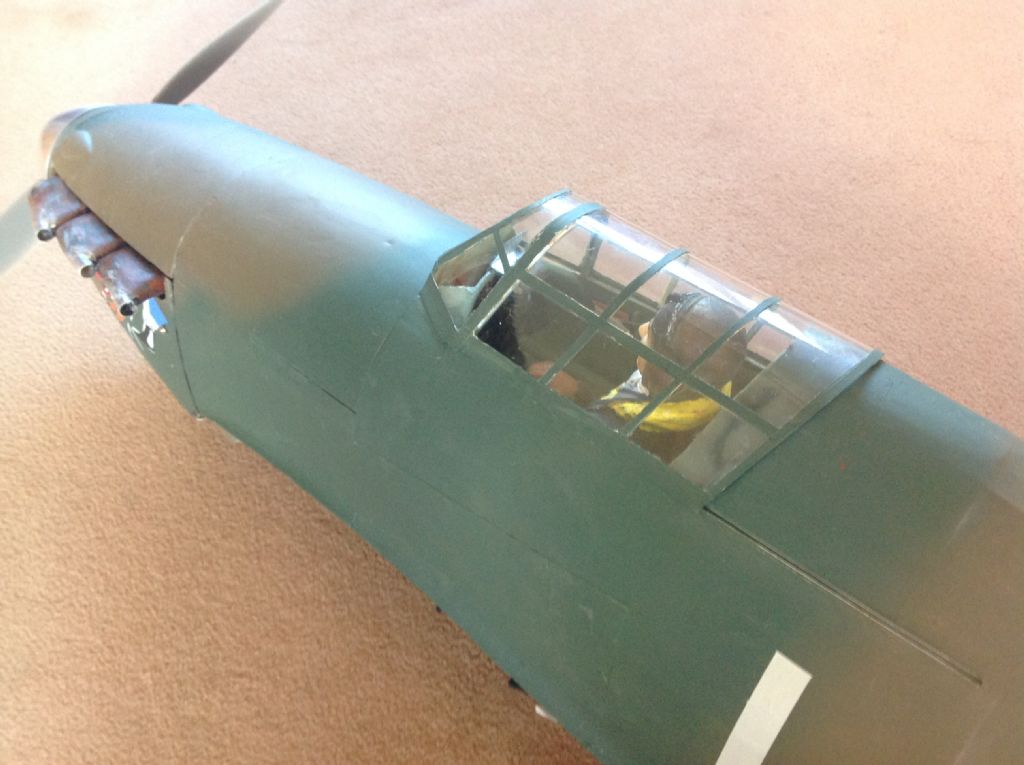
A very cold garage/ workshop & various other commitments have meant that time for building has been very limited for the past couple of months. Anyway I think that the build is now just about as finished as it ever will be. (Do you ever really finish a scale model?)
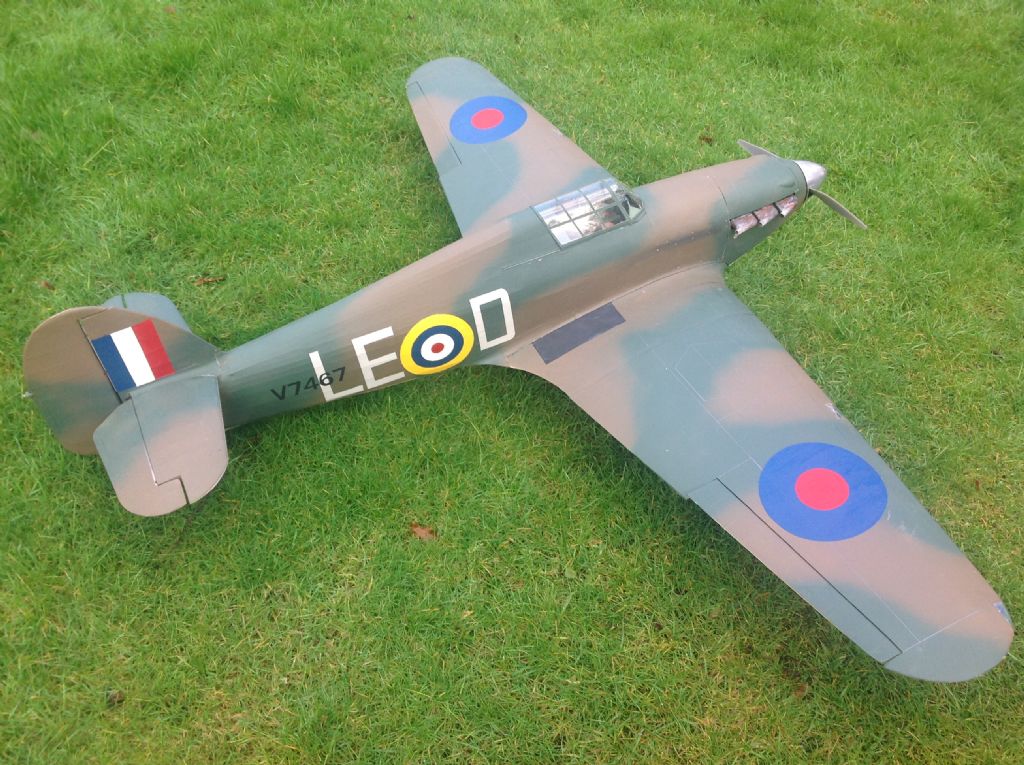
A cast lead ring weighing 15 oz has been glassed into the very front of the cowling. The CG is now spot on & the finished weight ready to go is11lb 10oz. So, just need to set up the control throws & checkthat all the screws are tight & it will be good to go. Just need to get my thumbs in practice & some nice weather now.
Here are a few photos. Thanks to all who have followed the build & have contributed. Hopefully there will be some flying photos later.
Need to decide on the next project now, I have a few ideas for a quick build before the "Fury" starts.
Cheers John.
-
-
Winch launching gliders. Lots of power under your thumb. 8 litre chevy engine, 400hp, 0-60 in 3 sec. Great.
-
Hi Danny
Sorry for the late reply.
Re the bits: please put me down for a hinge set & a vac form spinner. There is lots of time to cut out the wooden bits,most of the ribs are identical profile. Can cut the brass bits myself & will probably do a wooden cowling.
Cheers John.
-
Hi all
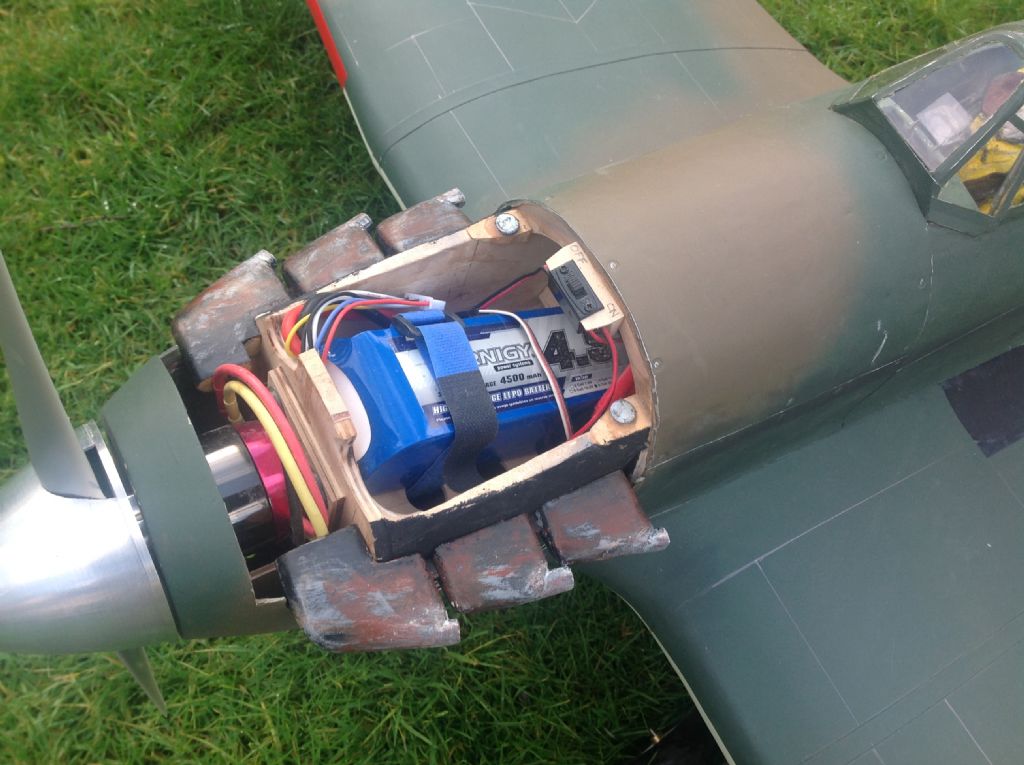
The receiver battery has been mounted in the lower cowling, underneath the speed controller. It is velcroed onto a ply divider which will also direct cooling air over the speed controller. The fibreglass cowl was cut on the scale panel lines to give access & will be held in place by a tongue & magnets.
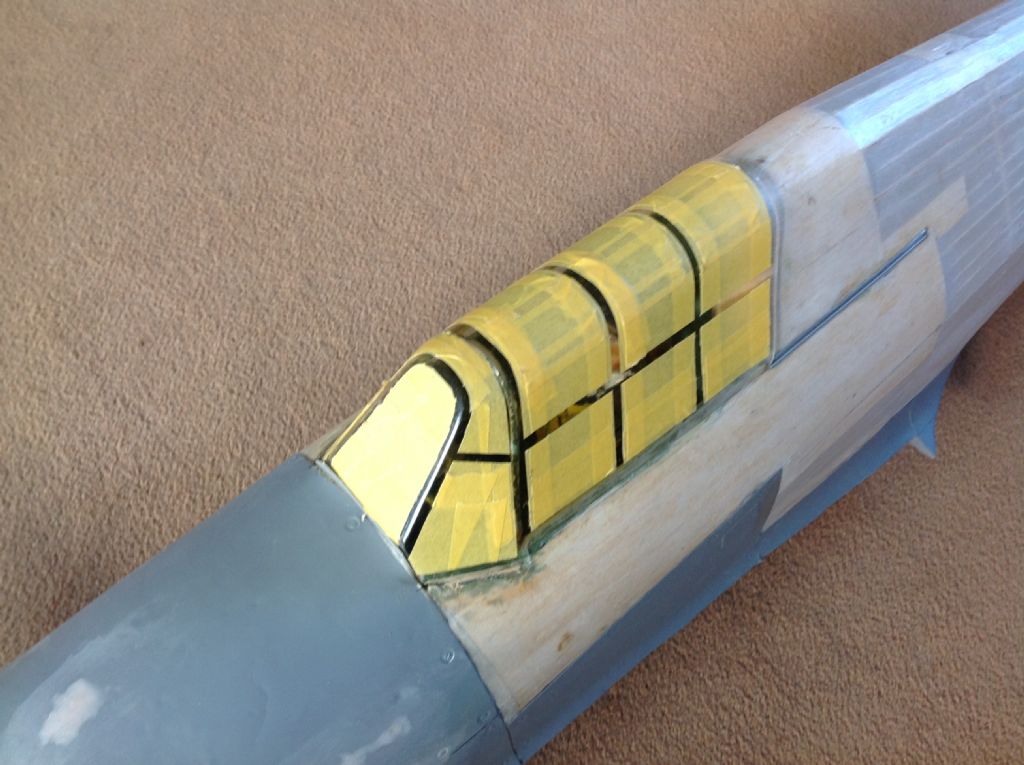
The other bit of progress has been the cockpit canopy framing. I wondered how to do this for a while. People always seem to look at the canopy area first so it needs to look tidy. What I really wanted was a frame from litho but this was something I hadn't tried before. Advice was found in an old mag article written by David Vaughan that confirmed that this was a good way to go. The canopy has to be masked off & then the litho framing can be glued down with evostick thinned down with cellulose thinners.
The only tricky part of the frame was the front windscreen frame. The annealed litho was clamped between ply formers & gradually persuaded around the curved edge. Several more annealings were needed before the frame could be cut free.
Hope it doesn't end up a gooey mess.
Cheer John
-
Congratulations Danny. Brilliant result. I'm dead chuffed for you
Cheers John
-
Hi all
Well the result was that the speed controller got hot pretty quickly. I've moved it to below the battery tray where the rx battery was. There is still lots of room for the rx battery in the lower cowling. The hole in the bottom of the fire wall has been enlarged so there should be a nice cool blast of air over the speed controller. Since the lower part of the cowl is a closed volume the holes in the battery tray have been enlarged. Cooling air exits via the wheel bay. It looks as if it should be ok now.
Cheers John.
-
Hi all
The batteries are sorted. The electrical gubbins consists of a 500 k/v motor fitted with a 15"/8" prop, a 70amp speed controller, a 6 cell lipo plus a battery for the radio side.
The photos tell the story.
Easy access to change the battery through the top hatch. The esc is next to the battery.
The next thing was to put it all on the kitchen scales. It came out at 11lb 2oz. Brian Taylor says on the plan that his model was 10lb 2 oz ready to fly but without fuel. Not too bad then. But, (why is there always a but?) getting the cg in the right place took another 15oz of lead right in the nose. So, call it 12lb, should still be ok I think , but it feels awfully heavy to me. Will somebody please tell me that it will fly ok.
I turned an open mold on the lathe & cast a lead ring to fit the inside of the cowling.
I'm thinking about cooling now. I don't want to have to cut out lots of non scale holes. The cooling air can escape the battery bay & exit via the undercarriage opening in the wing. The plan is to tether the model, run the motor & see if anything gets hot.
That's all for now.
Cheers John.
-
Hi all
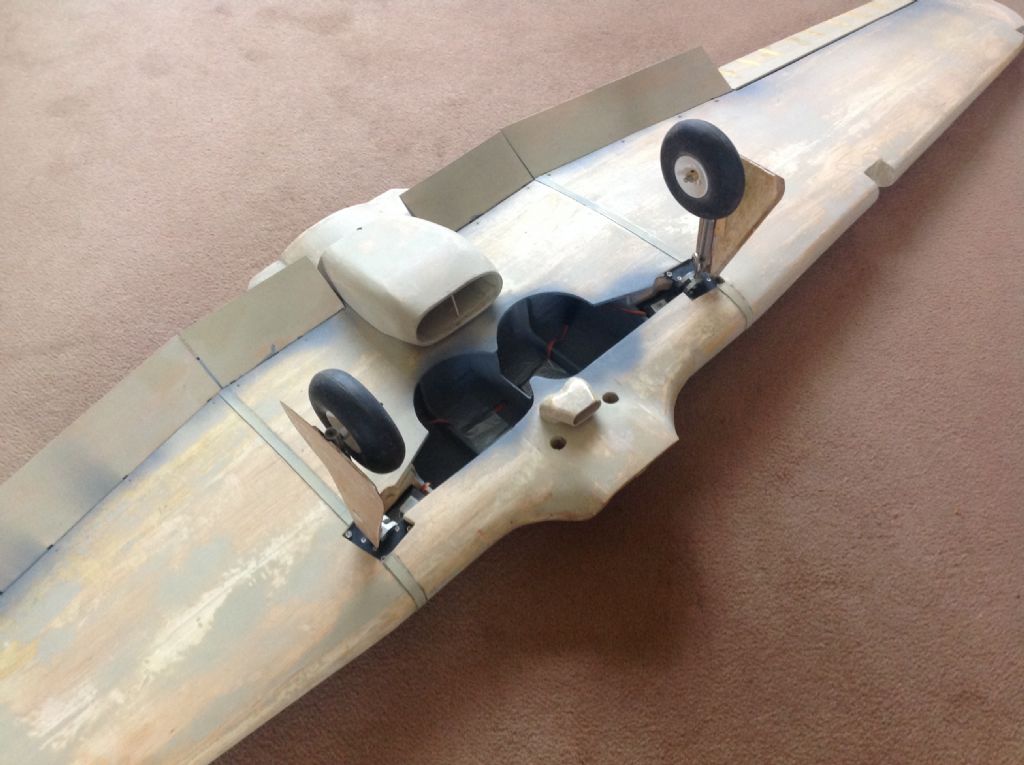
Well its moved on a little bit more. All the moving parts have been refitted to the wing & checked for correct movement. I think that the wing is just about finished now & ready for some paint. That is apart from the nav lights & the landing lights of course. It certainly is the detail that takes up the time.
Next jobs are to finish the battery installation & then a weighing & a C/G check.
Cheers John
-
Well done Nev. That looks a cracking job. Enjoy the flying.
Cheers John
-
I'm after the plan & build article for BLUE BEAST RC 1369.
I've long fancied a decent thermal soarer & could fit the build in now in between the Hurricane & the Fury.
The blue beast was designed by Al Wisher & was a successful model in its day. Published in RCM&E in '78 or '79.
When Barnstormers shut up shop, a year or two ago, I found a nice pair of s/h glider wings for which I offered £5.
These turned out to be the original wing built by Al, still in good nick after 30 years. I would like to see them back in
The air.
Cheers John
-
Exactly 60"
Cheers John
-
Hi Martyn
It's a wing construction that combines traditional balsa construction with wire cut foam ribs. It sounds a bit complicated & it is a bit different, but it works very well. I tried it on a smaller wing & was well pleased.
Google " laser method of wing construction by Patrick Mullen" for a full explanation.
Cheers John
-
Hi Martyn
That wing looks like an ideal candidate for a 'laser' construction. (Hybrid foam & balsa).
Cheers John










Chiltern DW1a plan
in All Things Model Flying
Posted
kc
Thanks very much, that was a pretty quick response. Yes I was wrong about the title, another senior moment.
I'm planning on building the larger version & converting it to electric. It looks like a straightforward build & being a Boddington design is bound to fly well.
The full size is a very pretty airoplane, built in the 30's. A couple of years ago I saw the two surviving examples flying together at Shuttleworth.
Thanks for helping. Sending a pm now.
Cheers John