


Lucas Hofman
-
Posts
1,183 -
Joined
-
Last visited
Content Type
Profiles
Forums
Blogs
Gallery
Calendar
Downloads
Posts posted by Lucas Hofman
-
-
Nearly forgotten to glue in those before closing the D-box....

Bye the way, clever to use a round hinge for mounting the struts. but are they glued in the reinforcement blocks or are the a loose fit so the can be taken out for transport?
Regards, Lucas
-
Had not thought of that. But with a box of wedges before used to lay wooden floors it works fine too. But first some "safe" sanding (yes, I managed not to break a rib):
Thanks to Superphatic glue fixing the lower sheeting is a doddle. and when that is standing on the wedges the inner leading edge can go on straight away.
When all is drying it is time to finish the fittings for the aileron servo's.
I do not understand why so many ARF's have the servo mounted vertically in the wing. This way it looks so much better. Although I must try once to have the servo horns pointing up (so inwards), so that only half the pushrod is visible. There is plenty of room in most wings and it should be less work to make the servo cover.
Cheers, Lucas
-
As the master says:
spar webs in place.
-
Every day a little further:
Details do cost a lot of time:
Cheers, Lucas
-
Peter, I checked your build blog this morning and noticed your braces are pine (or spruce, but hardwood). I have already made the lower brace and glued it in. However, I made it from hard balse, like the spars.
Given that the brace is the same size as the spars, does it need to be hardwood? If so I need to do some surgery.
Cheers, Lucas
-
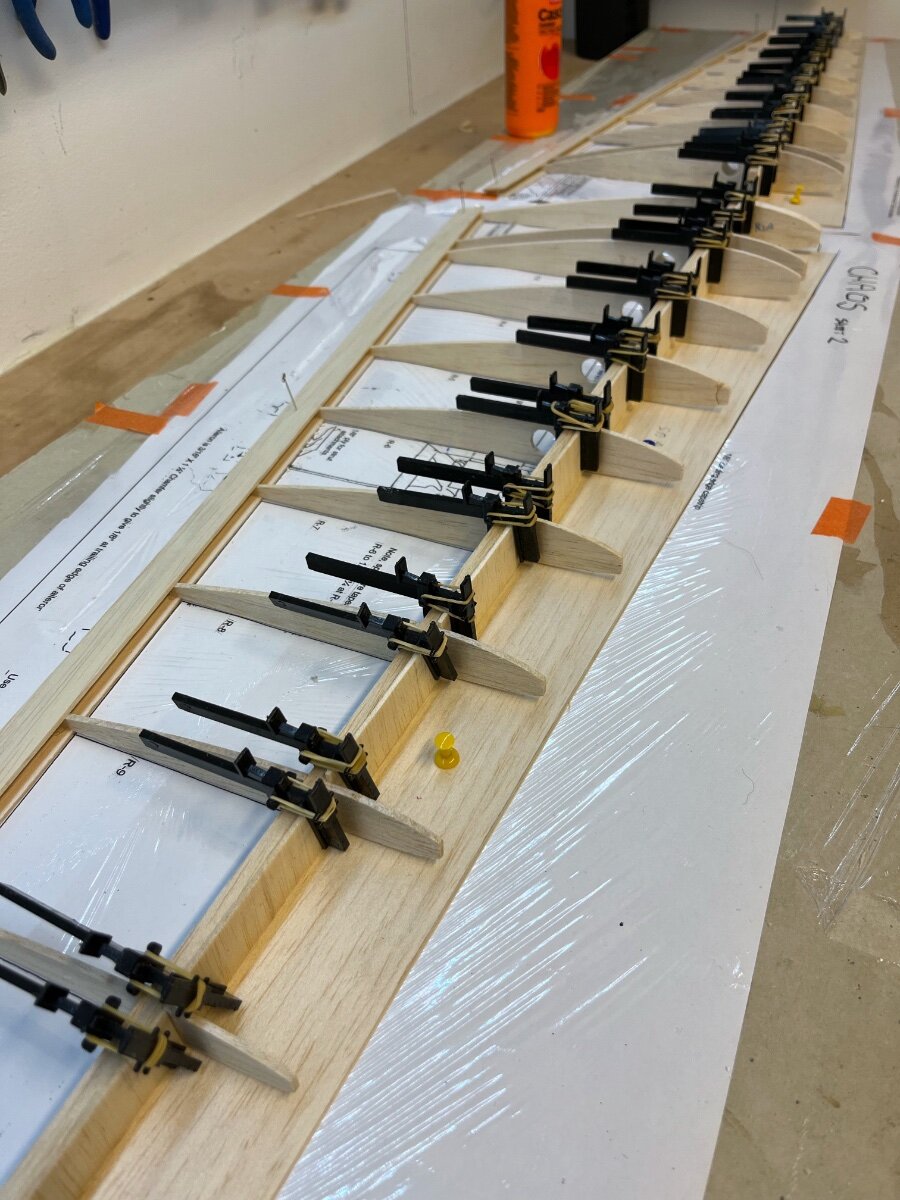
Building wings is fun!
-
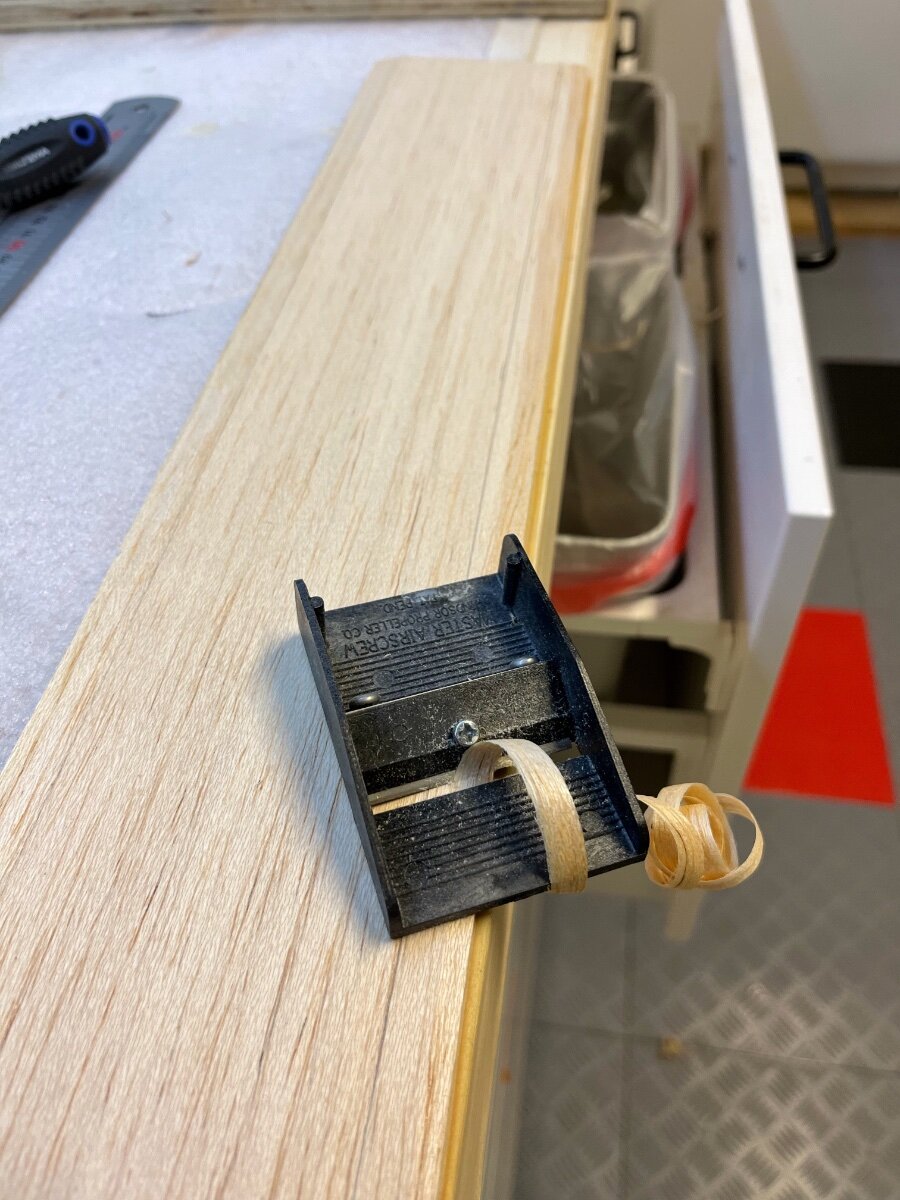
There were:
My way of making ttrailing edges. Taper first and cut loose from the flake thereafter.
And here are the shavings:
Happy Peter?
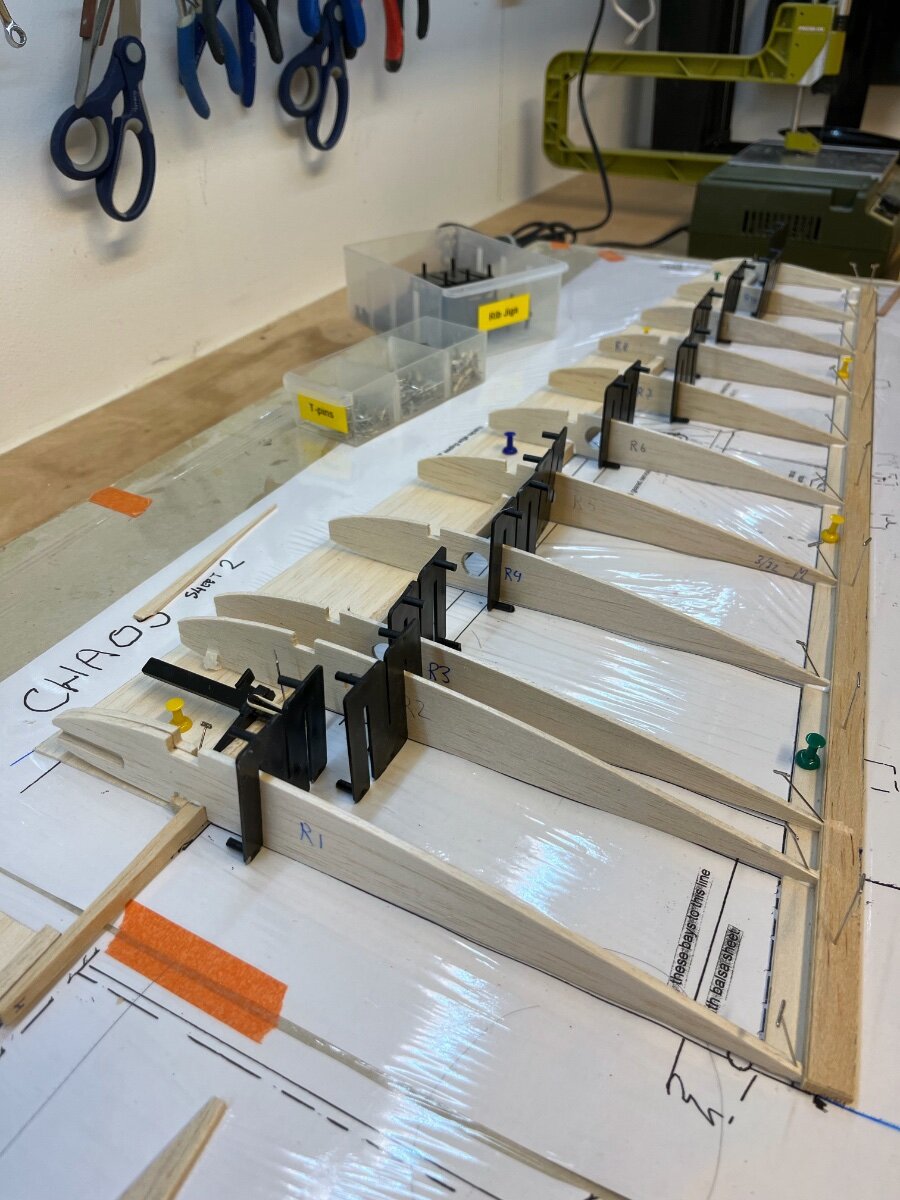
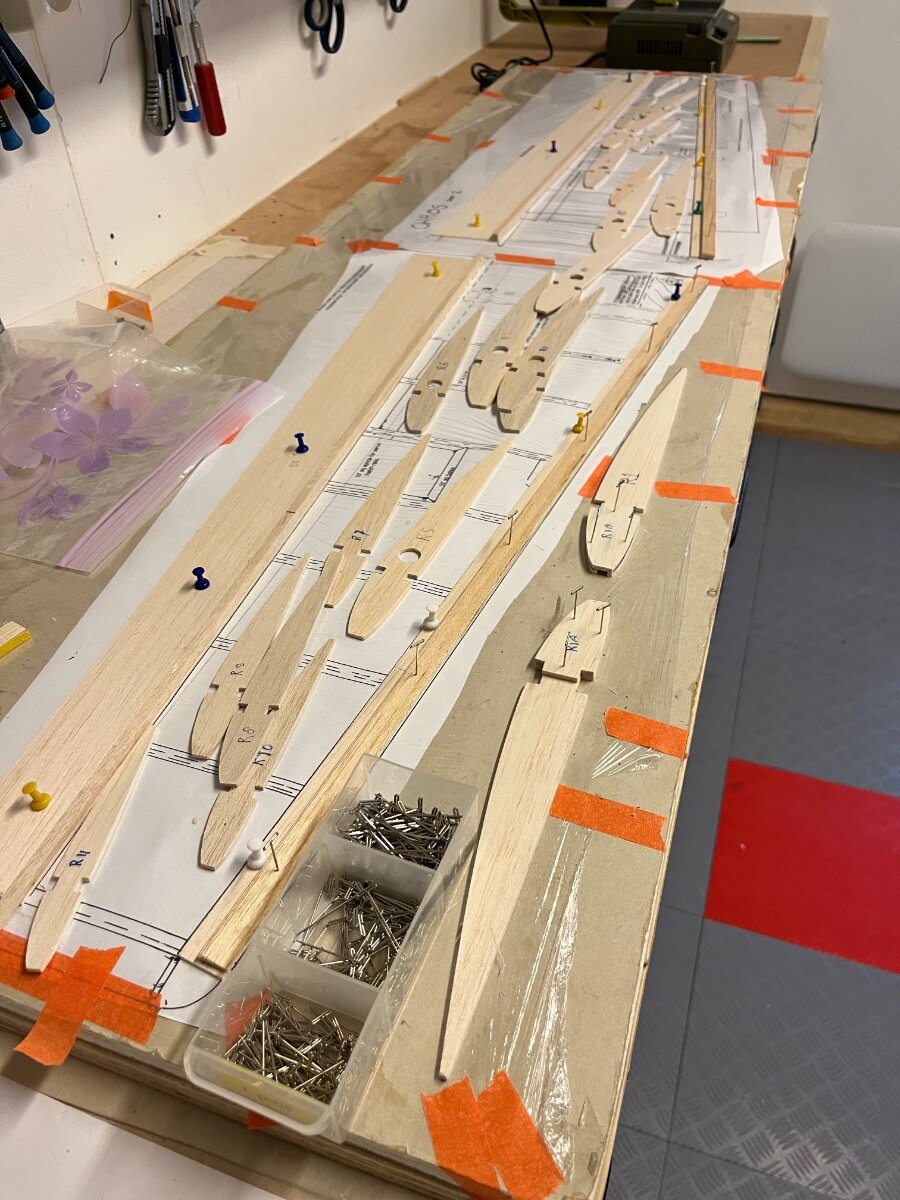
-
All parts for the wings ready:
and indeed there was an R1 missing…
-
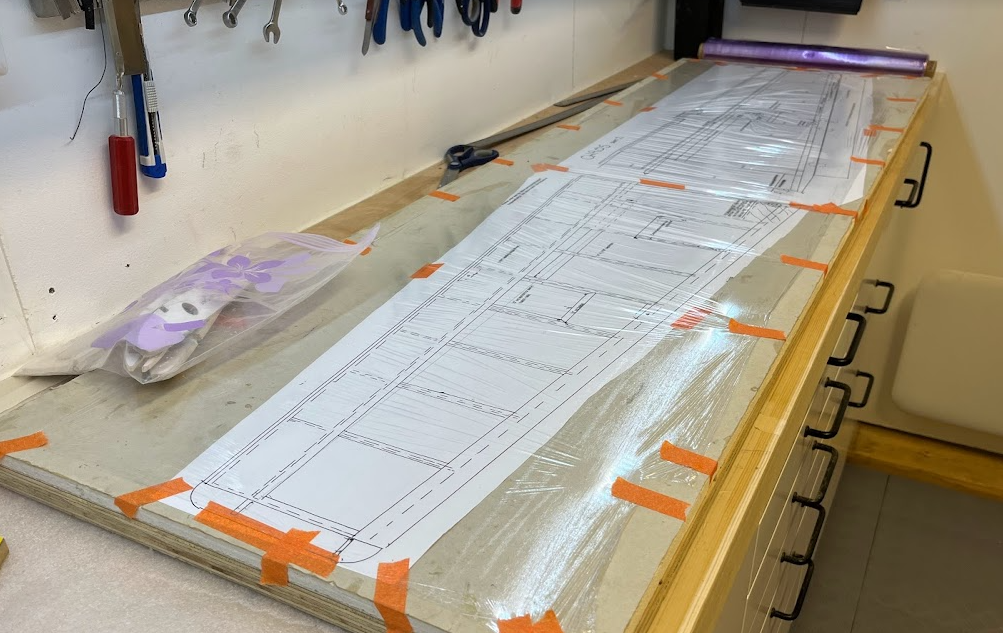
This post is maybe most for others that will build from the drawing in RCM&E. I think I have found the following errors in the drawing:
This inner leading edge should be between the top and bottom planking, as not - as drawn - in front of them.
Same section aft:
The text is correct, but the section shows T.E. chamfered to zero, leaving only 1/8'' to attach the aileron to.
Wing drawing at the root shows only one rib R1:
This would mean one would need to take wood out of R1A to get space for a 1/4'' dowel. I think that is not the intention.
'
Peter, can you confirm the above is correct?
Cheers, Lucas
-
I did the latter (learned when doing the Ballerina Mass Build I think), but used wetting and heating just to get the bent in place. Left it until the next day and then glued with little pressure.
-
Glued the front turtledecks in place. It is a small radius so much pressure is needed to get them to the formers:
Wings are always a pleasure to build. And with a long bench (and building board) one can work on fuselage and wings in the same session:
I let the spars extend out of the top rib. The tip becomes very solid this way.
Cheers, Lucas
-
I ended up with the turtle deck like this:
I think I have a solution for the aft canopy part. We will see if it works.
Otherwise started with the wing:
Thanks again Peter for sending me the PDF that includes a left wing!
-
Good to see you are still around Peter.
I started on the turtle decks this afternoon, but the one behind the cockpit makes me wonder. On F5 the turtledeck is standing 6-7 mm inside the outer skin, which means it will not "stand" on anything at the bottom. Is that correct? And will it give problems when fitting the rear canopy plastic?
Regards, Lucas
-
Autumn is coming, and so the build can continue. I always need to reread the building instructions and ponder over the drawing for an hour to get on track again on what need to be done next...
Glued in the wing bolt plate and found I had forgotten the reinforments in the tail where the rigging wires attach. Good to find that one before the bottom sheet is glued on.
It is good to be in the workshop again!
-
 1
1
-
-
A little progress tonight. Cut and glued the 6mm ply undercarriage plates:
The doubler is loosening from the fuselage side in some places. I think I have been applied not enough spray glue. I fix it by wicking in Superphatic, and that seems to do the job.
While this is drying I can prepare some ribs
-
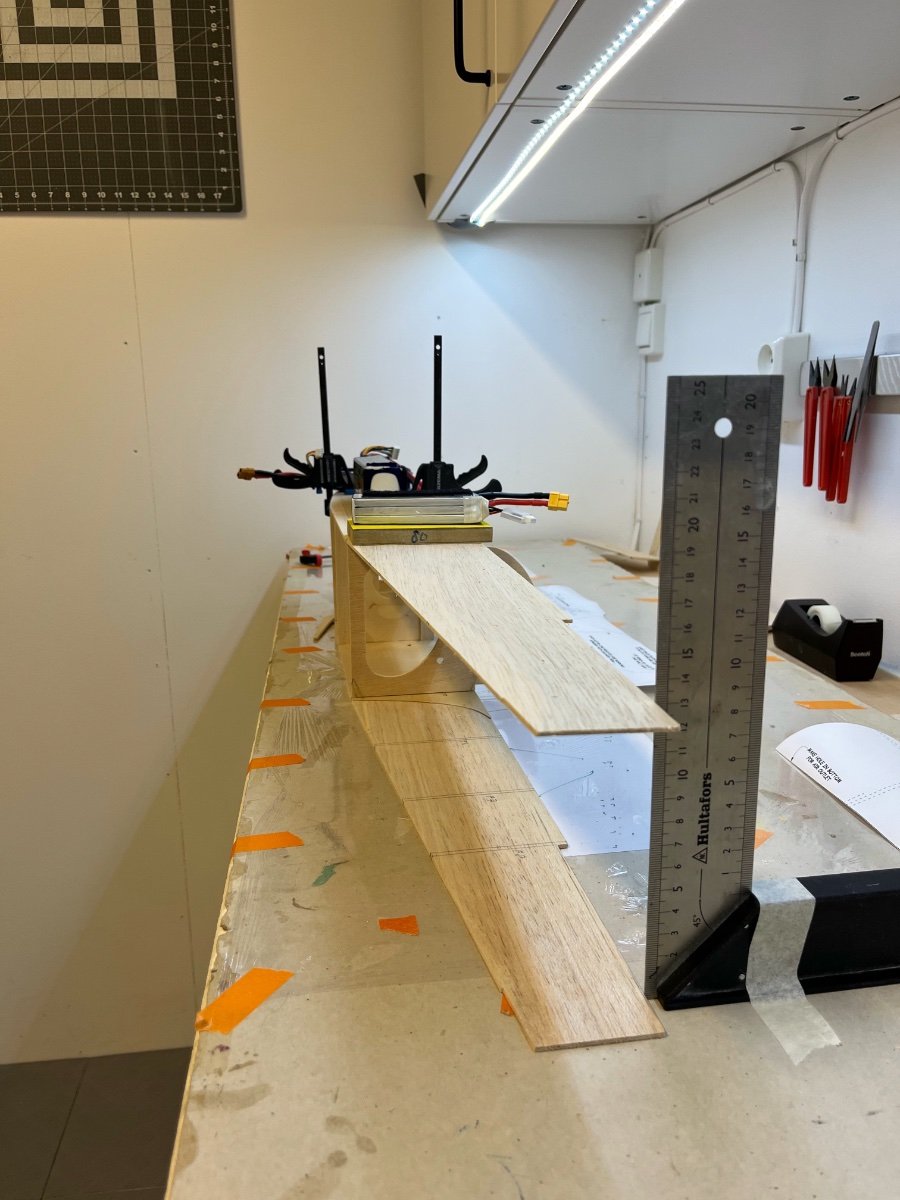
A little further again. Glued in reinforcement to the firewall, the battery plate in in place and the stringers front and back are mounted.
More flying then building with the marvelous weather we have now, but it will come.
Cheers, Lucas
-
12 hours ago, Peter Miller said:
Sounds brilliant idea. In our club two or three people do it all!!
Norway is a Calvinistic country, where duty has a fairly big impact on behavior. So since everybody ought to contribute most people will, even if they do not like it. People who cannot comes when called excuse themselves extensively and generally do not feel happy about the situation.
-
It does. Prebending with some ammonia resulted in that F1 could be glued in place without using any clamps at all.
Tonight my local club has requested some benches to be oiled. I am not sure whether this is typical Norwegian but any club here har a evening or two where all members are supposed to show up to provide some labour at the field/clubhouse/harbour or whatever the club is using in its activities. It does, besides keeping costs down, also creates a lot of socializing (although everone is always bickering about it...).
Regards, Lucas
-
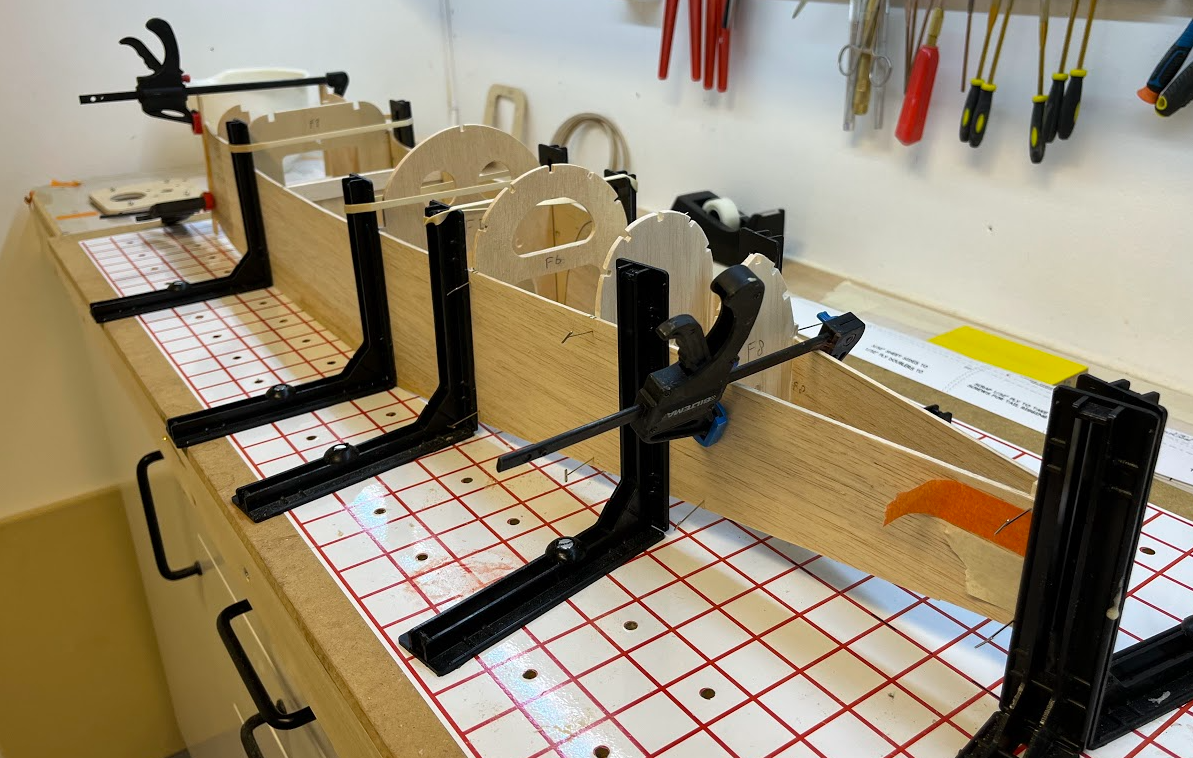
Tonight mounted the fuselage in the jig and glued the side together at the back and F6, F7 and F8 in place. This is a nice phase; it feels like making a lot of progress quickly!
Slightly irritating that when I pulled the sides together there was 2mm difference in height. Given that I used a square when glueing the 2nd fuselage side that should not have been the case.
I am prebending the front. When wetting the sides with water and ammonia. The latter makes wood fibres very plyable, so not much force is needed. Let's see tomorrow if F1 will fit.
Cheers, Lucas
-
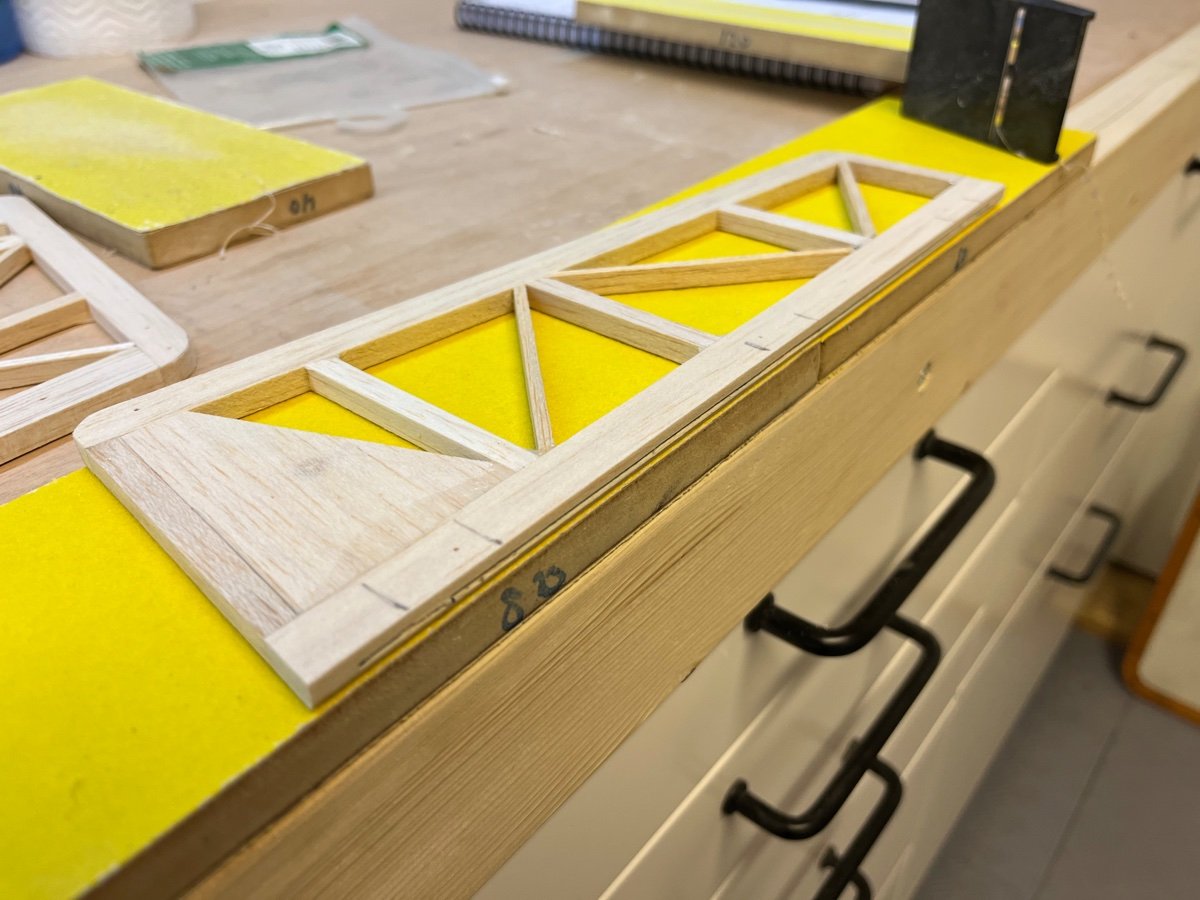
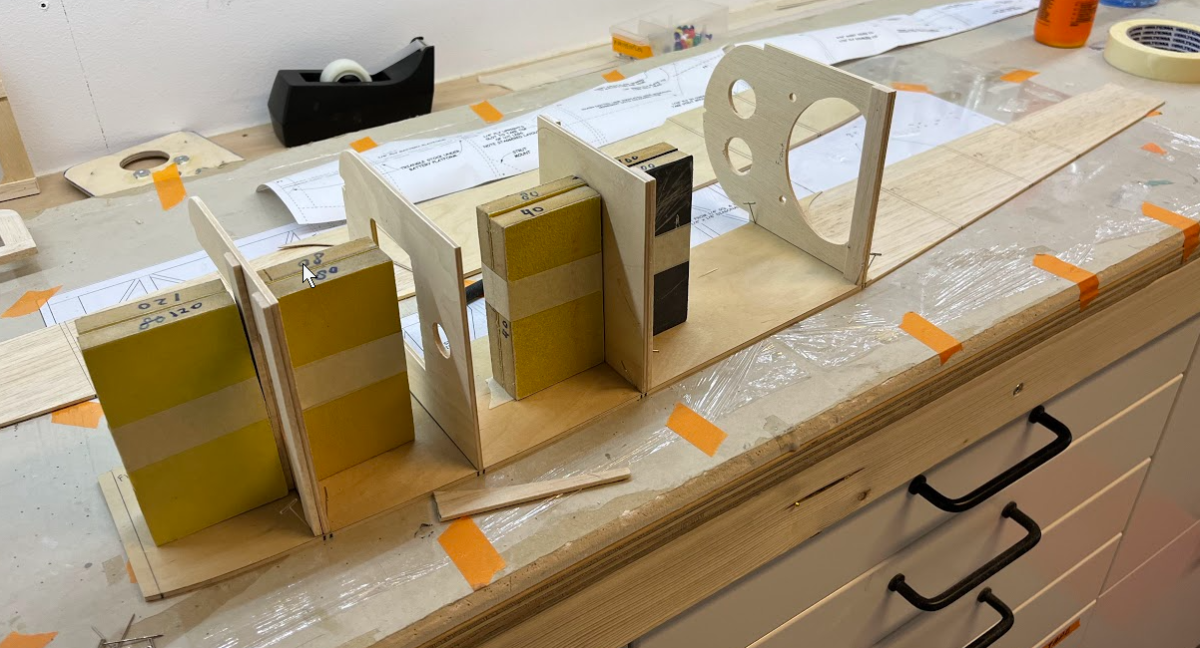
Finishing the tail feathers while the glue dries on the fuselage. The sanding blocks keep things in place while planing and sanding.
-
Second fuselage side on. The square should ensure that the siden will meet at the tail end.
-
Every day (at home) a little further. Sanding blocks taped together help keeping things square:
-
1
-
-
Some progress. Glued the 2 sides together (with remount glue). Glued one doubler on top, that was already cut to shape.
After cutting the balsa sides I glued the other doubler on the bottom of the stack (this garantees a left and right side...) for a final sanding.
Thereafter mark the position of all frames on the sided before removing the drawing.
Finallly mark the position of all frames on the inside of the fuselage sides/doublers.
Now we are ready to put everything together this weekend!
-
2
-
-
This is a heavily modified Skywriter (lightened construction, change wing profile to your usual NACA3414). I regret having sold it but the buyer would not let me buy it back.


Lucas's Rans S-9 Chaos
in RCM&E Plan Builders
Posted
After a few evening break to assemble an RC sailboat back to the bench again: