

John Rickett 102
-
Posts
342 -
Joined
-
Last visited
-
Days Won
10
Content Type
Profiles
Forums
Blogs
Gallery
Calendar
Downloads
Posts posted by John Rickett 102
-
-
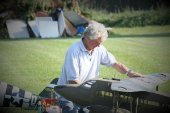
With the shortening and cooling days, residence in the workshop is becoming more appealing and with it a view to continuing with the Vega Gull.
Spring and summer were not entirely neglected on the modelling front as an SE5 repair/restoration project was completed and the model subsequently sold. Also, a 20 year old Chrislea Super Ace which was looking rather decrepit has been recovered and painted, hopefully it will fly more frequently next year.
Some thought over the last few months has been spent on the shelved Vega Gull and what to do with the wing retention. So far I’ve rejected the options for having a scale wing fold given my limited workshop facilities and will probably simply use the existing lugs (in their present position) to attach the wings. To prevent this project from being a disappointment and permanently shelved, I thought that if I progressed parts other than the wings I’d get myself into a psychological position where all the other difficult and time consuming bits had been done, therefore it would be daft to shelve the project with so little else to do!
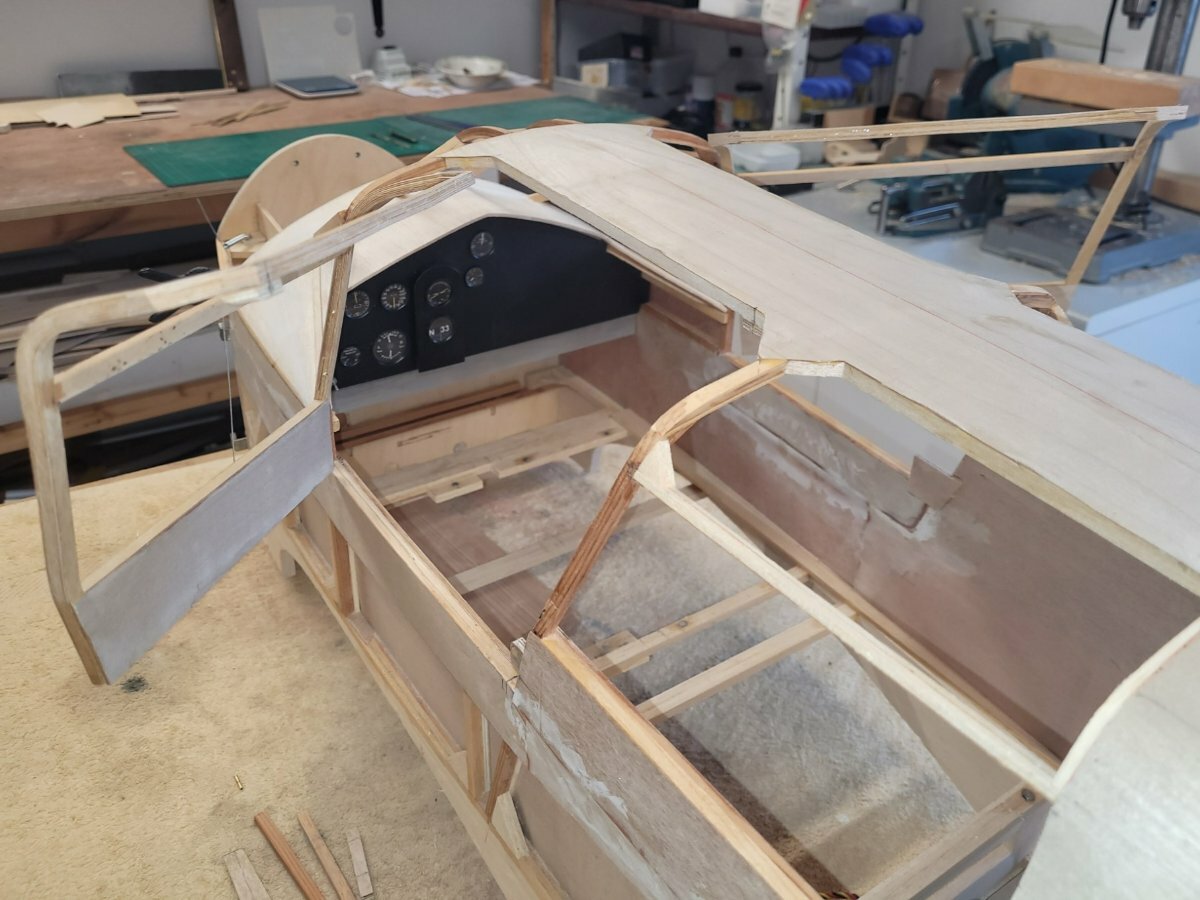
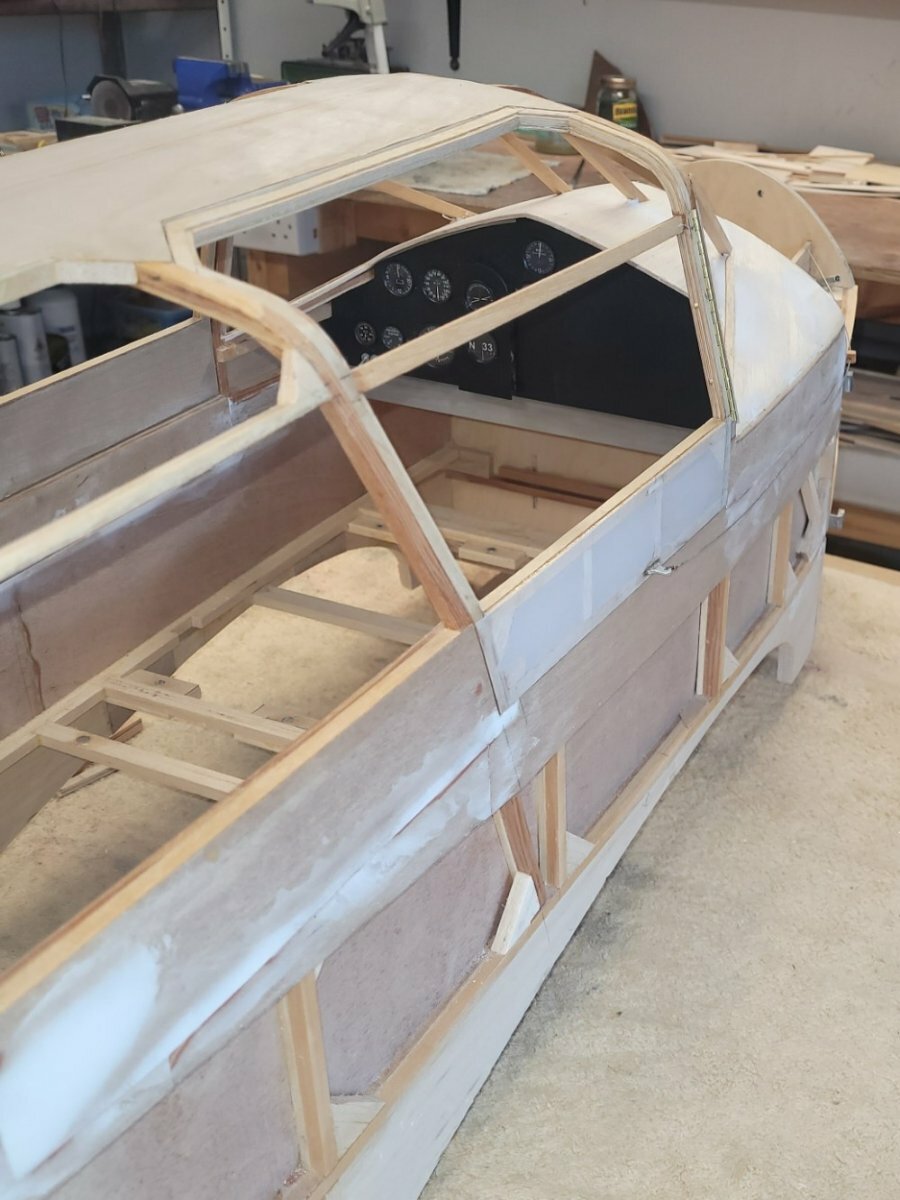
With the building board cleared the Vega Gull was resurrected, with the first task being to get the other door made and both doors hinged. The method adopted for the first door worked, so why change things for the second. Suitable scrap wood was fashioned into a template for the inside of the doorway and then six layers of 0.9mm (1/64”) ply were laminated to form the shape.

The hinging was from cut-down strip hinges that had been squirrelled away years ago waiting for a suitable use. The hinges are 2.4mm thick so a recess was needed in both the door and jamb or an ugly gap would have resulted.
The next problem then was how to cut the rebate leaving a nice straight and flat surface for the strip hinge. The layers of ply, once laminated, form quite a hard material which I doubt could be reduced evenly without using some mechanical assistance. The solution was to make a straight edge (two actually) from flat bar, clamp them in turn to the door and jamb, sanding down with a rotary file. The method worked quite well.
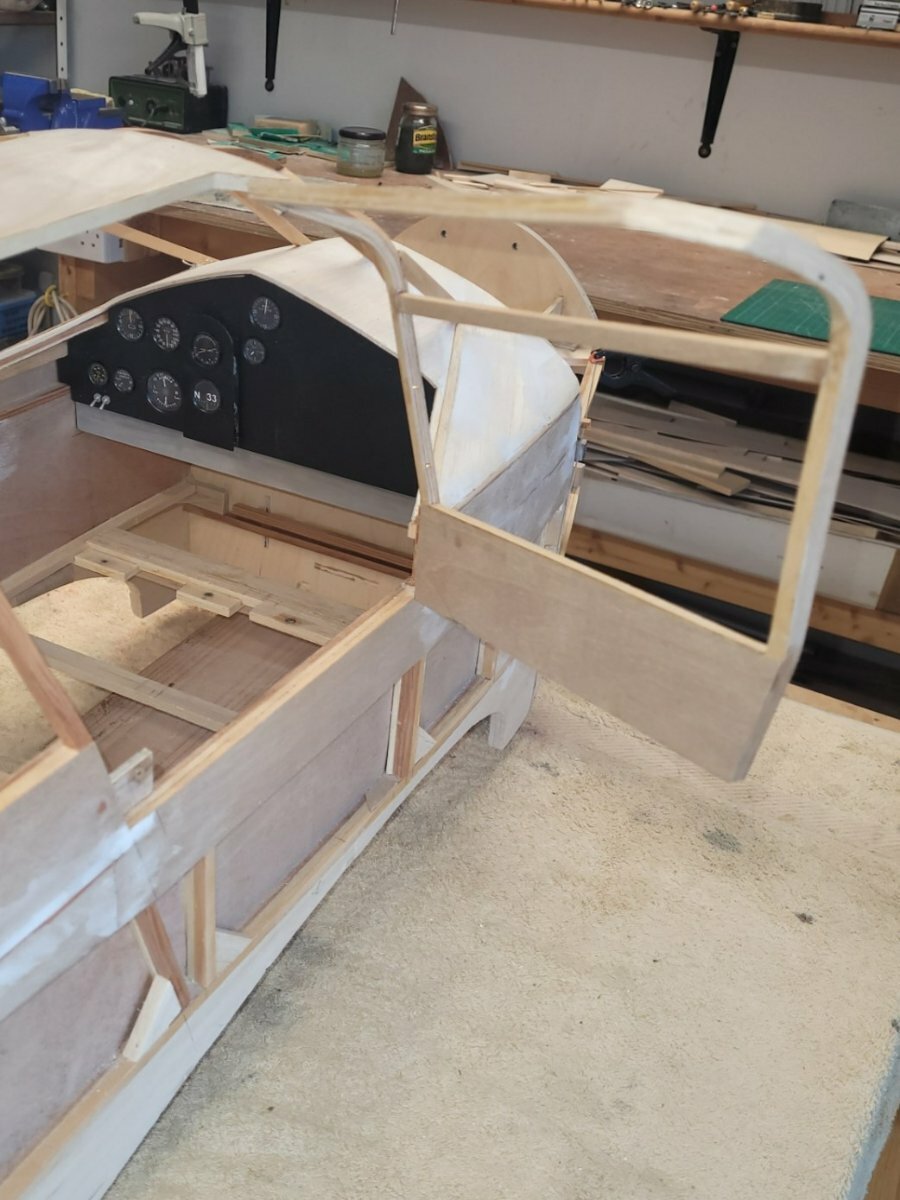
The next task was to latch the doors. With them being such an unusual shape, they really needed latching at both top and bottom corners. Small neodym magnets offered an unobtrusive, lightweight way of holding the doors in just the right position. Not wanting to drill into the corners and weaken them, small fillets were added, which wouldn’t be seen when the doors were closed.
A feature of the Vega Gull, though not exclusive to it, is balance springs for the doors. At rest the tail sits down which makes the doors hard to push and keep open, so designed in is a cable attached to the outside of each door which attaches to a spring under the cowl. It was a fairly simple job to replicate and added minimum weight.
If anyone is wondering....the incomplete instrument panel is only temporarily installed for effect, its also held in place by neodym magnets so is easy to extract.
The doors have been progressed enough for now, the glazing and the chromed glazing bars will be fitted once the model is covered. The next job is getting some detail onto the cowl and then attention can return to the wings.
-
 3
3
-
-
Ron, Sorry to hear that. If a valve has collided with the piston, are you sure its not bent the valve or pushrod? If you've still got compression when turning it over, I would think its ok. If all that's happened is a dent in the piston, you're a very lucky chap!
-
I’d like to add my thanks to Ron Gray for organising the gathering of Laser powered aircraft – and anything else with a British connection. A couple of proving flights with the Chrislea Super Ace were enjoyed following its refurbishment; I also enjoyed meeting and chatting to some familiar stalwarts of the modelling fraternity.
This was my first visit to Buckminster and have to say I was impressed by the field and facilities, hopefully I’ll be allowed back another time.
-
2
-
-
Oops - well spotted! Yes, 20 degrees.
-
The first task will be to make sure the cowl is scrupulously clean, no silicon remaining from the original mould (unlikely on the inside) and no oil or grease (much more likely given it’s a used cowl).
Wash the cowl in soapy water and then when dry, go over the thing and particularly the area you wish to cover, with a chemical degreaser (panel wipe).
100 gm cloth or thereabout will be easy to apply and adapt to the shape. Two or three layers may be needed depending on how flimsy it is. The good thing about fibre-glassing is you can tailor the amount needed to specific, ie very flimsy, areas.
Brush a coat of epoxy onto the inside of the cowl and then after laying the cloth, wet-out the cloth by brushing more epoxy if needed. Add the second or third layer as you see fit, without seeing the job its impossible to gauge how many layers will be required though I doubt if you’ll need any more than three. Yesterday I moulded a wheel spat using three layers of 100 gm cloth and its more than adequate, weight up the front though is usually of little consequence.
Keep the ambient temperature to around 200C, you’ll get extended curing times with lower temperatures.
That’s all there is to it, epoxy resin is safe and equipment used can be cleaned with standard thinners.
-
2
-
-
Nigel,
I don't know what the manufacturer's intentions were, though it looks as if the aileron horns couldn't be positioned any further forward due to the chamfer. It would have helped if they had fitted horns which were raked forward so that the holes were directly under the hinge line. You may be able to find some and fit them yourself. Failing that, if you move the servo horn to be 30- 45 degrees, instead of the 15 degrees or so it is now, it will give you the more-up-than-down movement you're seeking, you'd just need some longer pushrods, which you can bend to the desired length.
-
2
-
-
There's your answer, the aileron horn is set further back from the hinge line than the servo arm is in front of the servo pivot. You would need to add more servo differential, easily done with replacing the push rods with slightly longer ones.
-
1
-
-
That's fine Allan, good luck with your new radio.
I was merely answering your query as to whether the later Futaba transmitters have the facility to use Throttle Cut on more than one channel. It took me a while to figure it out but once I discovered that separate 'conditions' could be created (up to 8 in the case of the 16sz) for each model memory a whole new world of possibilities opened up!
I'm sure other brands have similar faciilties though probably called something else.
I found it useful on a 4 engined model with all engines operating on a single throttle stick. If an outer engine cuts, flicking a switch to activate Condition 2 brings both outers to idle, its saved the day on a couple of occasions now.
-
I used Futaba for the first 25 years or so of my flying career, but changed to FrSky Taranis when I found that my 10C couldn't give me a throttle-cut that would operate on two separate throttle channels. Are more-modern Futabas more flexible now?
Allan,
Yes, using 'Conditions' will allow you to set up as many channels as you want to operate in the Throttle Cut mode, or just about anything else you want to do when a particular switch, stick or slider is moved.
-
Presumably you are using fresh E5 petrol?
A flush of the carb with an aerosol carb cleaner won't do it any harm.
-
Are the tank vents properly positioned, facing into the airflow?
-
1
-
-
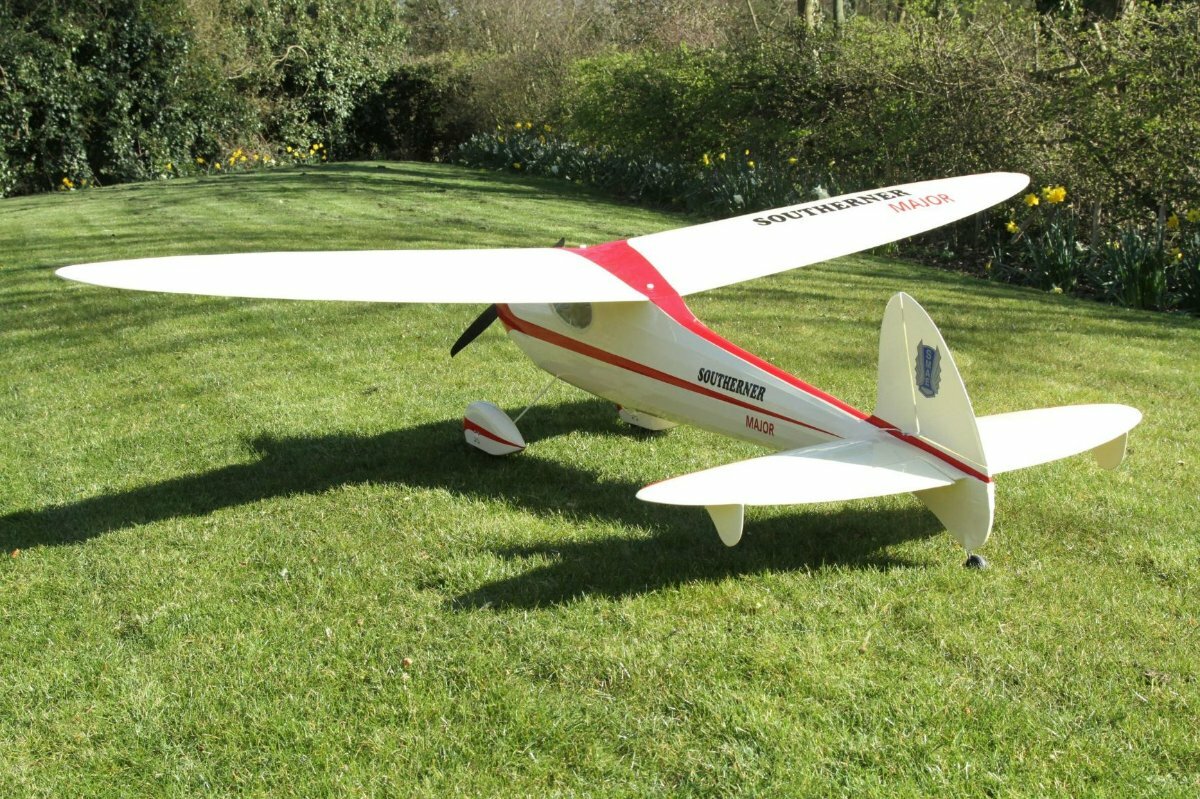
What covering to use depends largely on what type of finish you want and how you intend to fly the model. Unless you’ve substituted the balsa wing dihedral braces for ply ones on the Southerner Major, then a (doped) fabric will offer increased strength especially if you cover the underside of the wing in one piece…to help prevent the wing folding if engaging in exuberant aerobatics! The original Southerner was intended for gentle free-flight not high G turns and loops which a radio controlled version equipped with a relatively powerful engine, such as a Laser 75, could perform.
Uncovered, its quite a flimsy wing so I’d suggest using a covering which adds stiffness. I’ve been carrying out some experiments using China Silk, it’s a cheap polyester which will heat-shrink and comes in many standard colours, so if you are happy with stock colours and want to save on the time, expense and weight of a painted finish, you may consider this type of fabric, though it still needs a method of adhering the fabric and then doping.
The picture below is a test piece with added simulated rib stitching to see what it looked like. Leaving aside the rib stitching the covering seems as tough as Solartex or Koverall (both now out of production) so would be a viable material if you are happy with basic colours.
This test piece is 9" square, covered and doped both sides, and weighs 1oz.
I built an electric powered Southerner Major and finished it in high gloss 2K car paint – completely over the top but it was an experiment in spraying this type of paint in preparation for a Shoestring under construction at the time. I was pleased with the result but it added weight which of course a coloured fabric wouldn’t. I consequently had to add lead to the nose. I also equipped it with glassed spats (with brass fittings) and a tailwheel which also contributed to the weight. Ready to go but without battery the model weighs 7lbs. The wing can carry the weight but its faster than I would like for a vintage model.
The choice you have is what type of finish you want and how you intend to fly the model. I'd presume that with fitting a Laser 75 you want a spirited performance, which will be best served with a fabric covering. It would probably stooge around on a Saito 40, in which case choose a film covering.
-
I checked this morning that my inline 200 had been received. Geoff confirmed that they have it and that Jon should do the work on Friday....so far so good.
-
1
-
-
Ok Steve,
Thanks, I've now spoken to Geoff and he's confirmed that the engine should be returned straightaway and he will carry out the modification.
-
Does anyone have news on how the inlines are going to be rectified. On June 8th Jon Harper said he had been given the go-ahead, however a recent post on the Laser Engines Owners Group, said the following:
Picked up the inline twins from Geoff the other day, he’s very busy trying wrap up the company and getting the last of the engines for repair done, so any problems chaps just give him a call.
Seeing as there was no reply to a written letter to AGC asking how the rework would be done, I'm in a quandary as to waiting to be contacted or risk annoying someone who can help by being labelled an irritation.
-
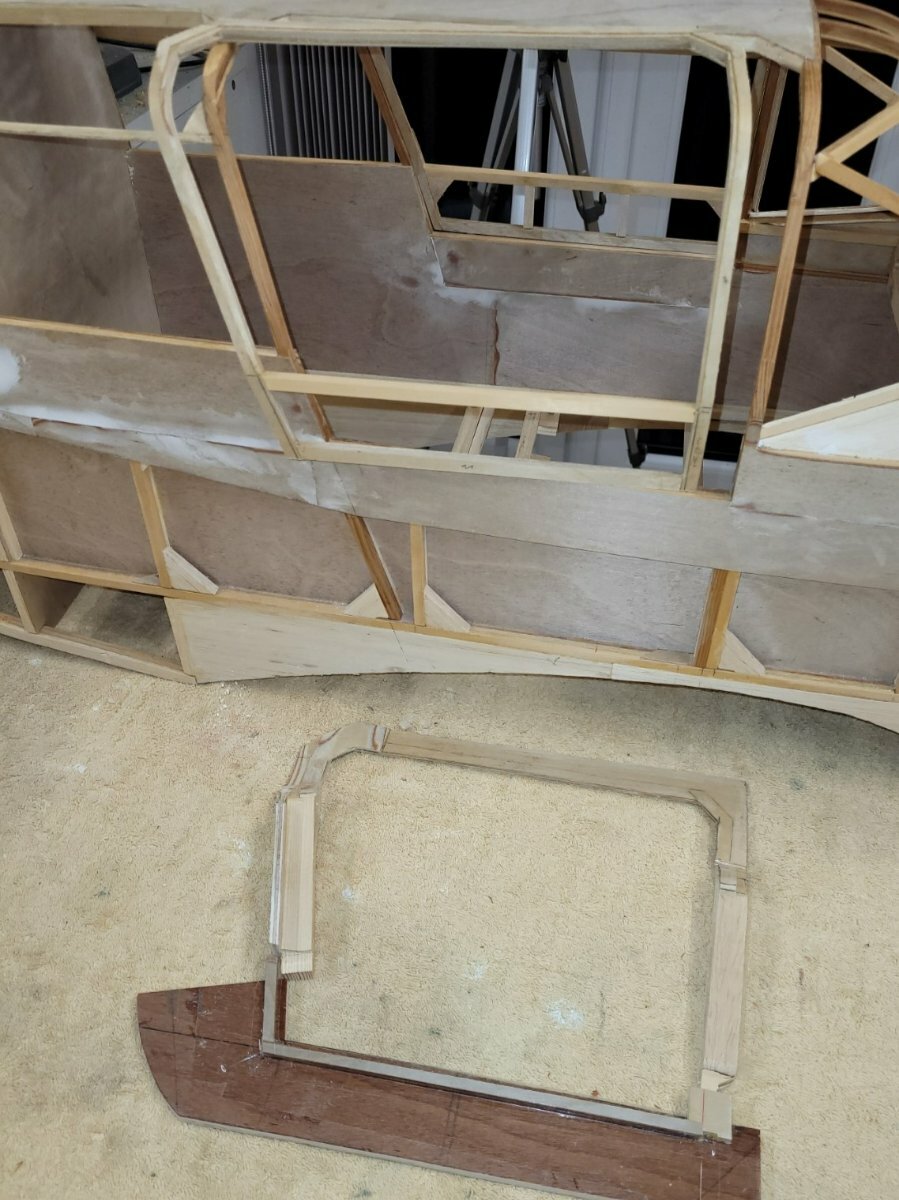
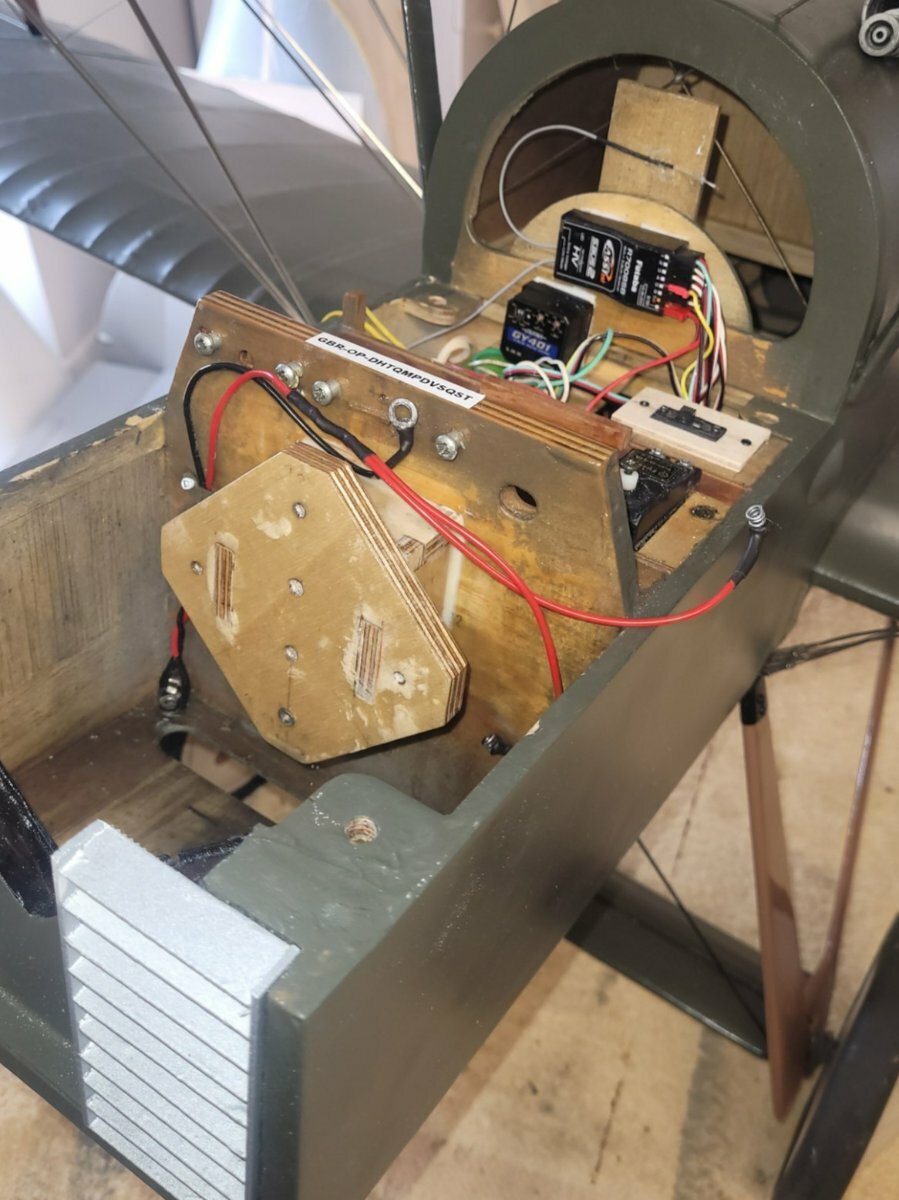
Two nylon bolts have been fine, the model was never intended to be subjected to high g forces. My theory is that if the wing is held too rigidly there's a chance of greater damage should a wing tip get caught on landing. If you make the wing seat follow the curve of the underside of the wing it should fit snugly.
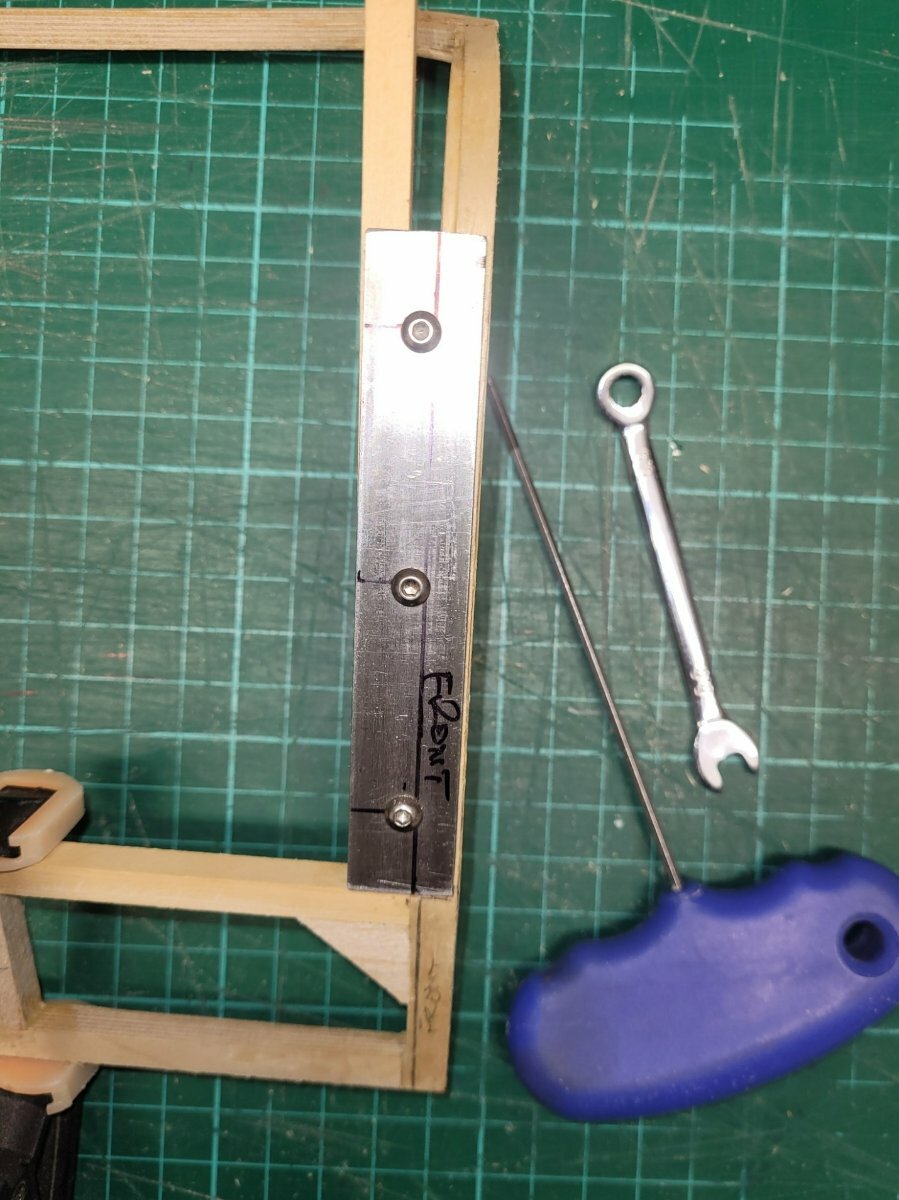
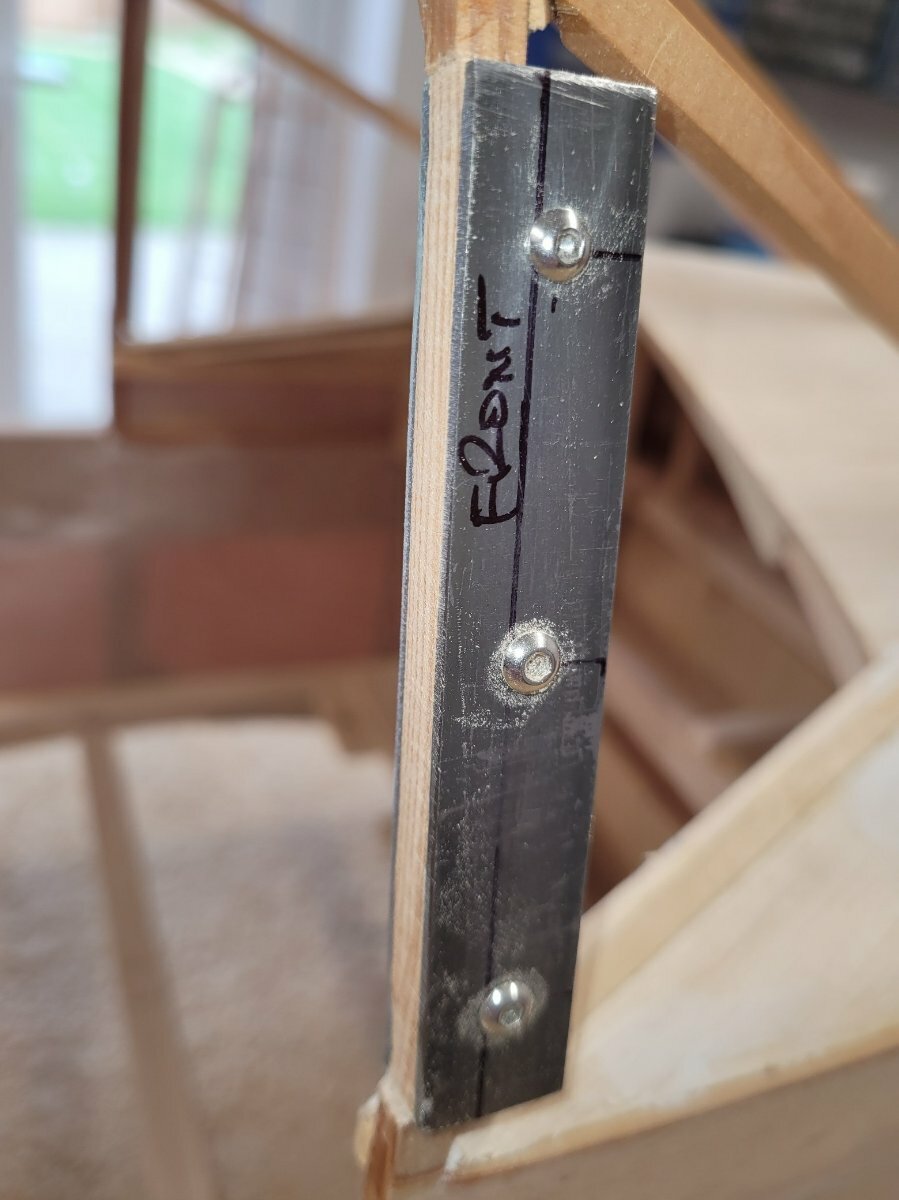
For the front bolt, the front former was beefed up with ply. A small platform containing the captive nut was added to move the bolt position forward.
.....and zoomed in
-
1
-
-
That's nice John, well done.
Richard, I've dug out the old Ben Buckle plan which recommends 10 degrees dihedral if the wings are built straight, which looks to be as John's above.
To my mind its such a pretty design and mine does fly ok but only in gentle winds as, if a wing drops, there's quite a wallow when picking it up again. I've often thought that another ought to be built, only next time with the extra dihedral or polyhedral as originally intended.
-
Richard,
Its interesting that you intend to build the Southerner Major without the tip dihedral, I did that but wished now I had increased the dihedral to compensate. My model flies ok but is quite slow to respond in roll so I only fly it in calm conditions. I'm sure it would have been better with a greater angle. It won't look as pretty (though that's in the eye of the beholder) but will probably be more responsive.
The plan states that the dihedral should be increased if the wing isn't polyhedral, but I knew better.....
-
6
-
-
The SE5 is up for sale on the BMFA Classifieds website.
https://classifieds.bmfa.org/acadp_listings/db-sport-scale-se5
I've had a few enquiries but it seems Lincolnshire is too far away for those interested.The asking price is now £350.
I'm prepared to let the engine go with the model but don't know what a later style 200v is worth, so offers are invited!
-
Robert, I've used the stationery file springs method for years and all the makes seem to fit OS plugs just right. If they are a too big for your plugs they can be flattened a bit in a vice.
The modern curtain wire springs (all from China?) have a smaller diameter that those of old and cannot be forced open enough - if you find a source that will fit OS plugs please let us know.
You could also try these springs though a bit more expensive than stationery files, but they should still produce quite a few connectors.
-
As rusting seems to be more prevalent with glow than petrol engines, would it be better to forego the benefits of nitro in fuels and use straight methanol/oil instead?
-
The flexy springs used in spiral stationery files make good connectors. Perhaps not as easy to come by nowadays but a search of stationery suppliers should reveal something.

-
On any other Laser, (and this is just 2 x 100s) the sealant is silicone so won't offer much in the way of an adhesive. The housing should just pull away, they are only a push fit.
-
1
-
-


Percival Vega Gull
in Own Design Project Blogs
Posted
Thanks chaps for the encouragement. Having paid a brief but enjoyable visit to the Best of British event this year and seen the way its being run, I would like to go to the next one, probably with the caravan in tow, so that prospect is a further incentive to make progress.
Richard, I like the foot-hold flanges you’ve made and will attempt the same trick of using a cutting machine. I’ve only cut paint masks before and not considered cutting plasticard, you’ve obviously had success with these thicker materials. Did you use the same (standard) cutter blade?
The intake flange on the cowl was made using litho, which worked ok though is probably a bit too wide, using a cutting machine means that small items not easily gripped by hand could be produced more accurately.
Looking at pictures on your RCSB site which include the foot-holds and then measuring a shoe, I make the presumption that they would have been about 12” x 6” therefore 3” x 1½” at ¼ scale, did you come to a similar conclusion?