
Henri Squier
-
Posts
785 -
Joined
-
Last visited
Never
Content Type
Profiles
Forums
Blogs
Gallery
Calendar
Downloads
Posts posted by Henri Squier
-
-
Thanks a lot Gonzo (sorry for delay), henri.
-
-
-
Congratulation, your very neat wood job is a pleasure to watch.
-
Hi, Thanks for answers.
Sorry for lack of information : the plane is balsa trad build, 46 inches, will have undercarriage, radio Tx is 2.4 Ghz and video signal on 5.4 Ghz.
... and for GONZO I'll be happy with your offer, i'm not in any FPV forum and I'll be pleased if you can give me some good links.
henri
-
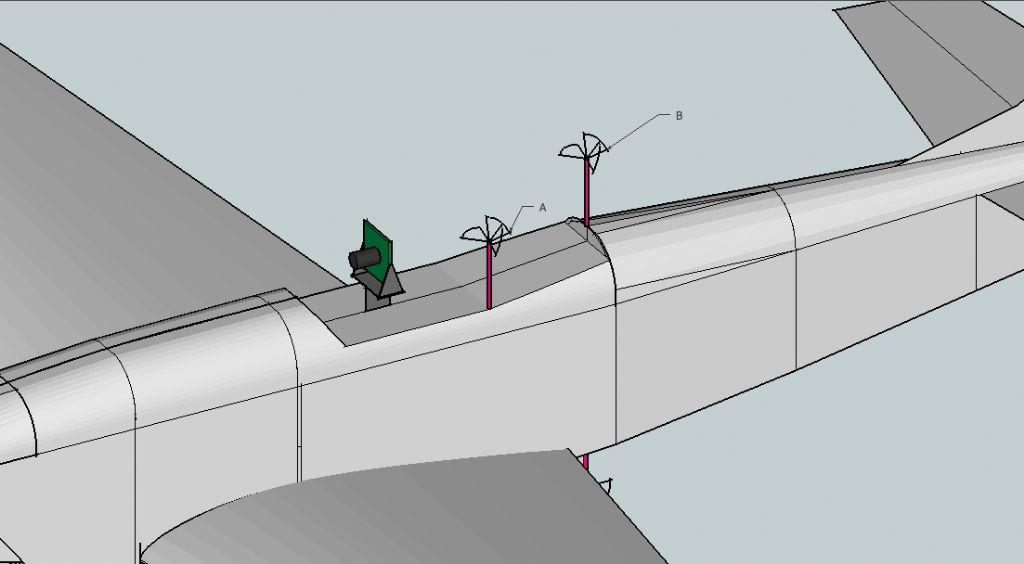
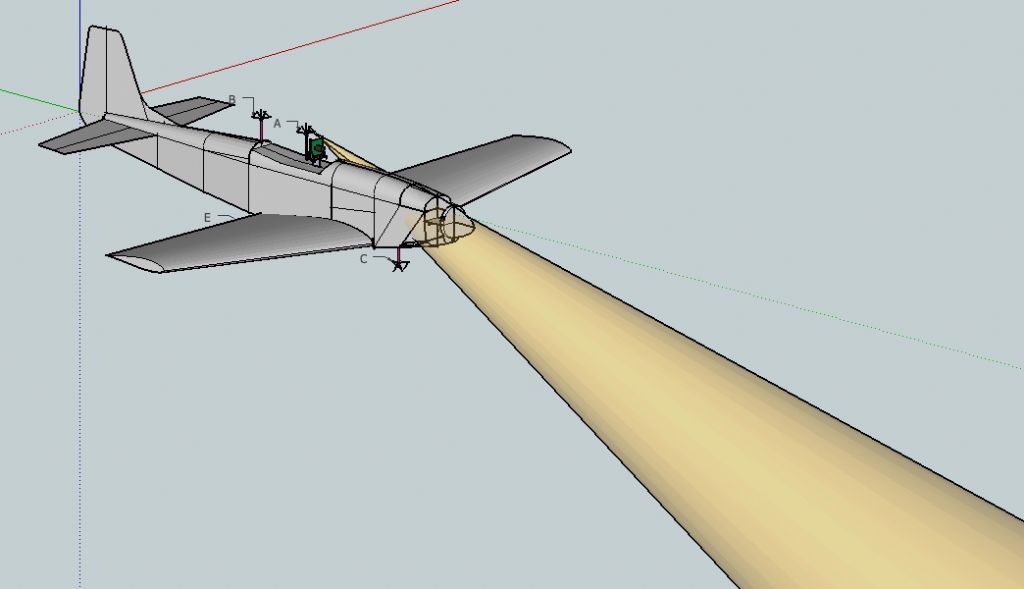
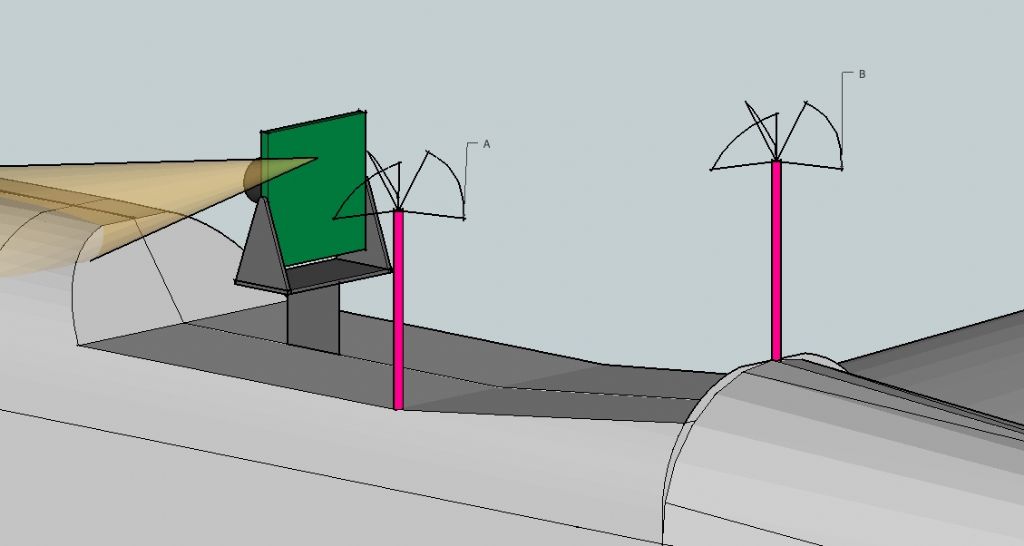
Hi everyone,
Do you have some suggestion ?
A ?, B ?
C, D or E ?
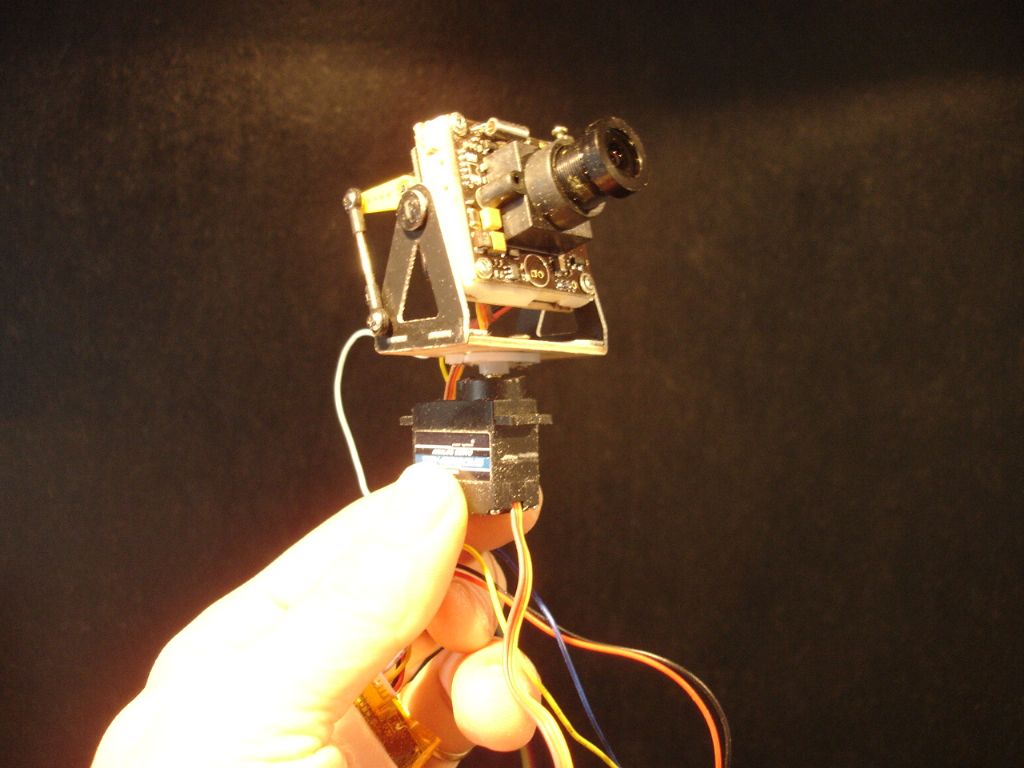
In other terms do I have to worry a "masking shield " from the LIPO / motor ?...
or from the board cam ?...
that will make me loose the video signal when I'm "behind" ?
Could balsa wing also be a "shield" ?
Or is this not a problem and it works whatever the position of the antenna ?
Thanks for your wise thoughts, henri.
Edited By Henri Squier on 06/01/2016 20:54:23
-
Polyurethane (D4 - bostik) works very well (for me).
dries in 3 hours, and swallows when it dries (the more there is humidity the more it swallows) : can be a good thing for reinforcement or when there is not a perfect tight fit. Henri
-
-
Wow ! yes, wow is the right word .... thank you for sharing, an other true lesson.
-
How I deal with very (hugely) off center holes ...
This plug ...
... belonging to this wing ...
Is suppose to come into a hole drilled in a fuse former.
But it's always a little tricky and the first hole is never the good one...
... and the hole becomes a cave.
So I do in a thin drilled ply witch is placed at the correct place ...
... remove the wing and put a chinese stick surrounded by bakery paper :
And fill the hole (cave) with epoxy :
You can see how I've been searching the right fit with my drilling machine.
And after epoxy cure and sanding ...
... I finally have a tight hole at the right place.
If some one have an easier way to do : I'll take it. Thanks for watching, henri.
-
Dear Fledermaus ,
I agree with the facts it depends on many factors : size, use (quiet / aerobatic), plane or glider, wing structure (sheeted or not / foam venered), aesthetic ...
But finally in these specific situations you don't really have much choice.
However, up to my experience for planes < 4 pounds both works well. Up to you to choose what suits best for the project.
In the way to build Tony Nijhuis 46 Spit I was quite worried by the glass cloth as only joining system : I always built planes with ply joiners and thought it was the only way to do.
So I made - sideway - an other plane with this kind of joining :
Before releasing by fear of destruction, the wing (110cm / 43 inches - for a 2 pounds plane) could handle 3 pounds at the tip (pressure on the middle of the wing) and 5.5 pounds midway.
As someone made comment at this time "plane are built to fly not to overcome a crash", I think we usually built to strong or at least much more stronger than really needed.
-
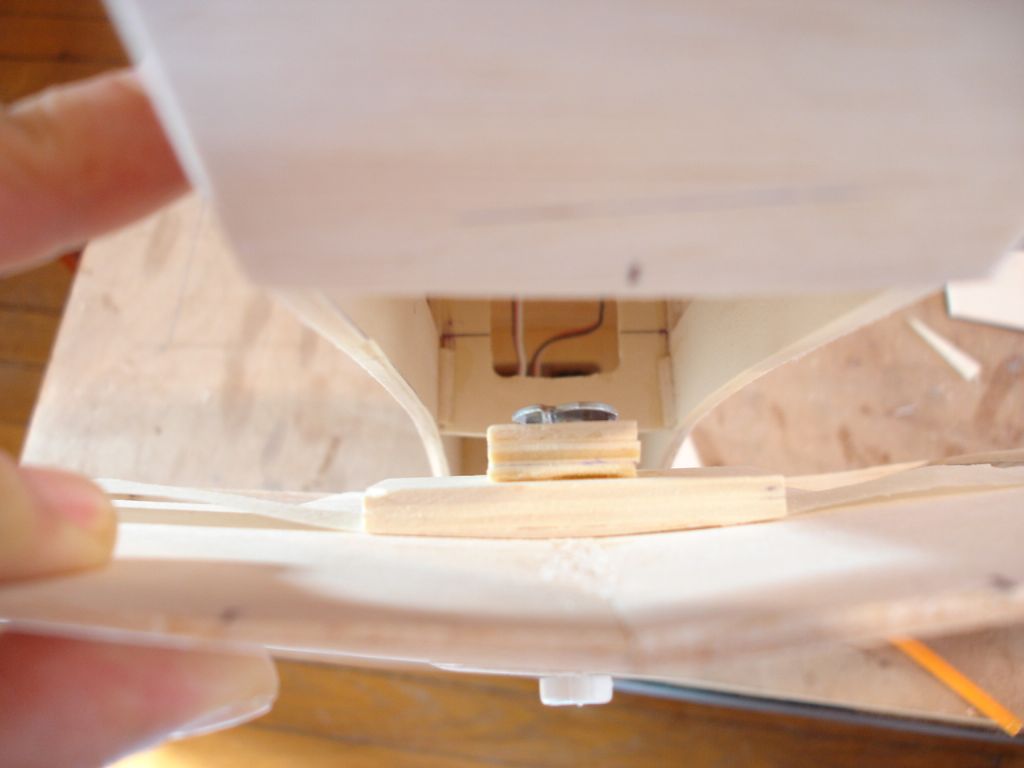
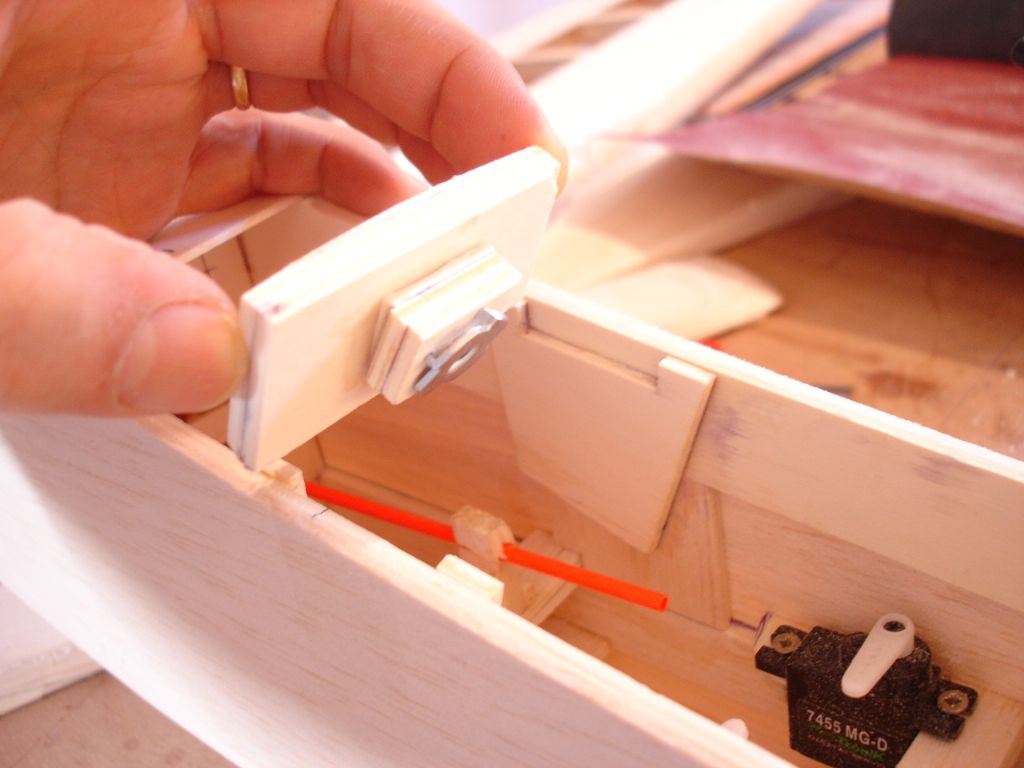
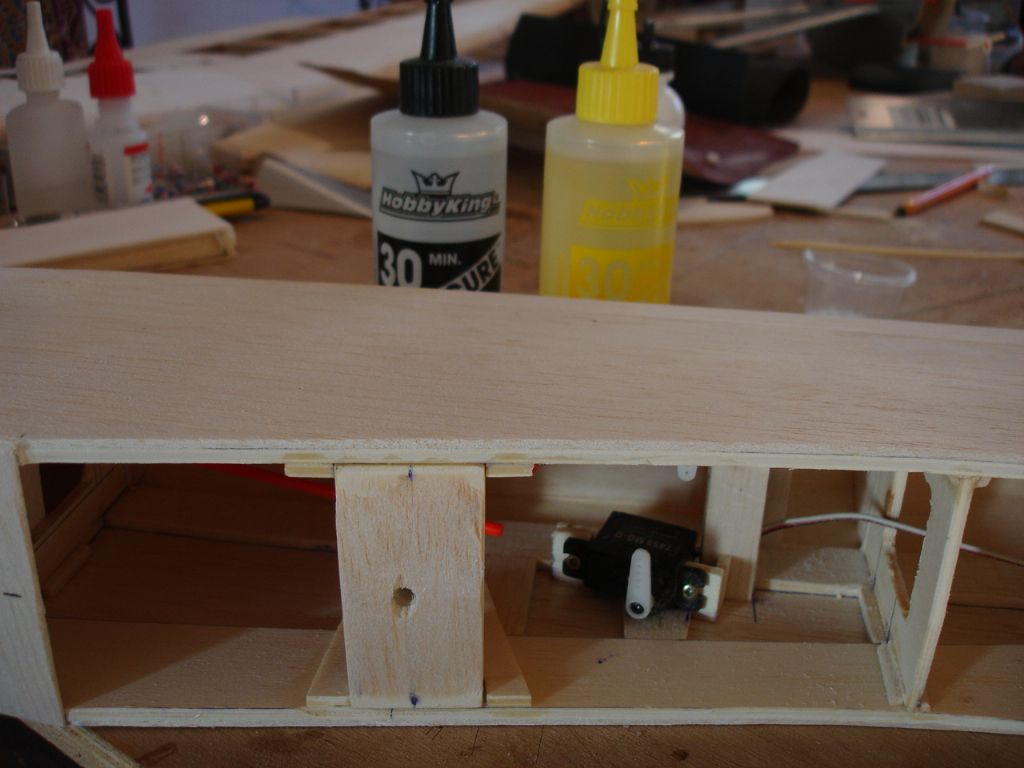
Wing attachment ... (always a little tricky... for me)
First I make a loose "bolt-mount".
A hole has previously been drilled (perpendicular to the down side of the wing).
Everything centered.
fed into the fuselage
maintained in place with tape - To be at the right place is the only thing possible.
Cradle glued on both sides
And finally the bolt mount.
Just in case it could interest some one, henri.
-
-
Hi Josip, thanks for sharing.
Happy with you Denver ?
I was up to get a go pro (session cam) for Christmas.
You made me discover this brand that is unknown here in France.
I will perhaps change my mind up to a DENVER ACT-5040W (120 euros vs 190 for the go pro - Denver 5002 79 euros !!!!).
henri.
-
Thank you, thank you Josip. Your support touches me.
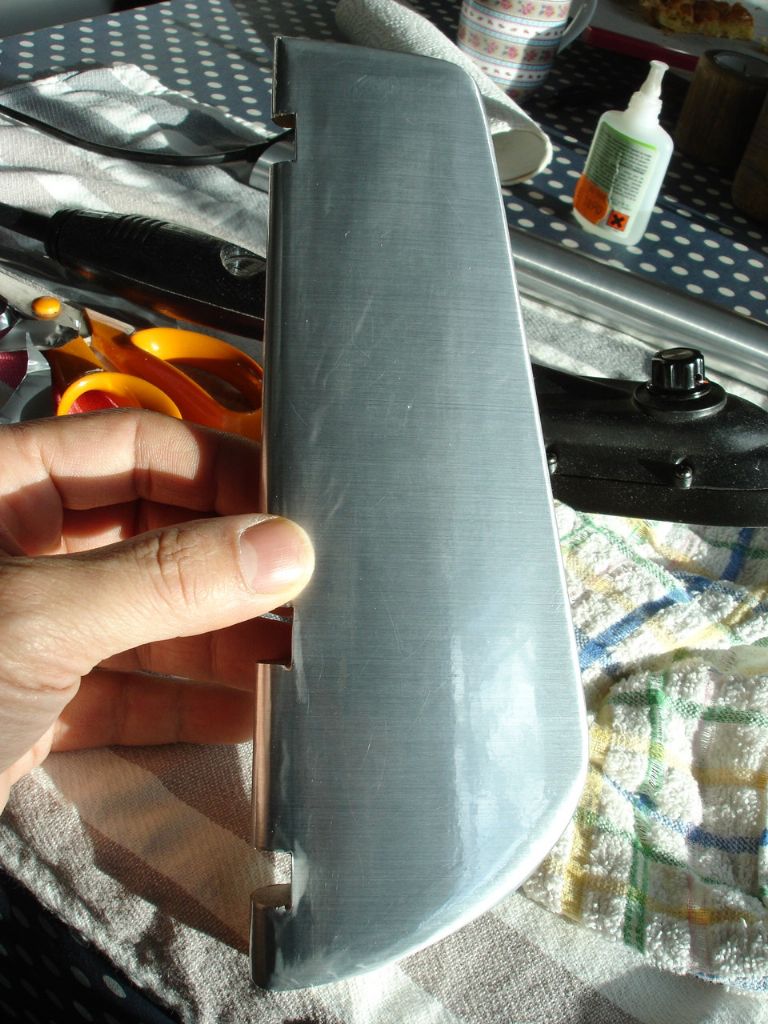
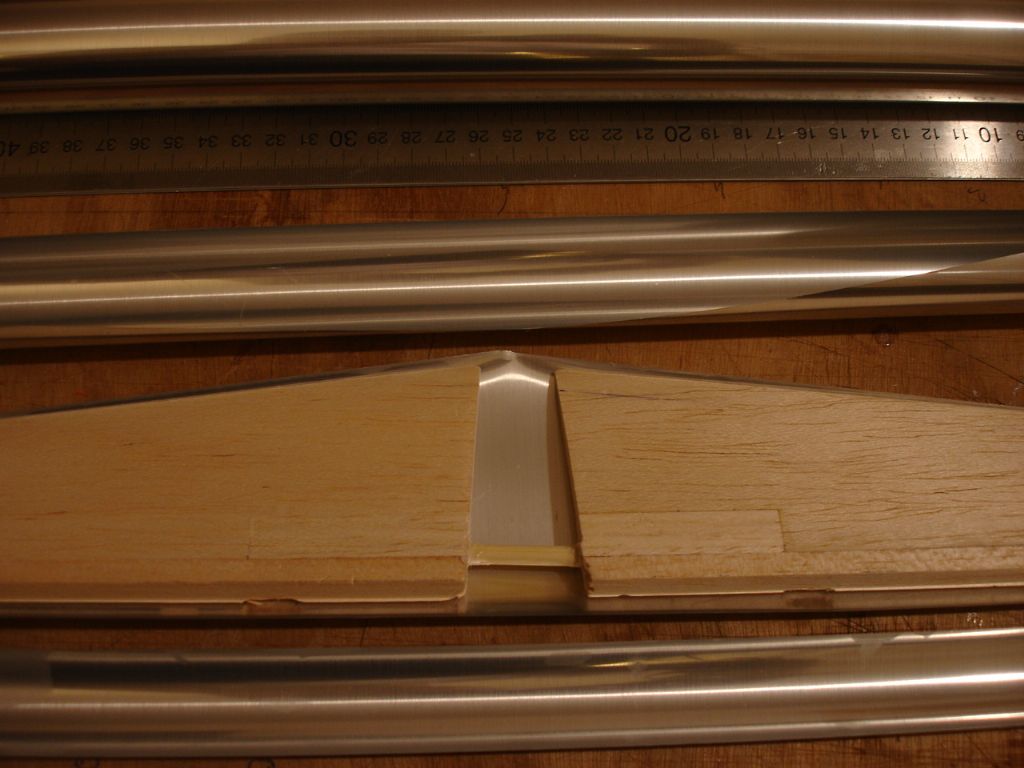
I'd like to share I'm very (very, very) enthusiast about that :
Found (cheap) at Hobbyking.
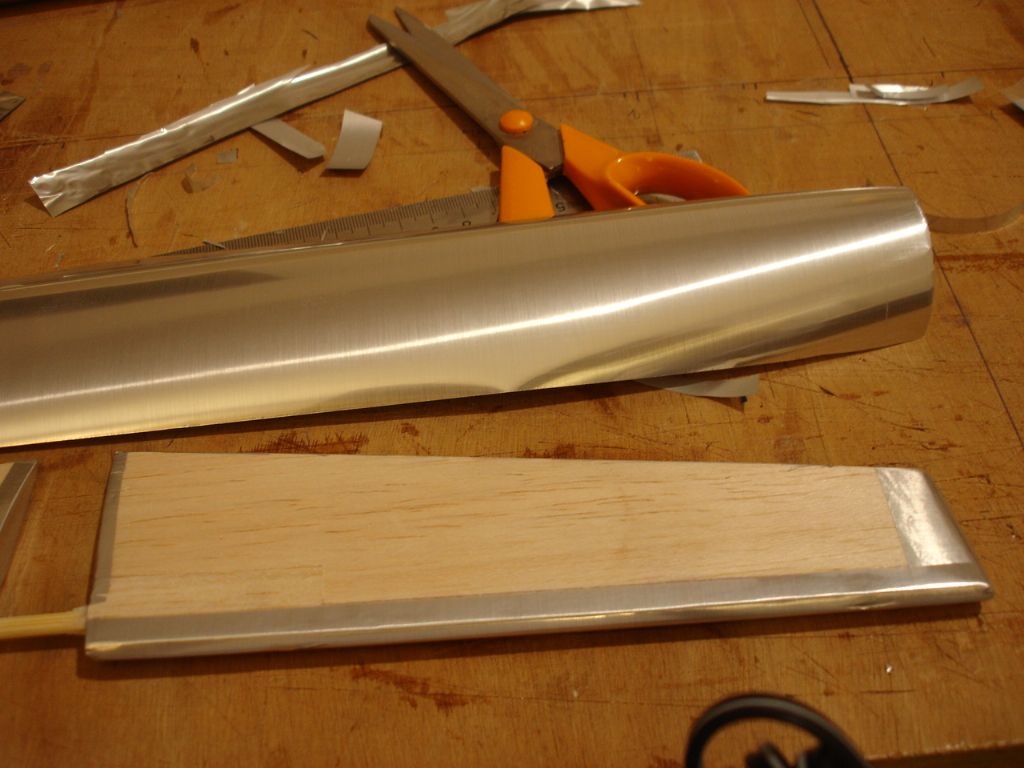
It's very light (much lighter than ORACOVER antique i used previously).
It feels however strong enough.
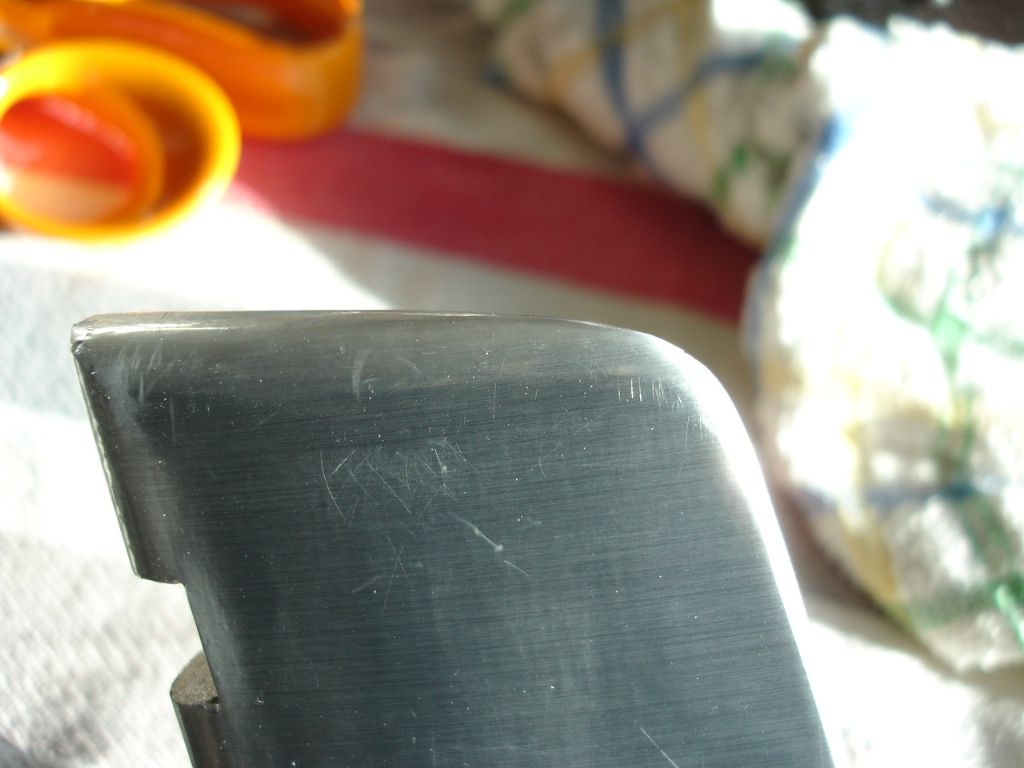
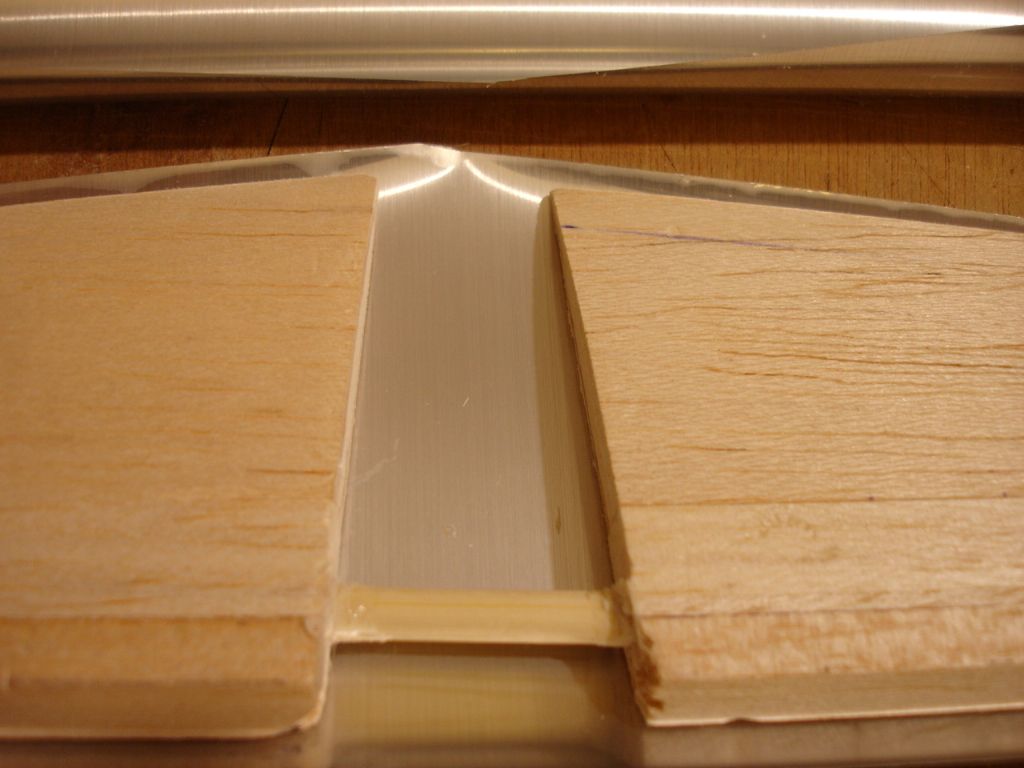
You can see the aluminum like effect - very nice.
Not a fold !!!
Much easier than Oracover Antic.
It makes you want to do well.
Up to me it gives incredible results.
Very nice alu effect.
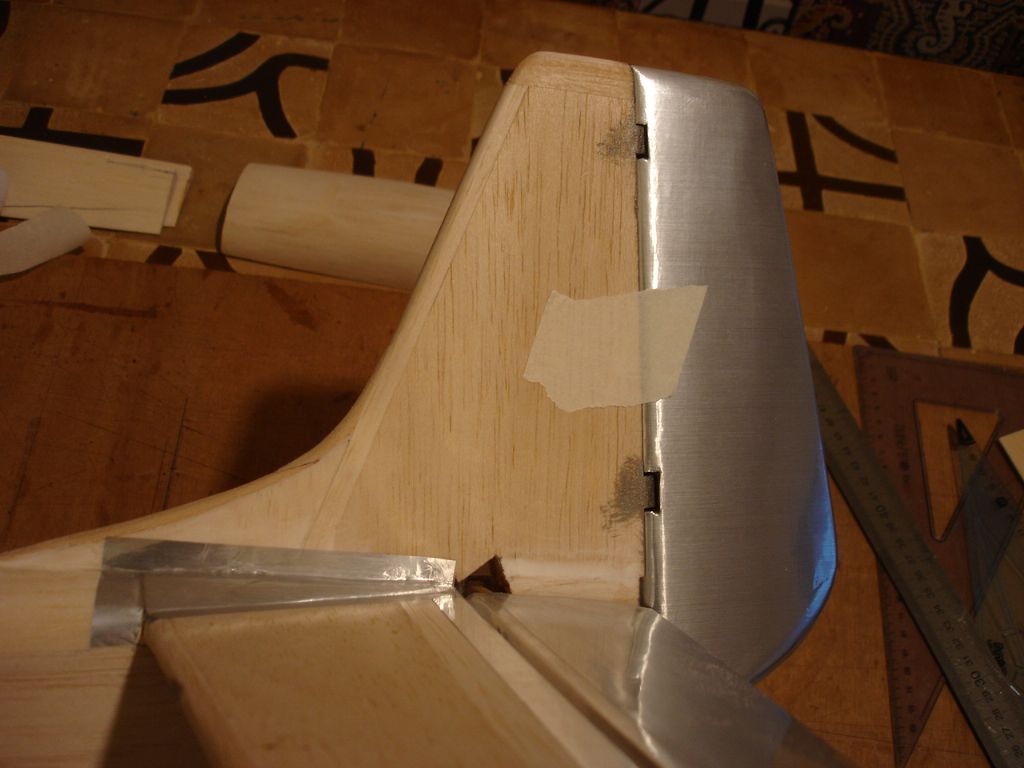
Here comparison with Oracove Antic Silver :
I'm very happy with this : quality an price (10 euros for 5 m !).
I'll tell you next if it's paint friendly.
henri
-
Big thanks for (very quick) answer, henri.
-
-
-
Waouh .....
1.5 aerobatic project, A4b aV-2, incredible scale alu P51 ....
The level of this topic has recently become seriously high !!!
A little intimidating ...
... well just to humbly finish what I've started with
I was not happy with the "hole" version :
Began the wing tips :
... and fuse :
First cross :
Forgot a little space here :
I can already see it in the air ...
Edited By Henri Squier on 13/12/2015 14:09:39
-
-
-
-
N°2 and N°3.
Why N°2 and N°3 ?
Because N°1 is ...
... is late N°1.
I wanted to do exciting things like in youtube and told to me " why not fly through an old empty barn ? "
Immersion worked so well I was "in the plane" and not in the field with headset forgetting all basic physics ...
... 5.8 Ghz waves decided to stay in the barn as soon the plane flew in : no more video.
A pillar cut the right wing in two and the engine moved back half way into the nose.
Why N°2 and N°3 ?
Because what I do best is what I've already done previously.
Who did not tell to himself : "If I had to do it again I would do it this way ! "
For instance :
- 2.0° wing incidence was too high.
- "cockpit" was too light, needed to be reinforced
- wing bearing has to be in ply and not balsa.
- need more power (260 W was not enough punchy),
an so on ...
Finally decided to improve the fuse design :
So, there will be some more balsa dust.
Edited By Henri Squier on 11/11/2015 21:39:55
-
Hi Trevor, thanks for comment.
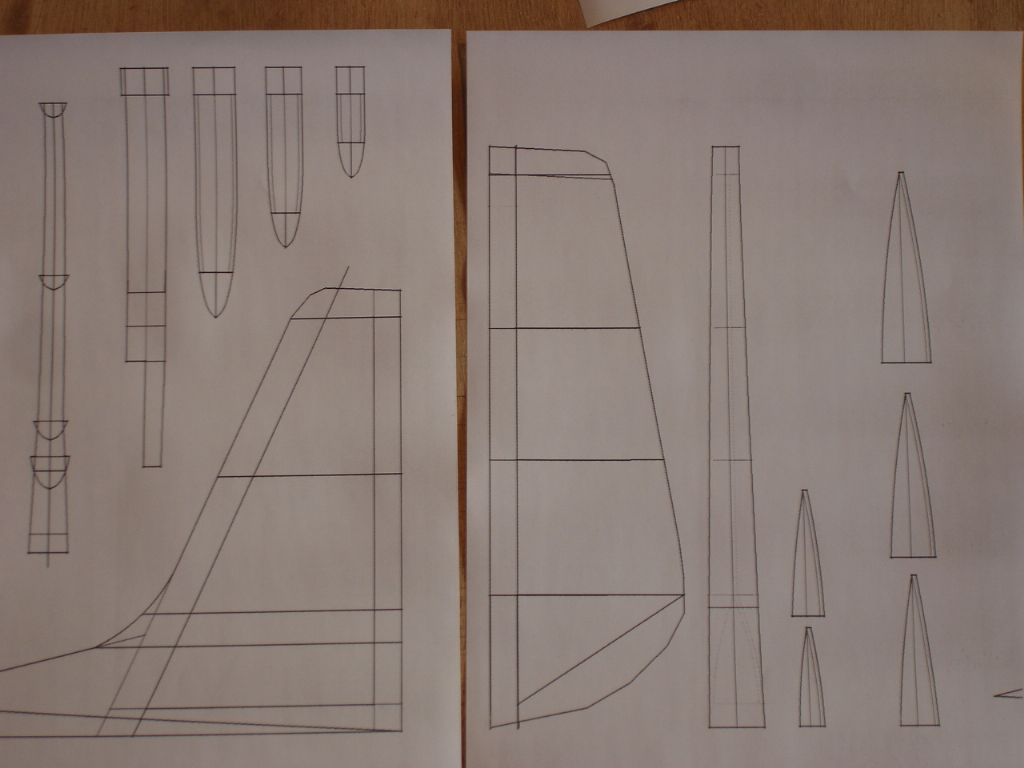
Yes it's the basic free Shekchup. For only plan drawing like I use it, you got more than you need. I began with Jason Anderson tutorials quite easily (**LINK**).
But I won't hide it's much more time consuming than pen&paper.
Turbocad is surely more powerful and allows you (unlike Sketchup) to create files for laser cutting.
It's (highly) time consuming but has an accuracy unreachable with only pen&paper ...
The first project (that flew) had its wing (made too fast on the bench) a little twisted.
Nothing more in the air that two clicks of trim but the mis aligned ailerons were too much for my self esteem.
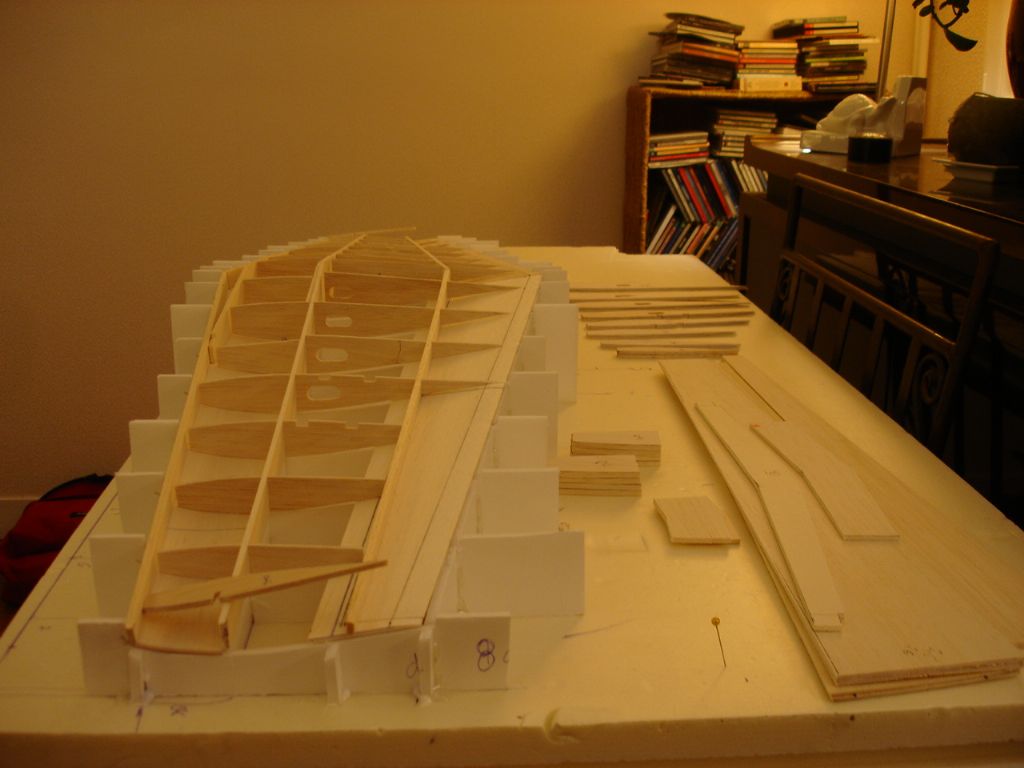
So, for my N°2 and N°3 I made a cradle.
This would have been tricky with only pen&paper.
Preforming of leading edge top sheeting
dry fit
What's incredible with CAD is the accuracy. Just a light sanding and everything fits perfectly at once, really incredible.
Edited By Henri Squier on 07/11/2015 23:04:18
























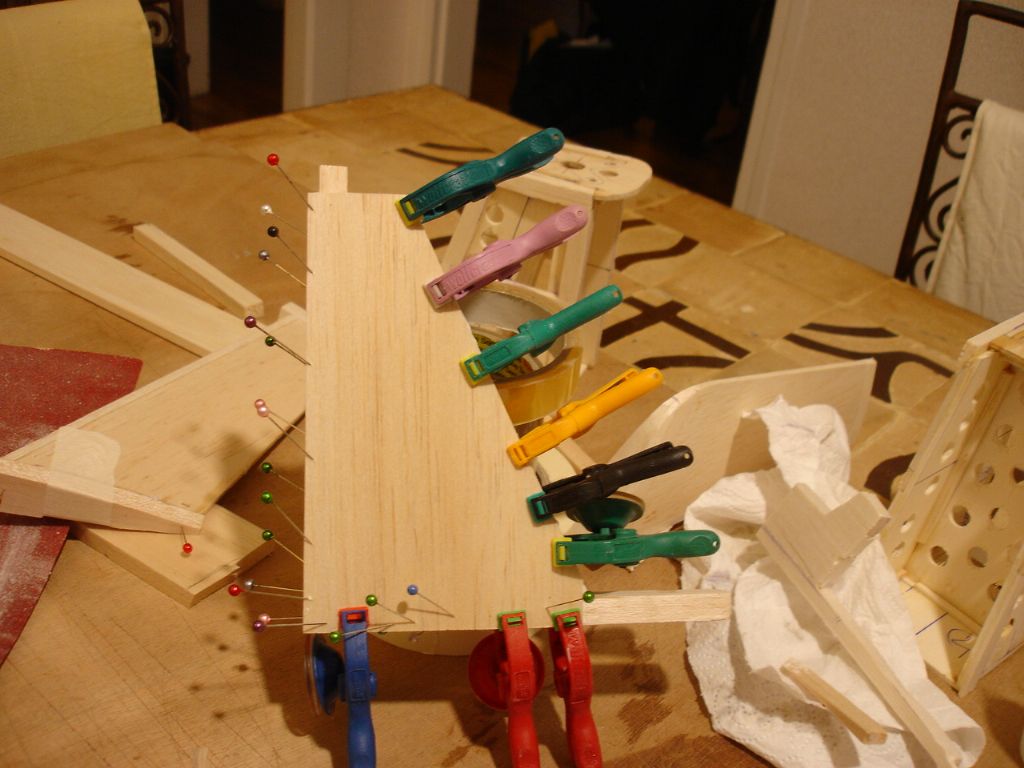
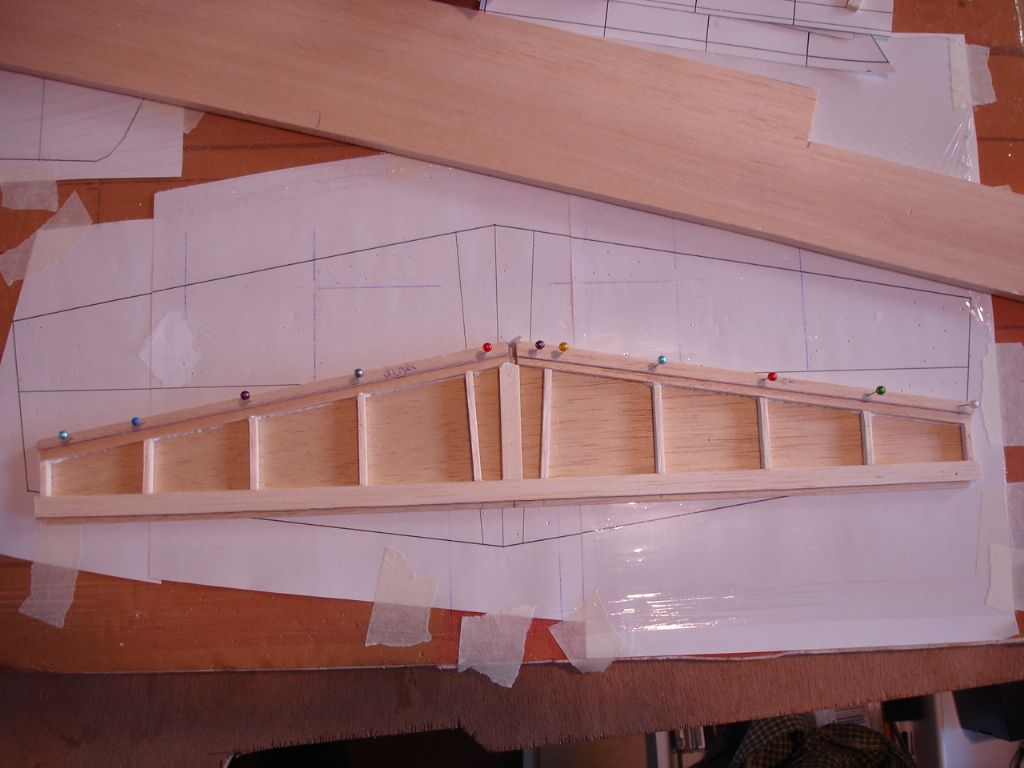


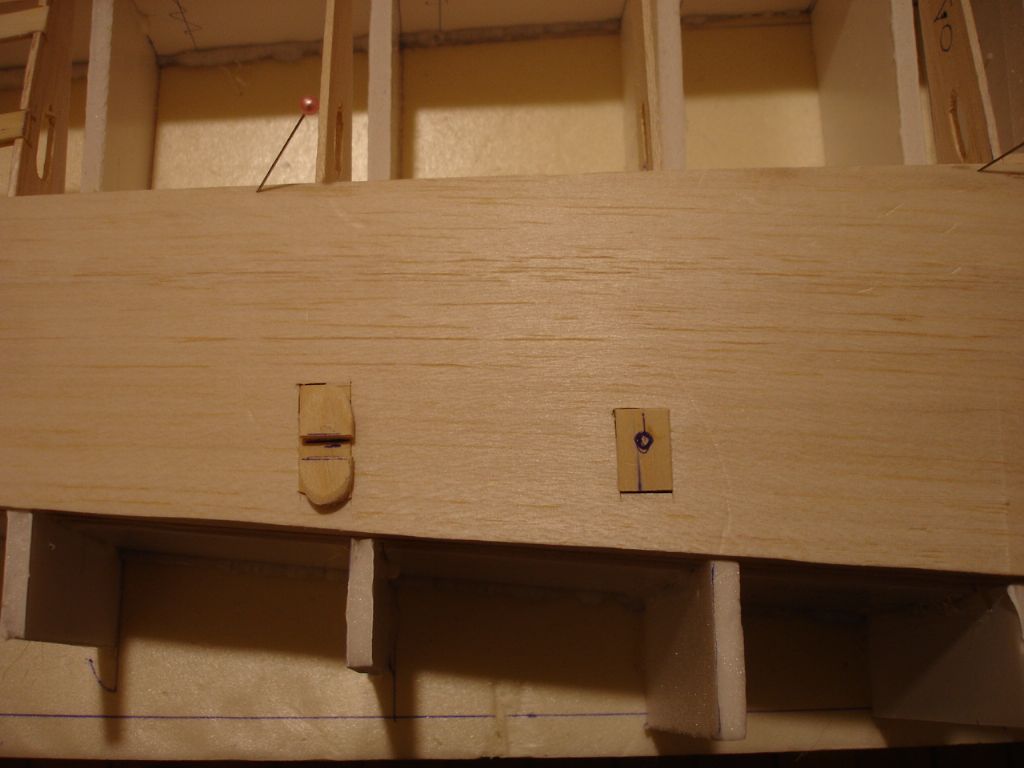


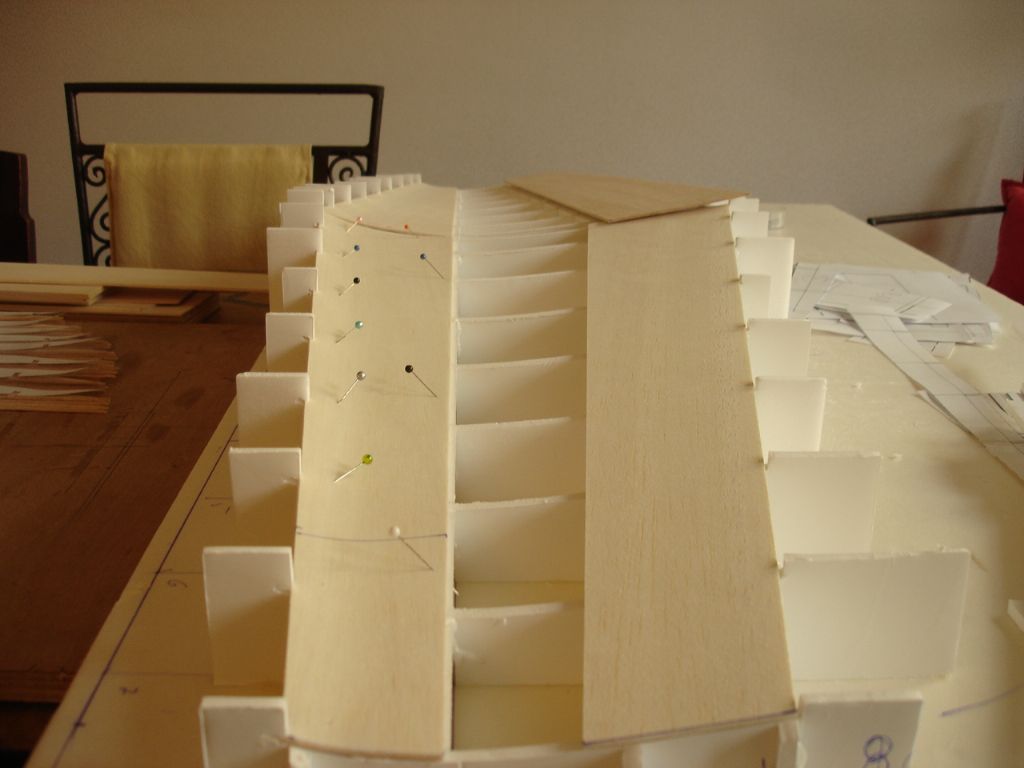
Mustang like FPV
in Own Design Project Blogs
Posted
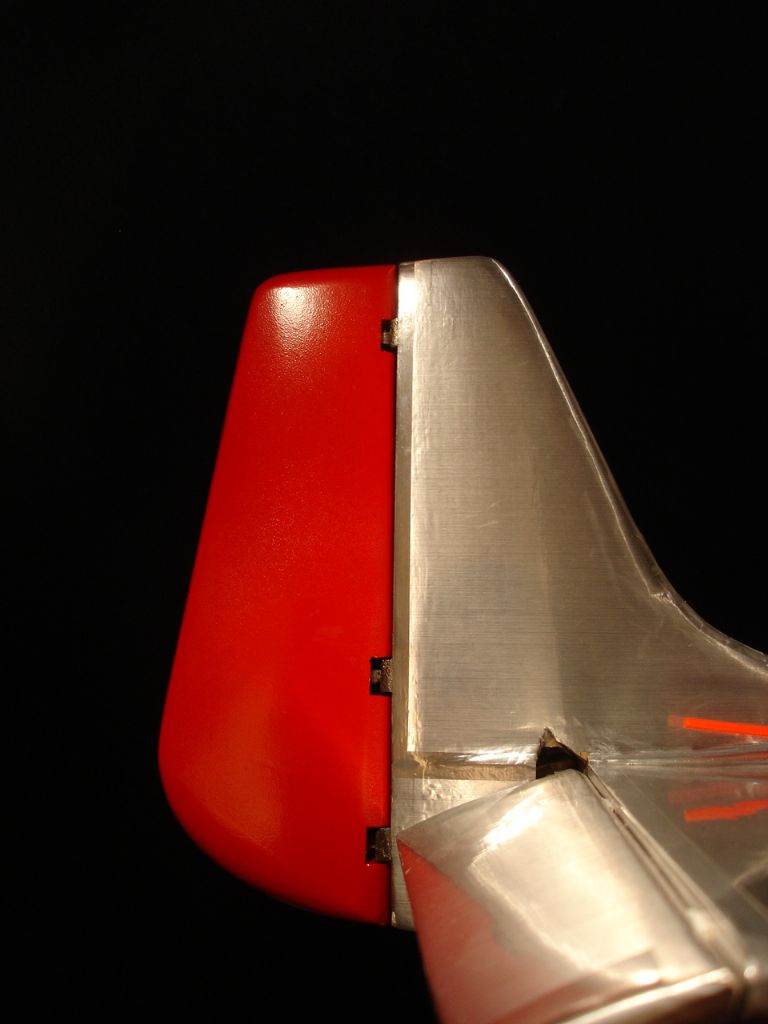
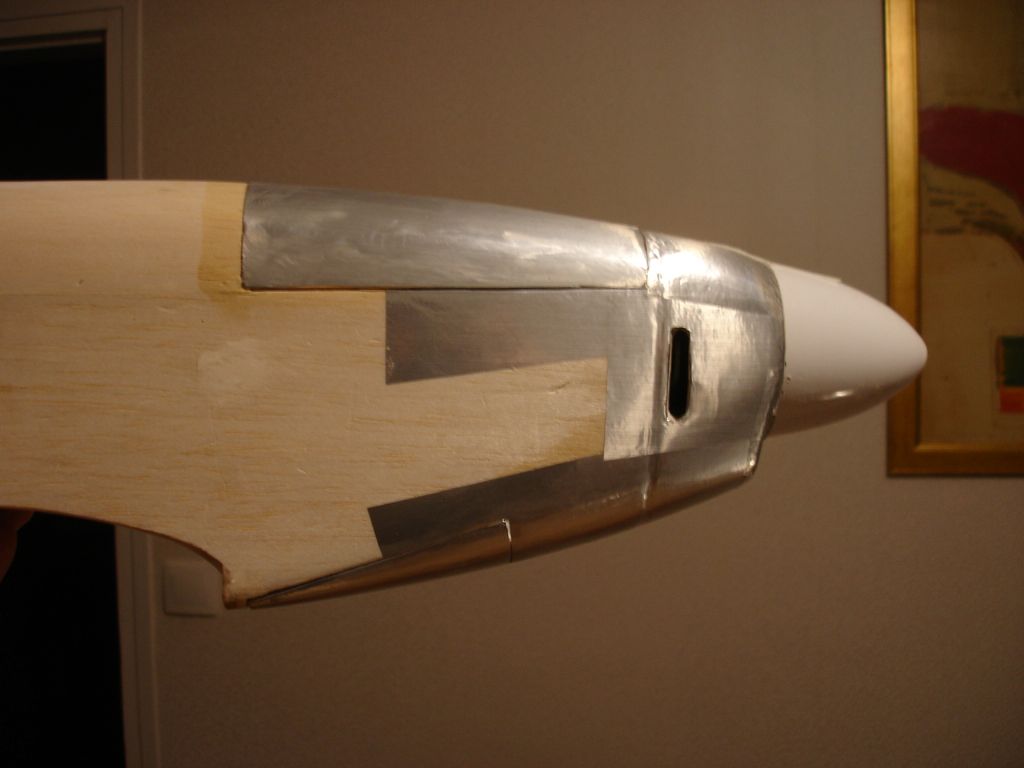
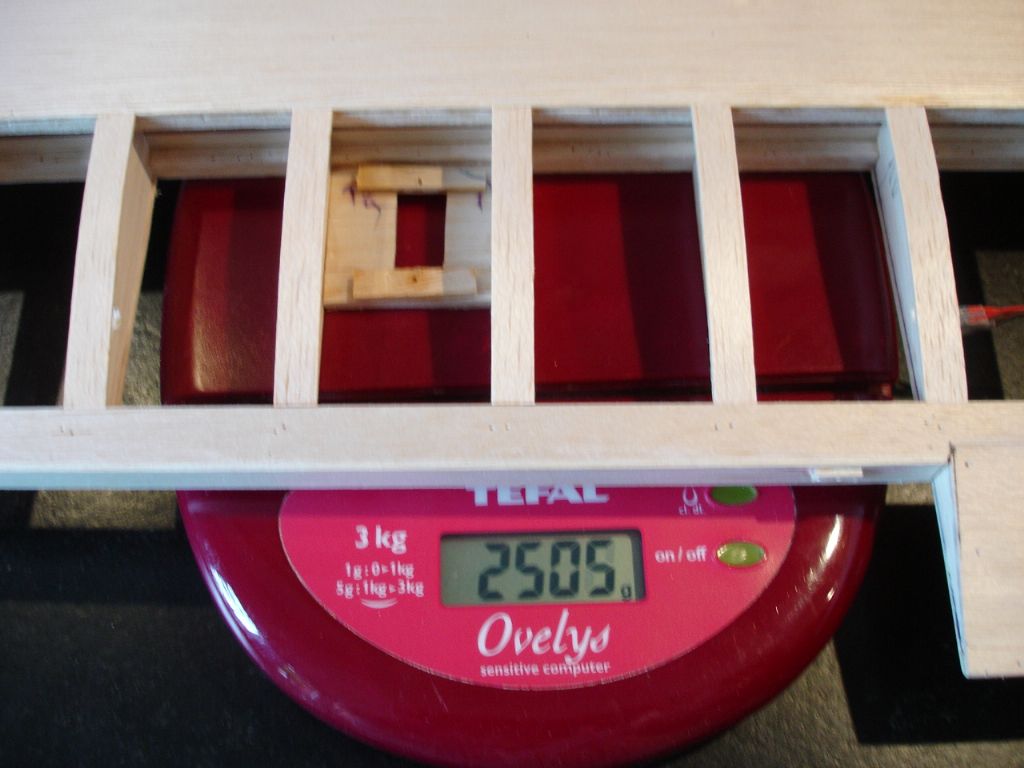
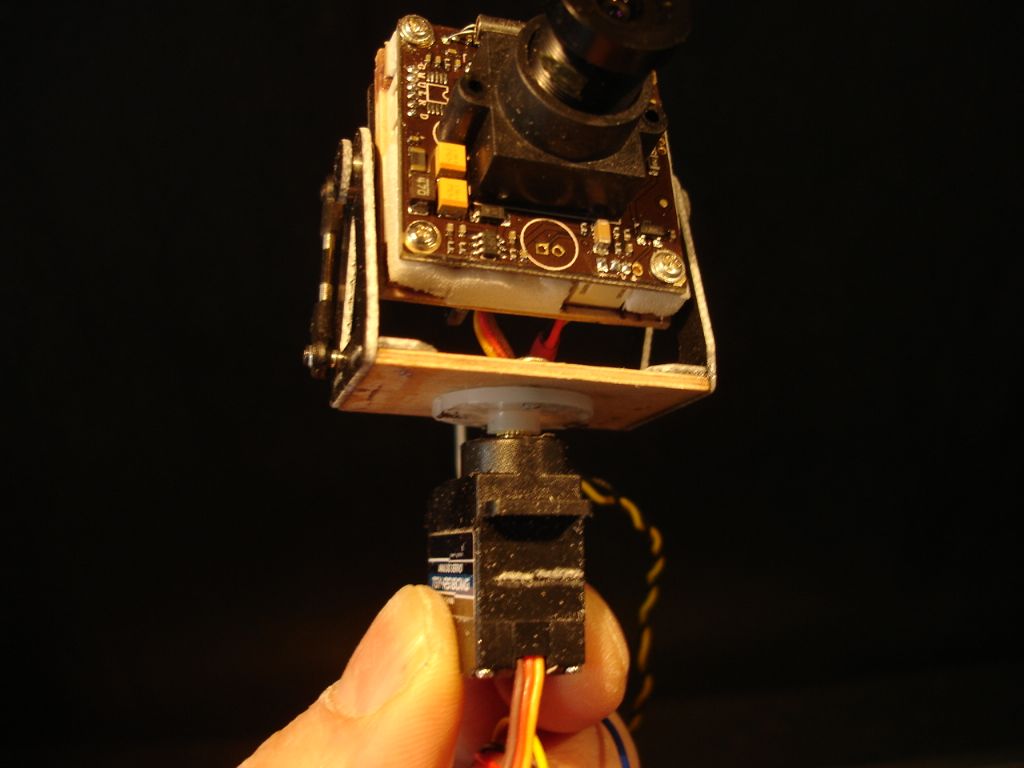
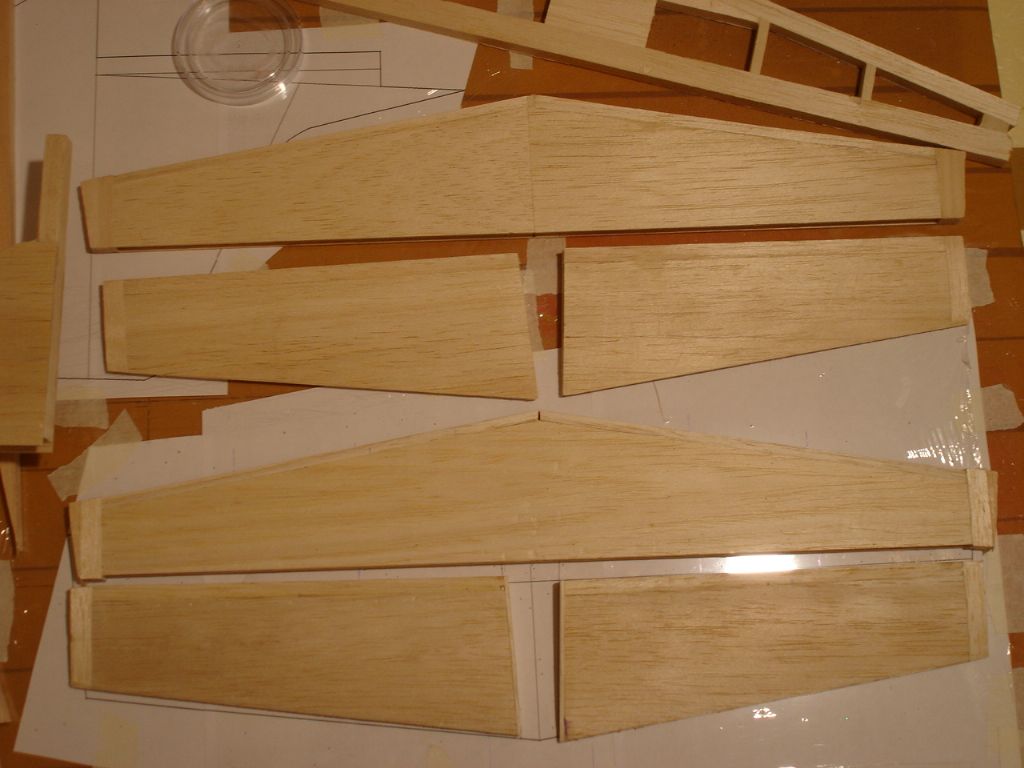
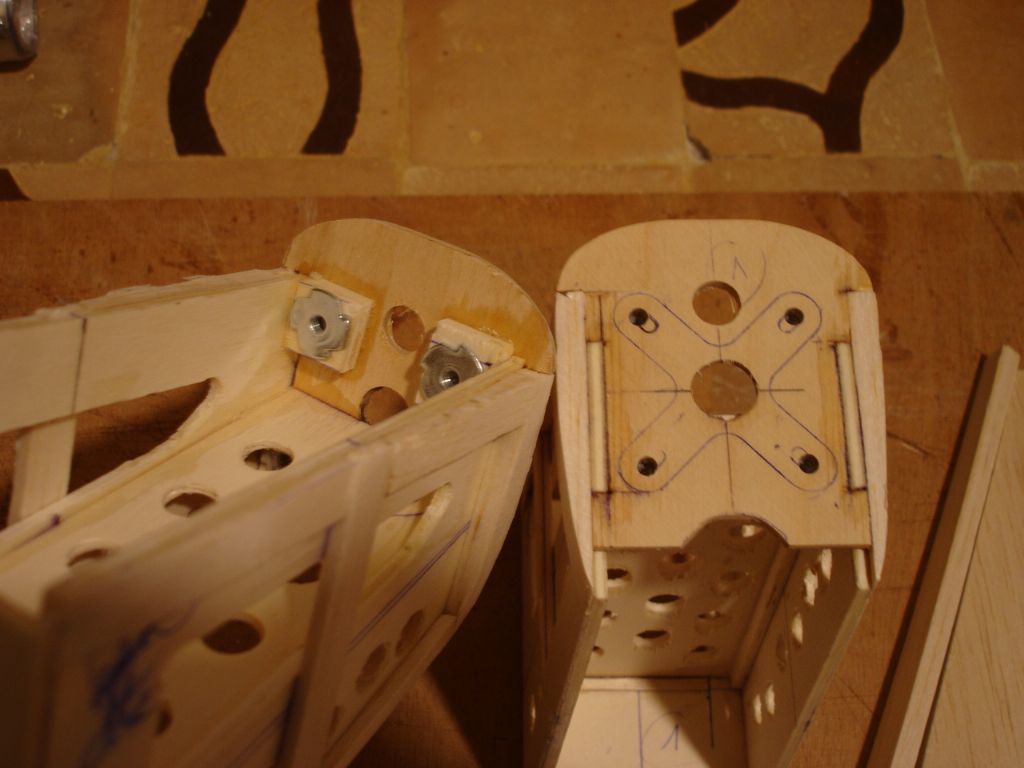
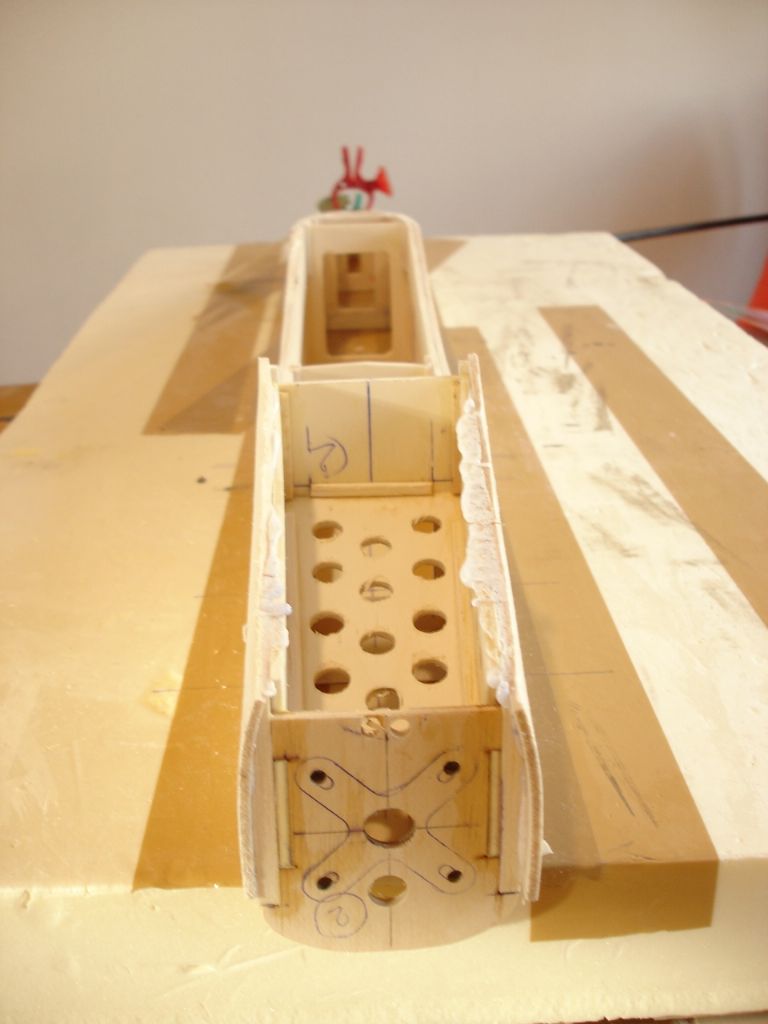
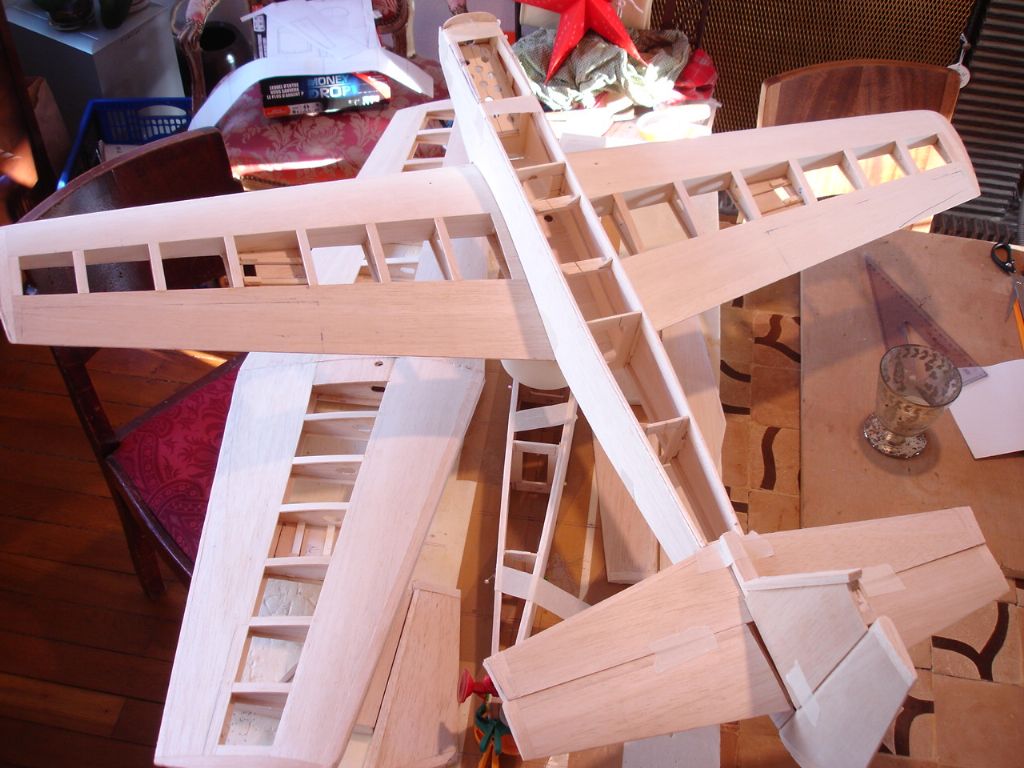
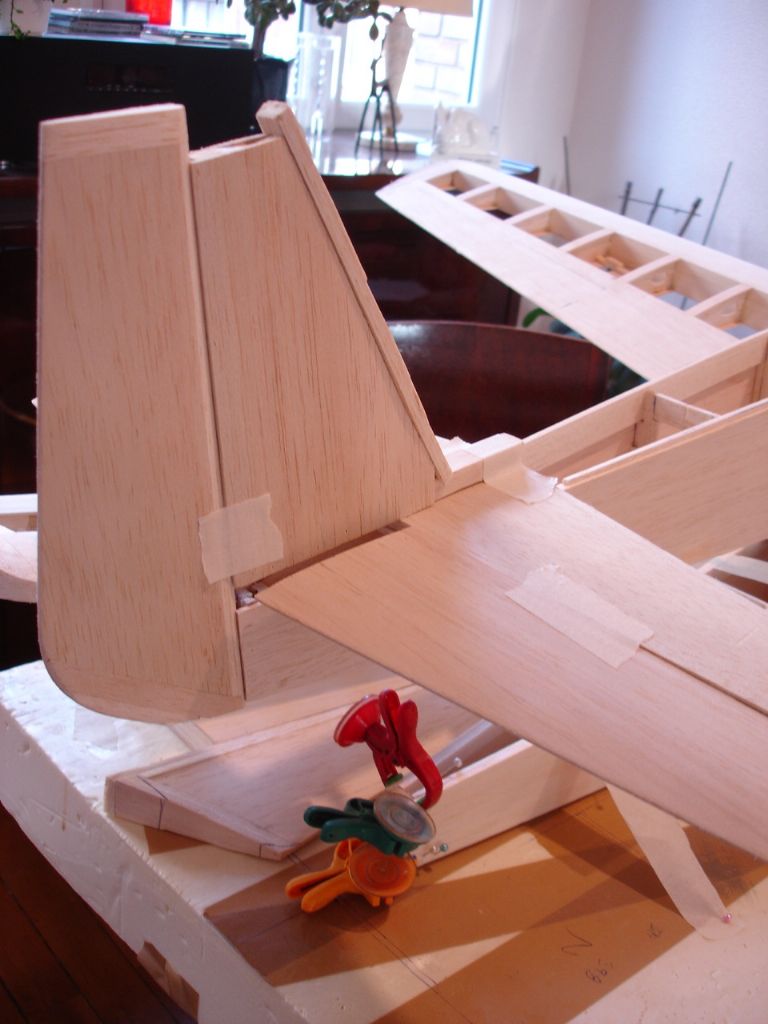
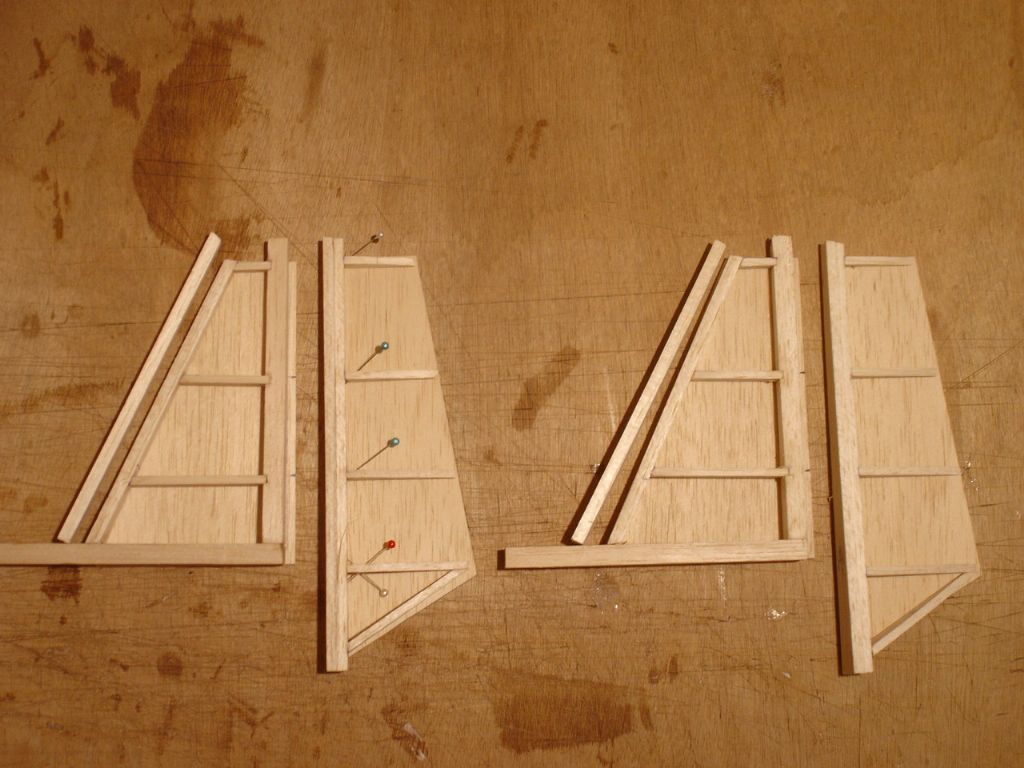
Well ... feels the biggest part in behind.
Up to me looks better than N°1.
Things to do while waiting spring : electronics and (eventually) paint job.
Thanks to all those who followed, henri