

Dad_flyer
-
Posts
981 -
Joined
-
Last visited
-
Days Won
1
Content Type
Profiles
Forums
Blogs
Gallery
Calendar
Downloads
Posts posted by Dad_flyer
-
-
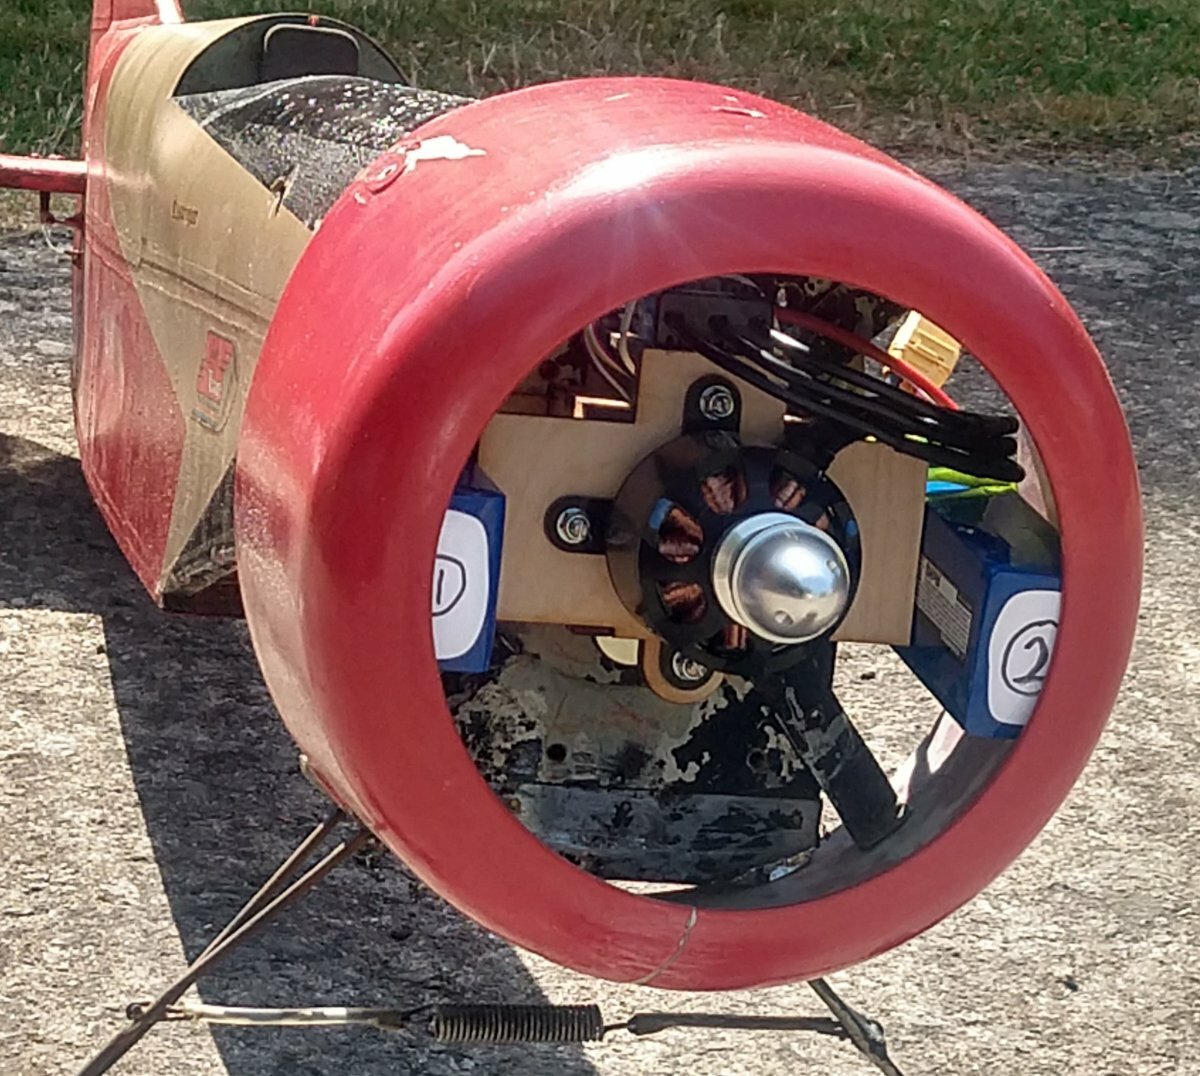
I rigged up a trial Vanessa rig to check the CG. The batteries need to be almost completely out of the cowl. I think I shall still put them on the outside, made up as exhausts, rather than fitting inside. The pilot had a go too.

All up weight is a small amount under the magic 7.5kg at present, but the battery mount and receiver still to come...
-
Might the ESC be detecting the wrong number of cells for the storage charge and shutting down on over/under voltage? For 3s, 4s there is not really overlap between 3s charged and 4s a little low. At 11/12/13s there is a lot of overlap.
-
I have been trying to work out how to store lipos without freezing or boiling. Also all being well without using technology and outside the house. I have monitored the temperature since January on a shelf in my shed and also in the back corner, against the concrete floor and a retaining wall, covered in just a cloth. It was not a cold winter, shelf temperature only went down to zero, but the floor remained at 5, this week the shelf was up at 32, the floor at 19. It seems to be a good place to build a battery storage, with not much insulation required.
-
The batteries do fit, even right up to the front of the cowl. I think they need to be a few inches back from that.
-
Something like this.
Very nearly time for CG test to position the batteries.
-
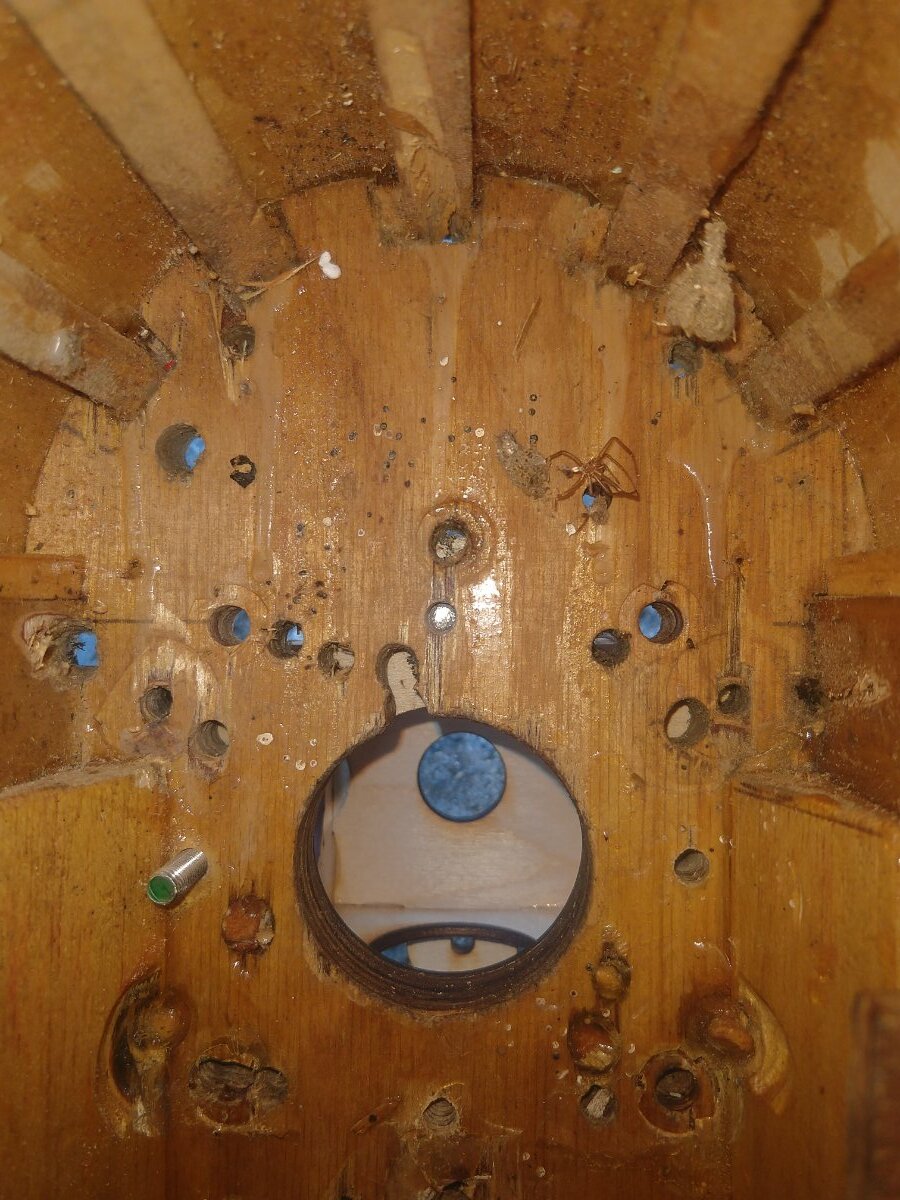
I think it is solid. The wood feels hard when I drilled it and the surface feels hard. 5/8" thick I think. The part you have highlighted is a replaced thin ply decking. From the inside it is this:
The main join is to the flat sides, and there are wedges to increase the gluing area. I don't see anything that looks weak?
-
A bit more this evening. Motor mount finalised as version 4 and cut from 3mm ply.
Back plate tacked to the firewall with cyano to drill the holes. A plug in the central hole aids alignment.
Which are the new mounting holes?!
Box loosely assembled and looks about right. Now I shall glue it all together.
-
2 hours ago, J D 8 said:
as has to be done in many full size types
I recently got a better radio with sliders. I put a mix on one slider to allow for adjustable elevator trim. Full travel is a few % correction and does seem helpful on a model that I sometimes want to pootle about with and sometimes want to go faster. Flight modes could be made to do the same thing of course.
-
Not new, but new to us. From the swap meet at Woodspring Wings show yesterday, maidened by Child_flyer just now.
54" wingspan. Unknown make, ply frame with thin foam skin. Flies nicely on 4s.
-
 2
2
-
-
Thanks ED. I did manage to move the elevator in a hole (I think) for that reason, and also you get more of the available torque on the control surface. I shall see if I can re-do the rudder crank. I got crimp ferrules yesterday at the Woodspring Wings show, so I can now refit the pull-pull wires if I do change anything. However it did fly with the previous two owners when coupled like this, so it must be at least OK ..
-
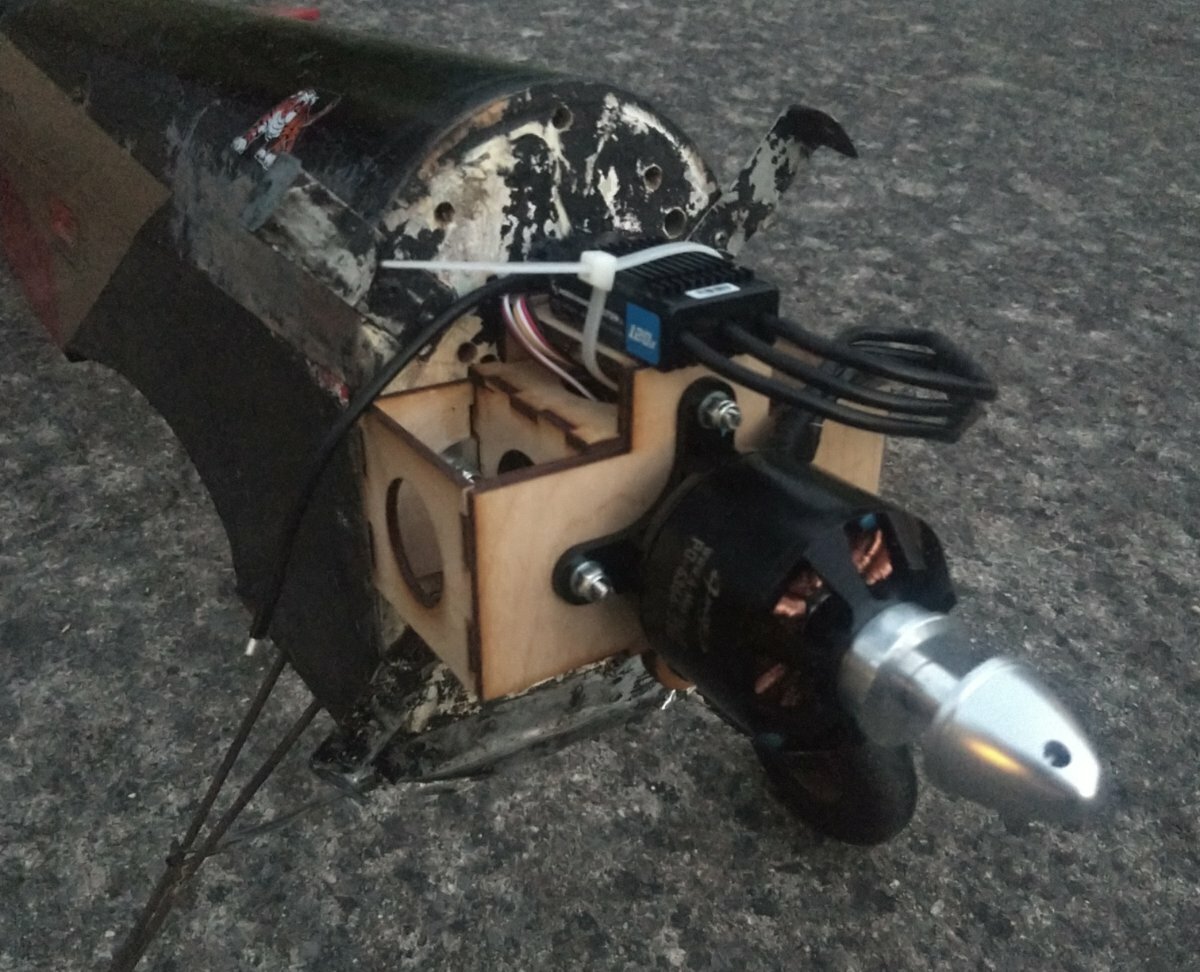
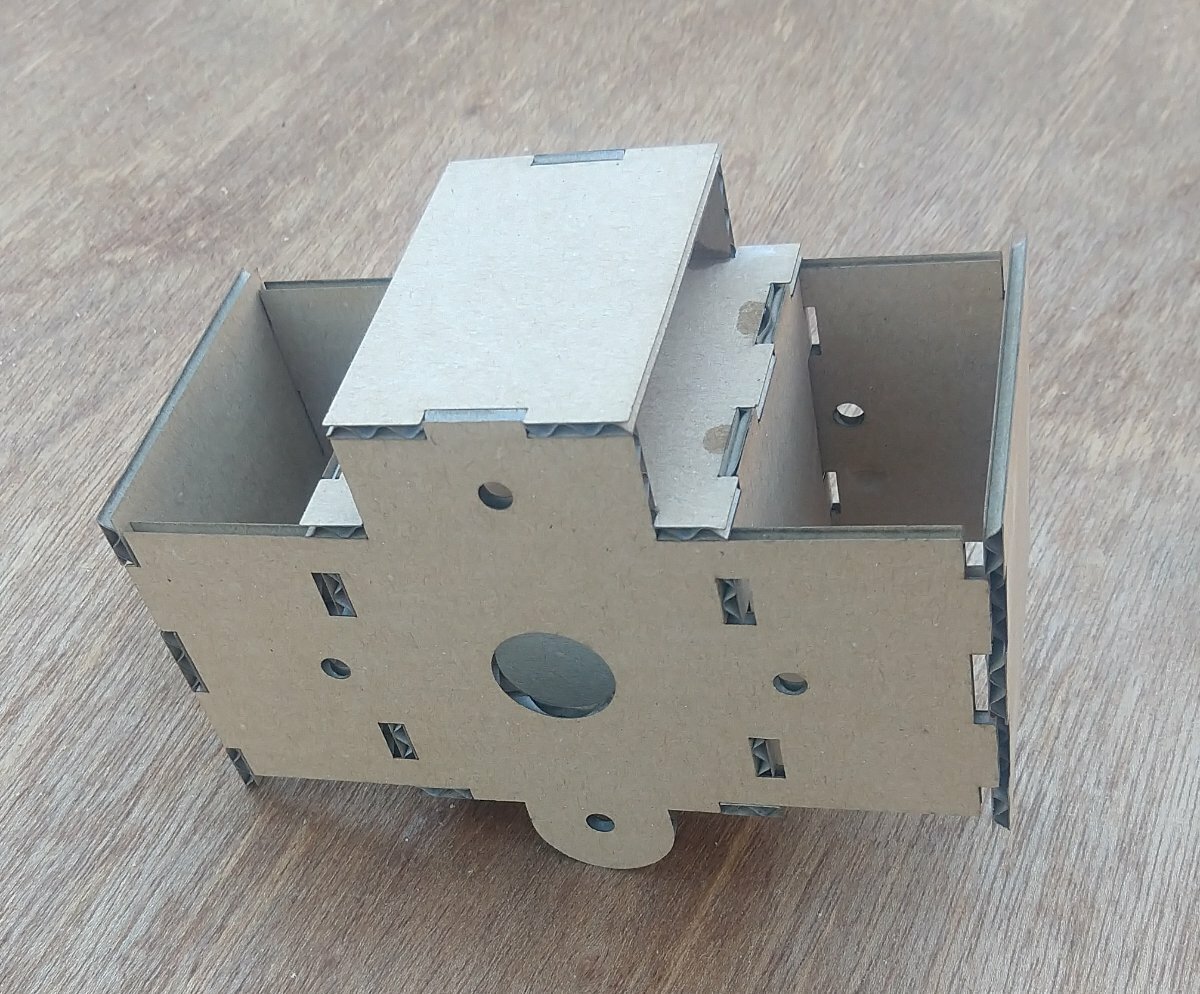
A friend lent me a laser cutter 😃.
I have mocked up a mount to get the motor in the right place, with a platform for the ESC on top and side plates matching the fuselage width to fix the battery mounting to. This is version 3
A couple more modifications, then cut from 1/8" ply instead of 1/8" card. There will be a double thickness front firewall. For peace of mind only really, the motor is actually held from the main firewall by M5 studding right through the box.
-
It was a good day out with Child_flyer. The Comet is our favourite in full size and that model is awesome.
-
About a dozen swifts tonight.
-
It is a foam with paper on both sides, I am not sure what kind of foam. The Flite test version is a less dense foam and light paper. The Westfoam from Hobbycraft in the UK is slightly thicker, denser and has heavier paper as it is coated paper for an art board. However it is still not heavy and is good on mid-size models.
I have not used it for ribs, mainly for whole models. The straight wing on that model would work well with a Flite test style folded foamboard wing.
-
I totally agree about the little bits I have forgotten and then the extra shipping charge. Also things being out of stock, so having to order from several different places each with separate shipping.
In the opposite direction, I ordered several non-modelling electronic components from the same big supplier. One order, but came shipped from three warehouses, two in Leeds, one in Belgium. At least three packages arrived together with only one driver.
-
I think it will be visible if it is big enough to affect it a lot. Mine was the first low-wing for me and for child_flier, and the first with aerobatic abilities, so it suffered a hard life. Glued back basically straight it always trimmed out OK.
-
The fuselage is quite narrow at the back, and so not very strong. Mostly that made mine flexible in flapping the tail surfaces around the axis, which would not give the problems in pitch that you are seeing.
-
Had the field to myself all morning. Rather windy and from the wrong direction, which was good practice. Seven flights and late home for lunch ?.
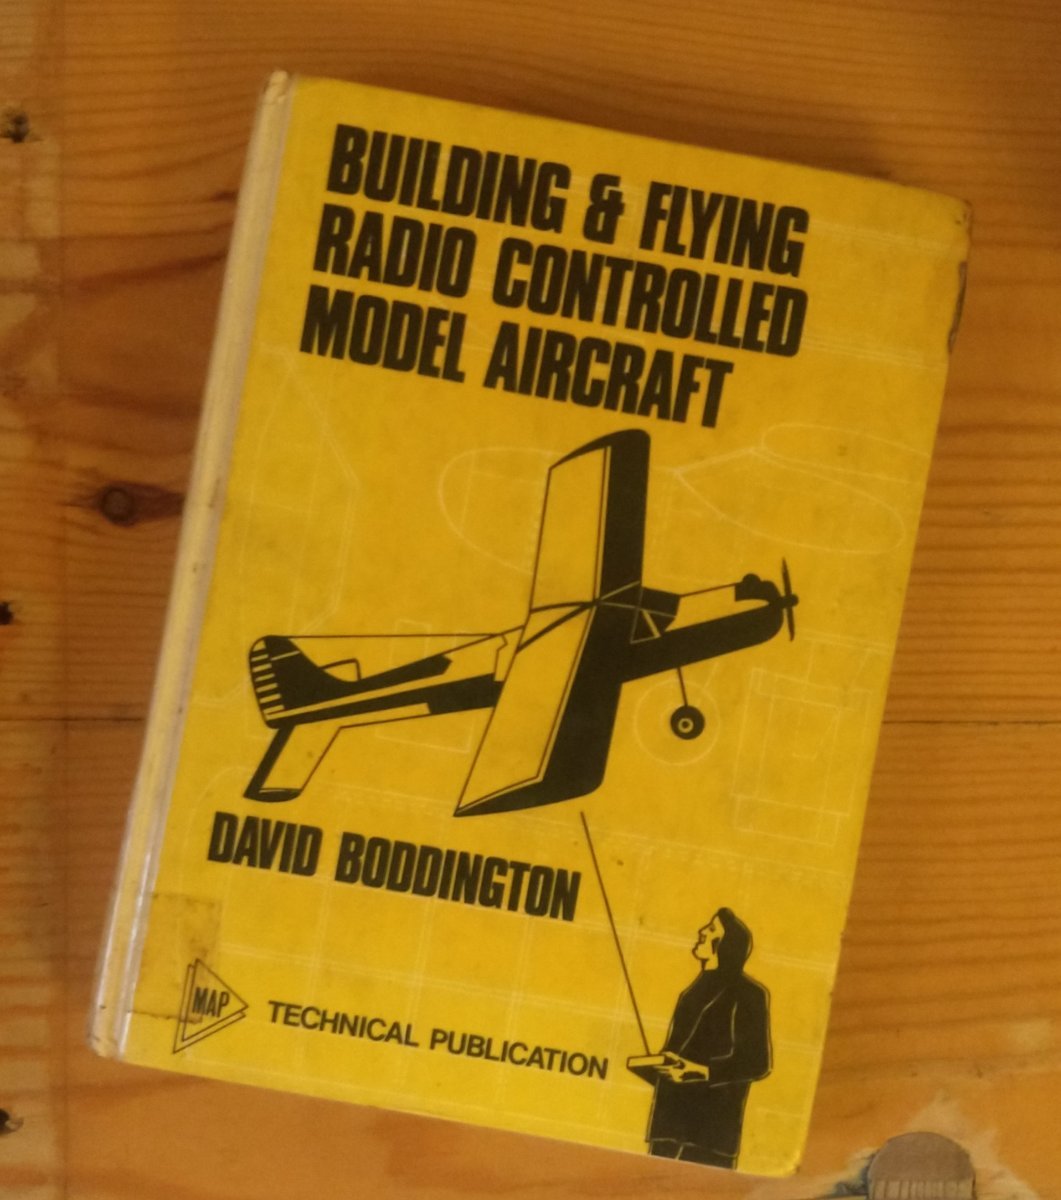
This has come my way from SWMBO's uncle who used to make models.
The classic book, together with some classic plans.
-
Why do I like particular models? I don't know, I just like them. The others I don't like so much.
-
1
-
-
Having almost given up, after searching for about an hour on-and-off, it was in the box with the box for the new transmitter.
Which also means I have found the receiver which I had forgotten was also mislaid, and the XT90 anti-spark connectors.
-
 1
1
-
-
Now, does anybody know where I put the new ESC? ?
(It is not with parts for Regal Eagle, not with electronics and ESCs, not with the Savox servo that I got at the same time. Probably with new parts, wherever I decided that was)
-
It should fly very nicely.
-
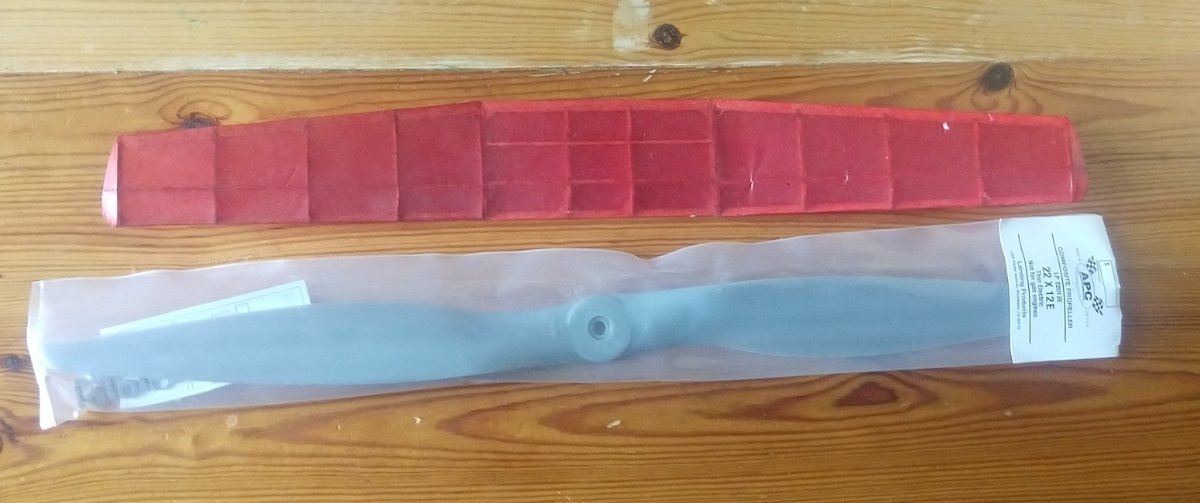
At last pressed go on the last few bits yesterday, arrived today from Slough RC and 4-Max. Great service as usual.
When the 4-max one came, I could not think what I had ordered. It was l long package, but I did not remember getting push-rods or anything.
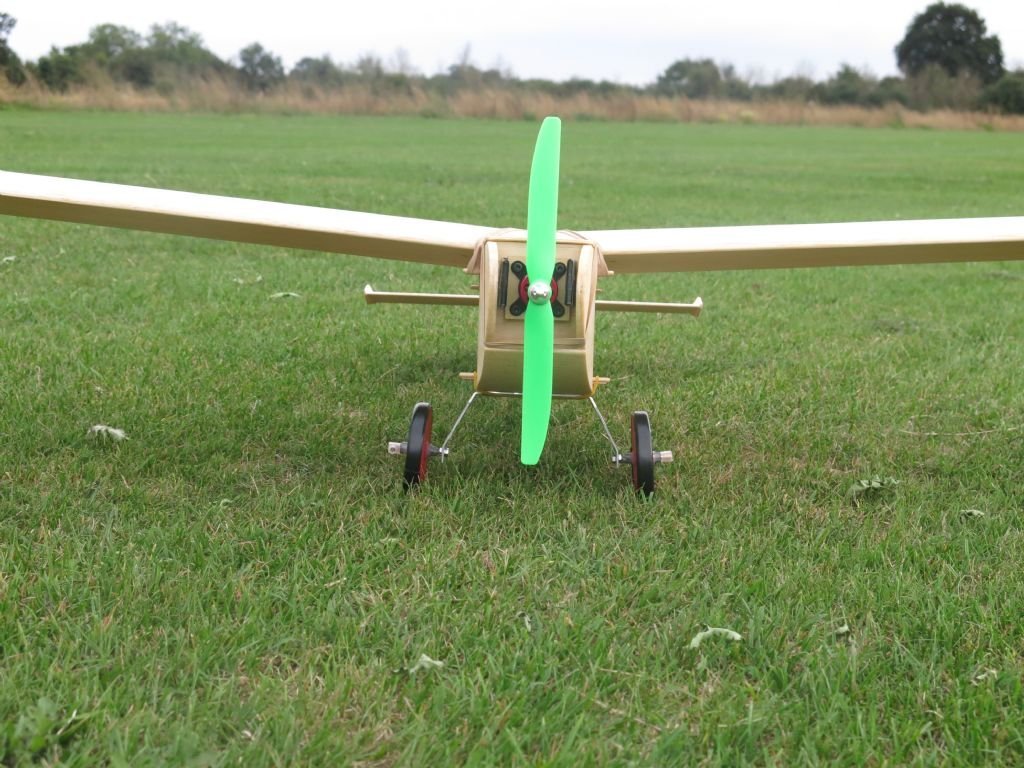
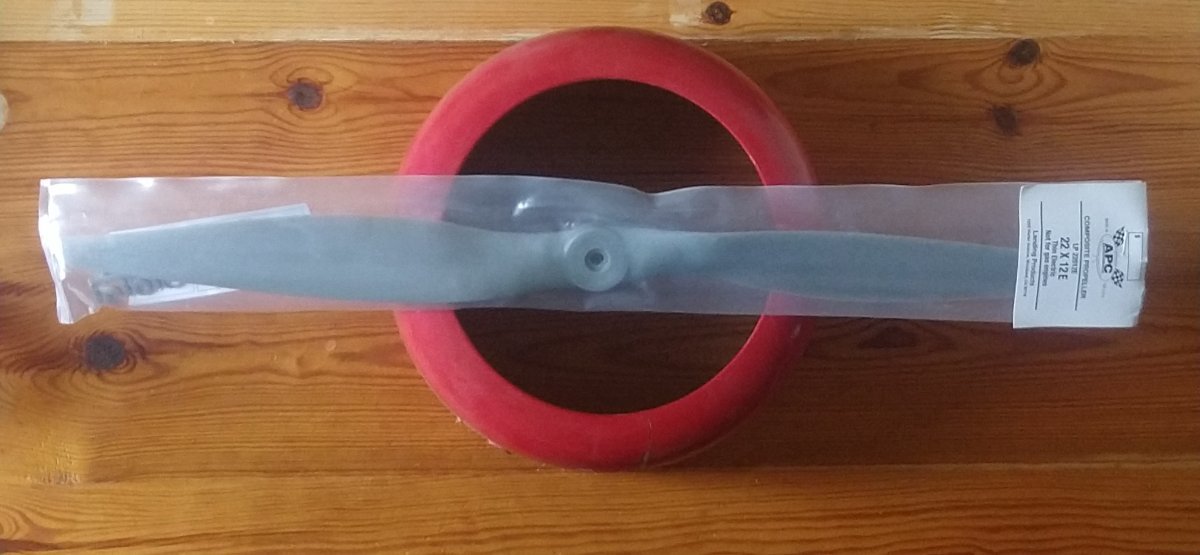
The answer, a prop as big as the wing of my first model!
It looks a more sensible size against the intended cowl.
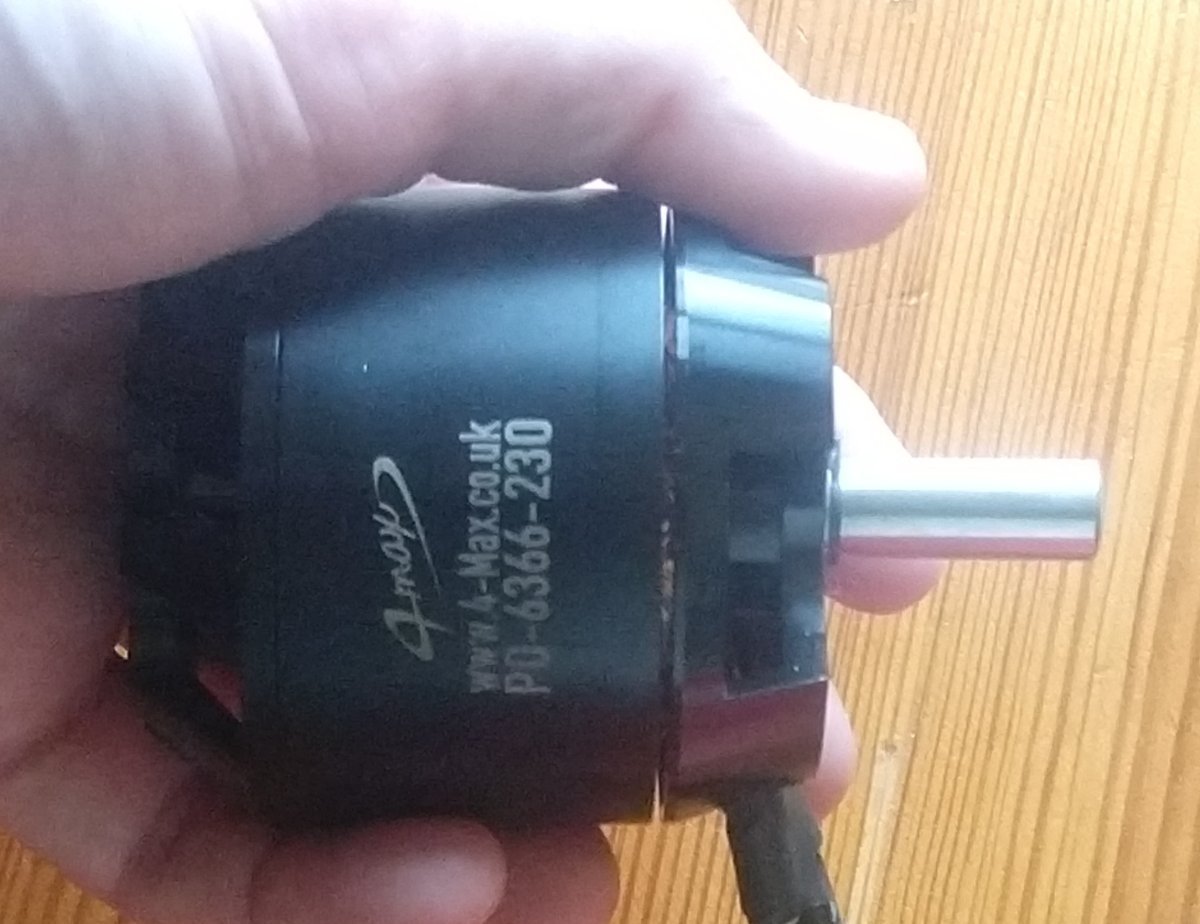
The motor is a lump too.
-
Looks great. Fully loaded includes battery?

The Range foam board
in Hints and Tips
Posted
I am not familiar with that particular board. There are different types with different foam and paper/glue that need slightly different handling. I mostly use Hobbycraft (Westfoam) board, which is 5mm and is stiff but quite heavy. An A1 sheet is 240g. Half of the weight is the paper because it is a filled art paper. The paper is bonded very firmly and only really comes off with hot water.
I use the folded construction techniques from Flitetest, with hot-melt glue. They used to do all their plans free to download as well as the kits, but they have not released many of the newer ones. The foamboard they are designed for is thinner and lighter, so models come out heavier and needing nose weight. Taking the paper off the thicker/heavier Westfoam board in places can help, the foam core is quite stiff on its own. However the heavier models still fly well, there is a recent thread on the spitfire. Enlarging the models also works well, the stiffer board is strong enough, and the A1 sheets are bigger than the Flitetest foam sheets, so it works out pretty well.
I find the Flitetest wing process particularly simple and effective. I modified it to a smooth symmetrical section and a vertical ply doubler on the spar, for my current 62" Stik. Masking to spray paint took longer than building the wing.
There are others here who use foamboard in more conventional construction alongside balsa.