


Paul Williams
-
Posts
467 -
Joined
-
Last visited
Never
Content Type
Profiles
Forums
Blogs
Gallery
Calendar
Downloads
Posts posted by Paul Williams
-
-
Fitted in the cockpit today, I am pleased I spent the time to detail this although I have yet to order the pilot.
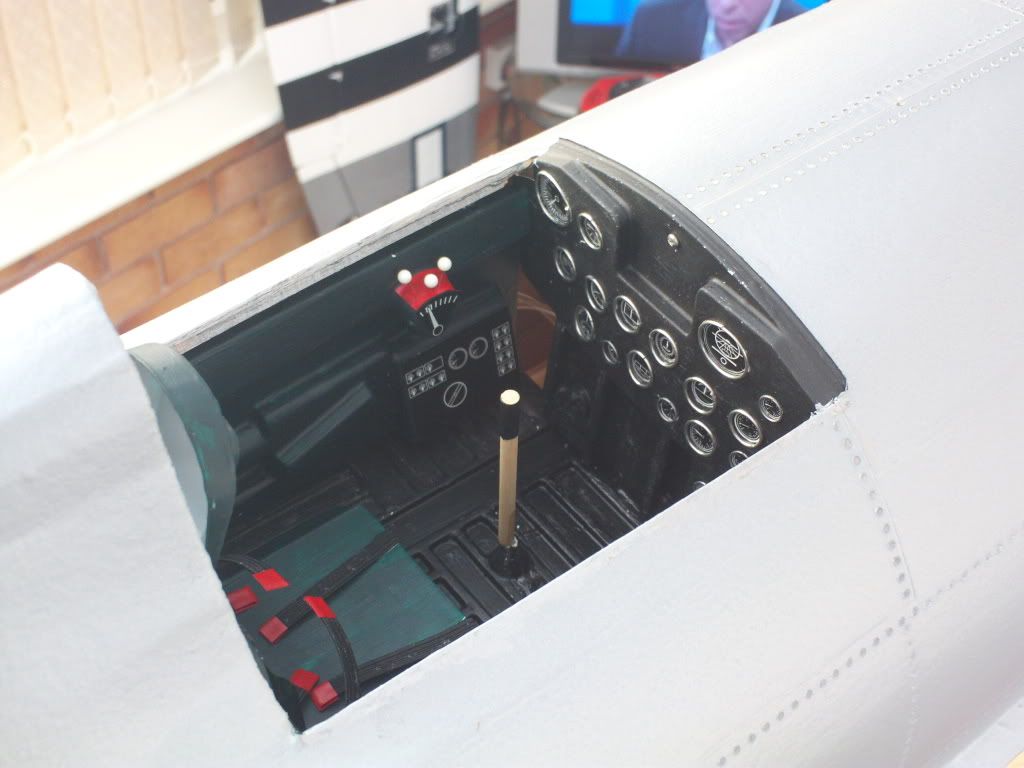

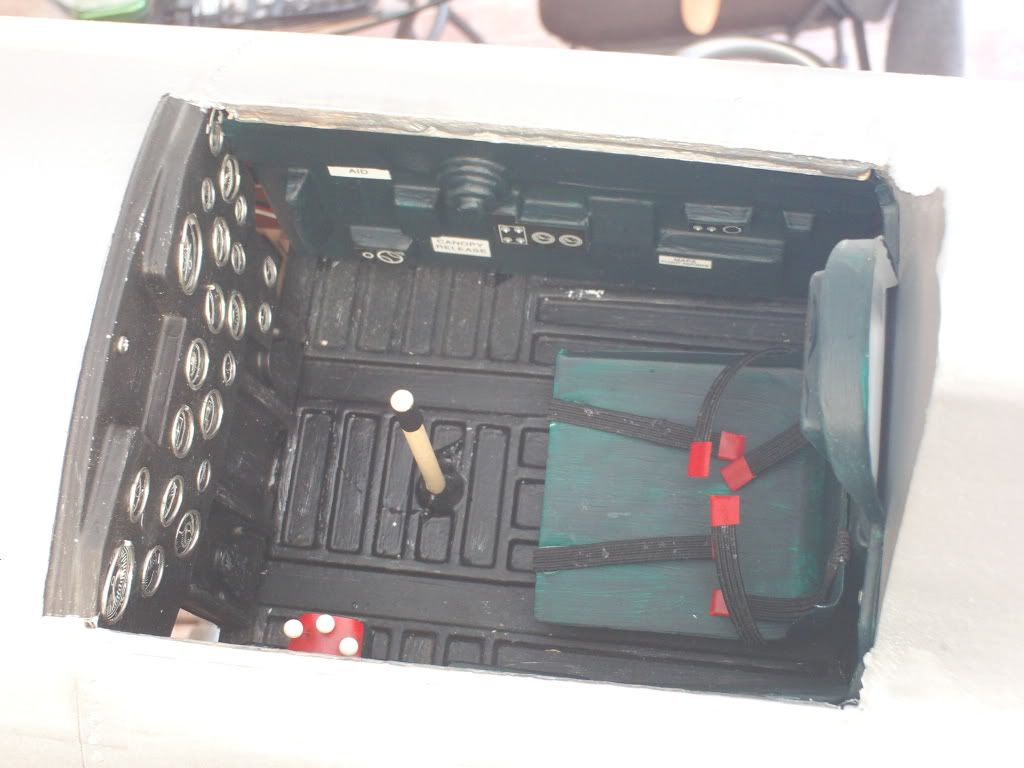
I will screw down the canopy instead of gluing it so the pilot can be seated at a later date.
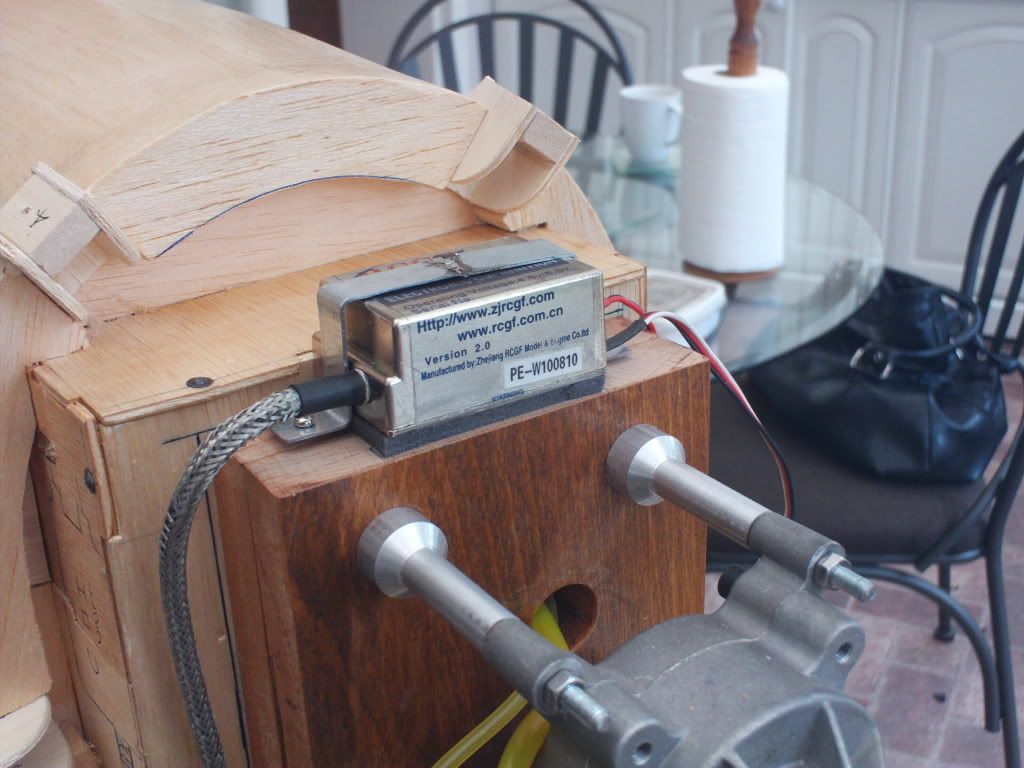
Ok the job list is diminishing, choke lever needs sorting and final balancing then we run to the stage where we just invent jobs because its much to scary to maiden it. I will pop it all together tomorrow and engine test it pop you a video on then.
-
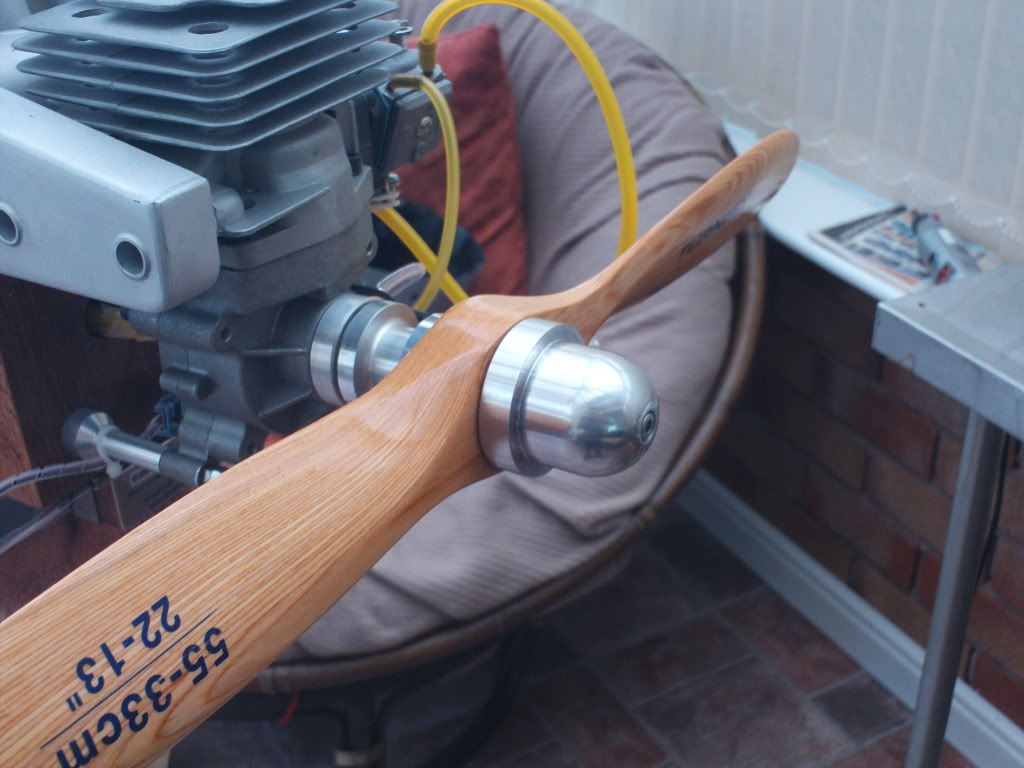
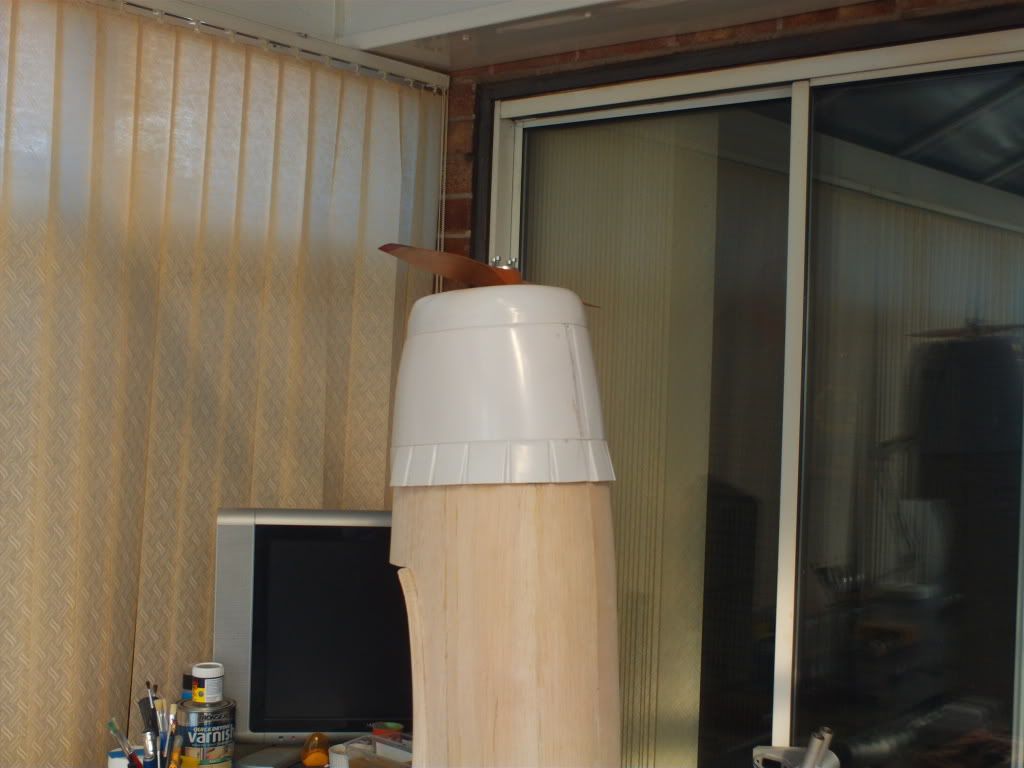
The only fault I have found with the RCGF engine is the prop washer holes run out, It probably would not matter apart from the nose cone locates on the prop washer so it will not run true either. I did some tool making in my youth and still remember a few tricks so instead of sending it back I marked out and re-drilled the 4 holes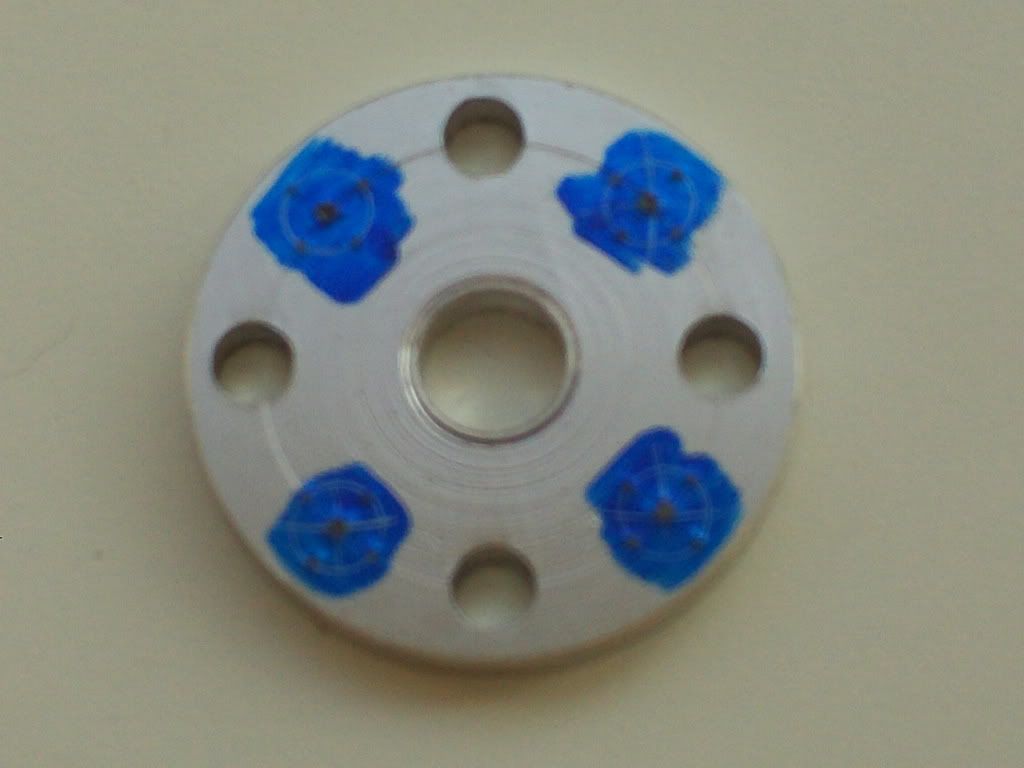
Now it runs true happy days, the nose cone I am quite chuffed with by milling in four slots it sits over the lock nuts and prevents them from undoing. Its always a stigma how much torque you can put on when tightening down onto wood props, the wood just keeps compressing so I tend to lock wire the nuts or bolts. This method I hope will save all that messing around.


-
I can see the finishing line, it’s like a desert mirage just as you get close it shimmers away and you have to crawl onwards.
I find it really hard at this stage not to just fuel it up and go fly the thing.
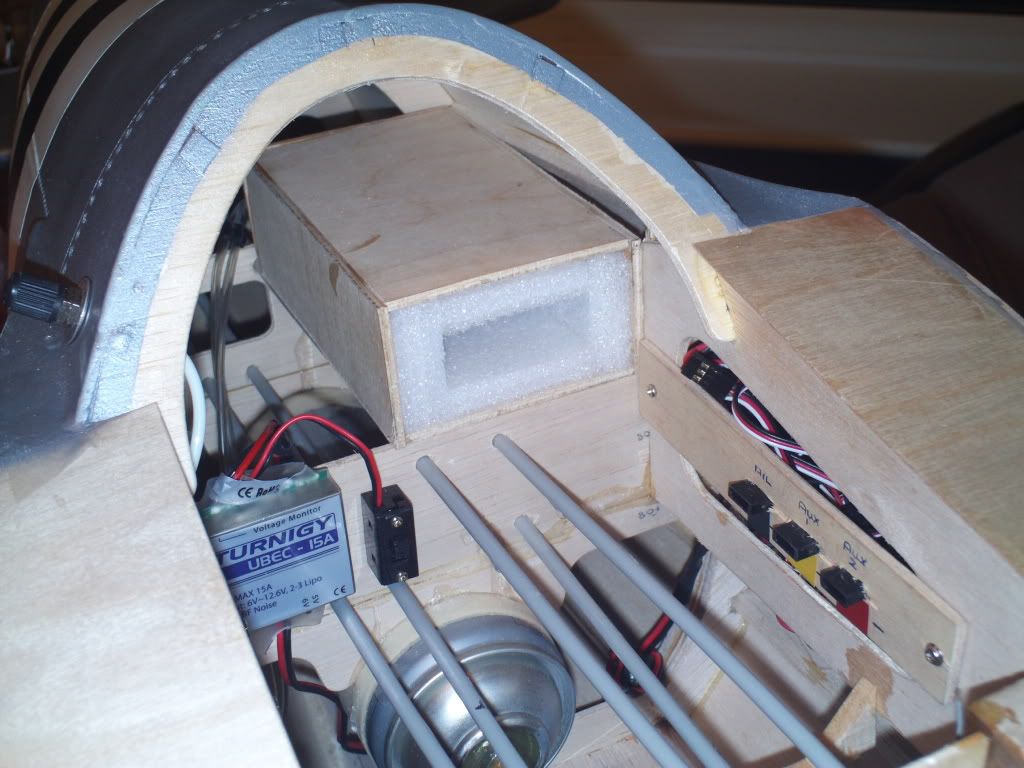
Any way the retract system this nifty control valve from Mick Reeves allows variable speed control up to 20secs for full movement, cool.
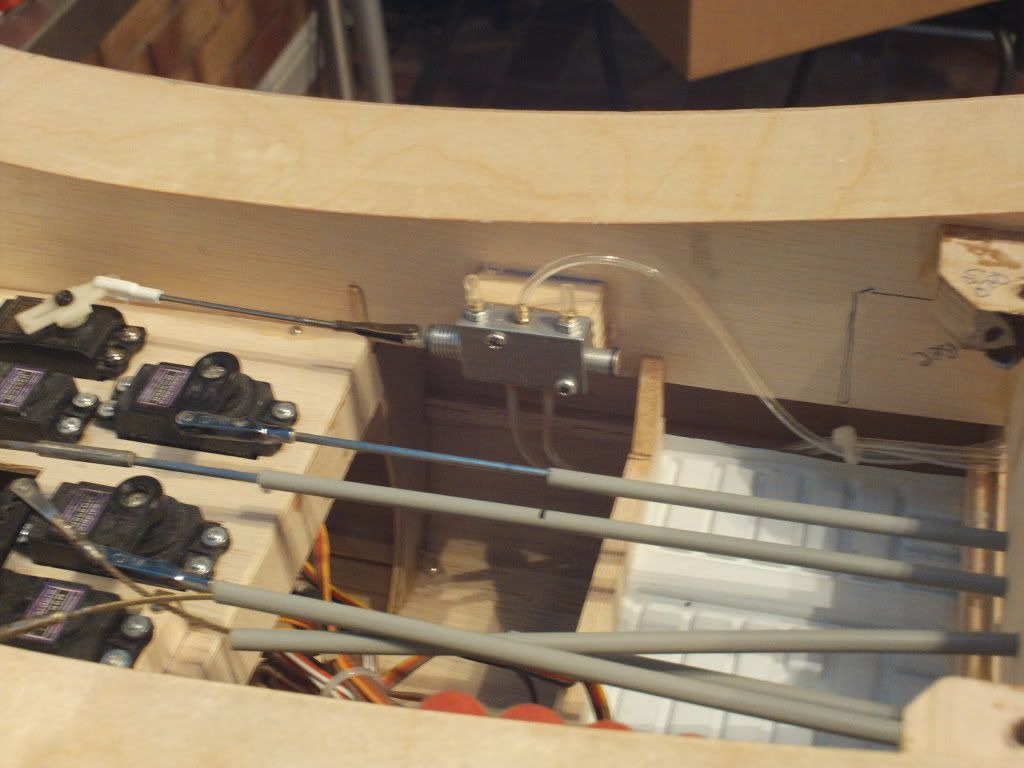
I tucked the air fill valve just under the wing so its accessible but not to intrusive.
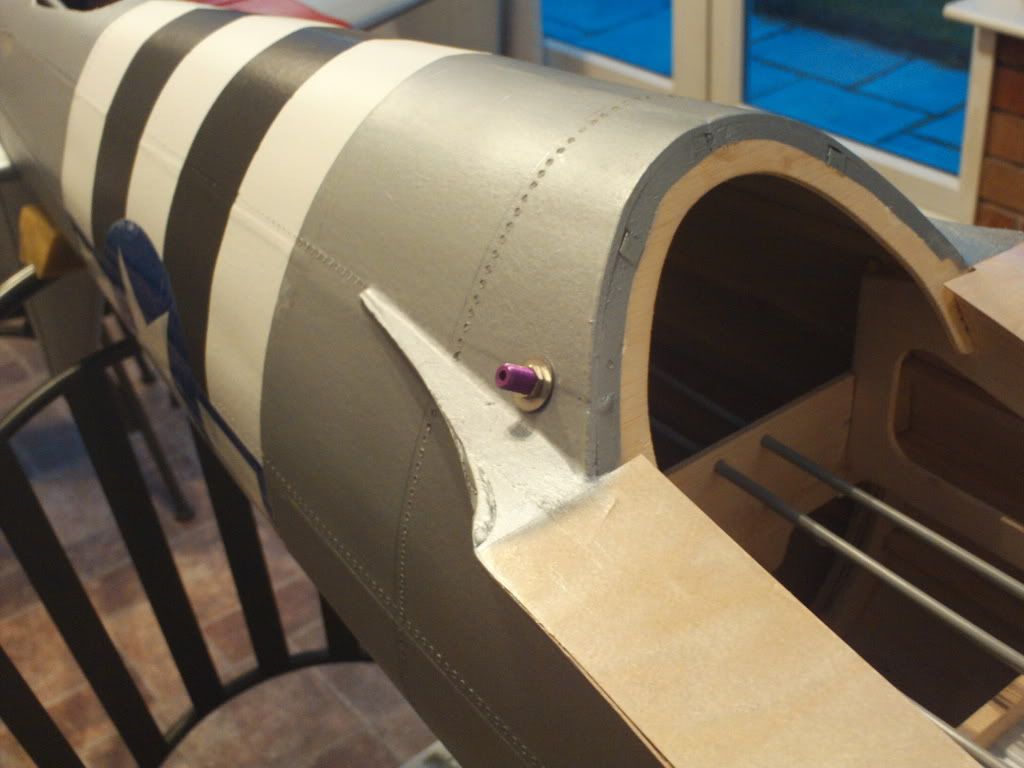
To make things easier attaching the wings I made a bulkhead panel to hold the quick release connectors saves chasing pipes around the fuse whilst balancing the wings on your head. Keeps things tidy as well.

You will have noticed the Turnigy regulator a great piece of kit this I have one in all my large models, it will take a 2 or 3 cell li-po any capacity and reduce the voltage to 5v or 6v which ever you choose. Basically you plug in the battery and forget it after numerous flights it hardly touches pack and the 4 indication lights are still showing full. About £10 from Hobby King
Moving on with the wiring another bulkhead panel to keep the wing connections tidy
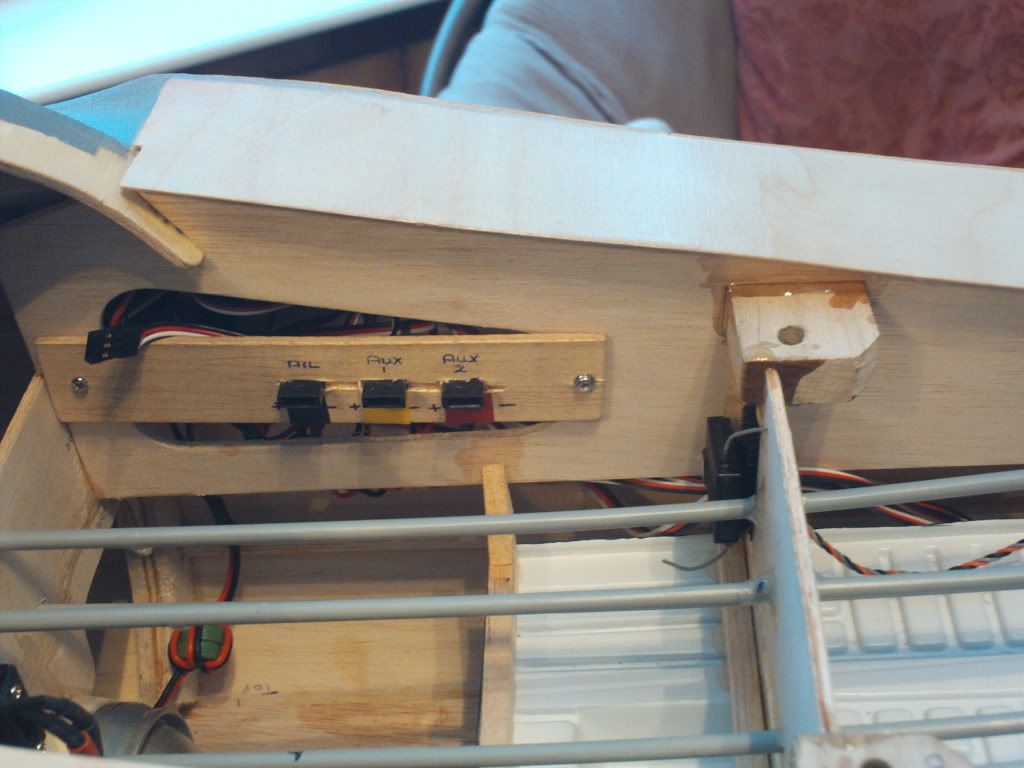
Then a battery box is needed, because I cant balance the model yet I have velcrowed this in place so if needed it can be moved.
Edited By Paul Williams on 18/04/2011 19:59:41
-
Its not often I will endorse a product; it really does have to do what it says on the tin. I top coated the wings and masked off the invasion lines when I removed the tape I was gutted the paint had bled under leaving a horrible finish.
I went a brew and quite incredibly an advert came on TV for Frog Tape. Off to B&Q and a hour later the repainted results are quite different. The tape has a chemical which reacts with paint and swells into any recessed area to form a barrier so if the surface you are painting is not quite flat no problem. Wing masked up again with new tape.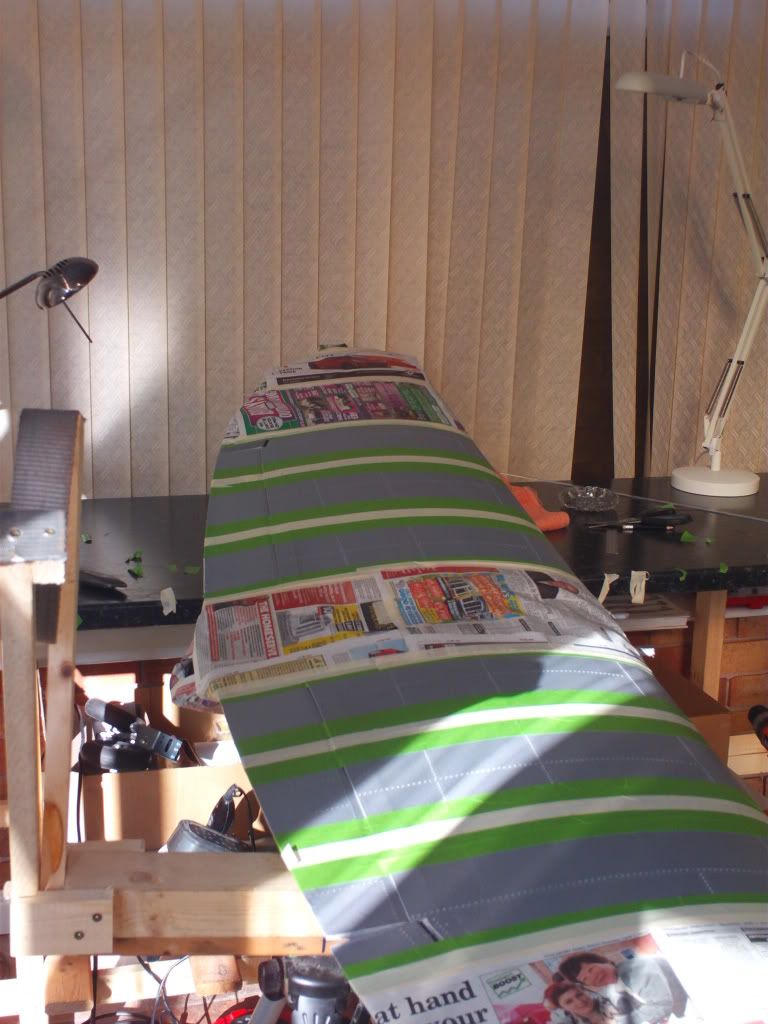
Finished result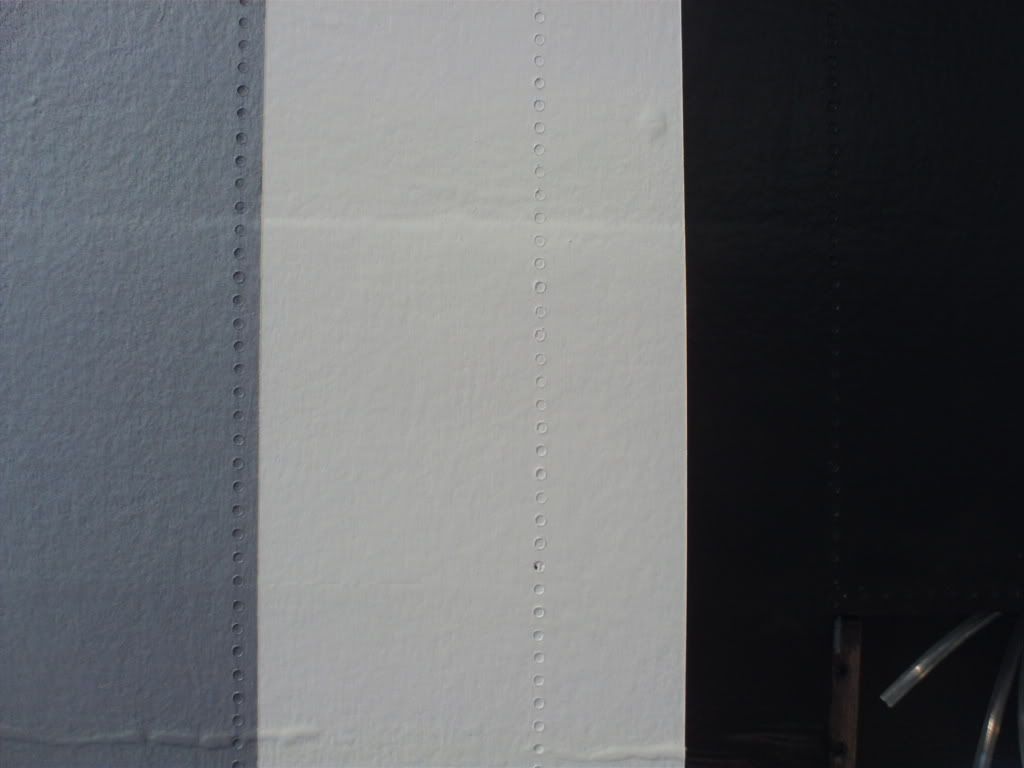
Right that’s the wings finished with the controls set up and just the retracts to go in, I will see to them when I have worked out an air circuit.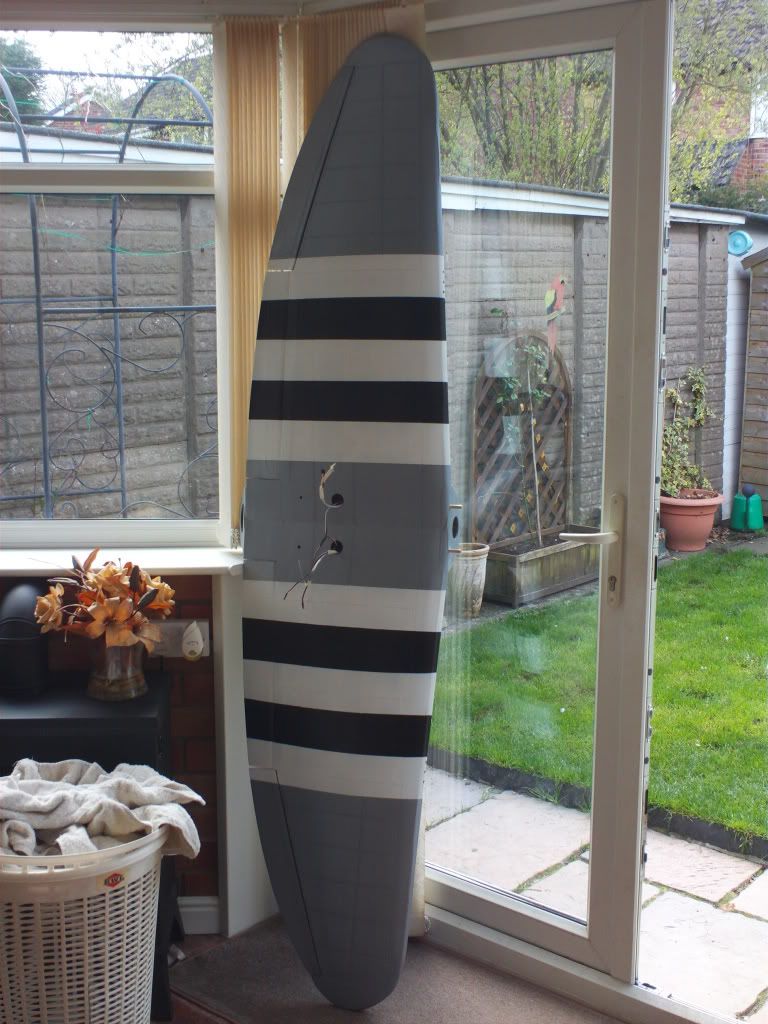
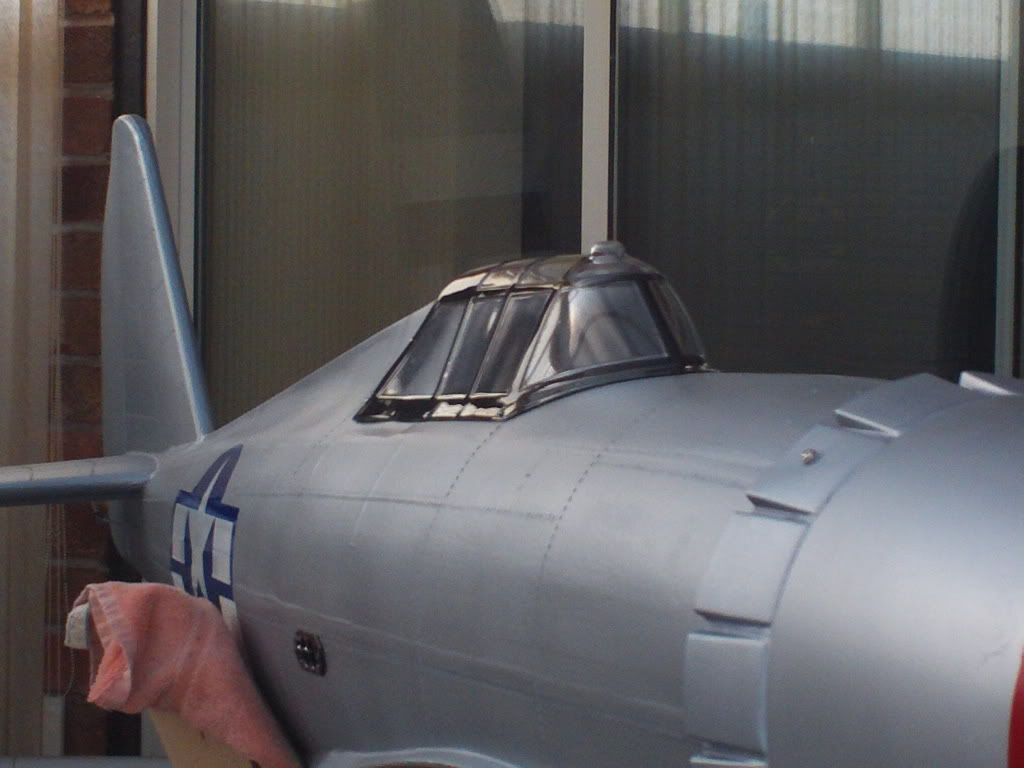
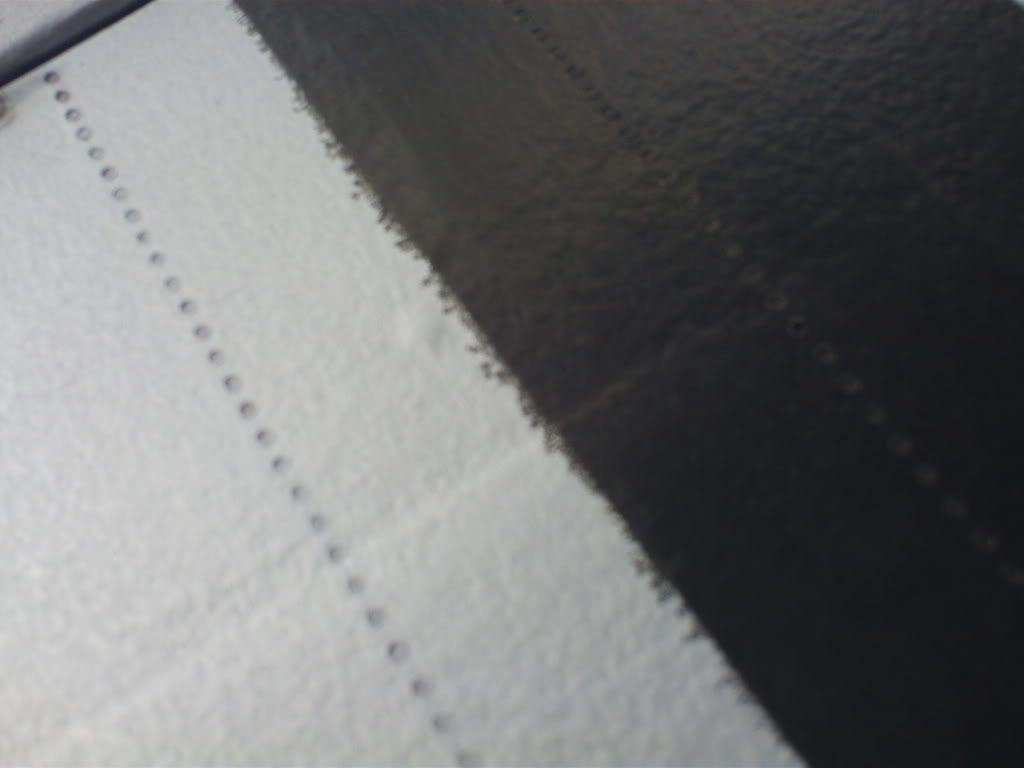
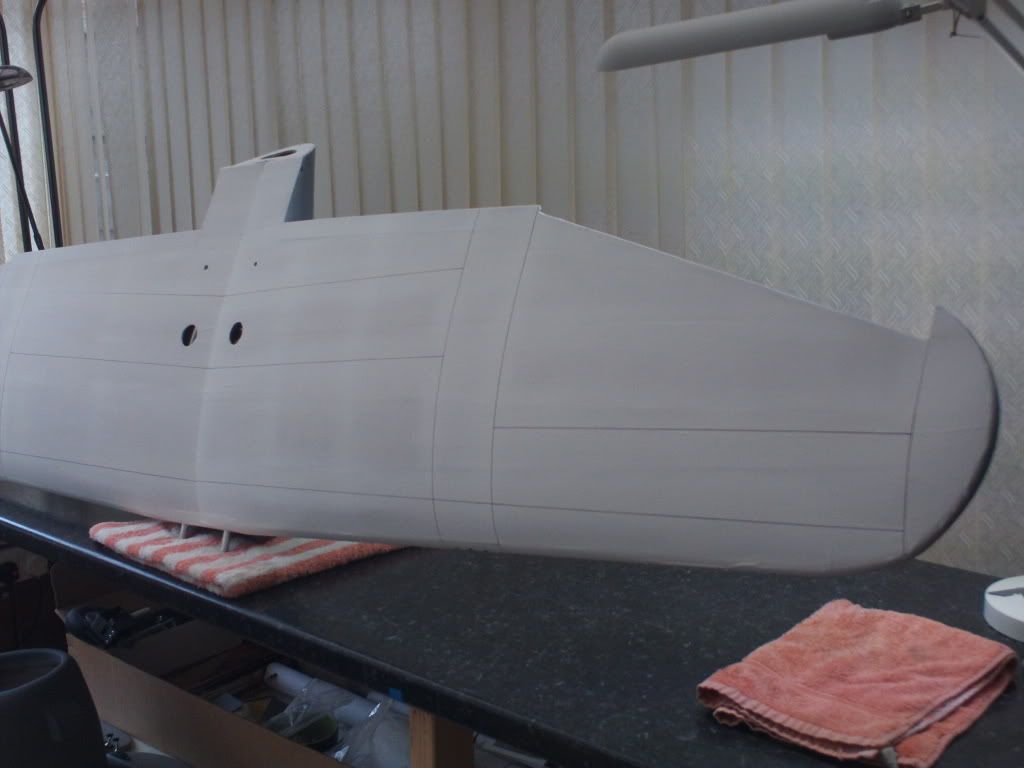
On with painting the fuse, Oh no more rivets!!Primed with panel lines and ready for the rivets.
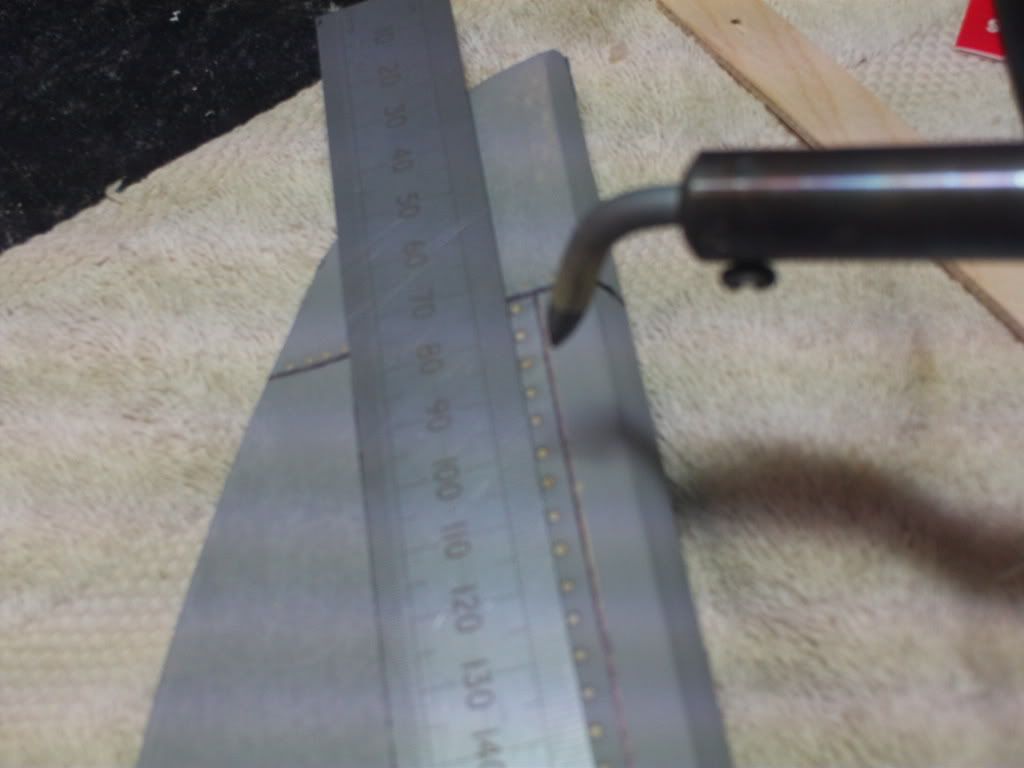
This turned out a bit tricky, my rivet jig is only good for large contours and refuses to wrap around the fuse to do lines at 90 deg from the length. After much thinking I used the jig to make up strips of masking tape which will of course fold round anything. Just stick on the tape and trim down both sides with a Stanley blade, pop the soldering iron on and it just pops the holes in. remove tape and stick on fuse where required. The holes act as a guide in much the same way as the jig, it will remove and restick numerous times, happy days.
You will have noticed the cooler vents. Wrap some sandpaper around the fuse then rub the vents against it to create a good match for the contour where they are fitted.
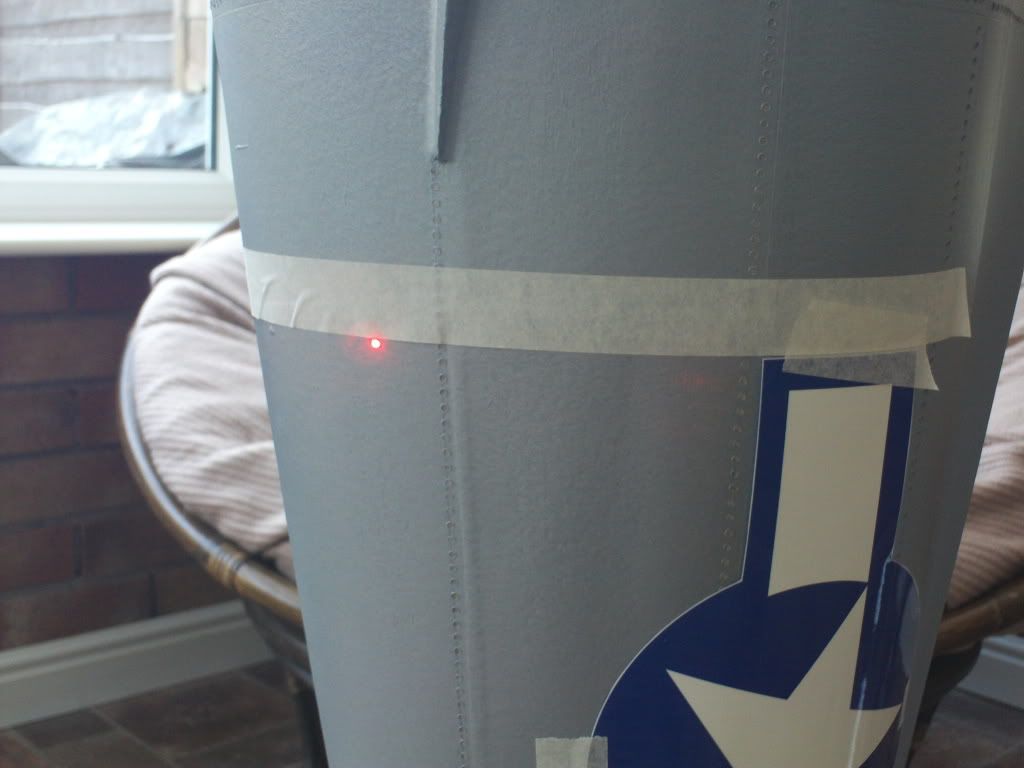
When I came to mark out the invasion lines on the fuse I really struggled, no matter how I tried to mark it out the lines where wrong. I could not find a datum point to measure from then after a dose of thinking I realised the fuse would stand up square on its tail. So I employed a laser level by setting a height and turning the fuse round on its tail produced a straight line. I don’t think they employed this method on the full size version LOL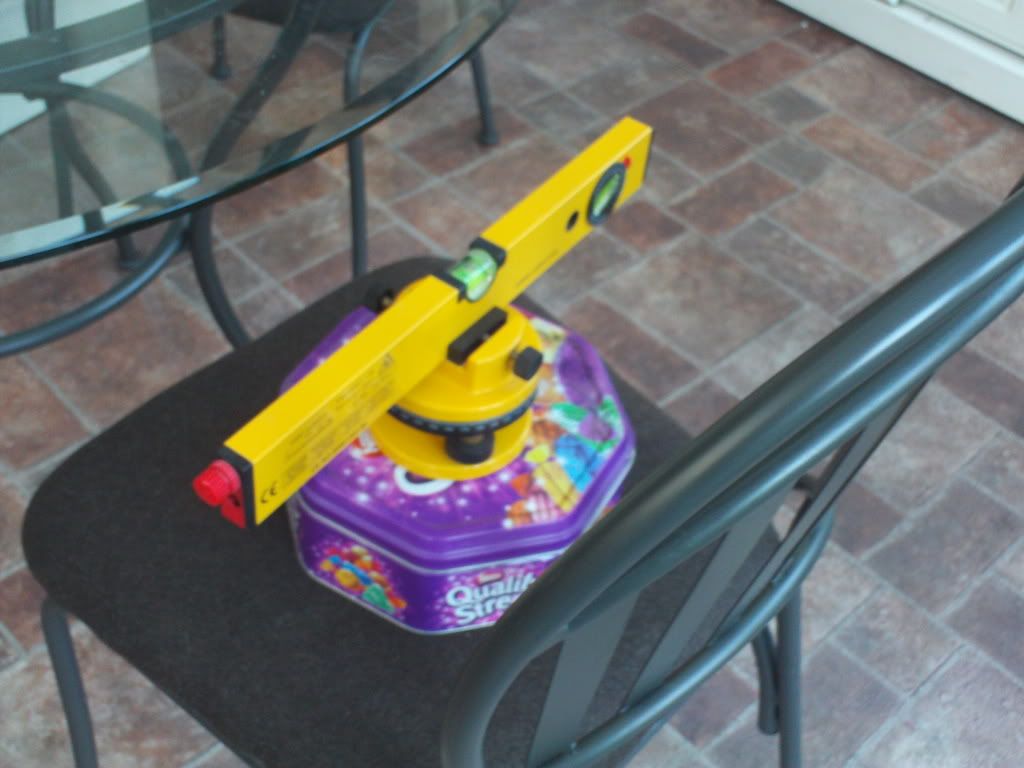

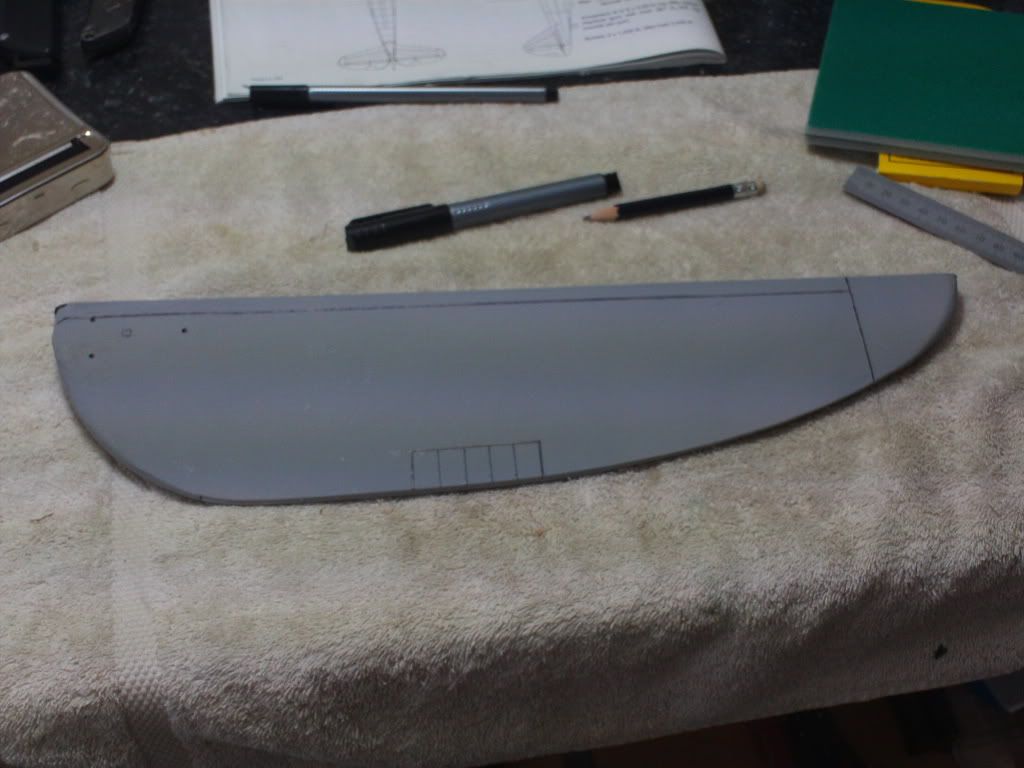
The wing is ready for priming before adding lines and rivet detail
I have made an air scoop for the cowl to cover the carb opening, I remember my DLE 30cc was a pig to tune this was due to air passing over the side inducted engine whilst in flight, a simple air deflector solved the problem. I know its not scale but better it runs well in my mind.
Primed wing with panel lines
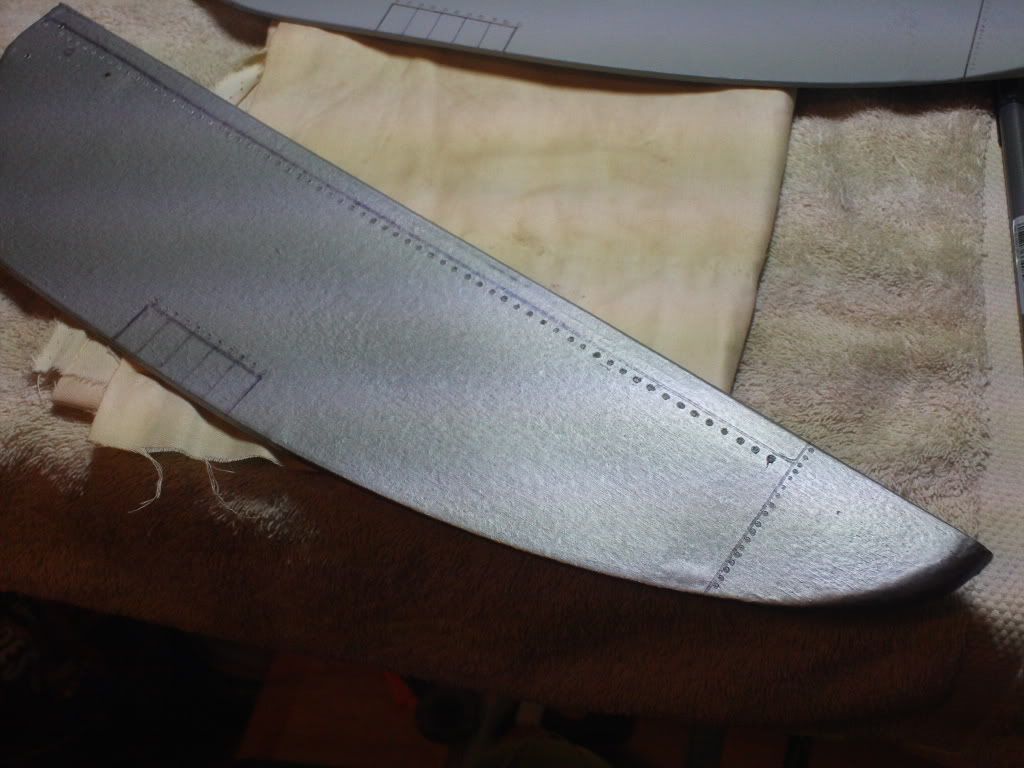
Rivets added ready for top coat.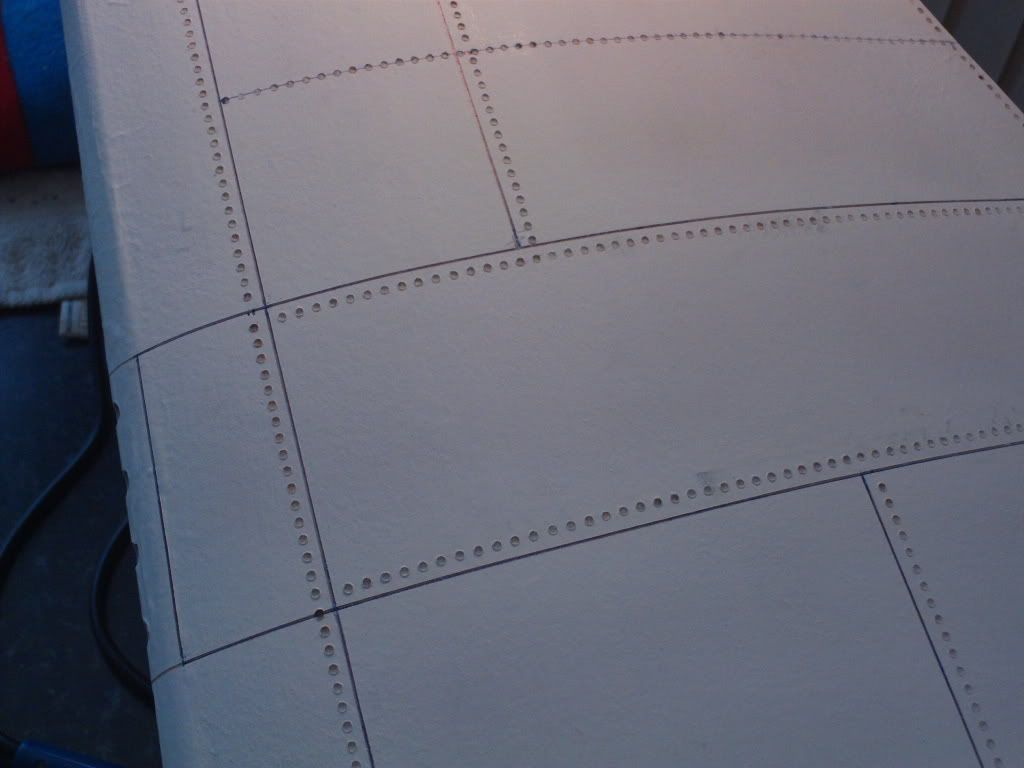
Its no good I have to start on the finish, after trying different techniques I have decided on the soldering iron to put the rivet lines on.
The panel lines are quite easy with tape, I was not sure just how good the lines would stand out so I tried running down the grooves after removing the tape with a marker pen before the final coat.
Although quite pleased with the end result I think I will dull down the lines by using pencil instead on the next section.
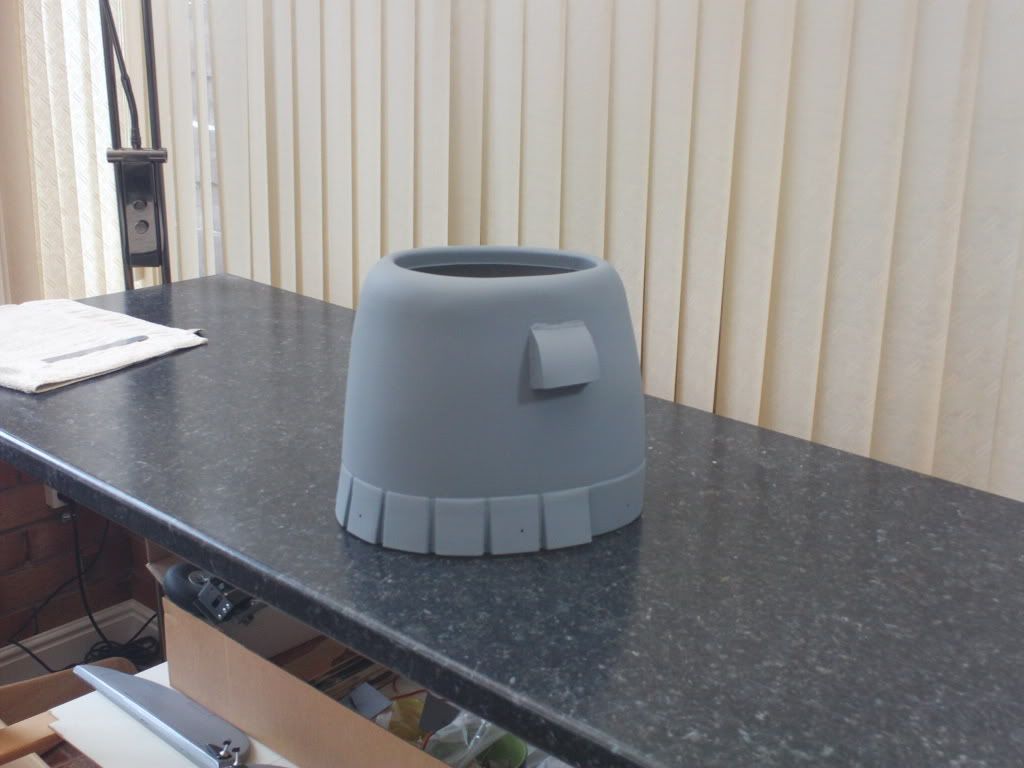
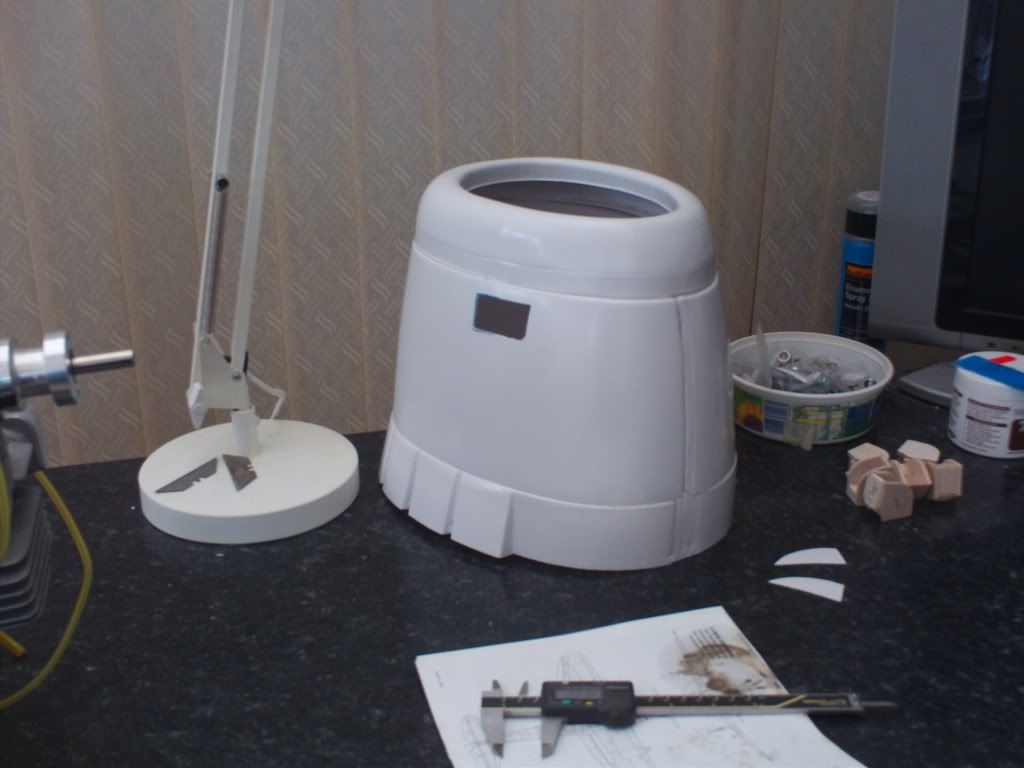
The cowl is nearly ready for spaying
And the cdi unit is fitted.
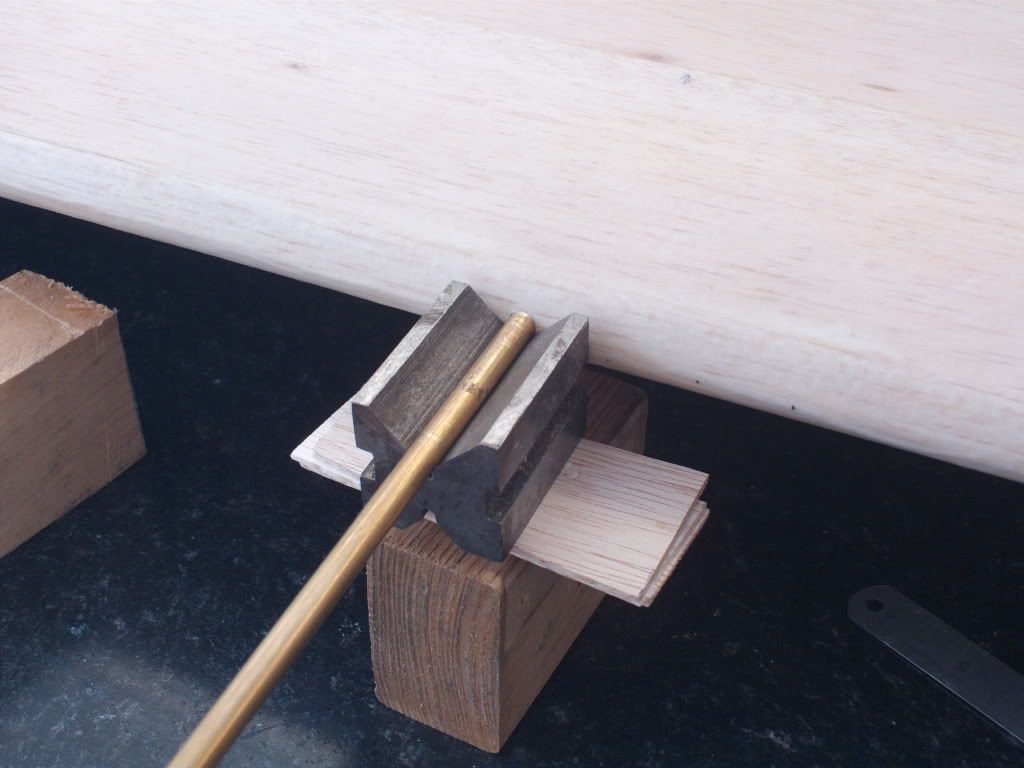
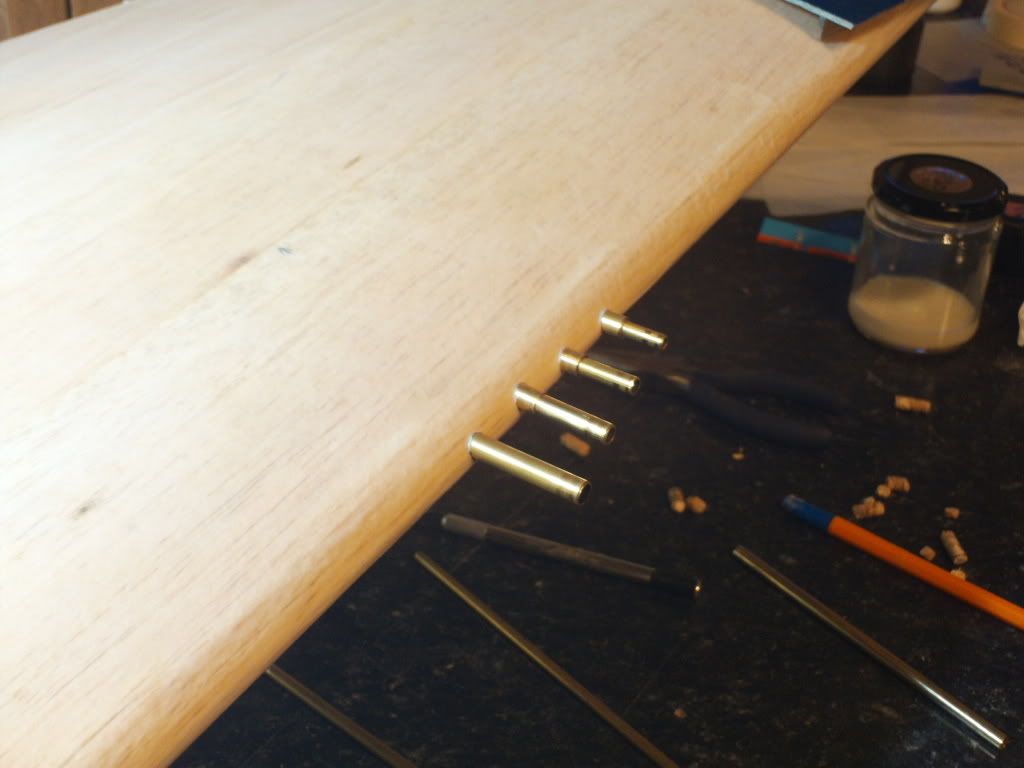
I got fed up glassing so went off to fit some guns instead. Using the V block method to set things up square I cut the holes with a sharpened piece of brass tube.
End result
Cowl fitting always does my head in one of the reasons I chose this model was I figured the large fuse would help when fitting all the stuff into the cowl. How wrong both the carb and exhaust will need cut outs,
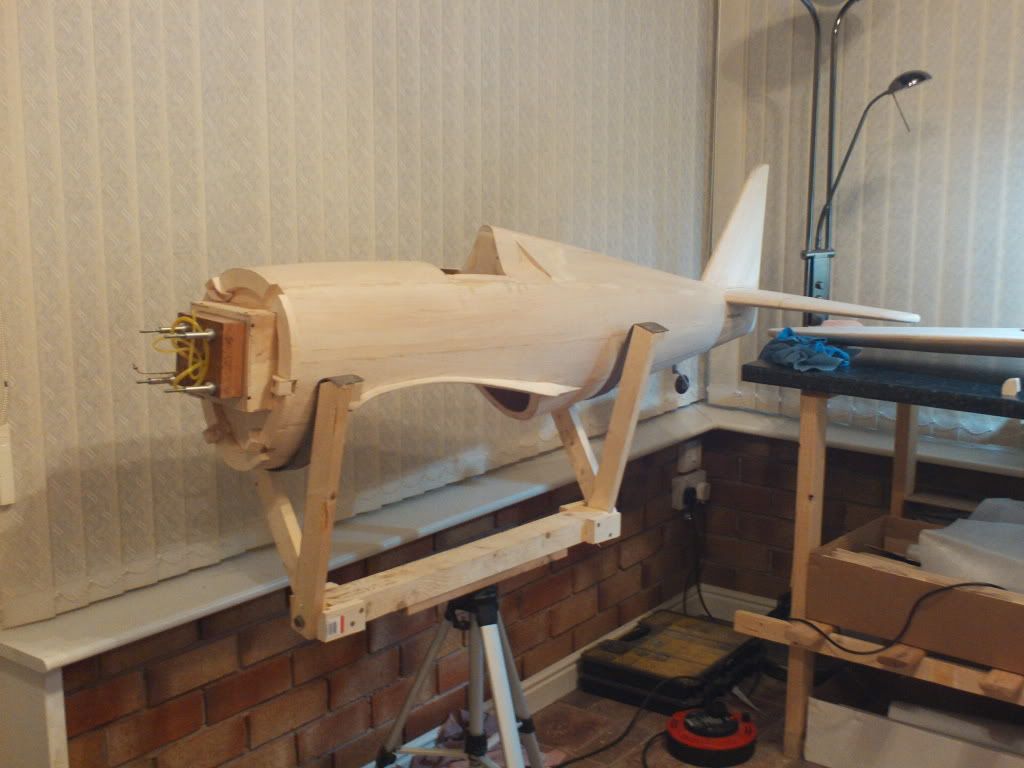
I needed a working stand and normally I custom make one but a saw this idea in a mag and have to say its great one size fit all. The webbing is an old ratchet strap just drop in the model and it moulds to the correct contour.
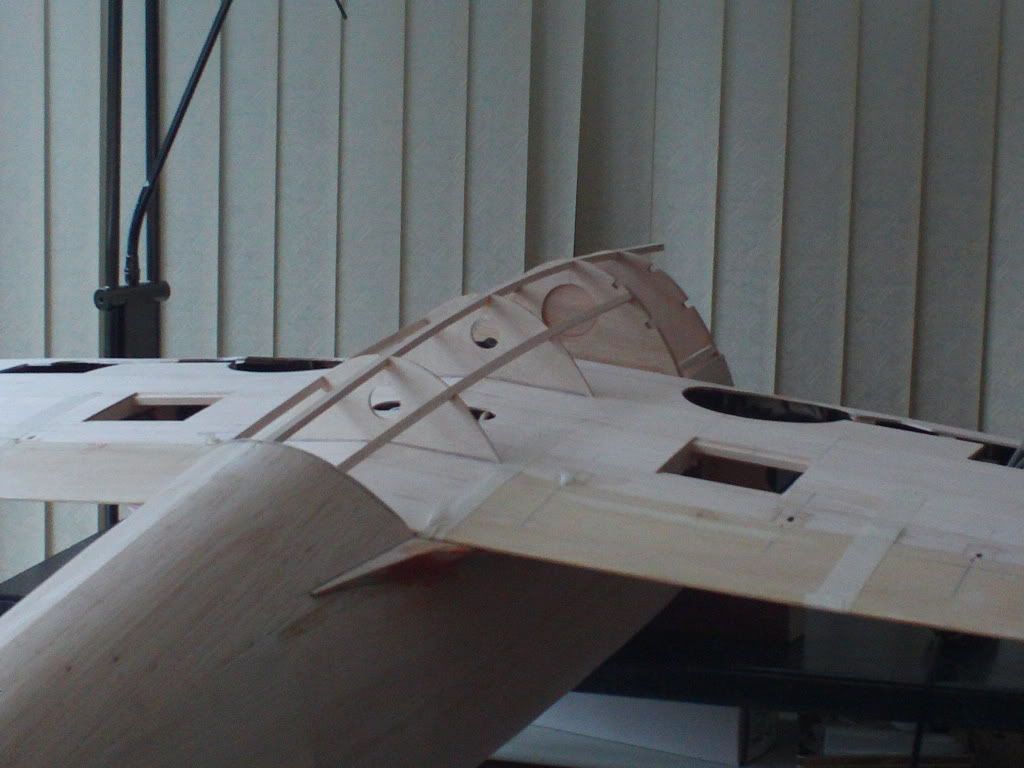
On with the glassing.
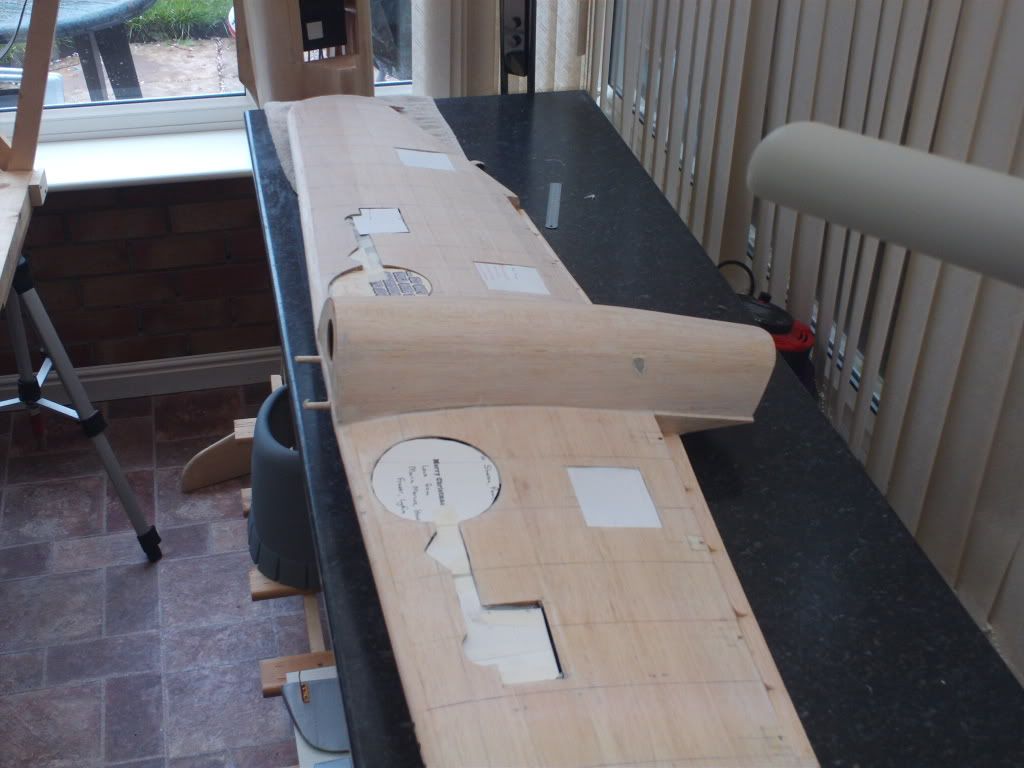
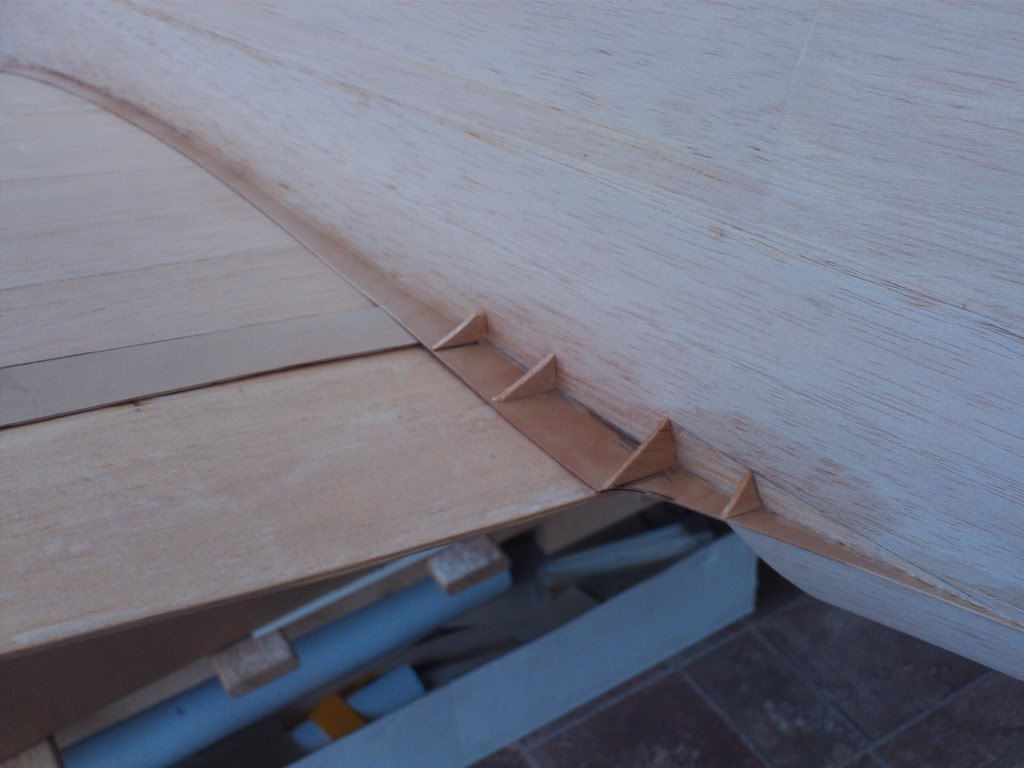
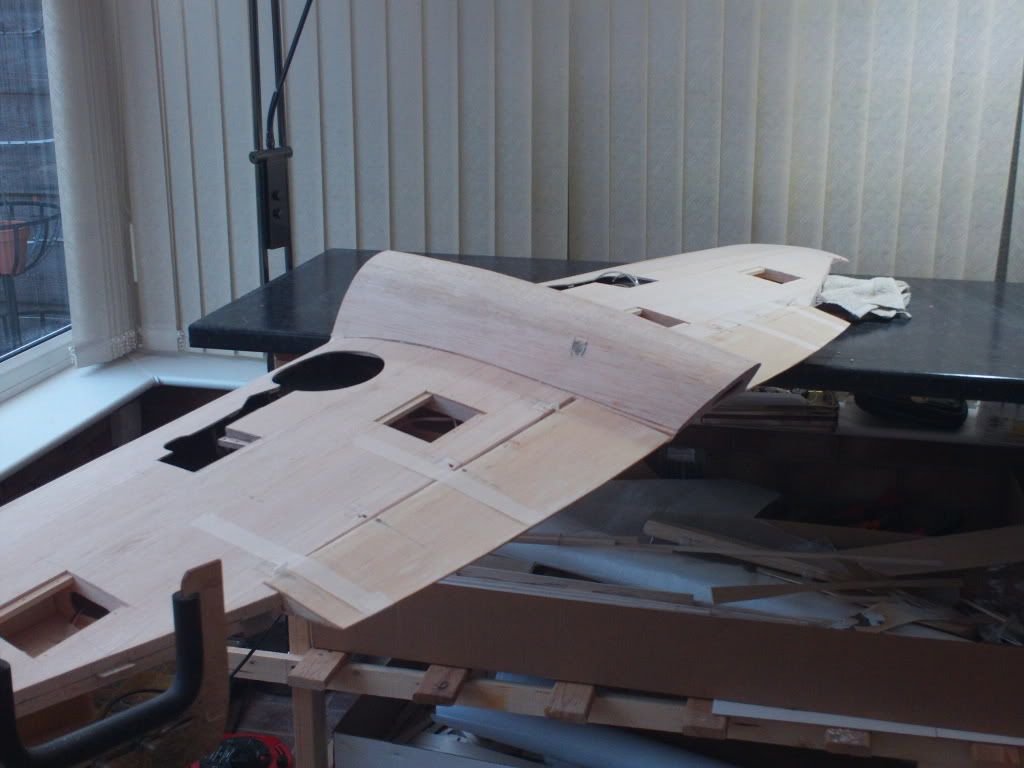
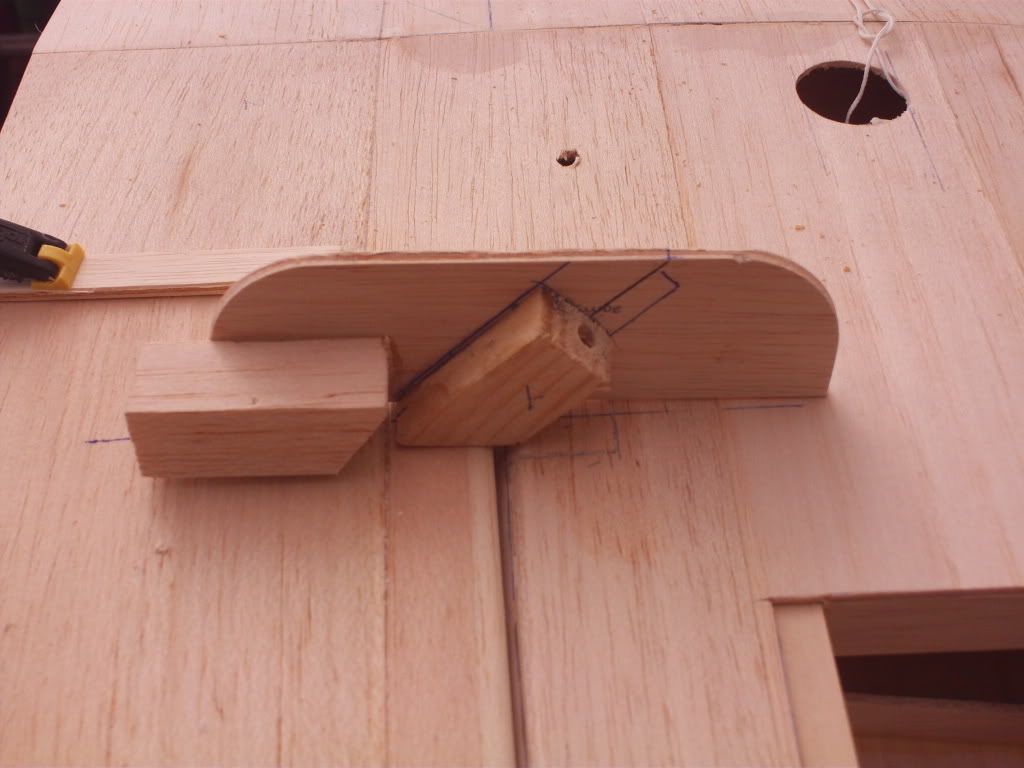
Next step was to sort the wing fillet sections, I stared at this some time before I decided to improvise with some taper section to build the width the rear is sheeted as instructed.
Whilst the filler is setting onto the bellypan. Straight forward here
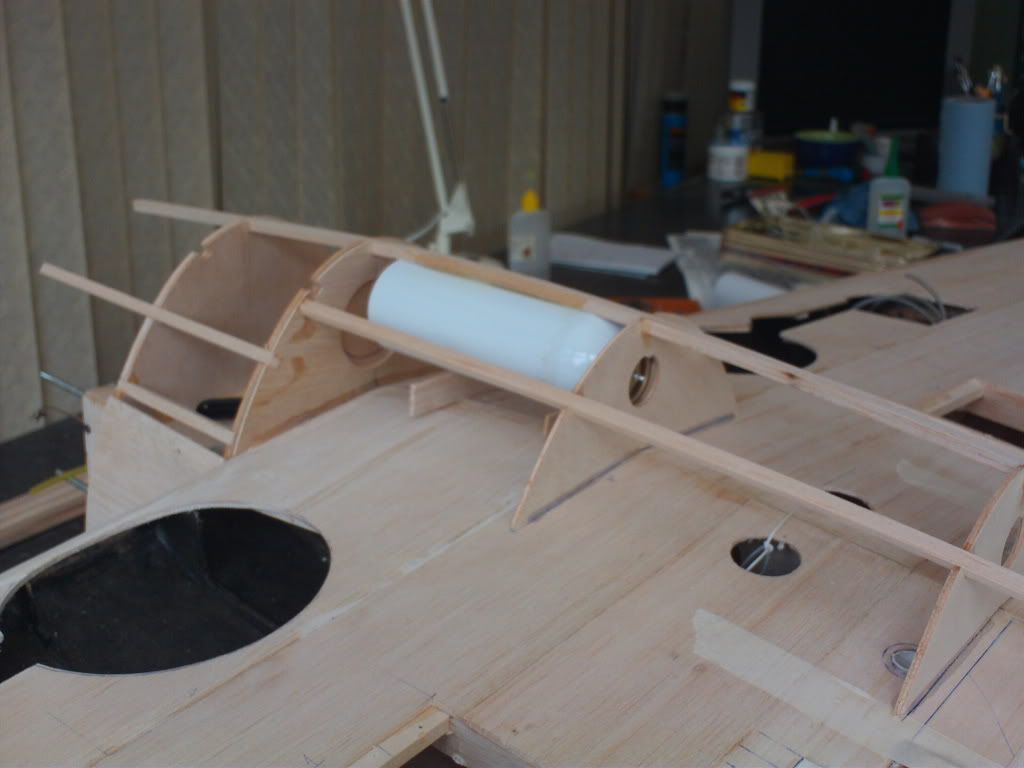
I felt the space here was wasted and decided to use it, I buried an extra air cylinder in there hopefully it’s a no maintenance item so I have not bothered with a access hatch.
I keep putting it together to inspire me on,
I am reaching the stage where I am fighting the urge to just finish it and fly. It was my intension to take my time and complete the job with lots of detail like panel lines and rivet heads but the thought of 30-40,000 rivets plus the weather improving week by week Mmmmmmmm. Show piece or useable toy?
Thanks fella will try it
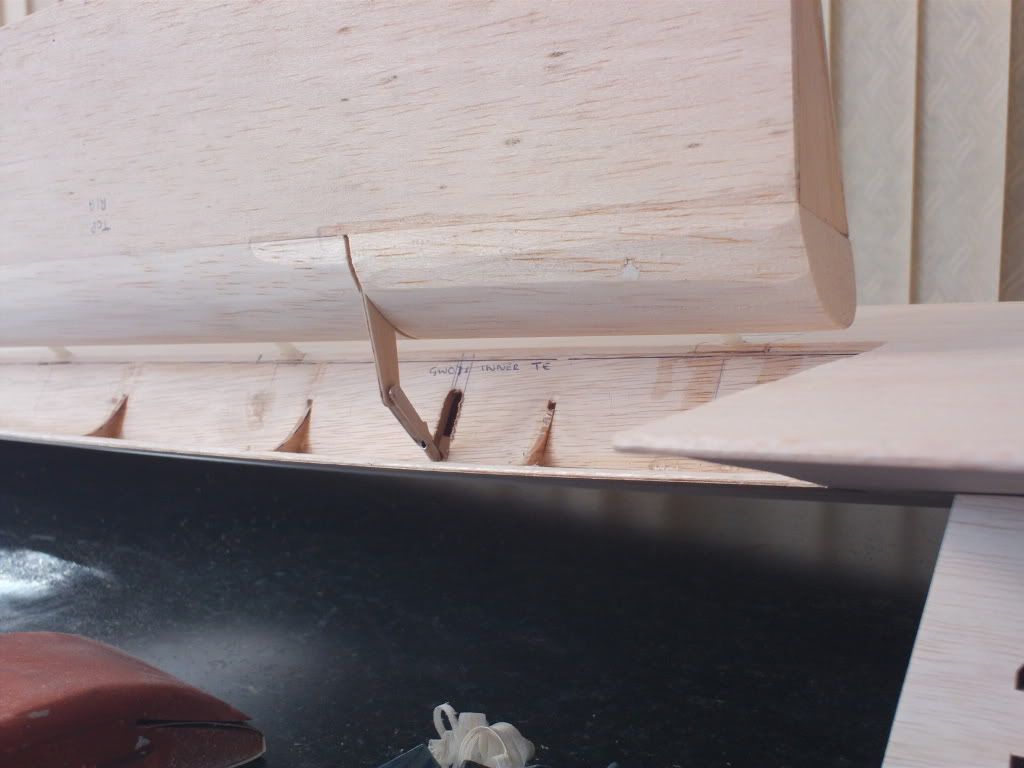
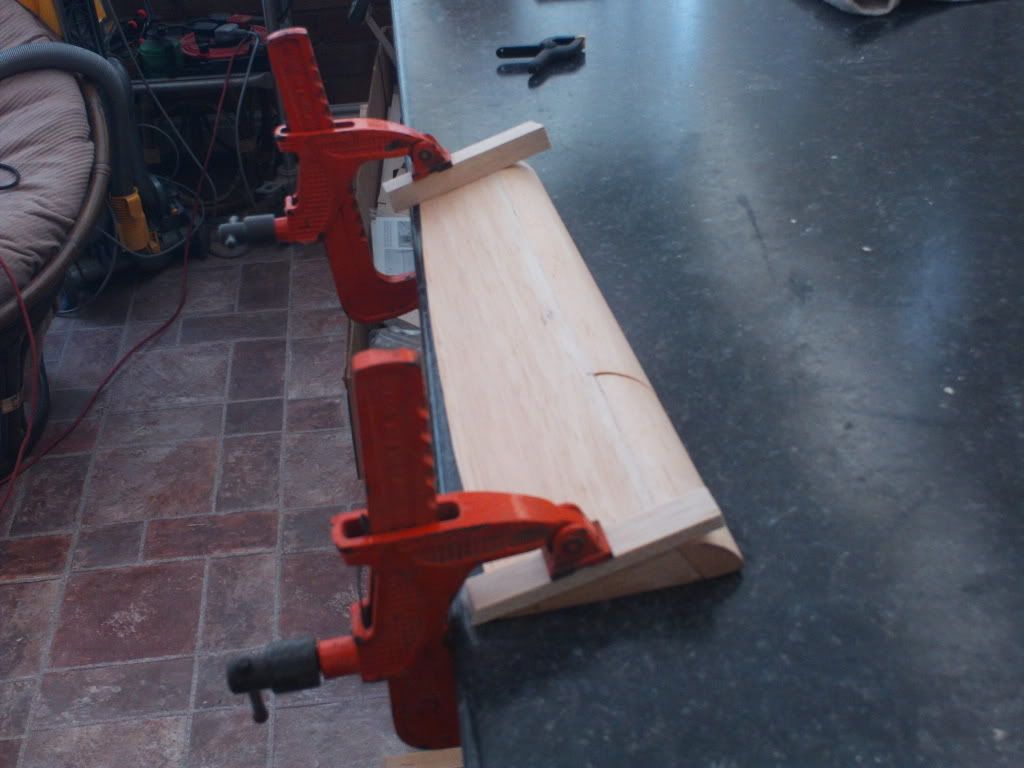
I have to say I struggled with the flaps, after cutting them away from the wings the next step is to glue on the LE this is cut into two pieces so the flap control section can be inserted in between the skins.
Somehow this led to the flaps getting warped so I had to spray them with glass cleaner and clamp them flat. I got away with it ! They dried and stayed flat.
The kit helps out here with a drill guide to help centre the single point hinges
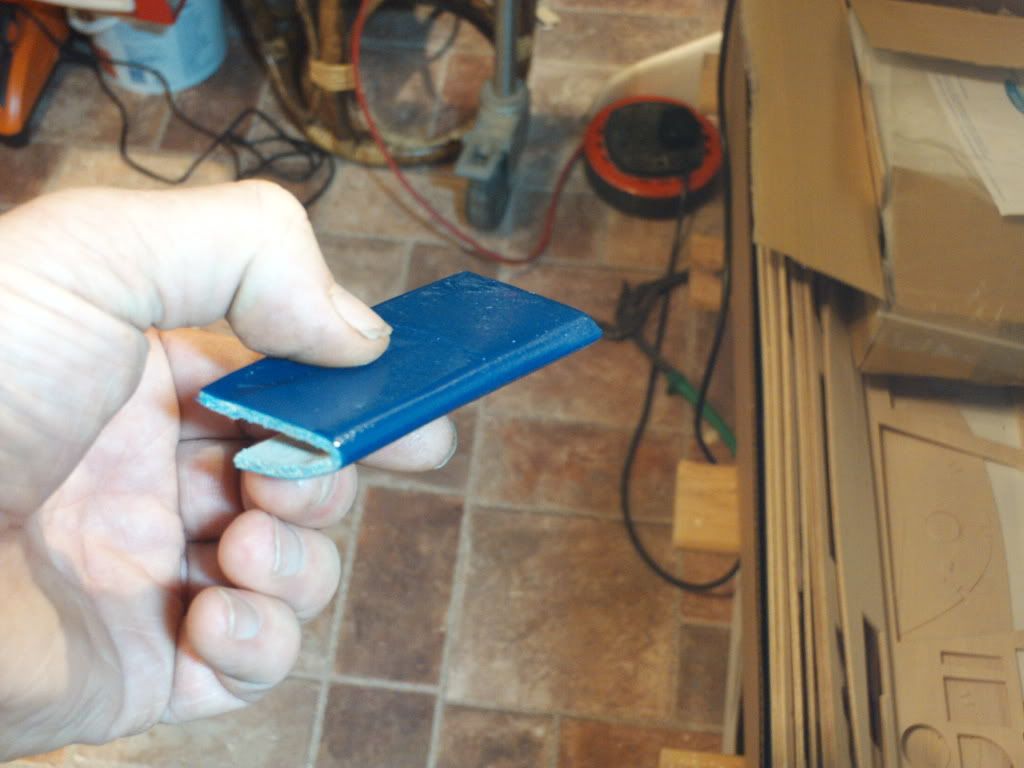
Thinking more about the covering I did some tests using glass cloth and poly c varnish. Its quite impressive here is a sample and as you can see its survived being folded back, the balsa snapped.
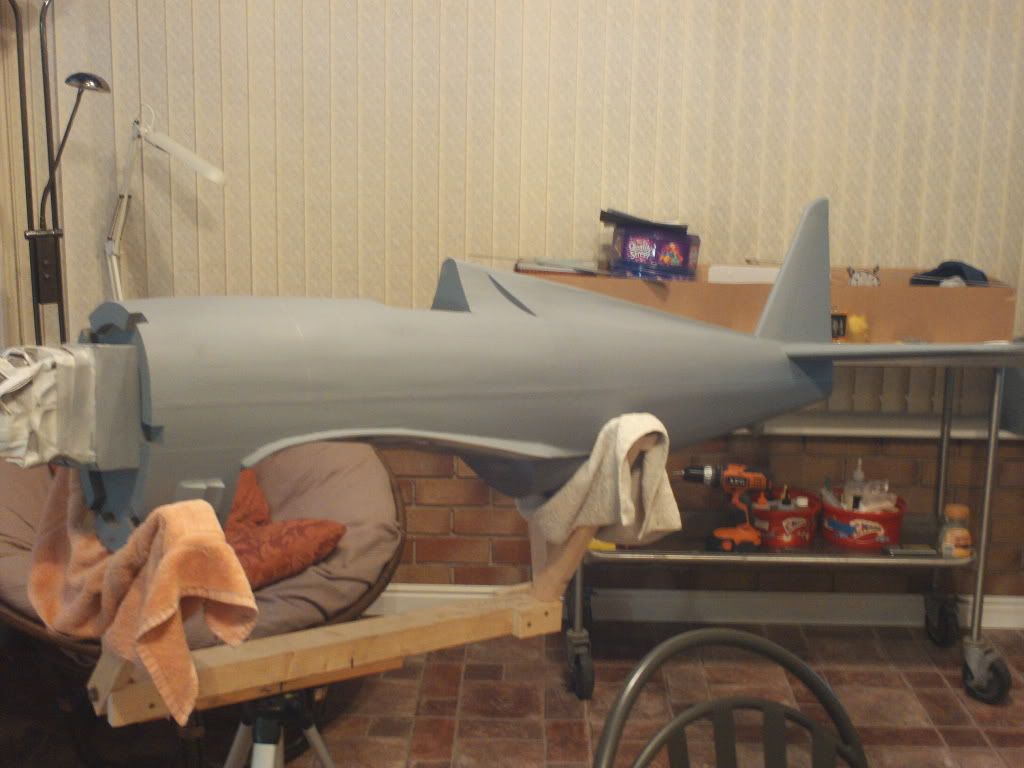
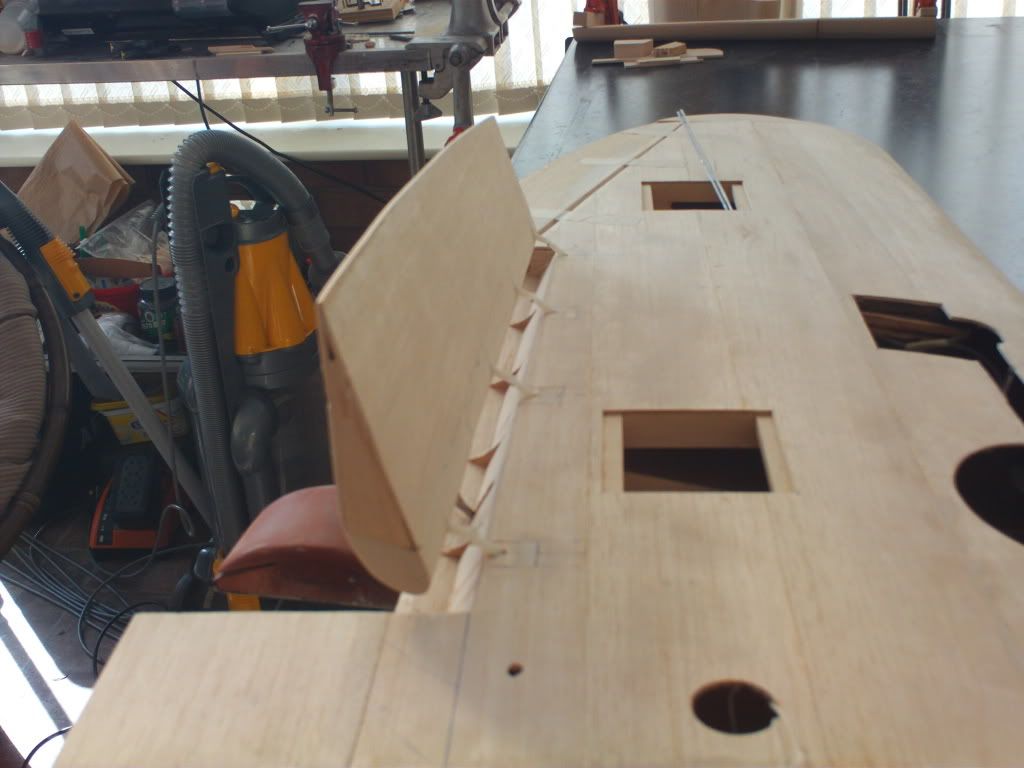
With all the control sections now hinged its time to fix and align the wing. The instructions call for sighting the alignment by eye but I figured out a more scientific method. Turn the fuse upside down and ensure the fuse and stab are level. A good builder’s level is the tool to have.
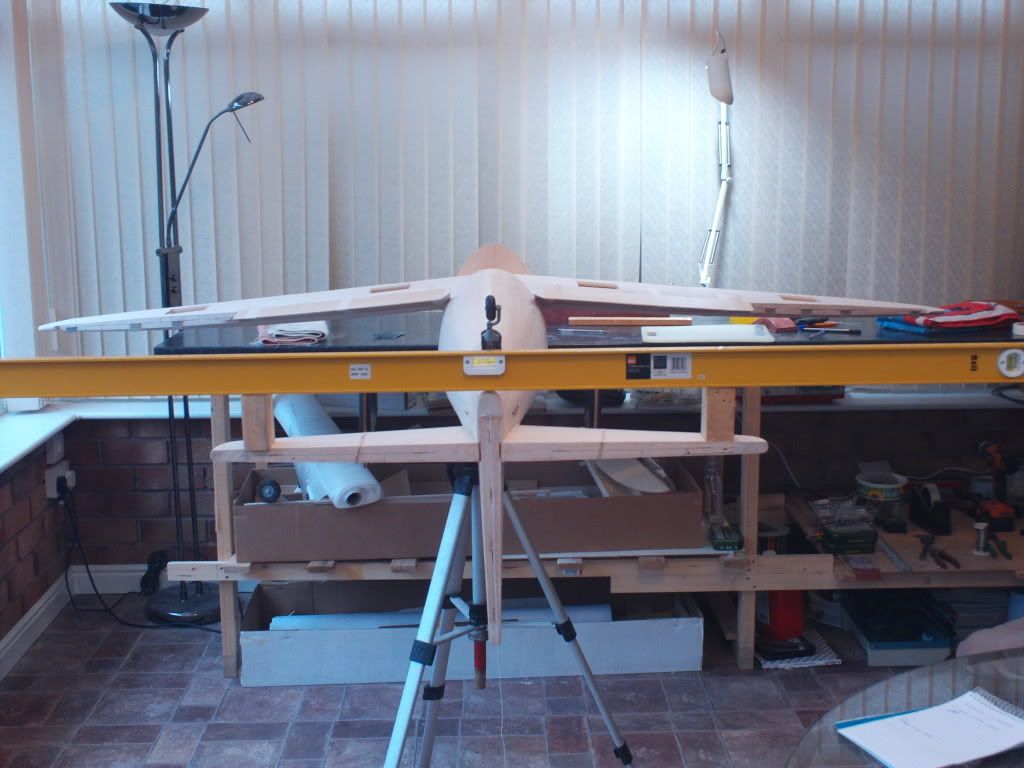
Once all is fine fix on the wings and bolt them down, using blocks set the level up to check all is fine.
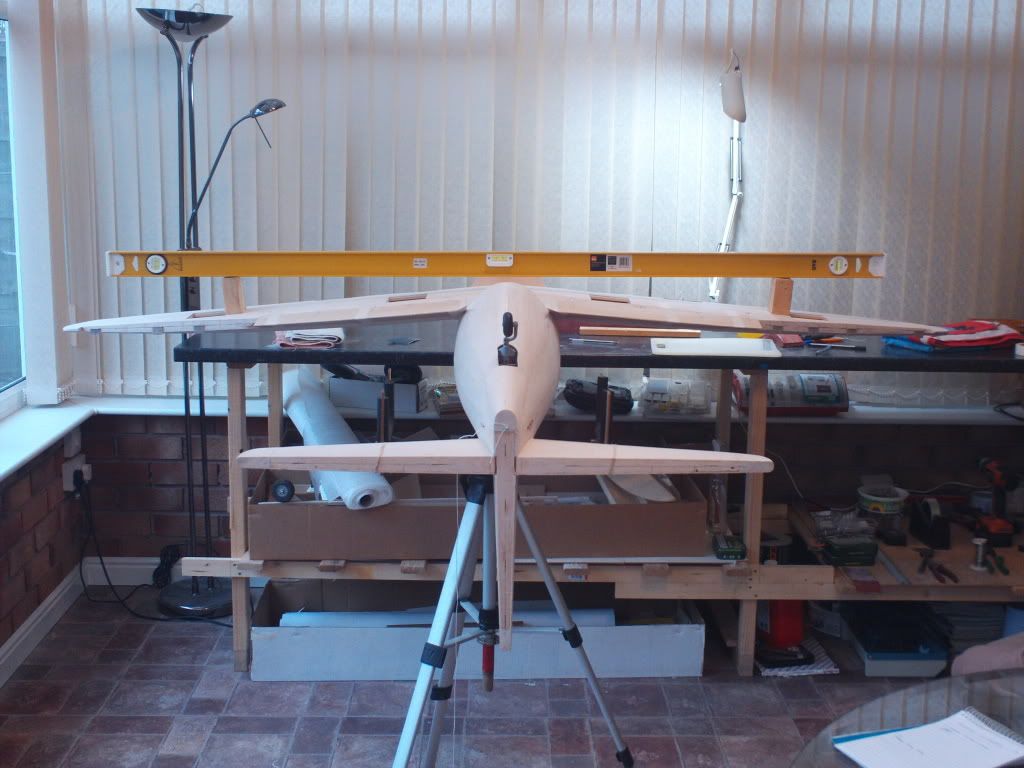
Then glue in the wing dowel doublers so they hold the wing correctly. Its again a testament to the kit that almost no adjustment was needed. Sorted

Topflite giant scale P47 Jug
in Build Blogs and Kit Reviews
Posted
OK day has gone well, the engine test was fine it manages 6000rpm with a 23x13 prop. I am concerned the cowl does not allow enough exit air. Just have to see whether it starts to overheat. A couple of video's for ya.
A few more pics just in case it don’t return in one piece !! oh well wish me luck guys.