


Paul Williams
-
Posts
467 -
Joined
-
Last visited
Never
Content Type
Profiles
Forums
Blogs
Gallery
Calendar
Downloads
Posts posted by Paul Williams
-
-
Hi can anyone recommend an odourless sanding sealer to use before applying Poly C.
If I use the one Rc World sent me the Mrs. will go mad.
-
I take your point, the support ribs are ply lamenated with slots cut into them for the bearers to fit in. I also drilled and fitted 2mm steel dowels through the ribs and bearers so the epoxy has little to do.Because the gear is a solid steel mounting in effect it should bond the total area combining the strengh of both bearers.I have read quite a few reviews and to date no reports of a weakness in that area but I guess time will tell eh.
-
I must try to get a move on the Mrs has spotted some sunny days and is insisting on her conservatory back !
Time to remove the flaps and ailerons from the main wing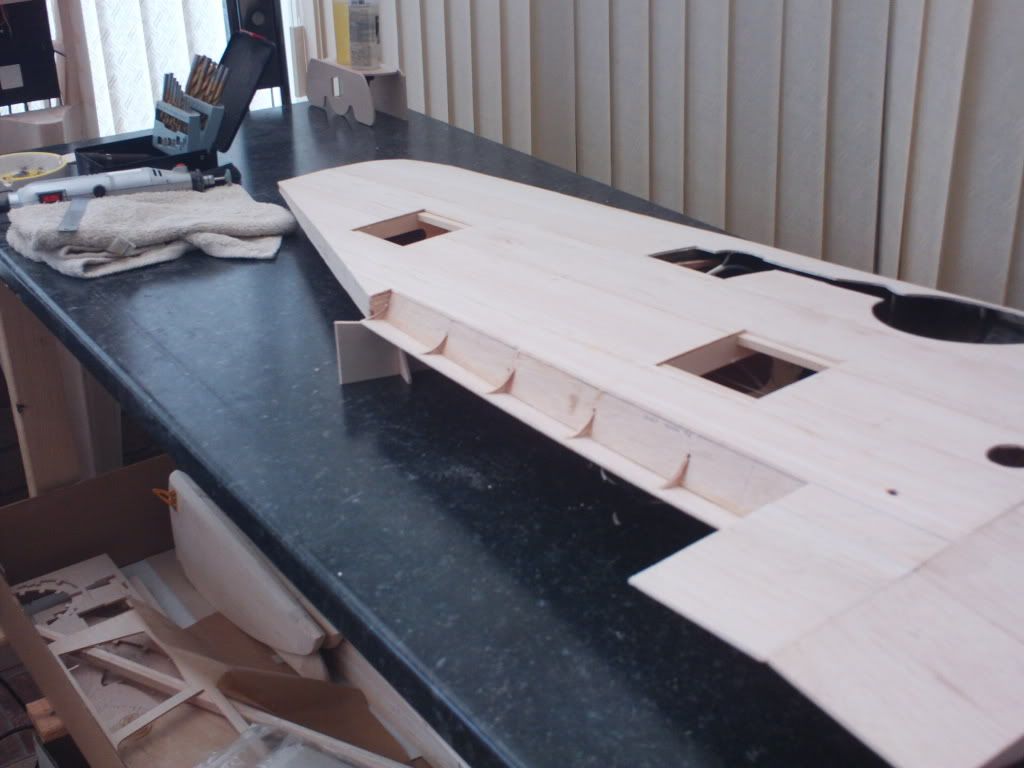
Although there is some way to go before the wing fitting I could not resist a quick peep at what it will look like

-
Just when you think sorted another question pops up, there are different types of sanding sealer? Which one works guys. Acrylic or cellulose
-
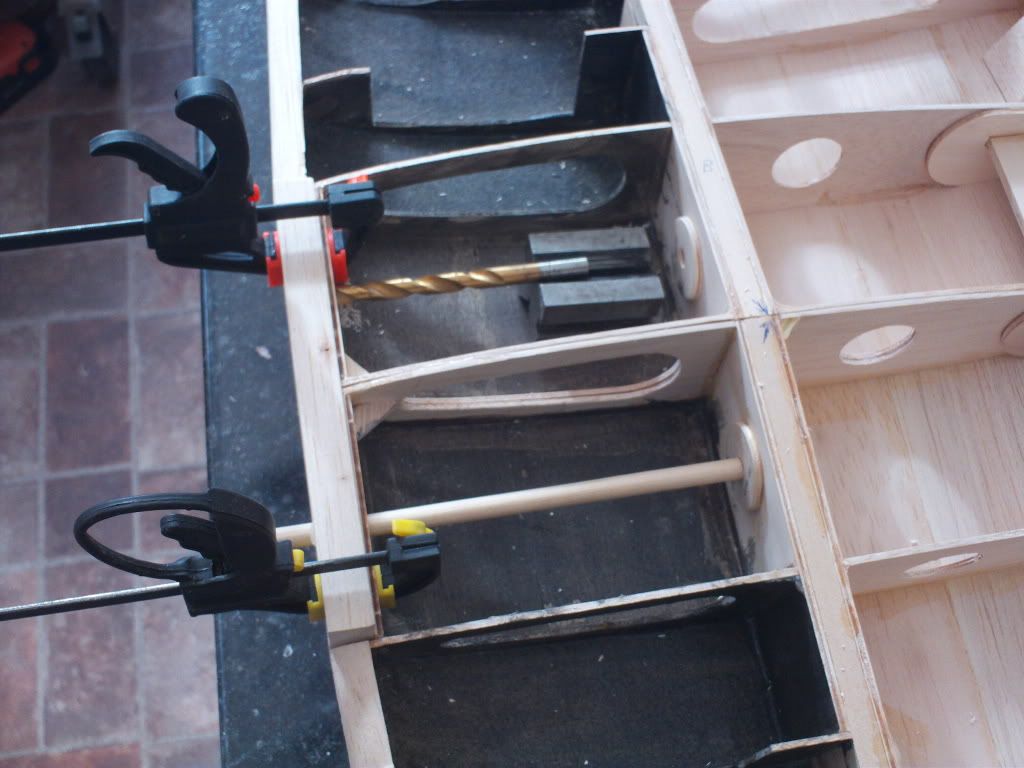
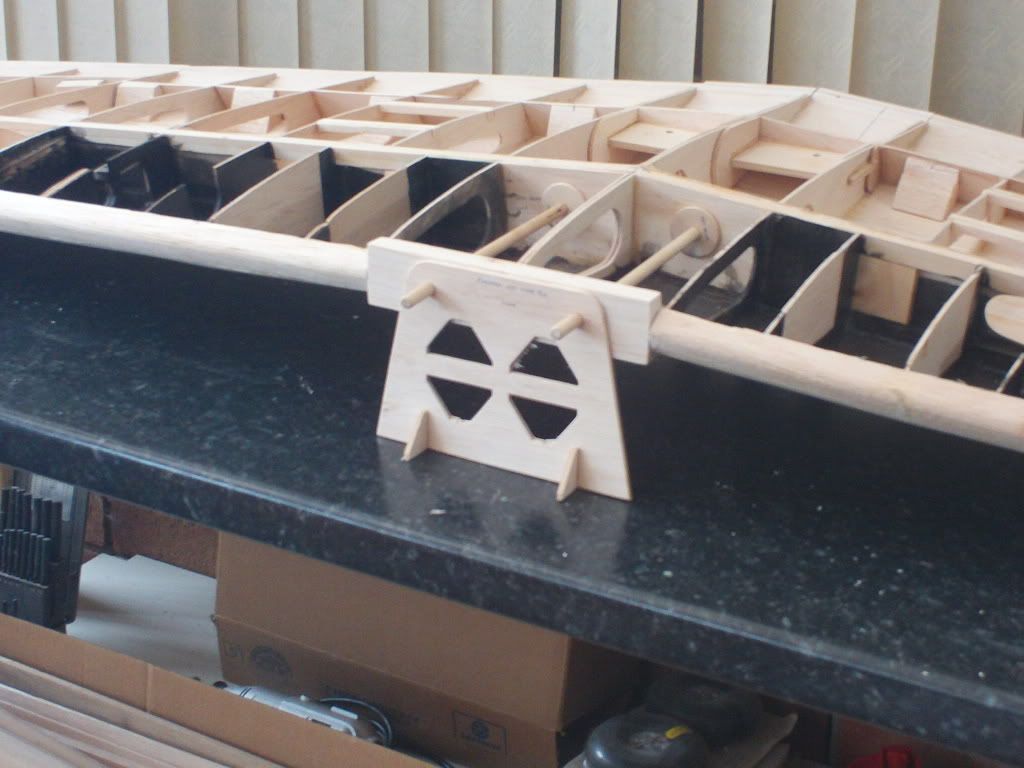
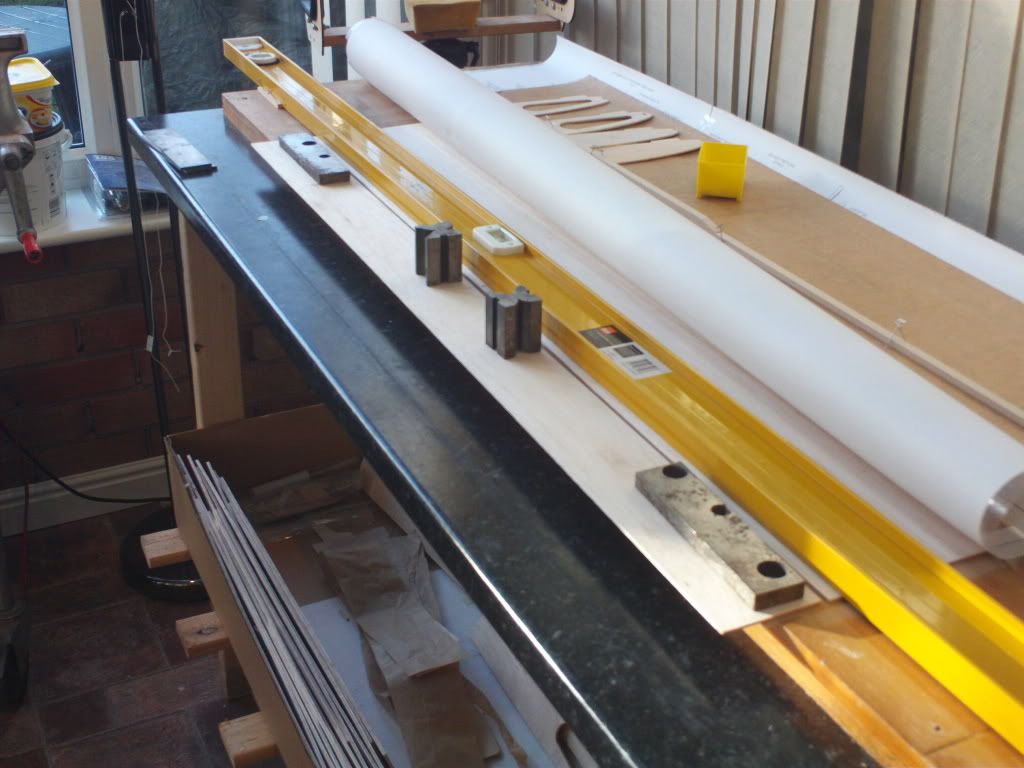
Its strange, yesterday I galloped along and there was something to show at the end of the day. I seemed to work twice has hard today and hardly moved along. Still a pleasant rainy Sunday was had. The first job was to fit the wing dowels and centre dowel plate. After a bit of thought I figured the best way was to employ my trusty old engineering V blocks to ensure the drill went through at the right angle. It meant I had to turn the drill by hand but it did not take long into Balsa.
Nice of them Topflite boys to supply a jig to hold the wing steady
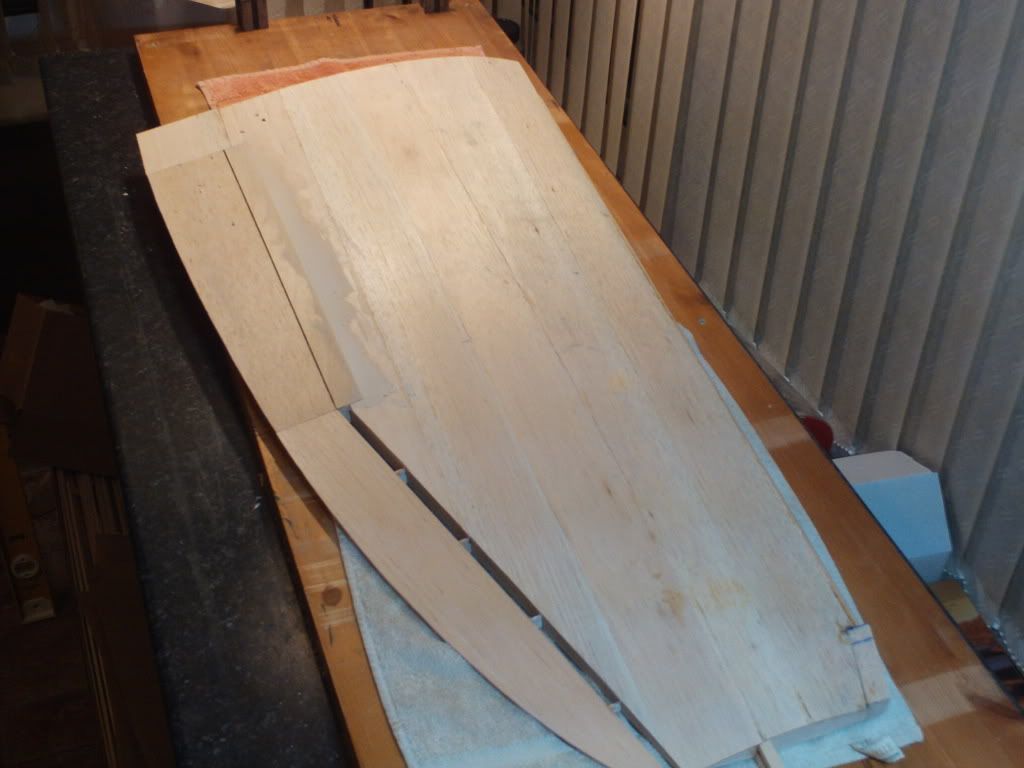
Then onto the bottom sheeting, I can’t believe how long this took but I figured do the cut outs before fixing the aft sheeting on so if it turns out a disaster it will be easy to remove. Worked out ok though. I traced the wheel well opening off the plan and taped it to the sheeting to ensure the cut out was right.
-
I have to ask Glyn did you seal the wood first?
-
Good day today, got the wing half’s ready to epoxy together.
It’s a testament to the kit that when slotted together with the dihedral brace in there is no gap in the joint. The dihedral worked out to within a 1/16. Happy days
-
Thanks guys it seems its down to personal opinion, PolyC or epoxy. My project is a 1/5 scale so I have nightmares about mixing all that epoxy. I have since found a previous thread which covers all in detail. My next question is although much thought has gone into obtaining a cheap water based varnish has anyone found a good sourse for the glass cloth ? The small packs offered by model shops are like gold leaf.
-
I have been trying to make up my mind what to cover the P-47 with. I have gone away from film because I fancy a model that you don't poke your finger through whilst picking it up.
So glass fibre and paint. I have heard about this Poly C stuff from a friend who says its great to use has any body had experience with it. Is it durable, fuel resistant ect -
Amazing how quick you go when you’ve done it once, just a few hours and the left wing panel is up to the same stage.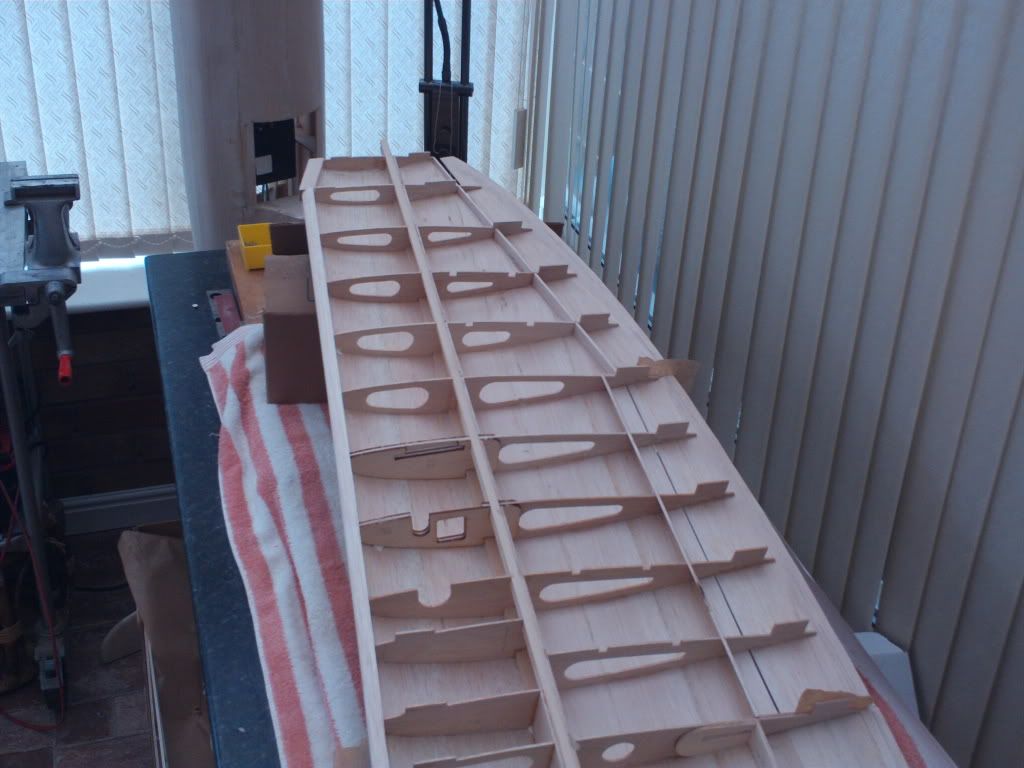
Flap and aileron sheeting goes on.
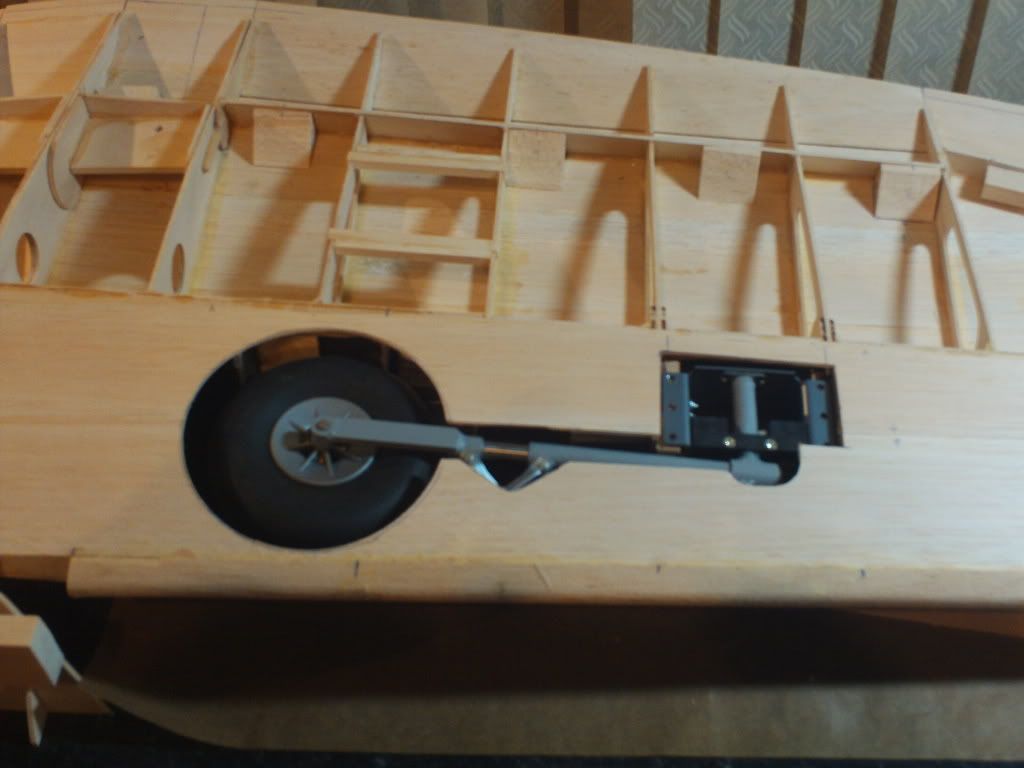
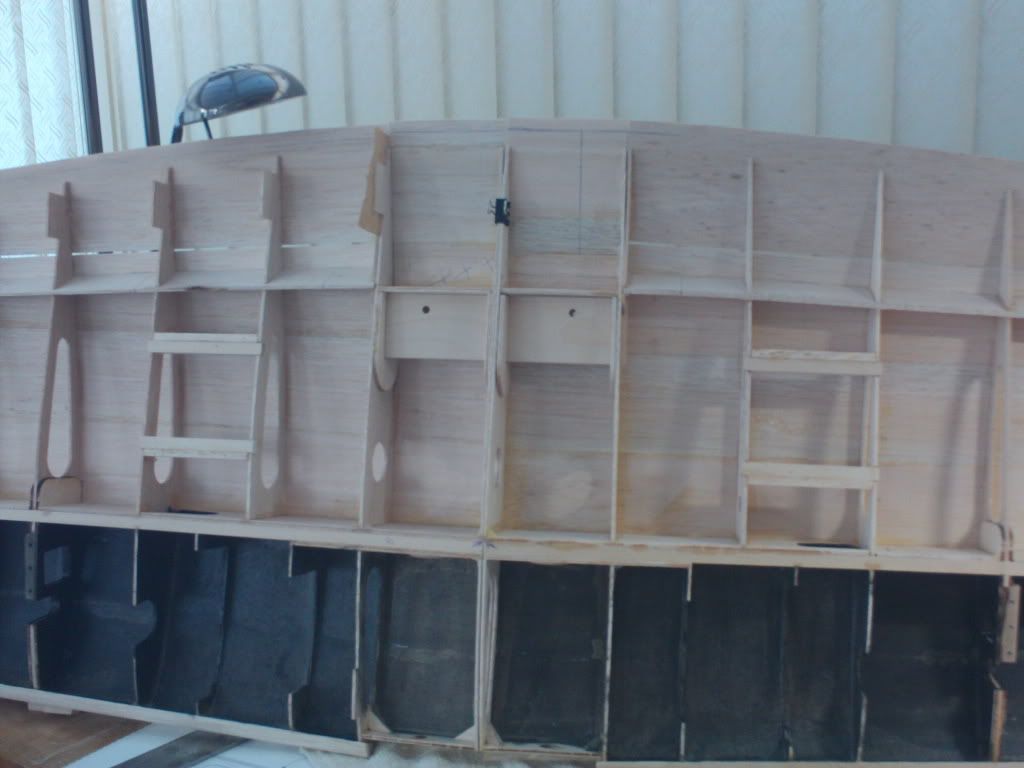
 When I came to proof fit the retracts it did not quite go to plan. The retracts shown in the instructions are different I checked with Robart and the ones they have sent me are updated because of complaints they did not completely tuck away. In a bid to get more of the wheels hidden they know hit the top sheeting before locking in. I guess my choice of wheels might not help but the only way to make things right is to pack up the inner fixing rail by 1/8. They now lock ok.
-
Thats interesting where do you fly? I used to patrol the M58 and used up many of my lunch breaks at Skem flying club. I have since transfered and miss the banter is there a club in that area?
-
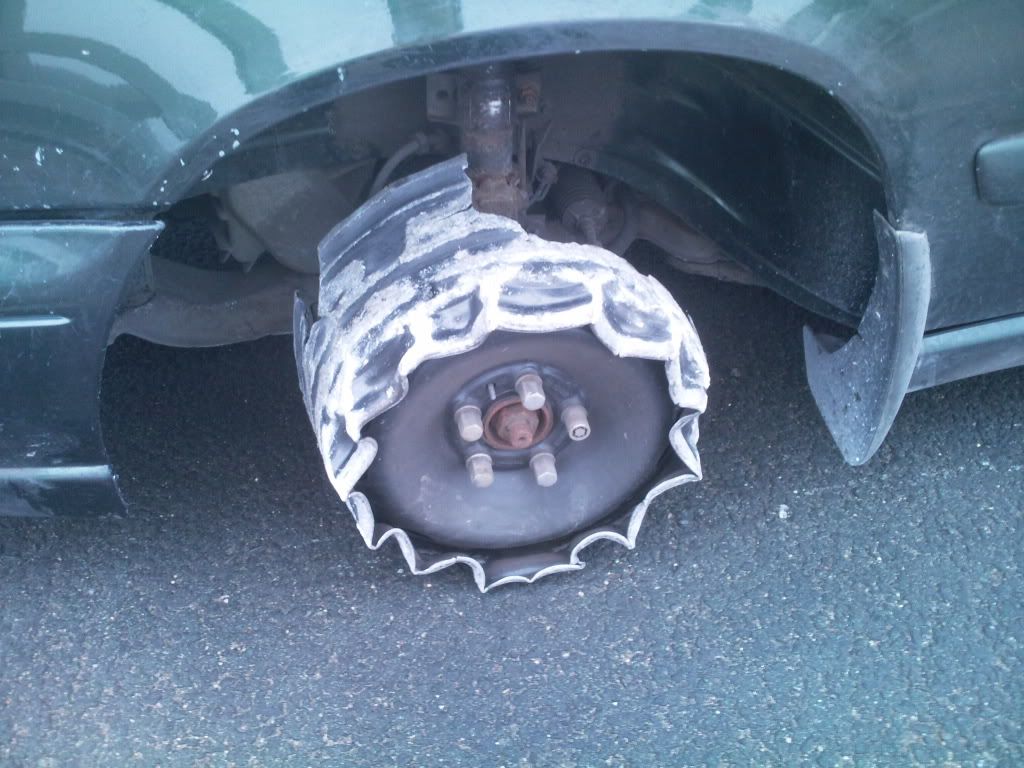
10 out of 10 mate. Scrap wagon overturmed and the volvo driver could'ent stop in time. Nearest thing to a cross over I've seen. It ended up on the central barrier.
-
-
I work for the highways agency and today I was asked to remove a vehicle from the M56. The owner had no recovery and was trying to make the next exit to prevent the removal bill. She could not understand why I was shocked at her antics. Here is a picture of her front nearside tyre
.
-
Yeh but this is the first of two wing halfs so your advice is welcome, I will try it thanks mate
-
I have to say for the first time since starting this I really struggled today. The wing sheeting being the problem. The forward section was no trouble
 But then the instructions stated lay out the aft wing sheeting and trim to size, The sheet fits from the main spar up to the centre of the TE. The TE is 1/8 ply section so the sheet must be trimmed within a 1/32 tolerance.
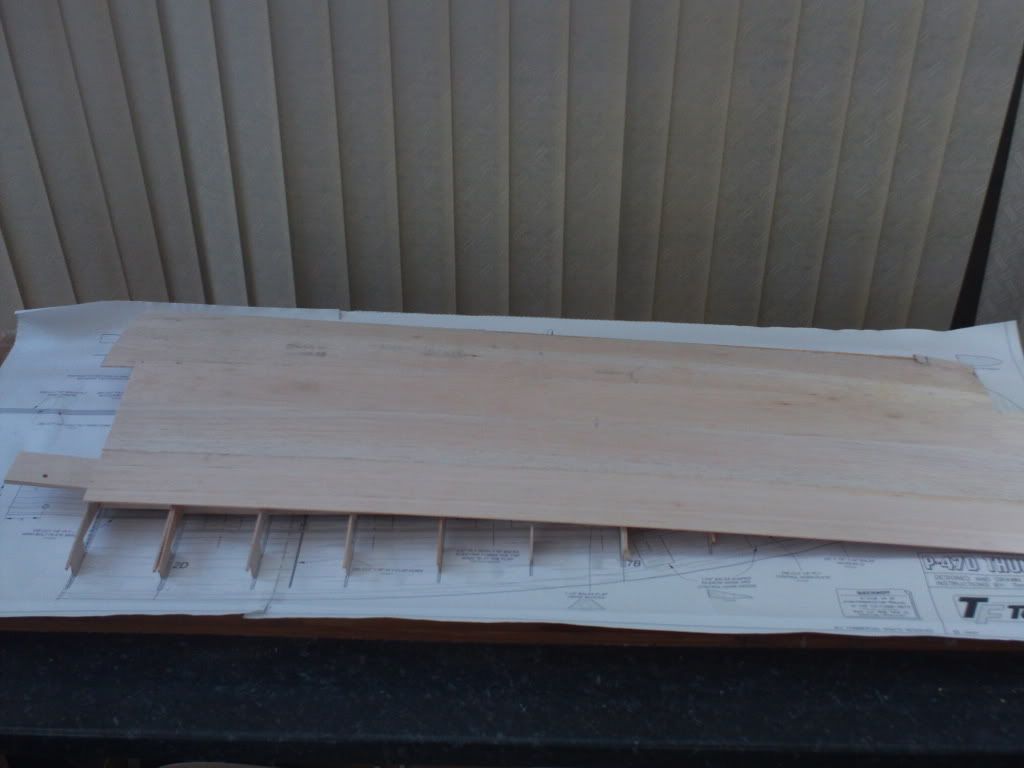 Its impossible to see the TE with the sheeting laid on the wing how the hell can you trim it to size. After 3 brews and a whiskey I could not figure out a method to cut the sheet without removing the wing from the plan and flipping it over so I could mark the sheet from the rear first. What a pain once cut I had to replace and re-pin the wing down. Perhaps someone has a method other than this help please.
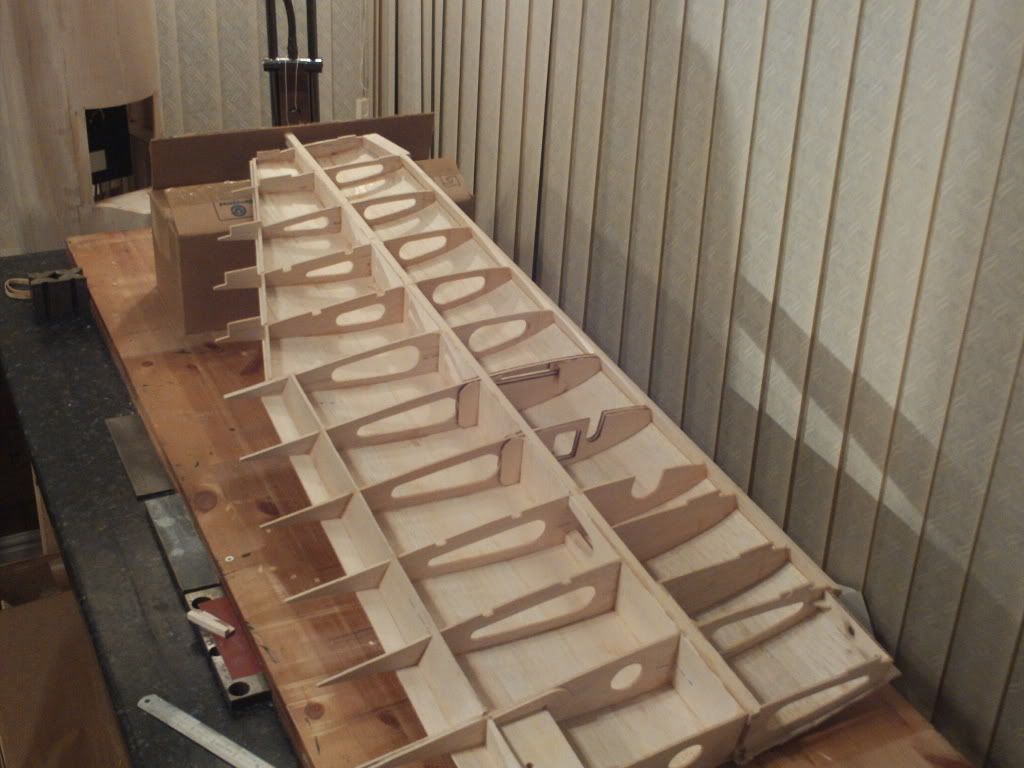
-
Hi Neil, to be honest the wax paper is some thing I have had for ages in the garage I cant remember where it came from, I hate to say this but although the delivery time was quite quick from Robart I got stung with customs. Unlike our China friends the Yanks mark up retail price on packages and the old VAT army jump on them. It was quite a shock fella hope yours slip through. Fantastic quality though. Great model you have picked are you doing a build blog?Thanks for your feedback guys.
Edited By Paul Williams on 18/02/2011 22:20:41
-
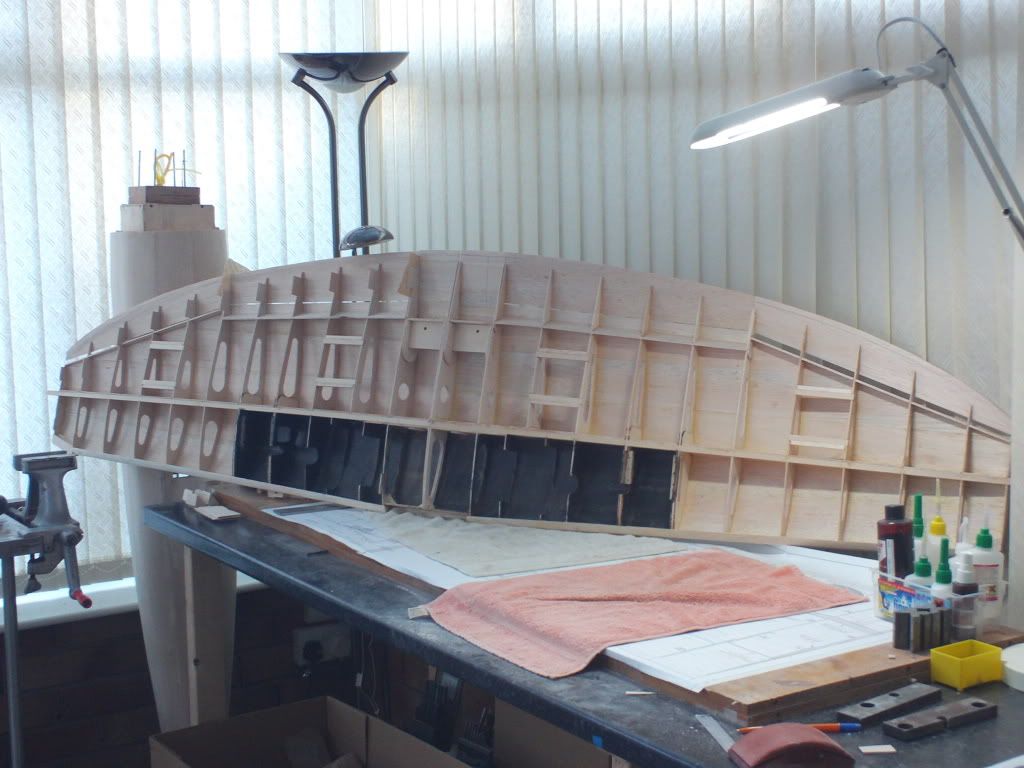
Moving on to the wings, have to say still impressed with the building methods. I have not felt the urge to strengthen or change much up to now. The instructions suggest gluing up the wing skins while the board is free. I find a good method is to trim with straight edge then use the straight edge to hold flat while the edges are slid together have a look at next photo.
 I use cyano with this method and as yet have had no misalignments.Dont forget to put wax paper under joint.Pretty much normal and plane sailing up to this stage.
-
The retracts turned up today and I have to say it’s true the old cliché you get what you pay for. Brilliant quality there is no movement at all when locked in, the operation is smooth and precise.So now I can go back to finishing the fuse off. The tail wheel unit dropped in and piped up.
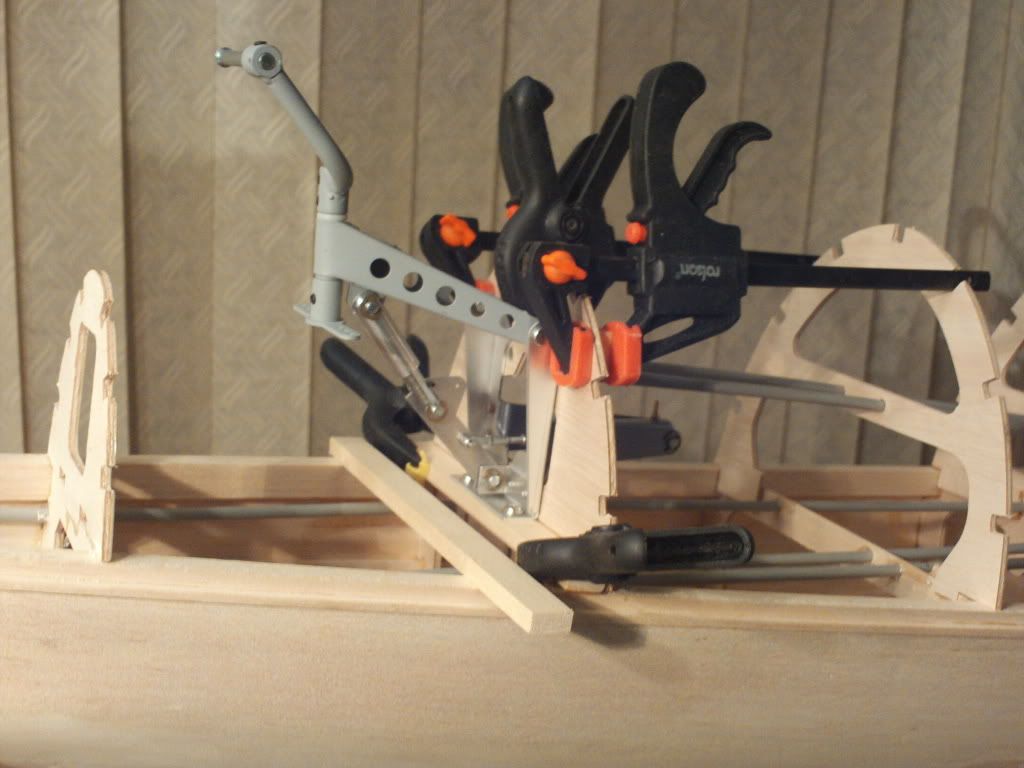
I have reservations about the design here once the sheeting is applied this unit cannot be removed. Its possible to loosen it and get to the steering control arms but should anything happen to the air cylinder it will have to be cut out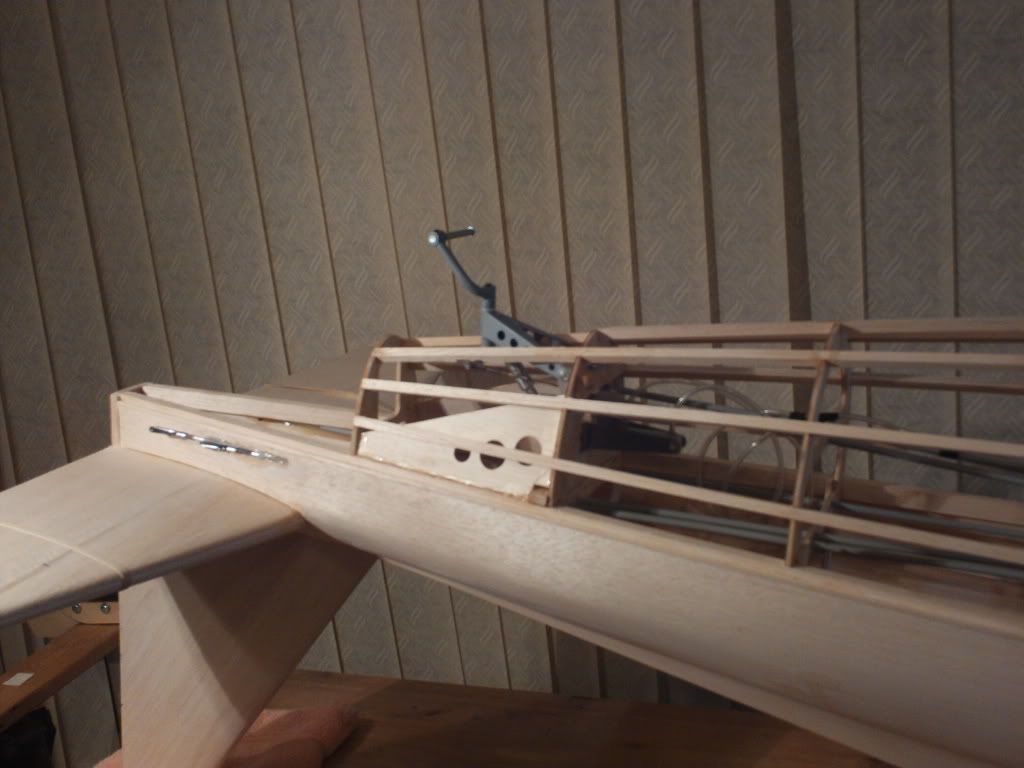
Oh well have faith in Robart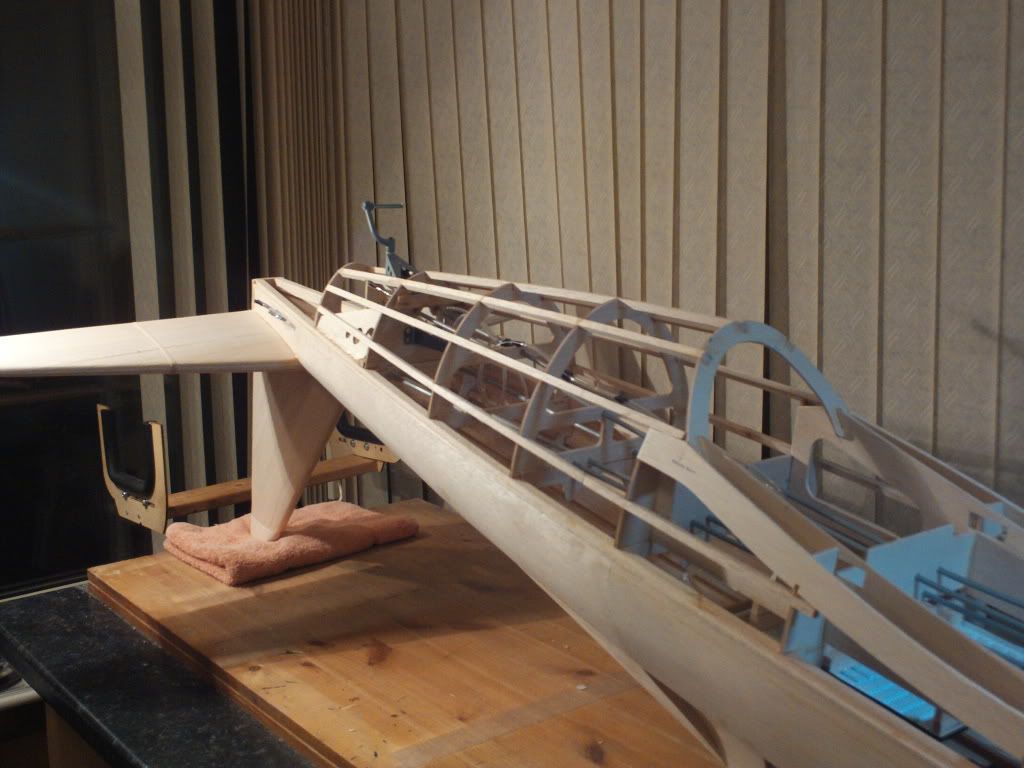 Finished sheeting the fuse.
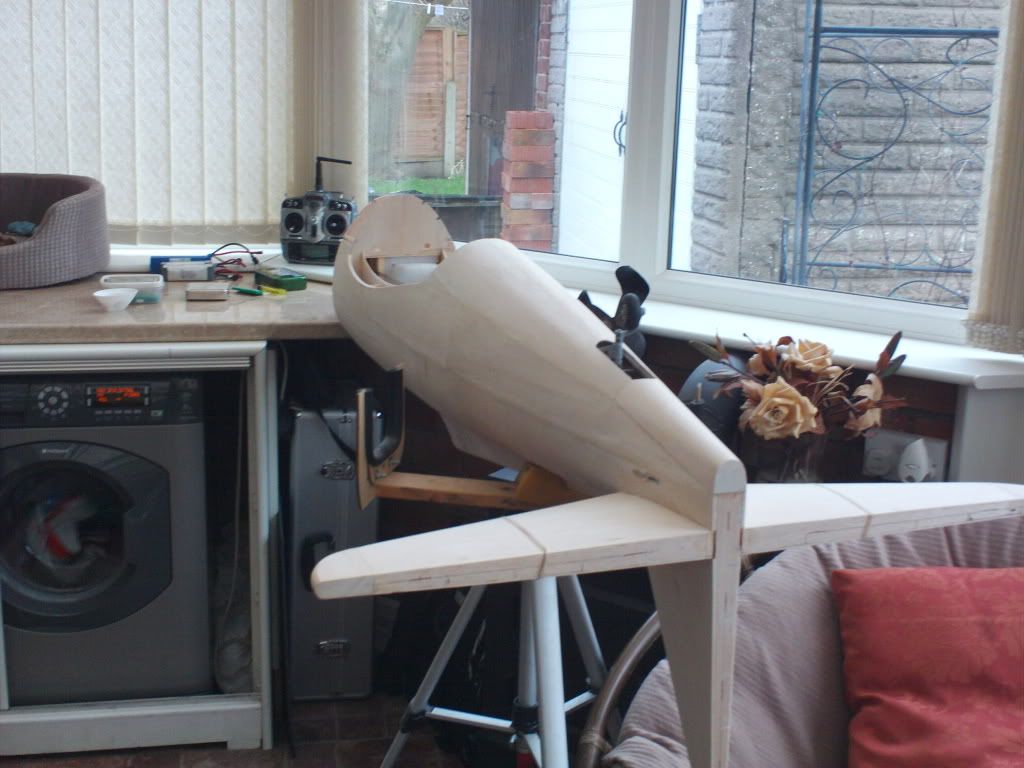
-
Trial fitted and shaped the canopy, I have to say the quality of this is excellent just need to paint in the framework.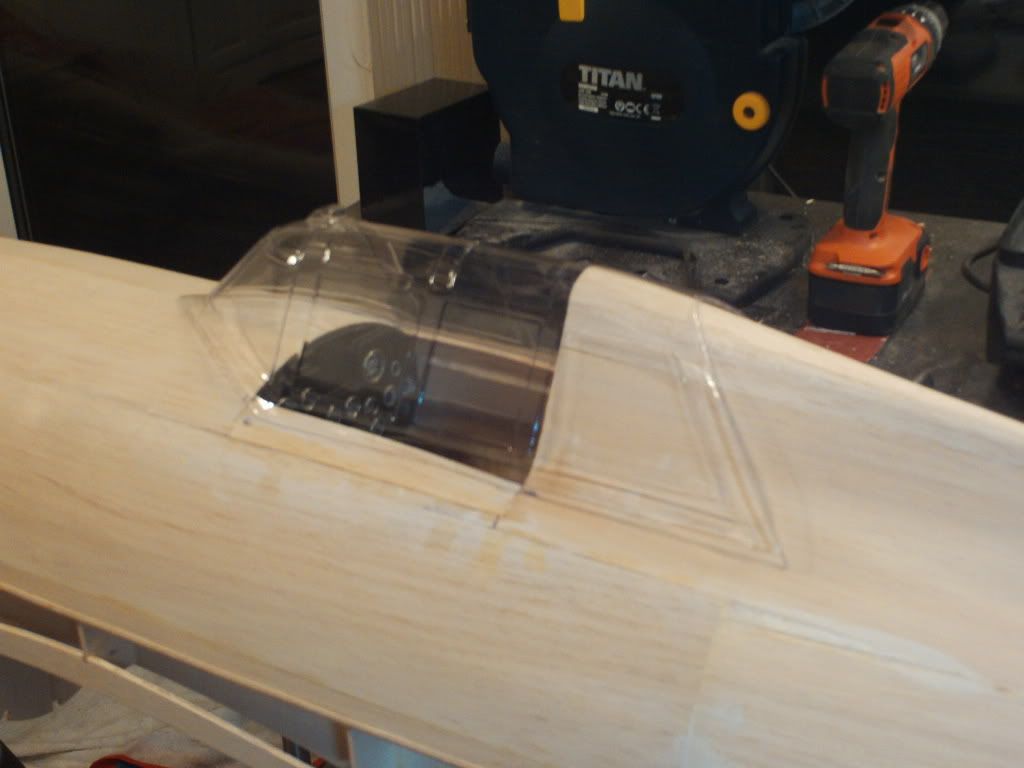
I can’t believe how long it took to mask up the canopy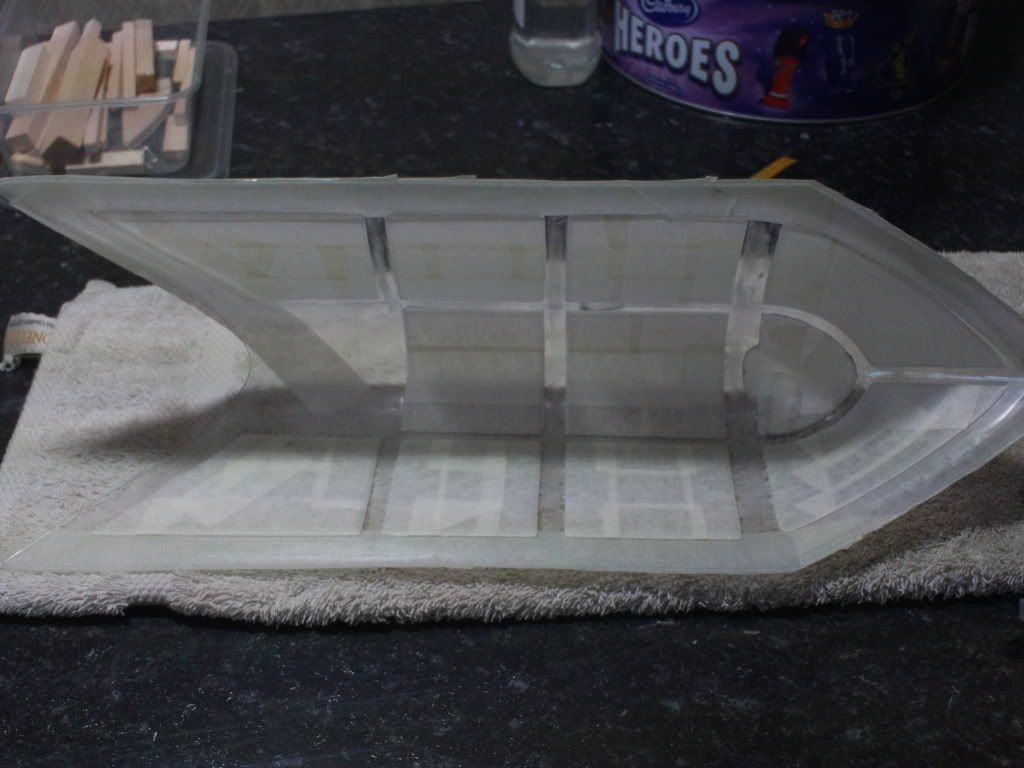 I always paint the inside it’s impossible to scratch it afterwards. A little tip, remove masking tape before the paint hardens or the lines will not cut when the tape is pulled, pull back the tape onto itself as photo to get a nice crisp line.
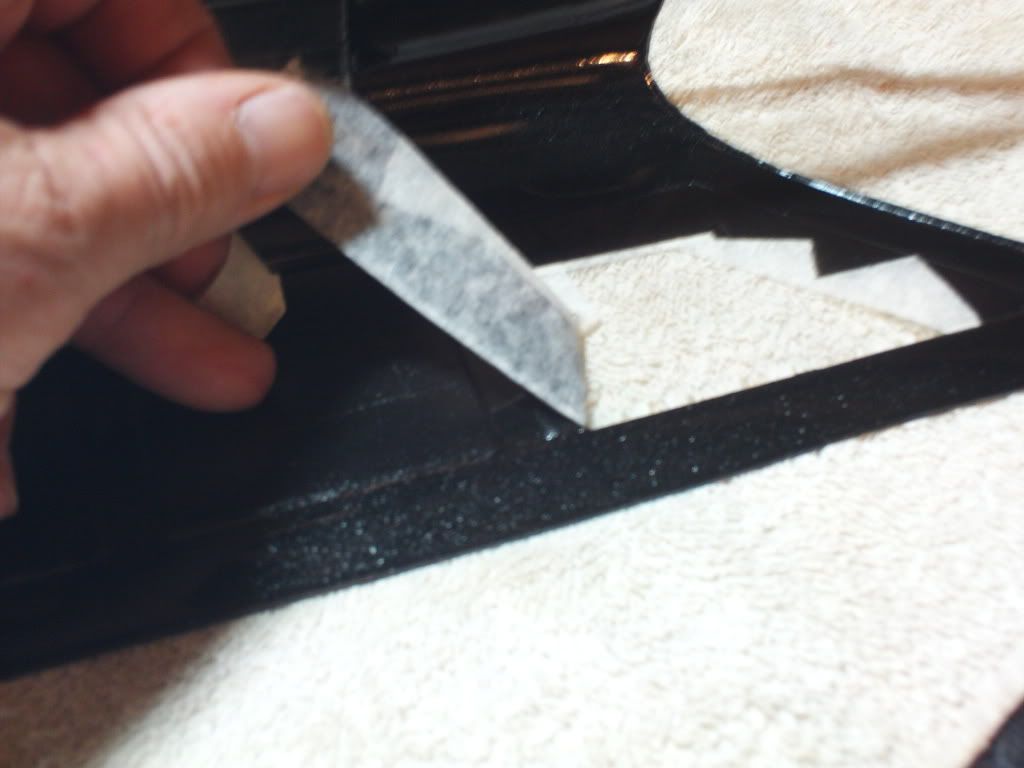
It’s true what they say; about preparation work though I considered hand panting this but with the end result I’m glad I didn’t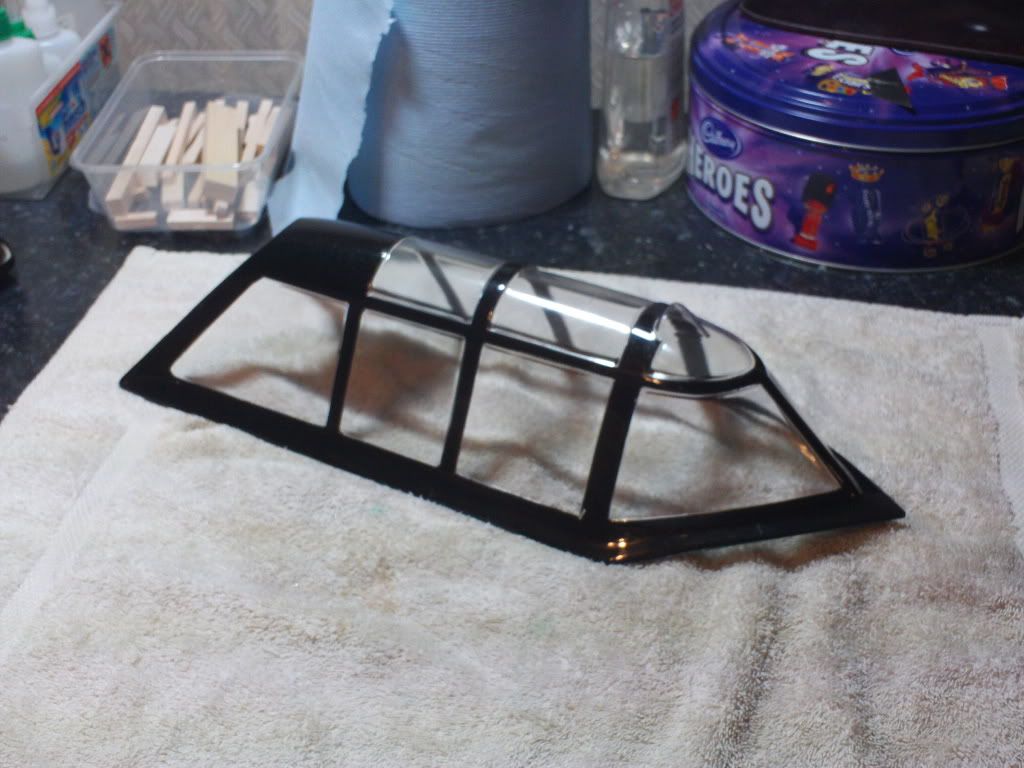
-
Anyway I’m sure we can beef things up and with a lick of paint it should do the job cosmetically. I read through the instructions and apart from suggesting what colour it should be they are pretty useless. No reference at all on how to fit it to the fuse. Its going to be a make it up job as we go along.Right cut out cockpit deck
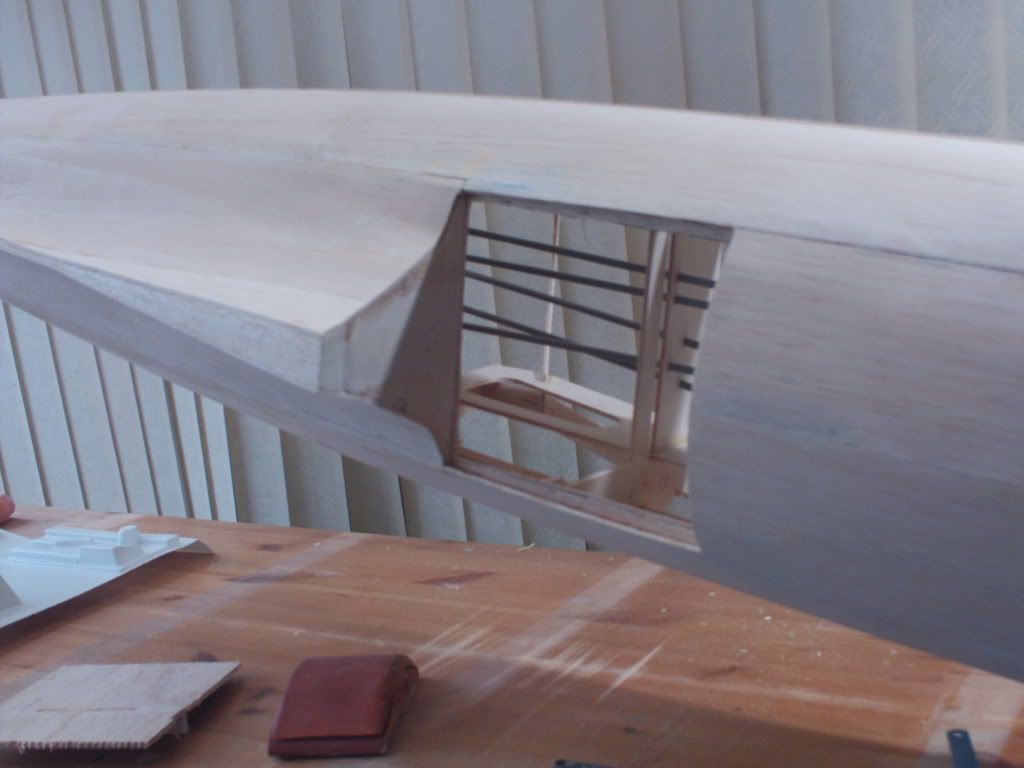 Then figure out a way to support the new one the remains of former 4 lends itself to help here.
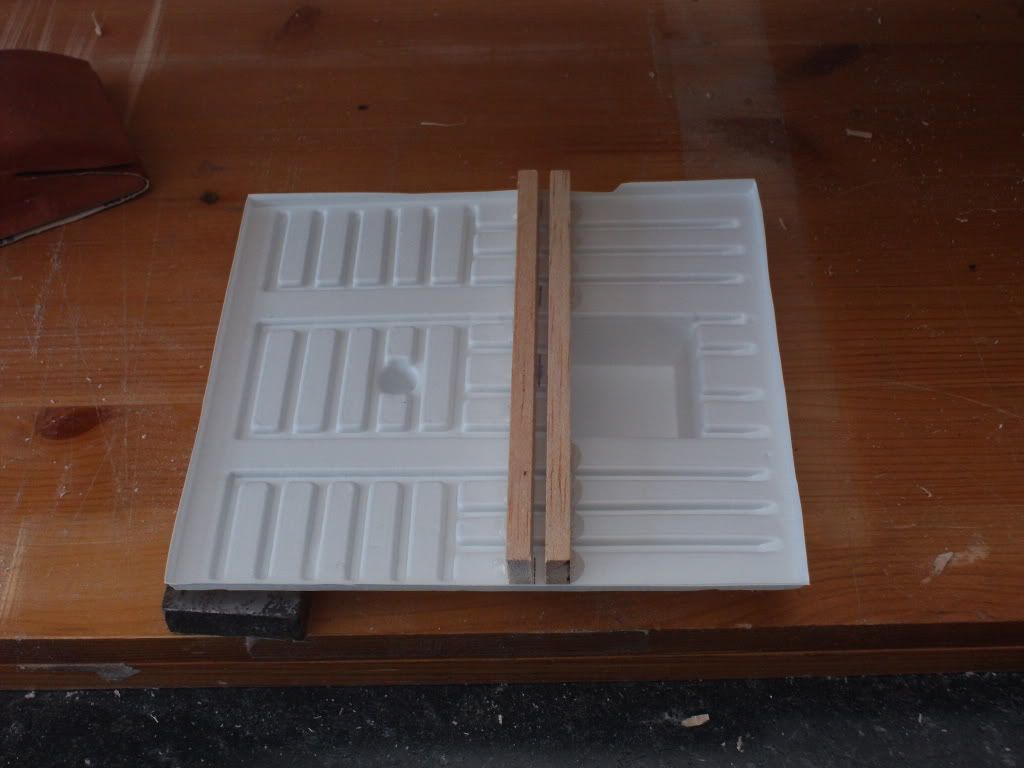 The two sides plus front and rear have good contact areas so can be glued straight on to fuse.
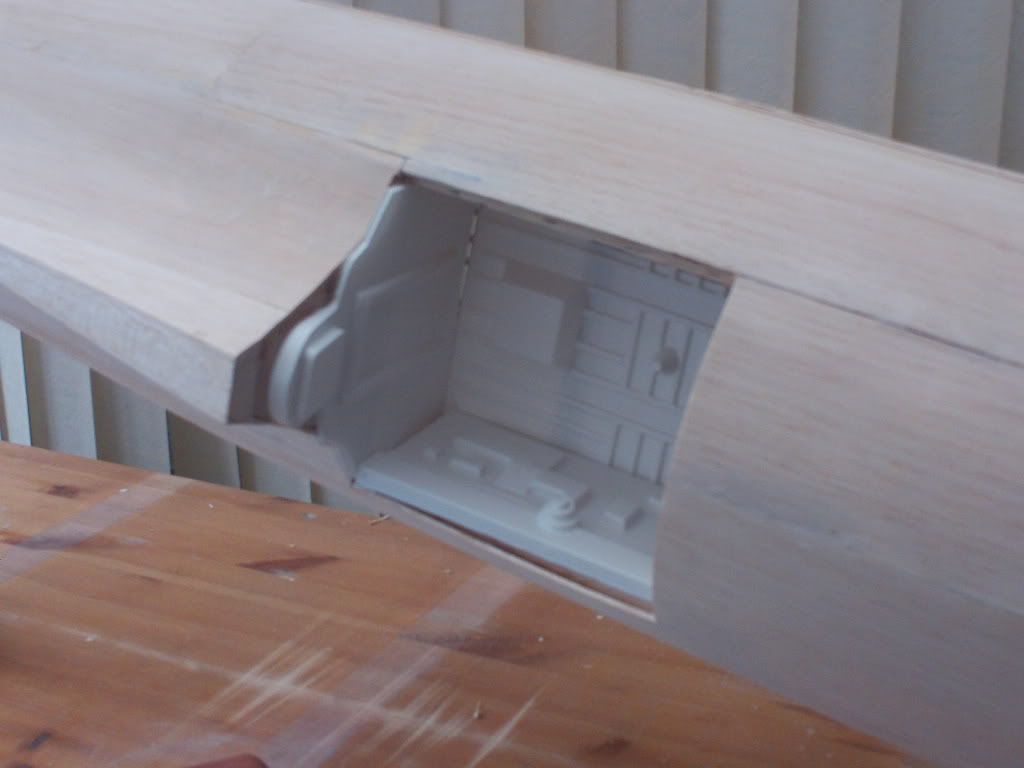 I guess how good this is going to be is up to how much time I put into it, here is how it should look
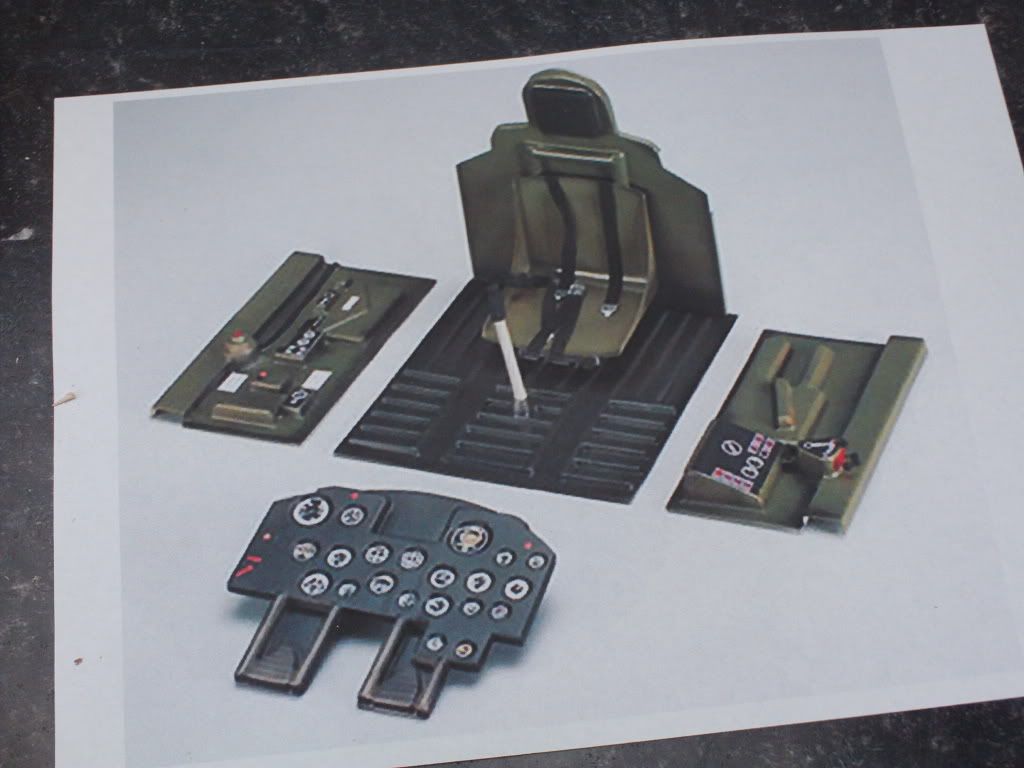
I had read an article about cockpits and how to give the dials some good three dimensional perception. It’s really easy to do you just take some solder wire and wrap round a drill shank (correct dia) run a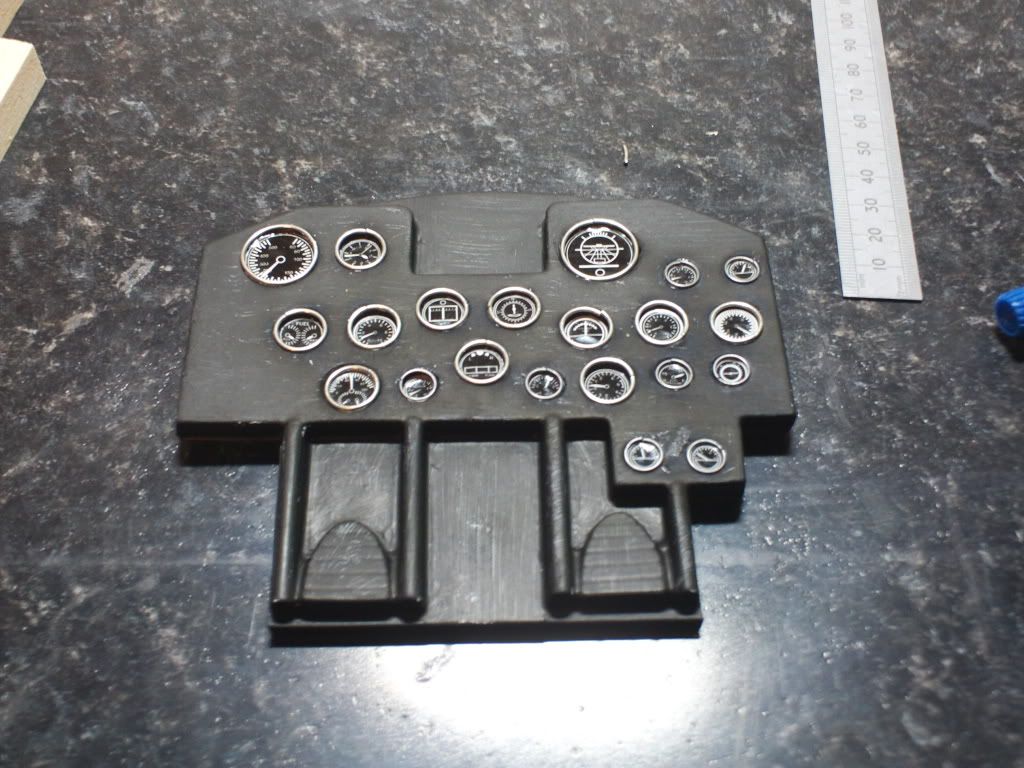 Ok finished off some cockpit painting
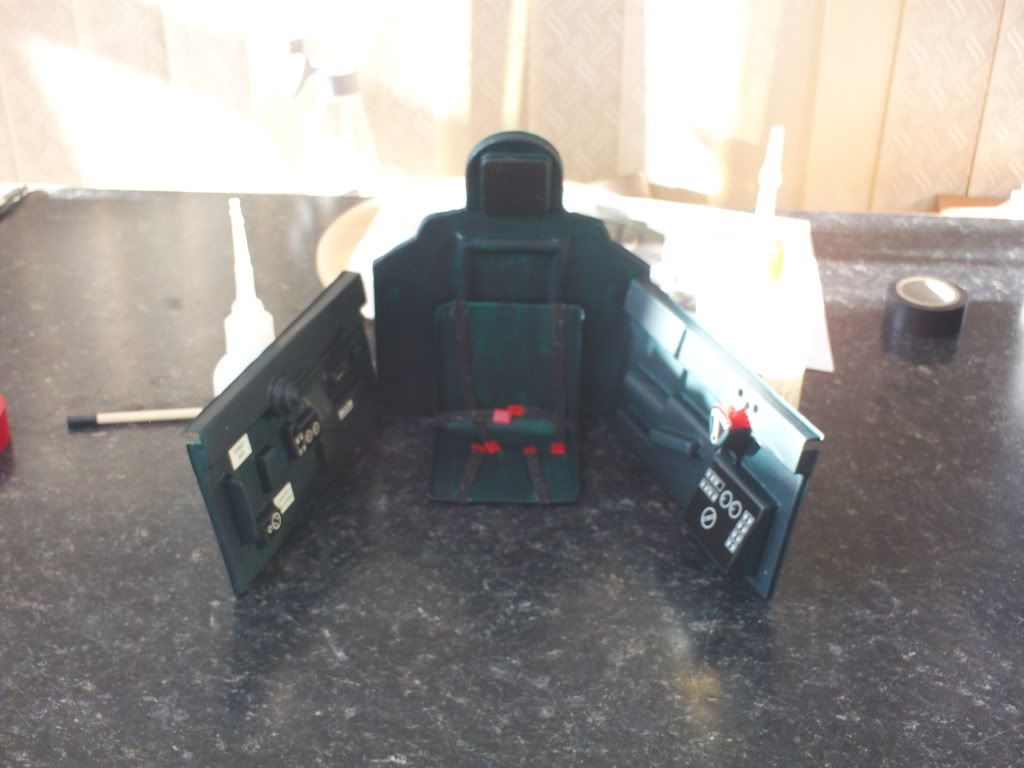
-
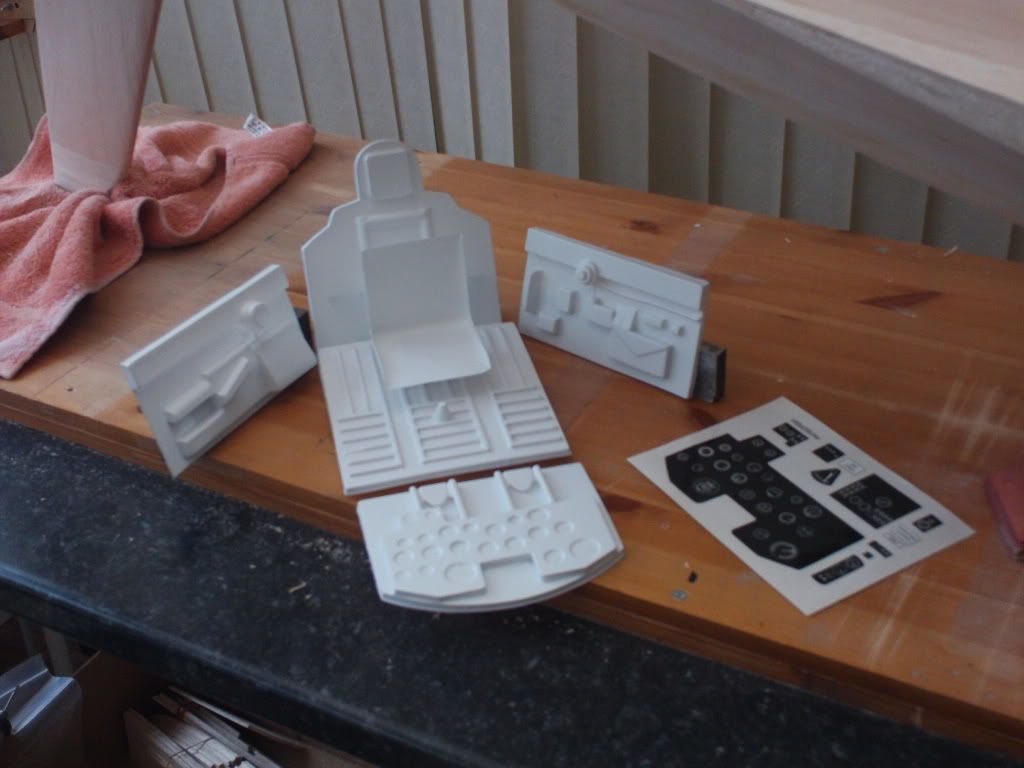
I took receipt of the scale cockpit kit today and as usual it is a very cheep and flimsy thing for which they charge far to much money (Ripmax again).Edited By Paul Williams on 17/02/2011 21:36:16
-
I am the pilot who spent hundreds of pounds on such models, when I did so the club was in agreement I could fly them. In comparison its like the government coming along and saying I'm sorry but you may no longer drive your 3lt porche unless you take a test to prove you can drive it in a manner that you would never do anyway!
I have read though this post with interest, and some very valid points are made.
I think the idea of Grandfather Rights for existing members is fair
A period of time to prepare for and take the test is a consideration.
I don’t like the idea of a blanket ban the situation should be looked at on a individual basis.
I agree that members with more money than ability have to be governed.I will print off the post and relay it to our committee I must thank everyone who has taken the trouble to write.
Ok point taken, I am venting off at a situation where I have never been responable for any near misses and the club seems to be penalising myself and ignoring others who have. I will do the B test this year if only to wave it in their faces.Thanks for your feedback.

Topflite giant scale P47 Jug
in Build Blogs and Kit Reviews
Posted
Fitting the wing tips was easy enough although you would not believe the pile of shavings from the waste.
I took some time to experiment with the finishing varnish Poly C, after reading many forums it seems you must use sanding sealer first then apply the glass cloth and varnish. I did not fancy using the sealer because of the odour so I tried sealing the surface with PVA first. I covered two balsa pieces 4”x4” the pva warped like a banana! So be warned don’t use a water based sealer. The cloth stuck well refusing to pull off I will try spraying it next to check out the finish. I was concerned with the price my local shop was charging for glass cloth so after hunting round I found a great company who were very helpful. They sent me a sample and it’s the same stuff model shops are charging £7 a meter. I got 5 meters for £5.50 great service arrived next day.
http://www.fibreglassdirect.co.uk/
Next job flaps and ailerons.