Andy Hat
-
Posts
119 -
Joined
-
Last visited
Content Type
Profiles
Forums
Blogs
Gallery
Calendar
Downloads
Posts posted by Andy Hat
-
-
Gorilla glue (the brown stuff) is amazing. Essentially the same as the expanding epoxy foam that you can squirt around door frames to fill large gaps. It's good for repairing foam models that have become crushed because it expands to fill gaps. BUT you need to be careful - it can expand a LOT. You can easily cut it when dry though. Overtime it becomes more yellow so may need painting.
Don't get it on your hands - it's a swine to remove. Gloves are good...
-
-
-
https://www.ebay.co.uk/itm/CF2812-E-Max-1534kv-39g-Brushless-Motor-Outrunner-Small-Plane-UK-Seller-/141298994022?_trksid=p2385738.m4383.l4275.c10
This listing has some good info too.
You'll need a 3mm prop adapter and some bullet connectors. a 7x4 or 7x6 electric prop (for 3 cells).
Smaller batteries will probably have a JST connector, so you'll need to solder one to the ESC:
https://www.ebay.co.uk/itm/JST-2-Pin-Connector-Pair-Plug-Socket-Battery-leads-Red-Black-Wire-300mm-UK/264094914612?hash=item3d7d489834:m:mOFmgvLkn8LJ5pRFO960kcA
One thing to look out for - the grub screws that hold the motor to the mount are best replaced by longer 3mm screws which are threadlocked in. The grub screws have a tendency to loosen.
I have used many of these motors - cheap and powerful. Ideal for planes of this size.
-
I like the cheap Emax CF2812 for models like that.
https://uk.banggood.com/EMAX-CF2812-1400KV-Brushless-Motor-for-RC-Helicopter-p-906310.html?gmcCountry=GB¤cy=GBP&createTmp=1&utm_source=googleshopping&utm_medium=cpc_bgcs&utm_content=lijing&utm_campaign=ssc-gbg-all-newcustom-0822&gclid=Cj0KCQjwsYb0BRCOARIsAHbLPhEPY00f507R41HpckZl-FeRWq3exLJDbG9jn6RratPpwzTpASIhEu8aAsjOEALw_wcB&cur_warehouse=CN
Or the CF2822 if you want to run a larger prop.
a 20a ESC is fine, with a 2S or 3S battery.
-
One tip - put nice blob of hot glue over the connection of the aerial to the board.
-
Go for it but range-check, range-check, range-check (and check under power and all angles too, those tiny aerials...).
Stick to -official- FrSky receivers - I have learned this from experience...
You can remove the receiver casing from a standard RX to save space and weight.
-
What I can't fathom is why some Hobbyking products are so short lived. e.g. some of the foamies like the Durafly Junior) which looked like my Junior 60 here). They seem to produce them for a only a short time, then discontinue them.
With the high initial costs of designing/producing molds etc. Surely this can't be very economic?
-
Andy - try www.rapidrcmodels.com for the Hobbyking covering (which is excellent covering).
If a Hobbyking alert triggers, you'll need to react to it fast. Rapid RC and a few Ebay sellers buy stuff up very quickly.
Edited By Andy Hat on 29/12/2019 12:41:21
-
Fantastic info Peter - many thanks!
-
I have a Ben Buckle Super Scorpion kit ready to start. I'm keen to get the battery as far forward as possible, to minimise any nose weight, although it looks like I'll probably need to add some, going by the short nose and my experience with the other vintage models I've built.
I'm looking at using a common 2200mah 3S battery and could possibly have it slide in horizontally under the motor, or slide in from underneath the model, vertically behind the motor.
I'd be grateful to hear of any suggestions regarding making it electric powered.
-
Hi Peter,
How about something with made from "alternative" materials?
One of the first planes I made was your Blue Movie 2 - remember that? Made of Correx - flew great and was virtually indestructible (very suitable for me at the time).
Perhaps correx, depron or some stuff you can get from B&Q cheaply? (I'm a big fan of your Flying on a Low Budget book)
-
I flew it yesterday and it was great. No trim or extra weight needed. My problem now is learning how to get this plane down. It just didn't want to come out of the sky. Very pleased!
-
After fitting larger/heavier wheels (+100g), bending the u/c further forward and adding 240g of lead in the nose, it now balances on the middle lower spar which is about 50% of the wing.
The total, ready to fly, weight is 1760g - which includes the 198g 2200mah 3S battery (which is against the firewall).
I'll try it out when the weather improves and report here.
Thank you all!
-
I've done it a few times. I had most success with a flexible hacksaw blade. Once you can get it through, you can saw parallel to the slot and minimise damage to the stab.
Edited By Andy Hat on 05/08/2019 20:40:18
-
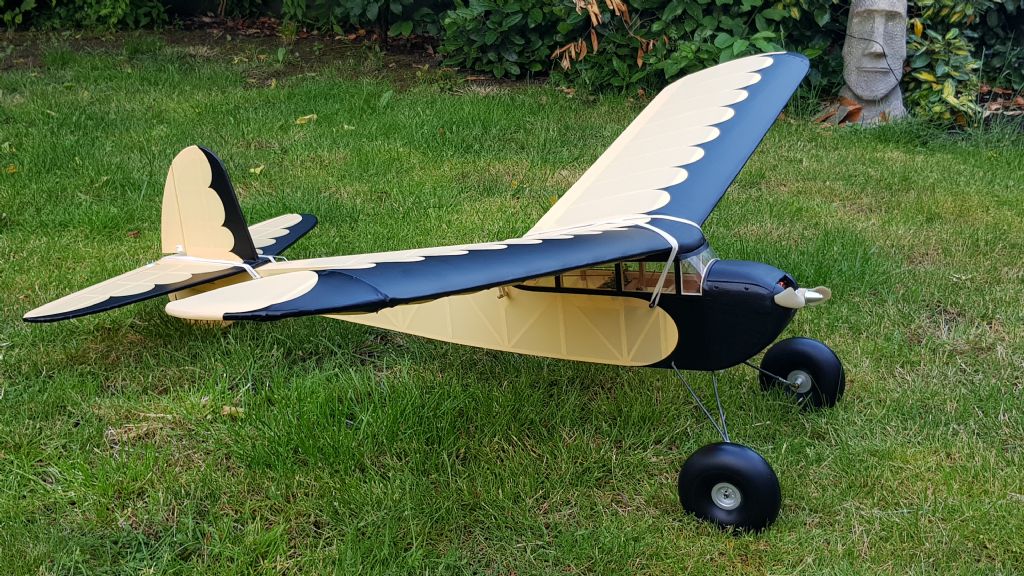
This is my just-finished Ben Buckle Playboy Senior.
I was careful to try and build it light BUT I've really messed up - there's no way I can get it to balance on the plan CG.
Perhaps I should have used a larger motor/battery combination (currently 3542/2200mah) but I calculated this would be adequate power. I moved the motor further forward but it made little difference.
Even with 420g/15oz of lead hanging off the prop adapter, it's still no where near the correct mark.
I've read that 50% might be adequate from this model but any experience or suggestions you have would be gratefully received.
-
-
Thanks David. I fly electric and diesel only so it would be not much use to me.
-
What's the subscription gift this month? (assuming they are still giving those out, can't find anything t'internet)
-
Thanks Percy, I'll be interested to know more about it.
Edited By Andy Hat on 20/07/2019 18:20:55
-
Sorry but I don't see the problem here for Jon. I can't see that it makes any business sense to deny orders, or try and put people off ordering spares, of any quantity. If more parts need to be manufactured, or ordered, then that's what I see as normal business/stock-control.
I'm sure I'll get jumped on for going against the flow on this, but I can't see the logic of a business refusing any orders. And, putting people off ordering spares (perhaps even because they want to keep a beloved engine running for many years to come) i.e. essentially saying that you don't want their business - is that really sensible?
Edited By Andy Hat on 20/07/2019 17:31:28
-
My current project is a Ben Buckle Playboy Senior kit. It's a perfect example of pre-cut parts that are not accurately cut. You are meant to fettle six wing-tip ribs from the standard size, but its not actually possible because the drawn ribs don't fit into the standard ones. I don't think the drawn ribs are correct either, since my copies (cut using photocopies as a template) didn't fit too well. The pre-cut wing tip and tail parts were approximations of plan parts.
I'm not complaining, I knew what to expect from making other BB kits. I'm not sure how old the kit was when I got it but I hope some new templates were made after mine was made...
Anyway, here's a pic, you might be able to see where I've accidentally marked the soft wing spars when sanding the ribs - doh!
The Axminster stuff looks good - particularly the detail sanders - cheers.
-
OK, I've built a large number of planes in my time but there's one part I always dread - sanding wings.
My building is not as neat as some construction I've seen here. It would be great if everything lined up but in reality, my stuff needs some 'adjustment' after gluing, i.e. ribs need sanding down to match the spar height, drips of glue need removing etc.
A lot of the time, I'll catch the top of a rib (and break it off) when I'm sanding a spar, or take a groove out of a spar when I'm sanding along the top of a rib.
One of problem I have is holding down a wing (usually over a table edge) whist sanding it. Occasionally, I've had bad breaks because I'm applying too much force.
I use my Permagrit block a lot but also a rubber sanding block (paper attached by spikes over the top. I also use those sponge sanding blocks. Even with the softer tools, I can still cause damage to the delicate structures!
My models look OK in the end (covering can hide a multitude of sins/repair) but any expert-tips on sanding would be great to hear.
-
A handy tip I was given by an old chap:
(with the engine not running) set to low throttle, fit some tubing on the fuel feed. Blow down the tube whilst adjusting the bleed valve. You can 'feel' the resistance and set the valve so you're able to just get enough air through.


What Traders are still offering Mail Order? Services?
in All Things Model Flying
Posted
I have a Hobbyking UK order arriving today and it includes lipos. I was prepared to receive it after lockdown was over but the order was processed quickly.
Edited By Andy Hat on 17/04/2020 09:53:27