


Steven Hurd
-
Posts
81 -
Joined
-
Last visited
Content Type
Profiles
Forums
Blogs
Gallery
Calendar
Downloads
Posts posted by Steven Hurd
-
-
I have just tried to access their website and it looks like the shop has closed for trading.
I am absolutely gutted that they have had to close. Their dedication to the trade over the years has been fantastic , and their customer care was second to none I’ve experienced. I had always enjoyed visiting the shop and on most occasions I was greeted with a smile, a friendly chat, which was often followed by an offer of a brew.
When I was unable to visited the shop, their mail order was seamless and efficient, usually arriving next day in an elegantly wrapped box.
I will miss the family run business and all Steve Webb and the crew did to promote the hobby at club and personal levels. Whilst I consider this a bad day for British modelling, I would like to extend my Best wishes to Steve, Ann Louise, Ade, and of course the family who made this business what it was.
All the best to your future endeavours, and I will remember the Centre of excellence with fondnessSteve
Death by Umbongo ……
-
 4
4
-
 4
4
-
-
Hi there
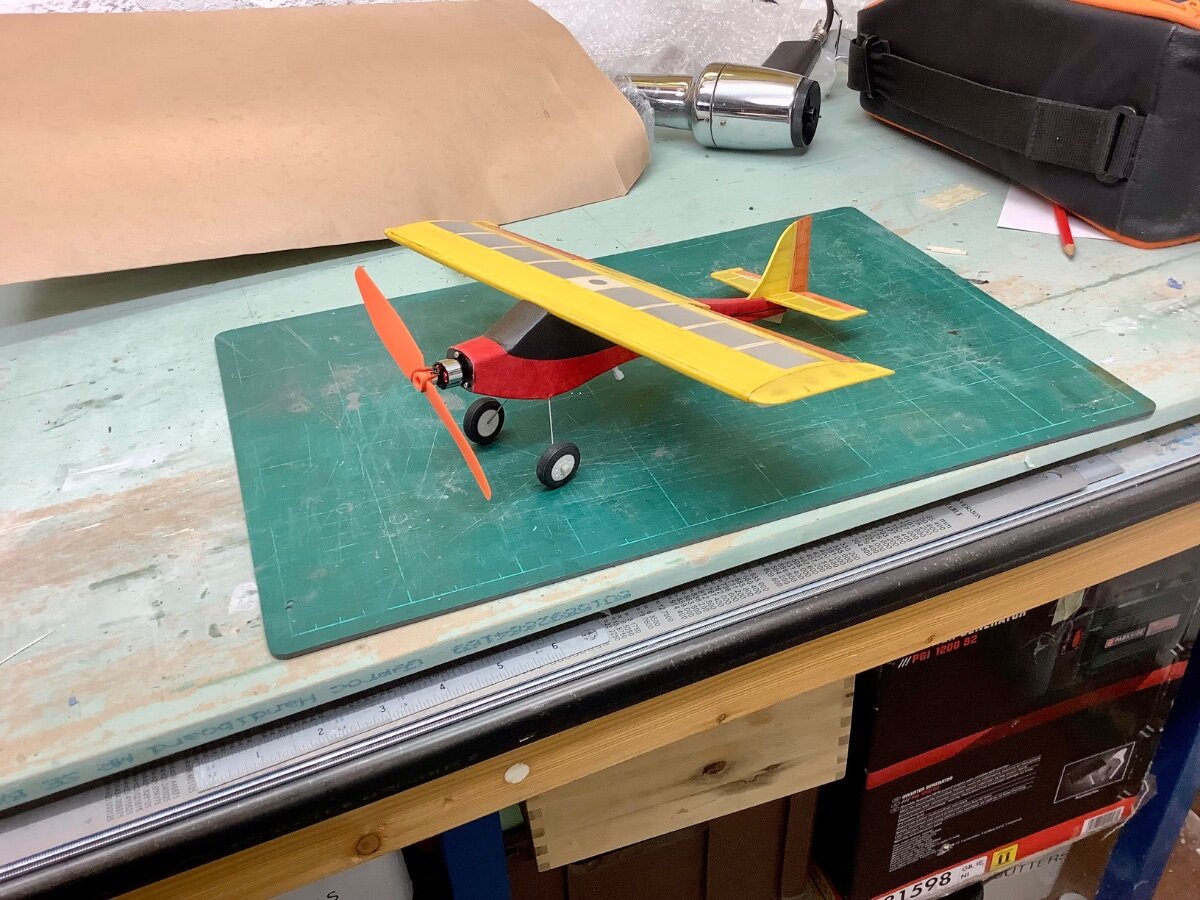
Just finished my Webbit 3, weighs in at 40g and looks good for quiet evenings in low wind.
Big thanks to my mate Ian who treated me to the kit, and Steve Webb Models for bringing it to the market.
I’m looking forward to seeing the mk3.5 full size laser kit that was shown last year
Steve

-
5
-
-
Well there we have it, hope it makes the cut.
looks rapid, just the receiver, motor, esc, to fit and its out for a maiden.
All in all a well thought out kit that goes together very well. Good quality instructions and pictorial guides make for a fast and satisfying build
Steve
-
3
-
-
Ron
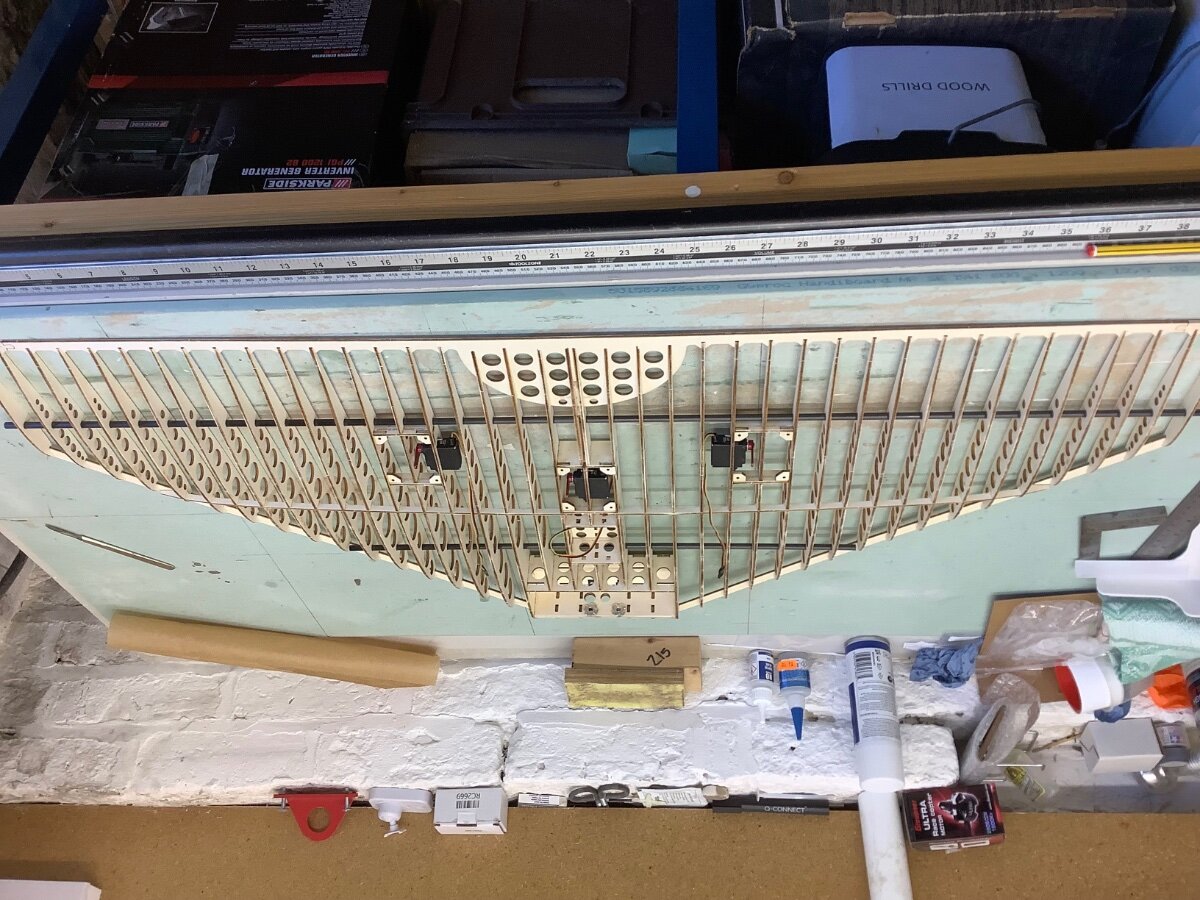
I”ve just given that a go, and it works thanks, everyday is a school day, I had the same problem with my Hanky Planky pic which you kindly put right.
@ edge flyer, I hope it is a good inverted flyer I have been told it’s just as capable upside down as it is upright, time will tell. After the glue dries, it’s on to the fiddly bits like control surfaces and hatches, and pushrods. But may have to wait a bit as work beckons, so maybe weekend if the weather is bad.
steve
-
1
-
-
Ron
Thanks, try as I could it still kept posting it upside down.
Steve
-
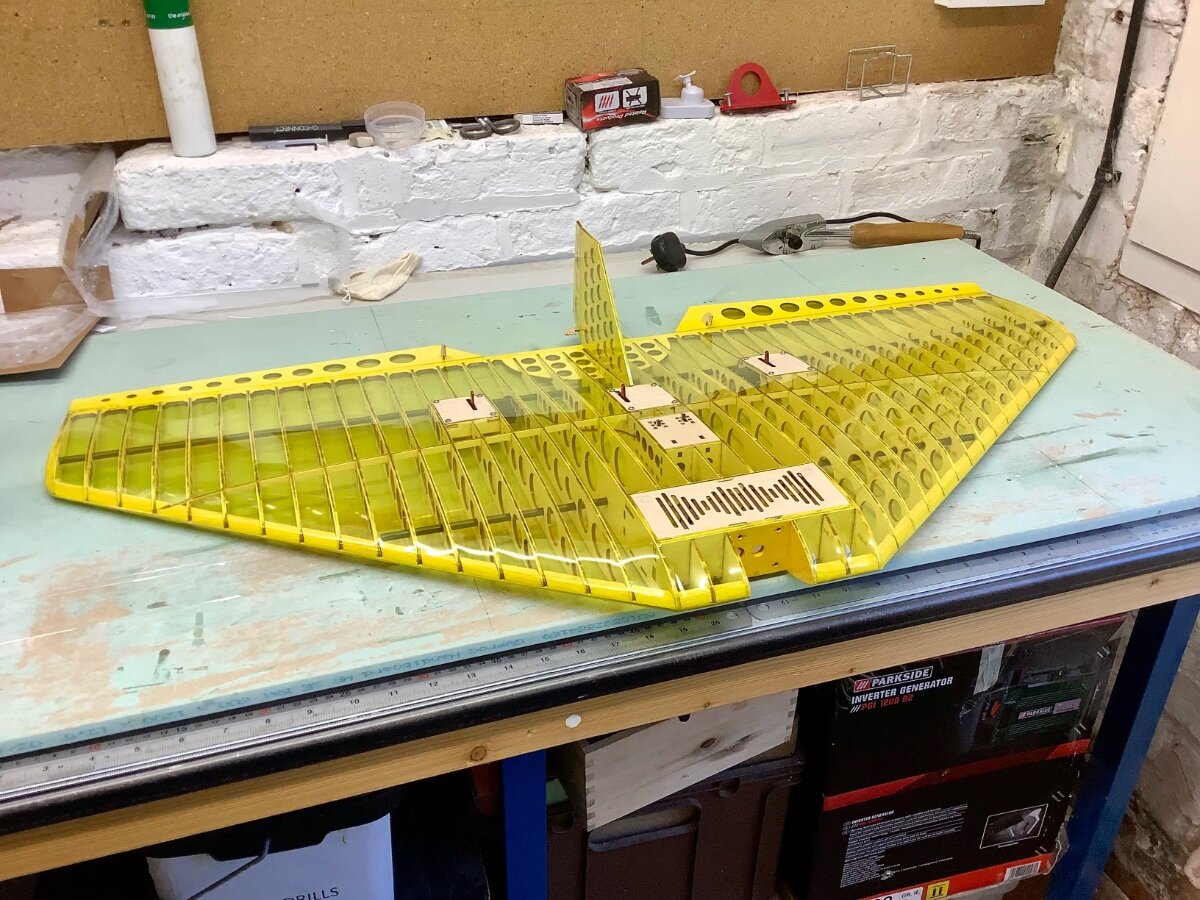
A late afternoons work, and at this point it’s time to get the glue out, the kit is MVM rapier, and it takes longer to release the laser parts from the sprue, than it does to put it together.
This thing just jigs itself together, and holds itself square. Stunning kit and so well thought out. This bloke is ahead of his time in this game. The thought that has gone into this beggars belief, for what is being charged for the kit.
I’m impressed to say the least, and I’m not a laser kit builder, I generally build standard kit models, and plans. I have no idea how this was modelled in 3D but it’s right from all angles.
I wouldn’t hesitate if you’re thinking of buying a kit from him, and if there is a laser convention on anywhere
Jorgen would be an asset I’m sure.
Sorry the image is upside down but my iPad insists that this is the way I should display it
Steve
-
2
-
-
I picked up a rapier from Weston park. The quality and thought that has gone into this kit is incredible. The designer Jorgen, is a bit of a design genius. I spoke to both Jorgen and his wife and they make a great team. They are both enthusiastic about their products and this shows in the kits.
As for after sales, the attention to detail and help is bountiful. He has since offered to change parts to suit the servos I have used, and also sourced some fantastic heavy duty horns that fit the kit exactly. I have just started the build and as I’m a traditional model builder this kit was a depart from the norm. Once I got over the fact that you assemble the model first, then jig it before you glue it it started to dawn on me how much thought had gone into the construction of this kit. The fit of the parts is superb, and the model jigs itself as you build it, meaning it is near impossible to produce a warped model. Time will tell whether I manage this with mine. This kit goes together very quickly, the only thing slowing it down is myself as I’m taking my time marvelling at the way it goes together.
Thanks for bringing out a good quality British kit that has been well thought out and up to now a joy to build. Please keep up the good work, and let’s see an additional to the range in the near future.
steve
-
Mike
Can I ask if the electric version has the same wing profile as the original, or is the electric a bit thinner ?
Thanks
Steve
-
Try this thread it may help
-
1
-
-
Thanks for the input,
I have had a weigh of the wings, and did a rough calculation of the weight against area of the material removed. My sums came to 1.25 ounces per wing, so I’m now clear that this would not really be worth the extra effort.
May I ask Richard, when you made the aileron surfaces bigger, did you follow the option instructions of taking 1/2 inch off the back of the wing then adding the same to aileron? Or did you just make the surface bigger, I’ve looked at the wing and either would seem to work, but the latter would be a lot easier.
thanks
steve
-
I’ll take this as nobody has tried the mods then.
thanks for looking
all the best
Steve
-
Hi there
Has anybody built the above Chris Foss kit, but built it with the wing options.
I’m interested in thoughts on lightening the foam wing as per the option drawings, did it make a difference?
And also the larger ailerons for “ sparkling roll rate” which involves cutting 1/2 inch off the rear of the wings trailing edge and then sticking a piece of 1/2 inch balsa to the aileron stock to make the ailerons larger. This seems a lot of work, but does it make a lot of difference to the roll rate etc, or is the roll rate ok without it?
just looking for opinions before I start hacking into a perfectly good wing
thanks
steve
-
1
-
-
Well done that looks brilliant,
Can’t wait to see it in the mags. Hope the maiden goes well
Steve
-
Is this model available to buy as a kit or a plan, looks superb, do you have any details as to the electric power plant required to fly it ?
Keep up the good work it’s appreciated
Steve
-
You could use epoxy, open the crack as you have it in the picture. Either syringe in some thin epoxy, or get some in with a lolly stick. Let the crack close onto the glue. Allow to go off then put a couple of slits across the repair and glue in either carbon strip, 1/6th ply, or indeed a couple of lolly sticks side ways on across the split for reinforcement.
note: this can also be done with aliphatic resin or pva, but give it at least 24 hrs to dry if you use these.
-
Ron
Made a couple of these, and they are great. It has saved at least 2 ripped nails and sore fingers already.
Thanks for the upload
steve
-
I don’t see why not. Bear in mind what you are repairing and it’s effect on integral strength, and use reinforcement in highly stressed areas.
good luck with the repairs
-
Delks
Thanks keep us informed, these 2 models were on my list years ago, but I never got round to building either. I am going to try an electric version and I really fancy the chilli wind as it looks a good candidate for an electric conversion.
Fabulous pictures from yesteryears, it looks like you had a great time
Steve
-
After the Breeze has been tested, is it possible that the information gained could be used to convert the Chilli wind as well?
Both these models seem very interesting and a nice build.
thanks
-
Thanks Ron
Steve
-
I used hobbyking pla that was on the printer at the time, I used a 50% infill, and it seems strong enough, did you guys use more infill than that? Or did you use a harder material.
Thanks
steve
-
Ron
Thanks for the STL file, just printed a set and they work fine. Hopefully it may save a nail or 2 in the future
Steve
-
Thanks Ron and Kevin.
I will be building that wing next, it looks an easy wing to construct, and cover.
Steve -
Ron,
Can I ask about the alternative wing and how that is constructed. Also, hen it’s built do you then use the covering material across the step to the trailing edge to form a wing section or is the step part of the aerodynamics.
Thanks
steve
Galaxy Models Mystic - a build VLOG
in The Video Channel
Posted
Ron
Have you made any further progress with this model, I’m watching with interest. It looks like a great model but seems to lack a good set of instructions from what you say.
I couldn’t follow what had gone wrong at the back end properly as I thought you would have to cut the tail post anyway? Or is there another way if you were to put the tail post in after the rear formers ?
Congrats on that fabulous laser cutter, that looks very professional, hope it works well for you.
Thanks
steve