-
Posts
3,790 -
Joined
-
Last visited
-
Days Won
5
Content Type
Profiles
Forums
Blogs
Gallery
Calendar
Downloads
Posts posted by EarlyBird
-
-
Peter you have it all worked out!
Yes the goal is for it to look like a Rolls Royce, unfortunately if it looks too good then I will be reluctant to fly it

If I am reluctant and not at ease while flying then there is more chance of a rough landing and scuff marks. However once past that stage it will become my favourite every day plane, even if it's not or maybe because it's not pristeen any more.
It's all good fun!
Cheers

Steve
-
Thanks Trevor,
I have been thinking about this all day and yes it does toughen up the wood, especially the soft balsa. Without it I did have problems with bruising while ironing on the film.
Maybe I just need to be more careful with the iron.
I have now applied one coat of varnish, the next coat will have talc added to emulate sanding sealer. This will fill the grain, is easy to sand and gives a very smooth finish. Once covered the quality of the finish is excellent. Which is why I started doing this.
Is it necessary? Probably not as it will not affect how the plane flies. But this will not be my last plane and I just look at it as one more step and one more chance to learn for the next model.
Will I do the same on the next model, Fournier RF-4, now that is a good question as potentially I will be adding weight. I will have to think about that for a powered glider weight or lack of is an important factor.
Peter,
Not many judging by the lack of response. I guess that once again I am making the build more difficult than it needs to be but it will look good. Well I hope it will. Time will be the judge once again.
Cheers

Steve
-
Obviously I do but who else does?
-
Tail feathers varnished and drying.
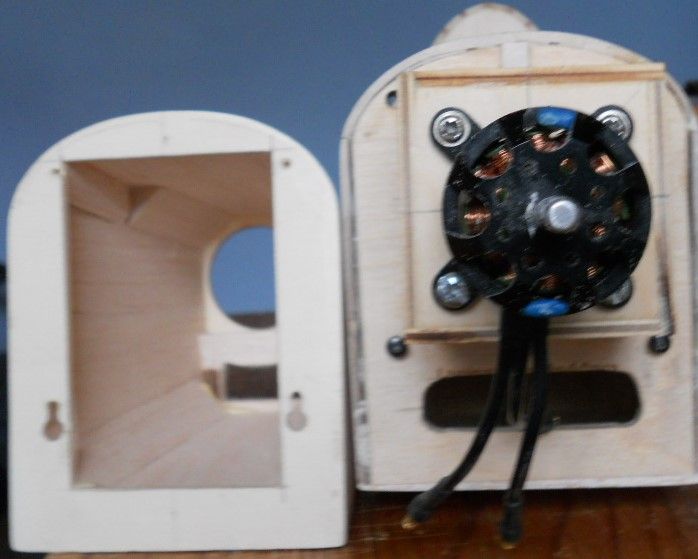
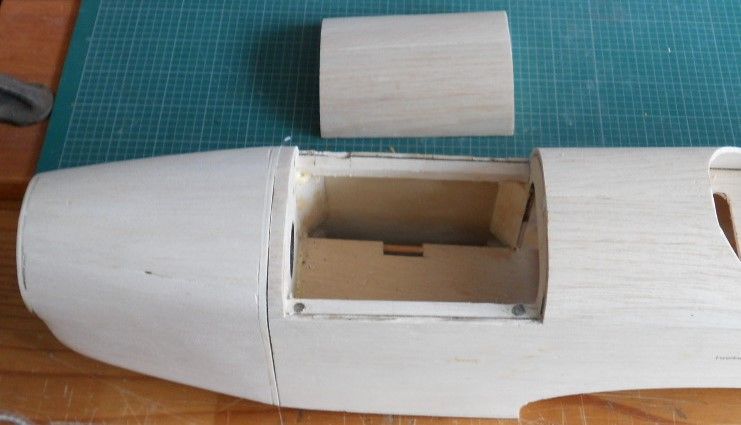
Working on the cowl fixing. On the bottom are keyholes and screws.
The top is held in place by two screws in the battery bay.
These hold the cowl in place and pull it against the fire wall thereby minimising the gap.
Seems to work but time will tell.
When the cowl was fixed in place I was able to sand the joint flush, more sanding and more cleaning I know!
As I can't find anything else that needs doing to the fuselage it will get a coat of acrylic varnish next. Then I must make sure the wings are perfect, unfortunately once covered it is too late.
Cheers

Steve
-
Found the vacuum cleaner this morning and cleaned the house top to bottom, eventually making my way to the dinning room/workshop.
Then took everything apart.
Did a final check on the tail feathers. Only some light sanding required. Cleaned up again
 . Cleaning will be an ongoing process from now on.
 Next get out the paint brush and start the sanding sealer. Yes then sand and clean again.

Cheers

Steve
-
Second leg fitted.
Seemed a lot easier than the first one, due to having practiced on the first I guess.
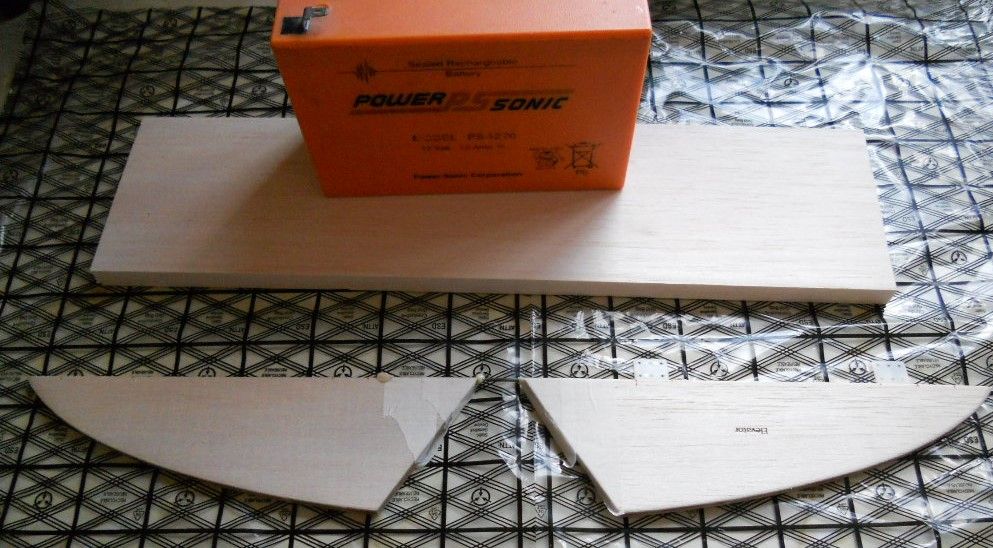
Elevator halves joined.
Next is to prepare for the covering. Which starts with a big clean up so that I do not get balsa dust under the covering this time.
 Then repair the dints and dings in the balsa caused by my ham fisted handling.
 I am beginning to think it will not be long before the maiden.
Cheers

Steve
-
This morning it was not raining and there was only a light breeze.

Was at the field by 07:30 and had three good flights before the wind picked up and the clouds rolled in.
Home for my second coffee and while waiting for the delivery I sanded and shaped the fuselage, battery hatch and cowl.
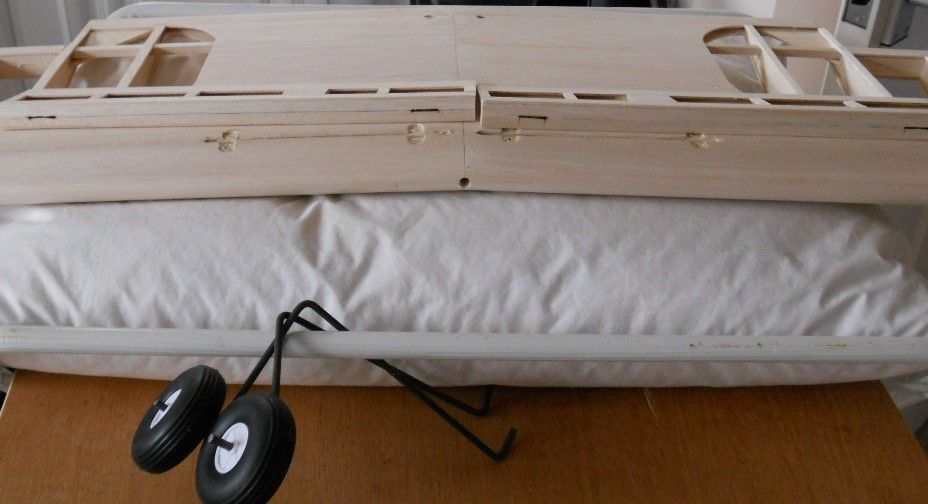
Delivery from SLEC arrived. I bent the undercarriage, finding it very easy to do.
Not so easy was fitting it to the wings.
Here we are, one wheel on my plane (wagon).
With the second leg ready.
That will be tomorrow.
Cheers

Steve
-
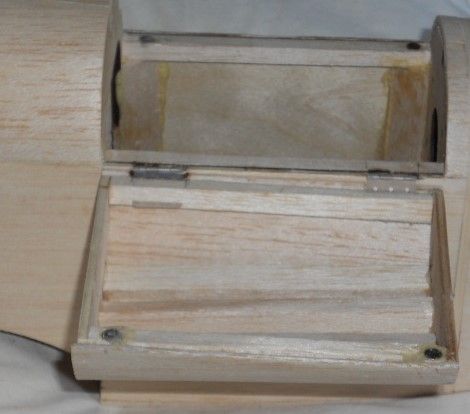
As promised started on the fuselage, more specifically the battery hatch. The hinges needed lining up.
Like so
Then magnets fitting.
Then back to the wings to carve out for the under carriage.
I also did some sanding and shaping on the wings.
Test fit again!
There you have it, another good days work that is way above my minimum target.
I have a delivery from SLEC tomorrow with the wire and fixings for the undercarriage. This will be my first time for bending wire. No problem I hope.
Cheers

Steve
-
Aha so your drawing is only half of the dihedral brace

Now I understand?
-
-
From the plan on Outerzone at 36" span it is 3.5" under the tip. I take this to mean under each tip. For your double size 72" then 7" under each tip 14" if one wing is flat to the board.
As you have drawn the brace with one side flat to the board at 9" you will have 3.5", at 18" - 7" and at 36" - 14".
Please check before cutting any wood!
Cheers

Steve
-
I did consider using a fixed tailwheel and assumed it would taxi but as I had a steerable tailwheel on the shelf I decided to use it and make absolutely certain that I could taxi back to the flight line.
Little did I know the difficulty I would encounter fitting it.
Not to worry it is done now.
Next time I will know what is in store for me.

Cheers

Steve
-
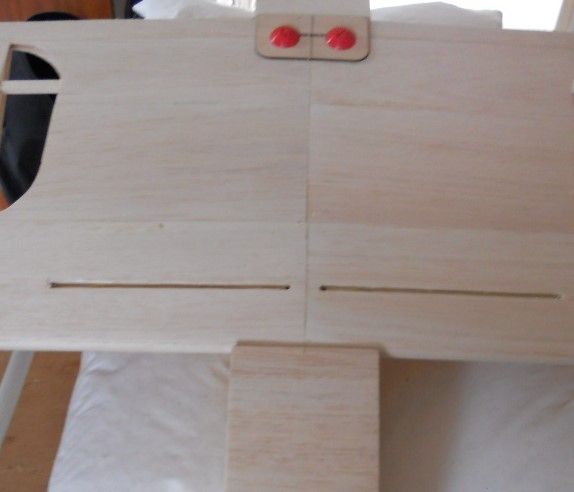
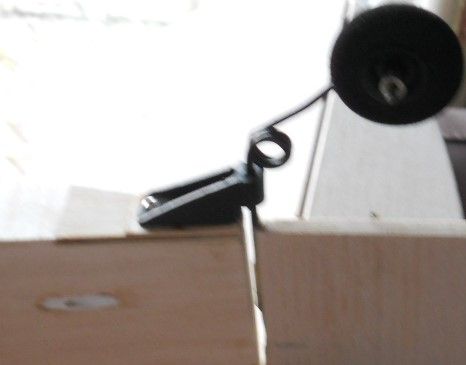
Fitted the tail wheel bracket which took all morning. What two screws! Unfortunately the design is for a tail skid, another bright idea of mine to use a steerable tail wheel which added complications. The underside of the fuselage is not at a right angle to the rudder hinge so I had to make a wedge from 1/16" ply. My first attempt did not fit very well so I tried again and made a better job of it.
Took it apart and adjusted the wing seating on the fuselage which involved multiple assembly, check, disassemble and adjust iterations. When finally happy with the fit, or deciding that it would do, I moved on to sanding the wings ready for covering.
Another good days work here in North Lincolnshire.
Tomorrow I will work on the fuselage. Fit the battery hatch and more sanding is needed to get it ready for covering.
Cheers

Steve
-
Ok Using your method I now have
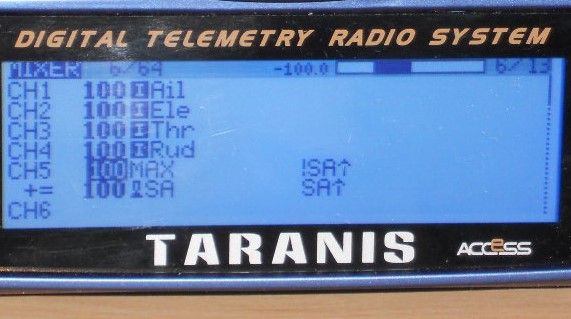
CH5 100 Max 'no switch assigned
+= 100 switchSA SA^ ' switch A up added to the mix which does not work
Hmm what happens is the first line gives a value of 100 the second line a value of -100 these are added together and give 0.
How to fix?
For SA use Multiplex and change from Add to Replace.
It works as required.
I understand more now than I did when I got up this morning.

Another good day in North Lincolnshire, despite the weather stopping me flying
Cheers

Steve
-
Yes but Bob you have just confused me.
 I thought I understood.
What does it look like on the Taranis screen.
I have not got to companion yet, I have only had my Taranis for a couple of weeks.
Another thing is I do not like the idea of using -100, why I can not explain apart from in my mind -100 reverses the servo.
It's all interesting stuff.
Cheers

Steve
-
Because SA^ has a default value of -100%
The 100 in the mix line is the % of the default value to send to output.
Which works out to be 100% of -100% = -100%
If you changed the 100 to 10
then 10% of -100% or -10% would be sent to output.
Cheers

Steve
-
-
No mis-type there.
+= 100 SA SA^
SA is switch A there is no symbol on my keyboard for switch.
Maybe (switch)SA would be better.
Of course if you prefer to use the input screen, as you have done.
Then it would be
+= 100 ISA SA^
Clear as mud now?

Cheers

Steve
-
Posted by Allan Bennett on 15/08/2020 17:37:25:
Is a Logical switch the only way to have the servo move direct from +100% to -100% when the switch is anything but up?
To answer this question - No
Using just the mix this works.
CH10 100 MAX !SA^
+= 100 SA SA^
Except the output moves from -100% to +100% which is easily corrected by reversing the servo on the output page, I am sure you knew that.
Cheers

Steve
-
That is interesting

What should also work then is
CH5 100 SA SA^ Gear ' outputs -100% for SA^
+= 100 MAX !SA^ ' outputs +100% for both SA- and SAv
with the servo direction reversed to give Gear Up for SA^ else Gear Down.
SA- with a value of 0 has been the issue. Using MAX like this replaces the 0 with +100% which is the same as SAv which is +100% by default.
Just needs testing to prove the reasoning.
Cheers

Steve
-
Not a lot done today. I put it down to a lack of motivation due to the weather. Mid August and the max temp is 18 C with wind and rain. Not good for sanding outside. OpenTX also grabbed my attention.
But I achieved my minimum target which is to do something on the build.
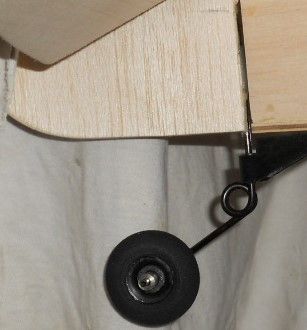
Here it is, tail wheel fitted to the rudder.
As the tailwheel is fitted to the rudder I could start covering!
Cheers

Steve
-
Yes exactly right. It sounds like you had one of those light bulb moments
 I usually get them at two in the morning, then can't get back to sleep.
The middle position needs either offset +100 or Max using.
Using the curve is fine.
We got there!
Cheers

Steve
-
After a lot of dithering on my part and a lot of encouragement on your part I have pressed the buy button.
There is no going back now

The short kit is ordered

Which gives me a couple of weeks to clear the decks.
Cheers

Steve
-
You are welcome.
Cheers

Steve








Ballerina by EarlyBird
in Peter Miller plan builders
Posted
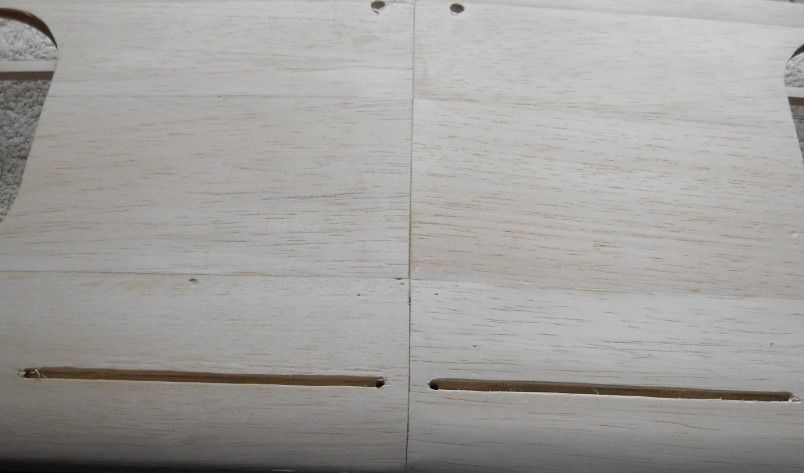
I don't own a RR and have no desire to drive one so I am questioning what I am doing. I have seen beautiful models at my club and was trying to achieve the same, but they are scale competition planes. Anyway decided to use the battery hatch as a test piece and applied the next coat of varnish/talc. This is after sanding down.
It is definitely smother than the adjacent fuselage as the wood grain has been filled. Decision made yes it is worth it. Gave the wings the treatment and here it is before sanding.
Looking at all of the sanding I now have to do I am now having second thoughts is it worth the effort.
Hmm
Cheers
Steve