

leccyflyer
-
Posts
5,363 -
Joined
-
Last visited
-
Days Won
52
Content Type
Profiles
Forums
Blogs
Gallery
Calendar
Downloads
Posts posted by leccyflyer
-
-
FWIW out of all the wee Volantex models I fly, I've found that the most recent - that F4U1 Corsair pictured above - definitely has the hippy hippy shakes, with the stabilisation working overtime, in strong wind and at speed. The Spitfire, Me109, Fw190, P-51s and Zero do not exhibit that characteristic at all, they are rock steady. With the switch in Beginner mode they all fly and look like the usual manoeuvres of the real life warbirds as exhibited in modern airshows , which are typically broad sweeping turns which display the aeroplane perfectly and tighter turns when combatting. If you want more realistic loops you need to go to Middle mode and personally I find Expert mode virtually uncontrollable. For flying in formation Beginner mode is where it's at for us,
-
Couple of things. Firstly the wee Volantex 400mm that GreyAce describes are some of the best models that I have ever had for windy conditions. We regularly have a gaggle of them up at the club in 10mph+ windspeeds and they are superbly stable with the switch in Beginner mode, under conditions that would keep many other models grounded. It is vital not to let them get downwind though, because they don't have the power to penetrate a very strong headwind - great fun though, provided that you keep them in the right bit of the sky. Since you are at full throttle the whole time the flight time drops from ca 12 minutes dawn to about 8 minutes when it's windy.
Piers advice to take to the slope in strong winds is sound, assuming that you have a suitable slope an EPP wing is an ideal model and, with a bit of tuition in slope flying, real or virtual, should be no problem to someone who is successfully flying a helicopter. The thing is that it opens up the number of days suitable for flying. However making the conversion to an electric powered model of that size and weight requires more careful selection of flying site and carries additional responsibility. It should be very robust though and forgiving of all but the worst arrivals.
-
Yep, my method for attaching Velcro to airframes is that I put a squirt of UHU Por on the relevant bit of the aeroplane, smear it out into a thin layer using a lolly ice stick then go and do something else whilst that dries completely, before bringing the Velcro and dry UHU Por back together again and it's stuck tight. I still use Velcro, mostly as seat belts in those models where I'm not using wooden retainers, built from those same lolly ice stick, ply scraps and occasionally nylon wing bolts.
-
 1
1
-
-
7 hours ago, Nick Cripps said:
Arrived at Loch Earn this afternoon for a weekend's waterplane flying. Already experienced 3 of the 4 seasons today but managed to get a couple of early flights under my belt while conditions were favourable. Not expecting to see summer anytime soon though.

Looks like you've a braw day dawning this morning Nick, it's glorious just at the minute- hope you have a great weekend on the water.😎👍
-
1
-
-
I use UHU Por as a contact adhesive probably 80% of the time that I use it at all, but you're right Ron, no wiggle room at all. It's also excellent on that mode for attaching self-adhesive Velcro to balsa, foam or ply, where the self-adhesive heeds a primed surface to work properly.
-
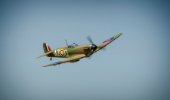
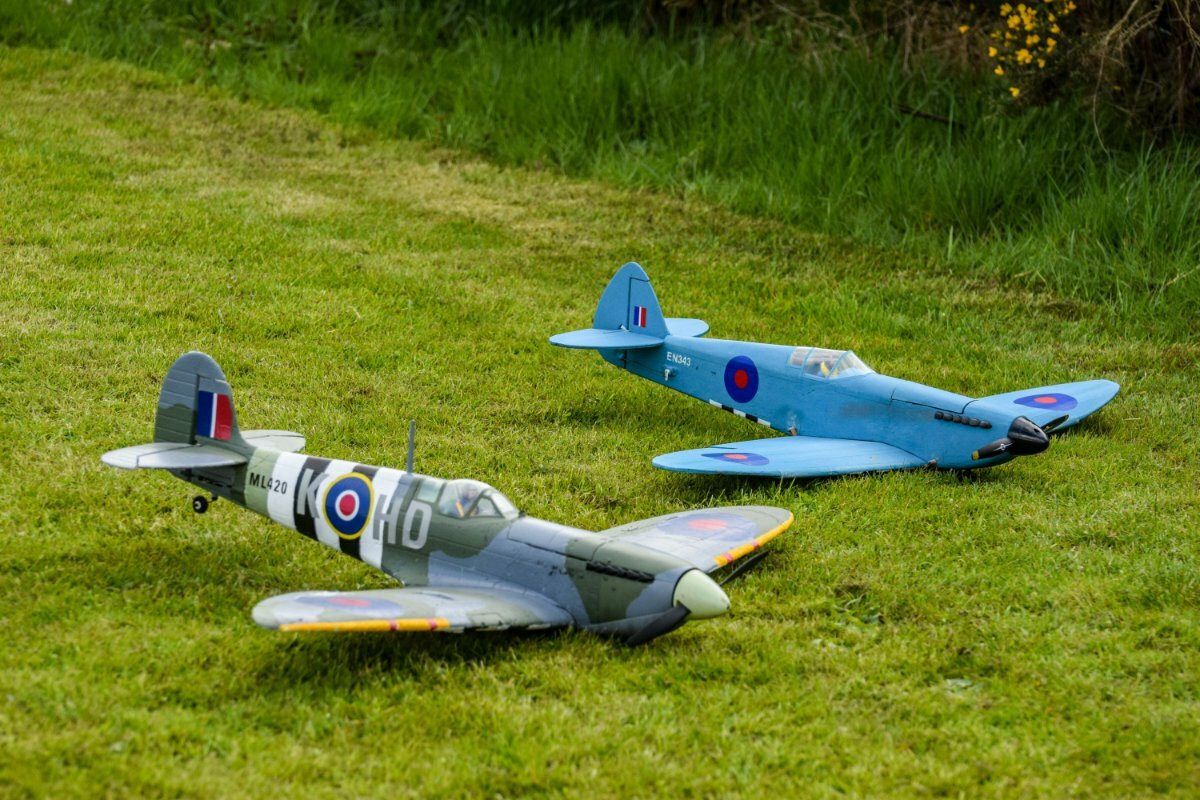
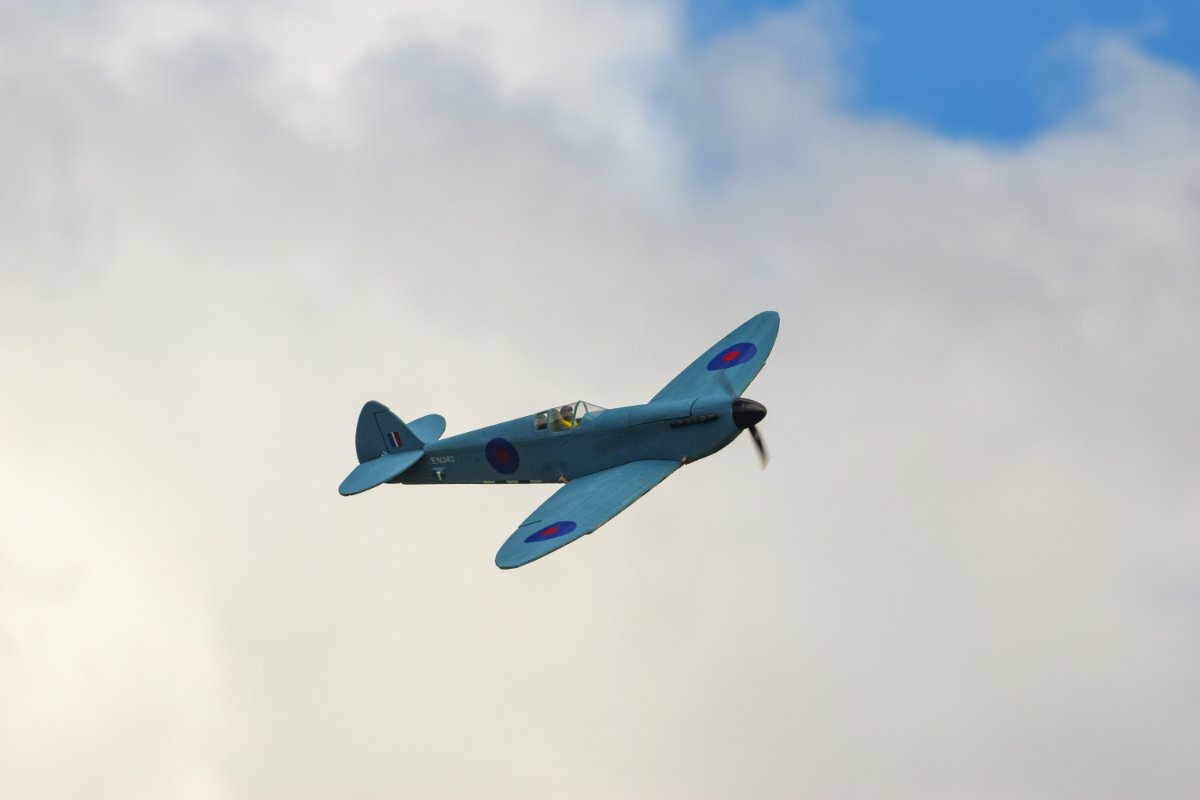
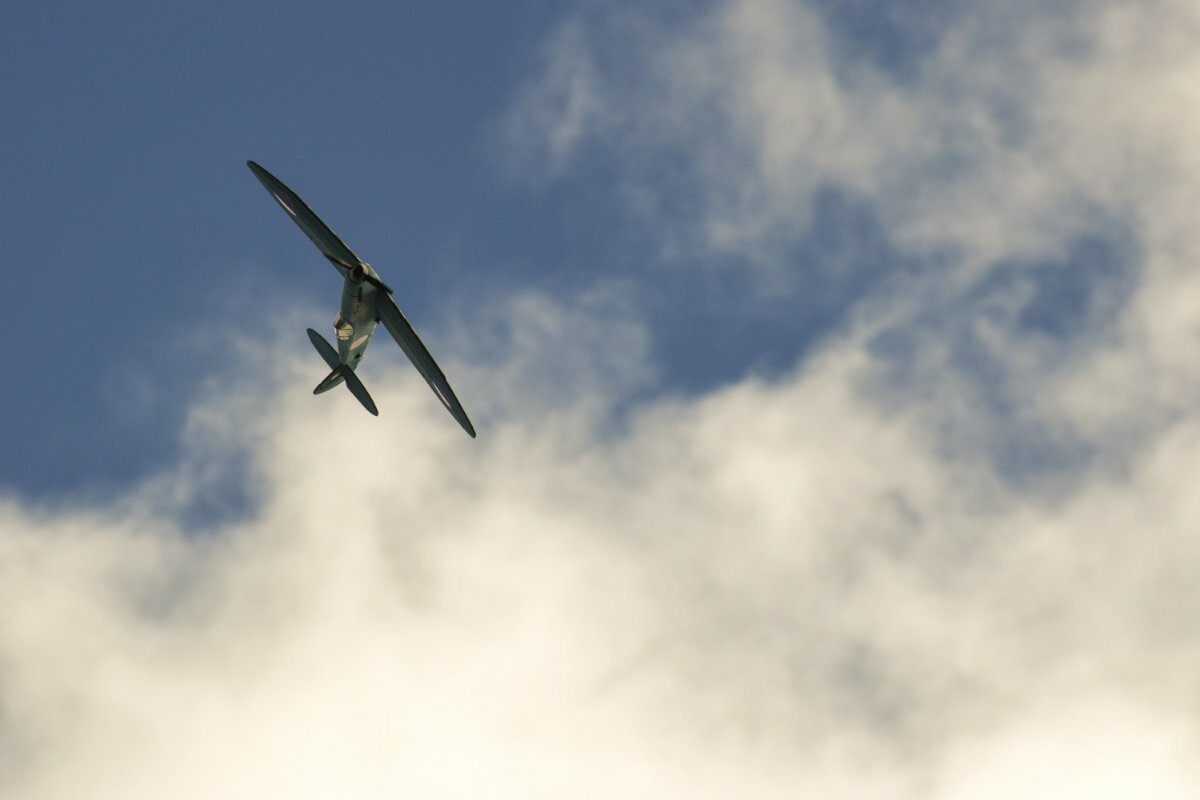
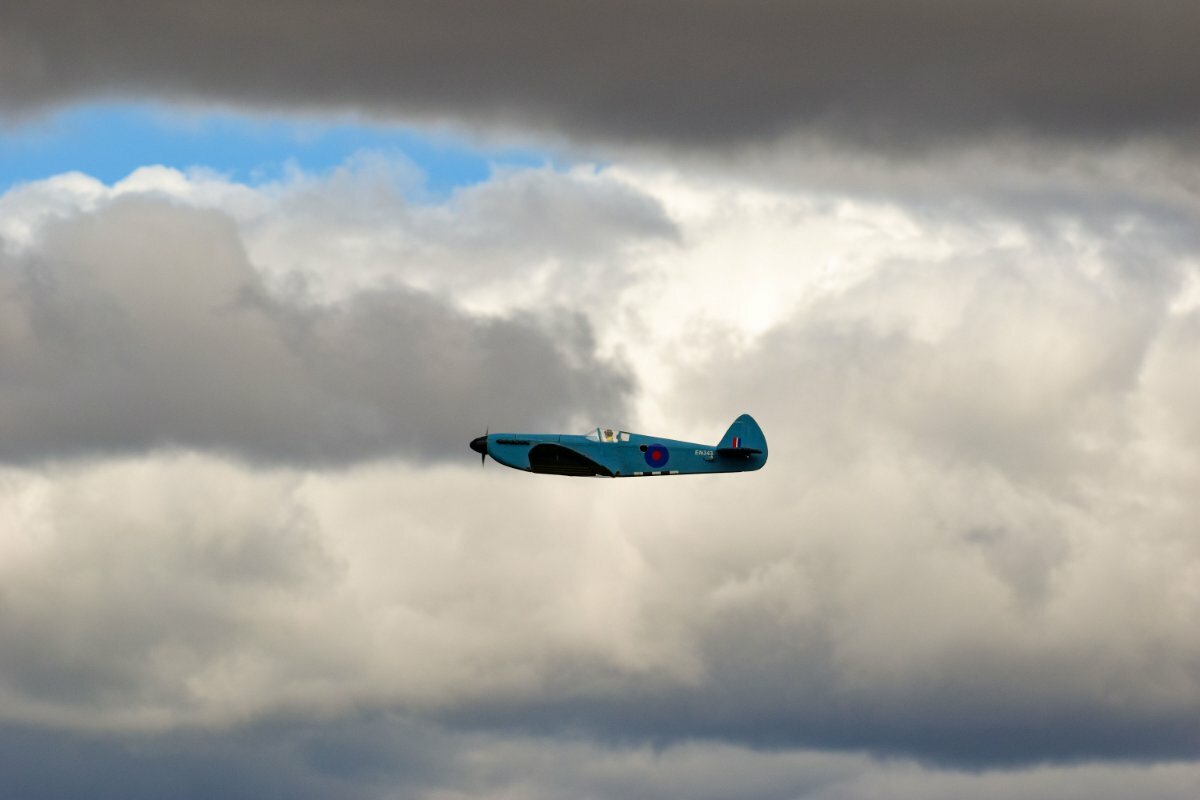
Another sunny morning with light winds here, though a little chilly. Great conditions for flying and enjoyed some of that big sky with a couple of Spitfires, as well as my wee VMC Hurricane and Volantex Me109, the latter of which finally achieved Ace status with it's fifth "victory", a few minutes after being felled itself. No damage to either model.
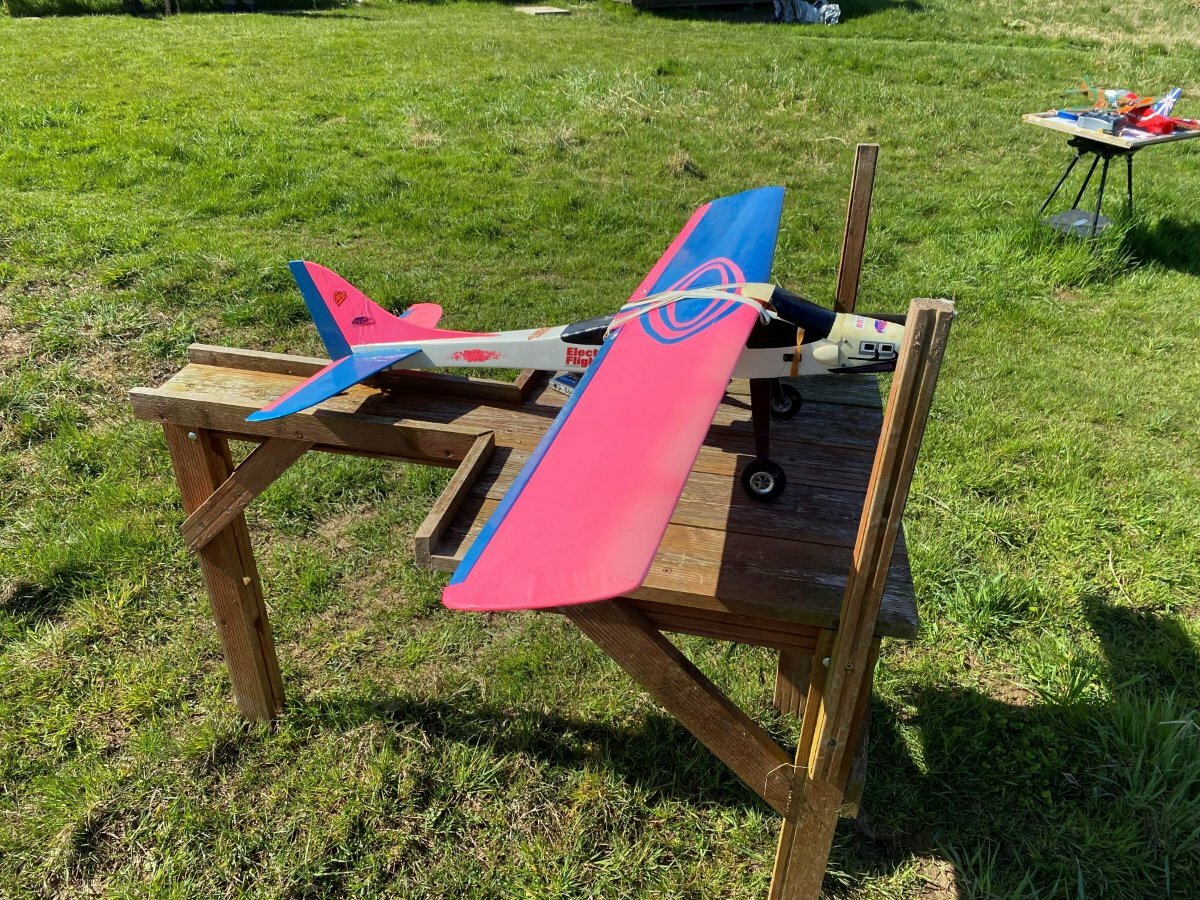
Bob's Flite Test Spitfire was performing superbly, same as always and I took a few snaps , we were joined later on by John, with one of his own design depron models, a YF22 which flew brilliantly. The field is looking great and I'd brought the Cricket out again to take advantage of the newly shorn grass, but she failed her preflights, with a broken elevator horn that wasn't up to snuff and literally crumbled when I tried to adjust it. All replaced and working properly now, for next time.

-
5
-
-
Dallachy Aeromodelllers is a super club, located on the peri track of ex RAF Dallachy, from which the Dallachy Strike Wing operated their Beaufighter against targets in the North Sea and Norwegian Sea. Years before I knew of any model club there I had a long term interest in the Strike Wings and always hoped to be able to fly a model there, preferably a Beaufighter. I've half realised that ambition, having flows a Spitfire there at a club fly-in some years ago.
https://www.facebook.com/p/Dallachy-Aeromodellers-100064653431283/
-
Agree with Eric here, now that you have described the criticality in positioning and how difficult it could be getting the positioning correct, If you can clamp it in place, having got it into position then use the UHU Por conventionally, leaving it to set overnight, The perfect adhesive for this job for me would be my old friend Super Phatic, give the liteply a coating, get it into position, clamp it in place and leave it overnight.
-
1
-
-
Yes, I quite like those Graupner Super Nylon props, but I did find a 12x8" Master Airscrew Electric prop in my drawer and those are not too bad at all - the 13x8" that I use on my PT-19 works really well, nothing like a Master Airscrew IC prop.
Anyway, I can make the APC-E work with a couple of chunky washers and so I've now committed the motor mount to being glued in place, now drying overnight. Any further adjustment will need to be achieved with the use of washers.
-
1
-
-
Aye - I know that the APC-Es are more efficient but that crazy blade shaping at the hub is a real pain in so many situations. Unfortunately I don't think I've got any other 12x8" in stock, so it'll have to be the washers - I've got some ply ones, with cut outs for those horrible APC blade roots.
-
Given the choice of glues that you mentioned, I'd ask how easily you could restrain the lite ply against the expansion of the Gorilla glue and whether you want the job to be done quite quickly. You won't want the lite ply being pushed away from the foam as the Gorilla glue expands, so if it's tricky to ensure that, for the expansion period, then I'd go for the UHU Por used as a contact adhesive.
-
Quick question as I'm lining up the motor mount - did anyone else need to trim the ally spinner to fit an APC-E prop in there? The spinner cut outs don't seem anywhere near deep enough to get an APC-E 12" x 8" in there without making them larger in both pieces.
-
-
The recent build threads of Vintage RC models from Aeromodeller and RCM&E on RC Groups had Vintage defined as at least 50 years, so models built from plans pre 1973.
The Vintage Radio Control Society has their own definitions
PIONEER - prior to January 1, 1955
CLASSIC - prior to January 1, 1965
NOSTALGIA - thirty-five years before January 1 of the current year.It's going to be a moveable feast and also vary by location - models deemed to be Classics over here certainly would include some that don't fit those criteria - by common parlance over here the Wot 4 and Mick Reeves Gangster would deemed Classics, but I think those would be a bit later than 1965.
-
1
-
-
2 hours ago, Piers Bowlan said:
According to his website, the Tony Nijhuis 72in Mosquito weighs 14lbs and has a wing loading of 40oz/squ ft.
Tapered wings and a high wing loading is not a combination made in heaven. ☠️Yep, agreed - nice, but just a bit too big, too heavy and too heavily loaded for my flying fields. I think the 60-odd inch size that Eric is talking about would be the sweet spot for me, for a Mossie. So much so that I managed to resist a 73" span CMPro one that went to auction on eBay at the weekend and went for a song. Didn't look half as nice as Eric's one there though - the CMPro one has quite a portly fuselage and there is something about the nacelles too.
-
 1
1
-
-
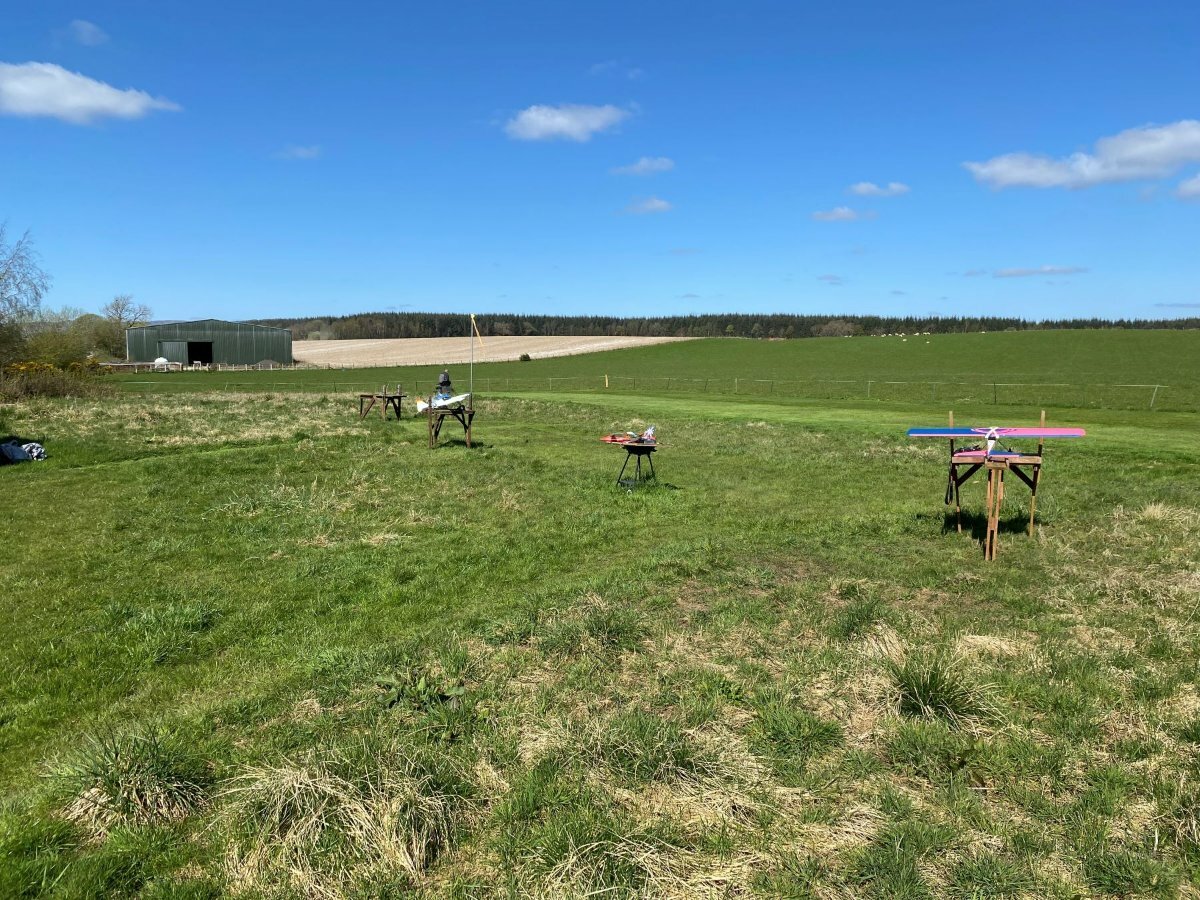
A beautifully sunny day here in the middle of Scotland, blue skies, fluffy clouds, light winds and even a bit of warmth in that sun. Got a few hours in at the local field, where it had dried up enough to give the field the first cut of the season.
I hadn't expected the field to be cut, so had picked my models accordingly, so that was a bonus being able to take off with my wee Parkzone P-47D. I'd also taken my venerable and rarely flown Modelshack Cricket and had a very enjoyable first flight of the year with that, but broke the u/c mounting nylon bolts on landing a bit quickly. Still had other models with me to fly, so not a problem. All in all a good morning - just nice to sit in the sun and have a chat and the field is looking great.
-
5
-
-
I find the Frog tape to be just about the best for masking my models - I take the extra step of sealing the edge with a smear of WBPU to prevent any creep. Still need to be super careful taking the tape off to avoid liftin the paint though.
-
I'd have a WR Bf110 in a heartbeat. I already have a similar sized scratch built Zerstorer (and an unstarted Flair kit), but having seem Ron's and others fly on video, I'm sure I could squeeze one into the BoB fleet.
-
1
-
-
Nice work Simon - that cockpit is a work of art.
I used the thin ply and sheet balsa technique for the wing seating fillets on my Beaufighter, so will have to give that some consideration.
-
1
-
-
That's good news Matty - here's to your continued and complete recovery. 👍
-
There's been about four or five different ARTF or kit-based A-26 Invaders on the market in the past few years, from Phoenix, Nexa, VQ and ASM plus plan packs from Sarik, so it's reasonably popular as a type in the USA at least.
-
1
-
-
@Ron Gray - superb videos of your Zerstorer - that's made my day that has. 😎👍
-
1
-
-
-
-
1
-


First taste of the sky
in Beginners
Posted
Perfect morning here in Central Scotland, so hopefully Toto has the same conditions. Other commitments for me today, so fingers crossed that it's similar tomorrow. I look forward to reading the flight reports later today.👍