


EarlyBird
-
Posts
3,613 -
Joined
-
Last visited
-
Days Won
5
Content Type
Profiles
Forums
Blogs
Gallery
Calendar
Downloads
Posts posted by EarlyBird
-
-
It sounds like you want to build. Interestingly I have never considered how easy to fly but only how easy they are to build. I started with easy builds and am progressing to @Peter Miller's Destiny. My belief is that every build is just practice for the next, unfortunately I don't always get them in the correct order, which is why I have a backlog of unfinished models.
At present stick time is most important for you as long as the build doesn't interfere with that then I see no problem. There are loads of RCM&E plan packs to chose from here Buy Model Planes & Aircraft Plans & Kits from Sarik Hobbies
Steve
-
 1
1
-
-
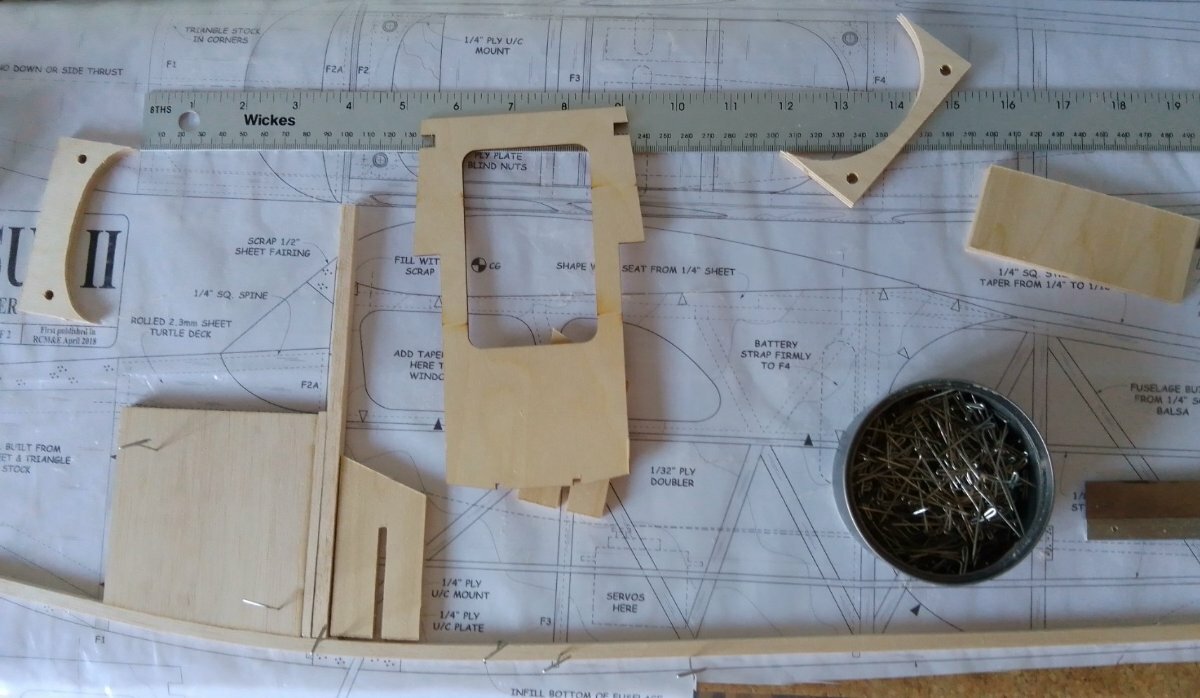
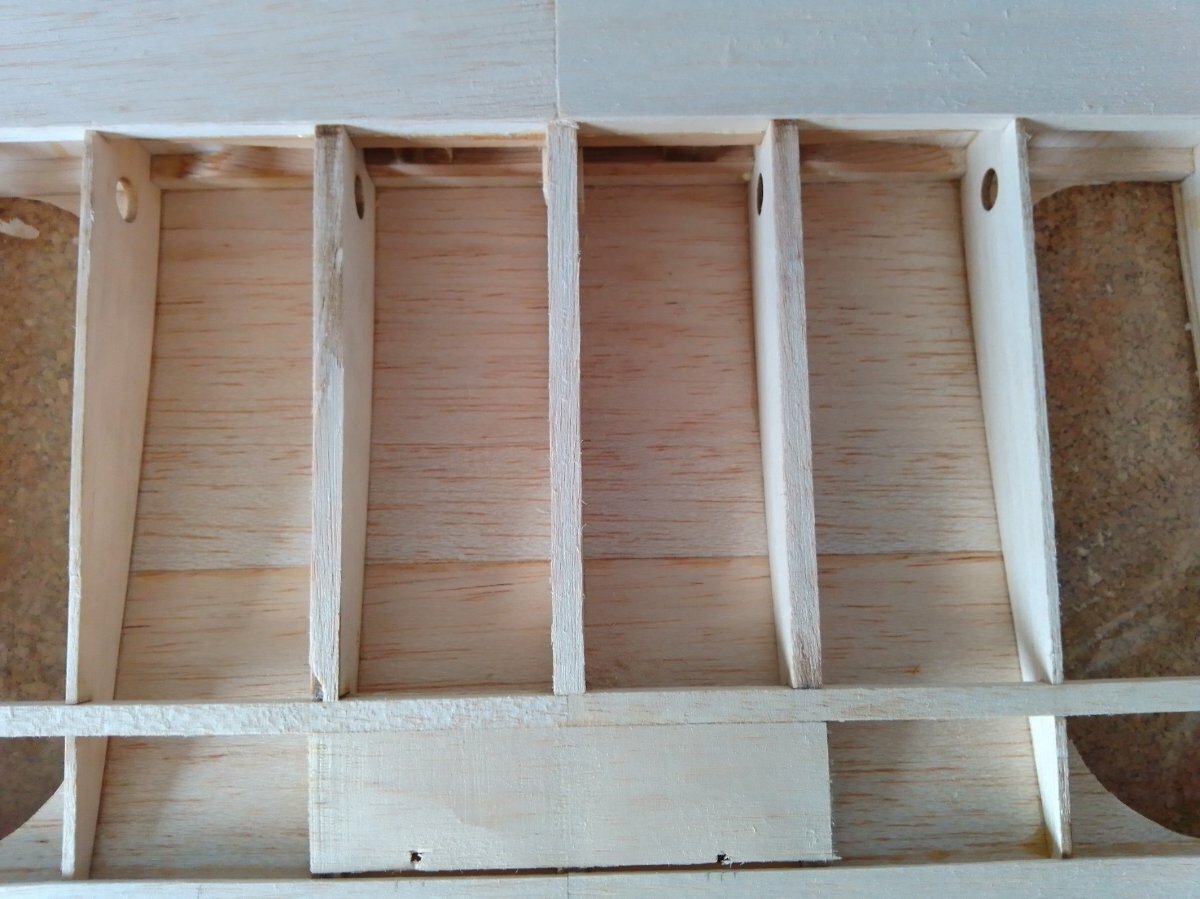
All parts made for one side.

Glue next or cut the parts for the second side?
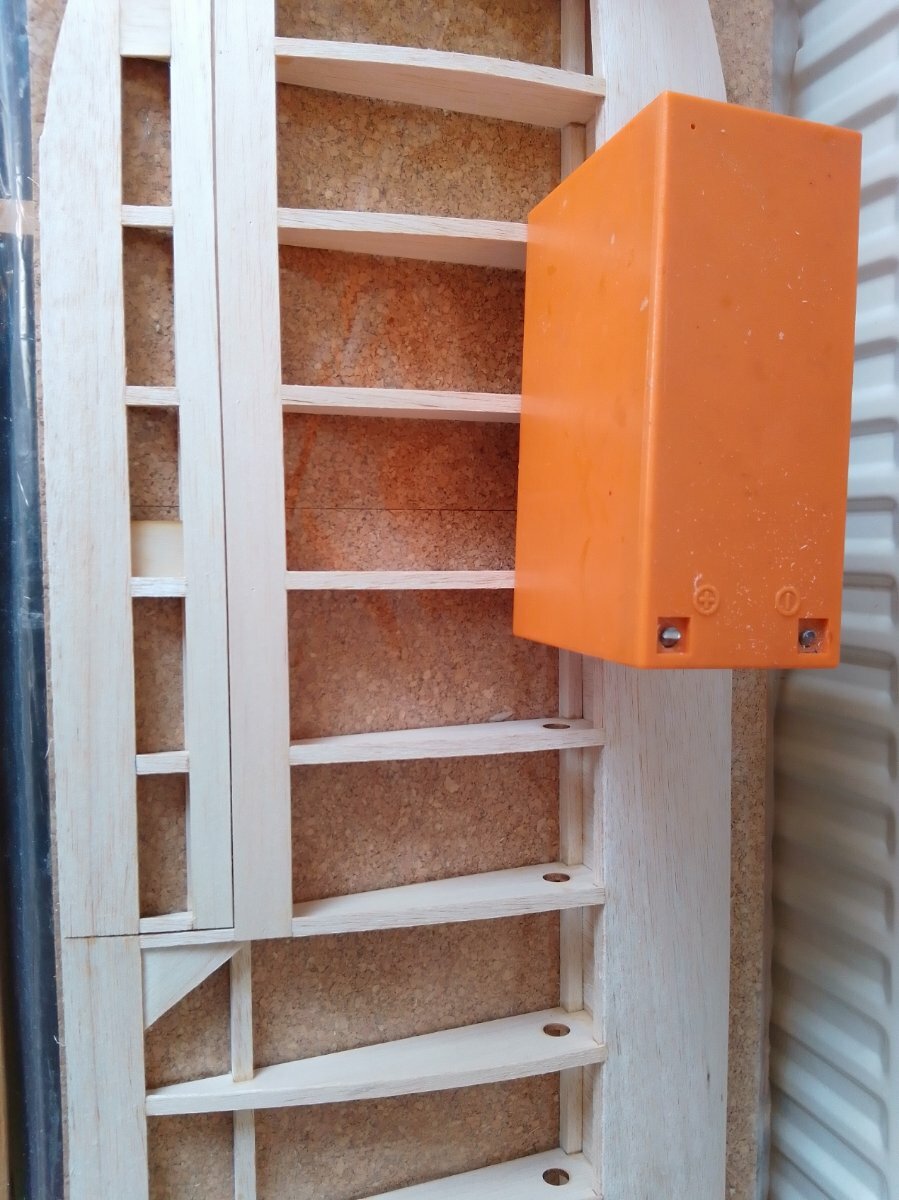
I have been thinking about the engine fit. It will have to be side mounted and moved back up to 50 mm. 25 mm sounds good to me 😕
Also I have two other models I could use it in and by pure coincidence they both have 3548 motors, and underpowered IMO. Another consideration is that the FG11 needs running in. Too much to think about and so I will keep building as the plan and make a decision when I absolutely have to.
Who said building was easy 🤣
Steve
-
1
-
-
Thanks John, I will take that as a complement 🤣
There is a reason for the pile of unfinished models, indecision.
Been practicing making joints.
Plenty of good practice because only two pieces are the same length and angle.
It usually looks better when glued and sanded, lets hope so 🤣
I need to make decisions about the engine fit with regard to the position of F1 as I need to move it back 15 mm for the prop and spinner to be in the same position as on the plan. If I move it should I move it further and by how much to achieve the plan CoG? To give everyone time I will either finish Hound Dog or start Basic 3D. I could finish these side frames though, good idea I will continue with the joint practice.☺️
Steve
-
2
-
-
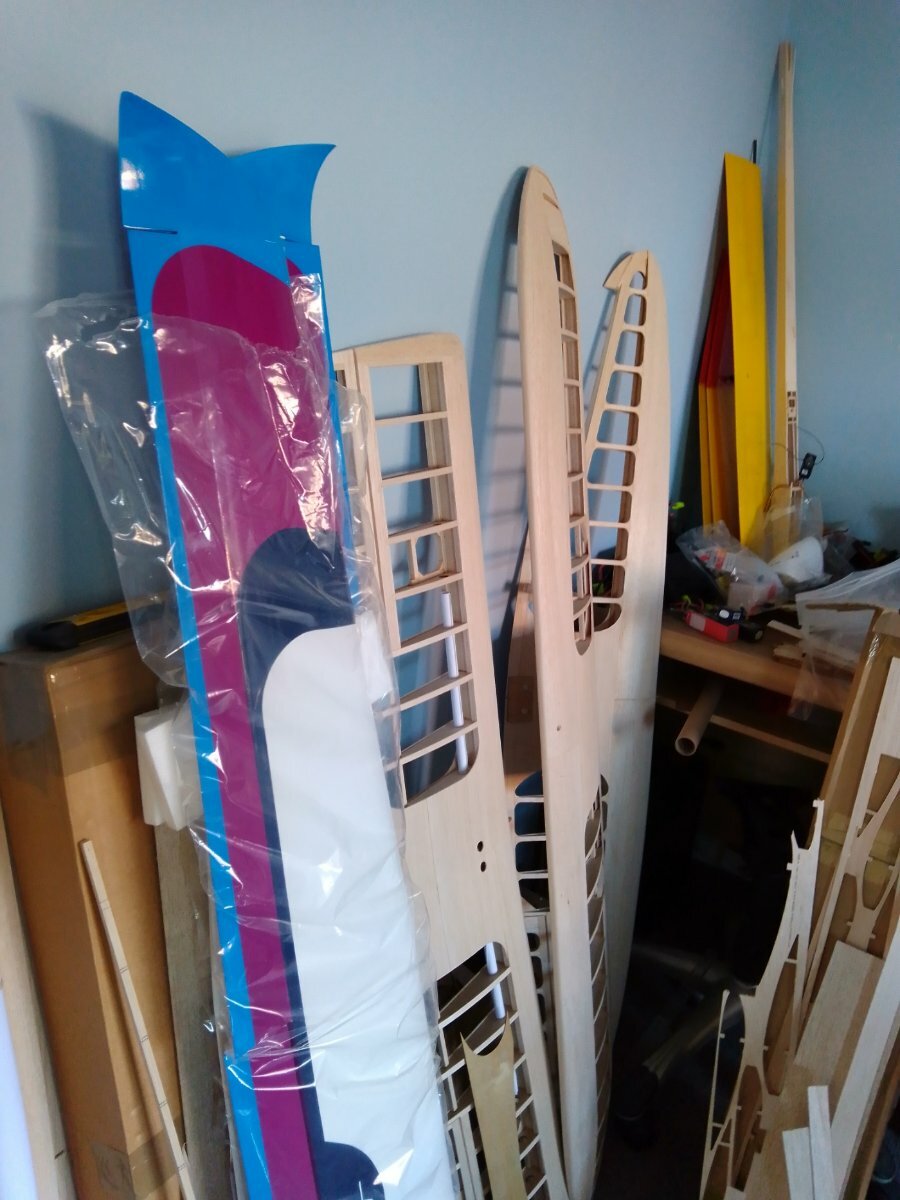
Wing tips done and wing added to the pile.
but resisting the temptation of a new buid
Hound Dog is almost finished.
but on with Peggy Sue 2 ☺️
Steve
-
1
-
-
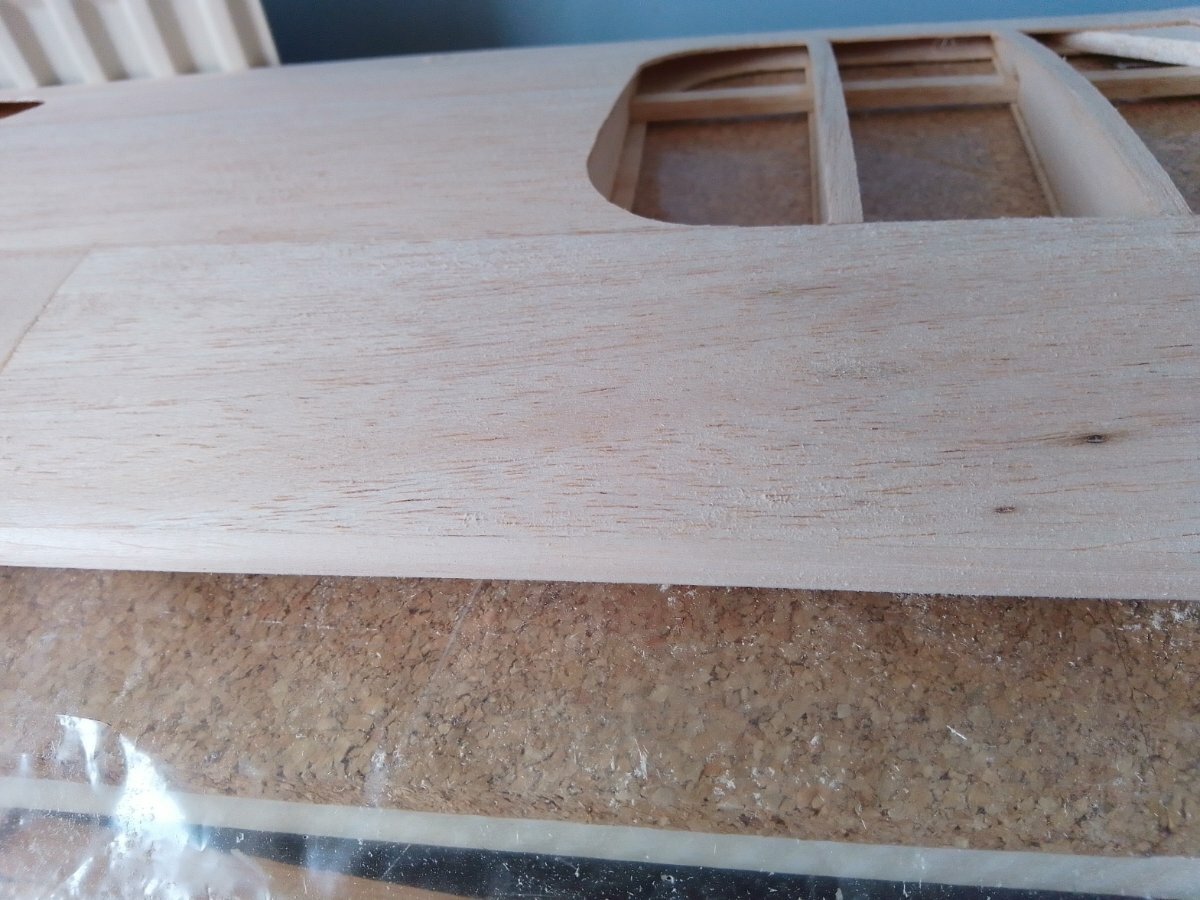
This now looks about right, from a distance, but on close inspection there are a few flat spots, particularly at the wing tips.
Next will be the wing tips then!
Steve
-
LE top
and from the front
The top now looks about right so turn over and make the bottom look about right. Then if there is any flat blend the top and bottom to form a curve, I have the sand paper ready.
Steve
-
Thanks Peter,
Second wing tip
and LE cap strips added
and sanding started. Bottom first then top.
Steve
-
2
-
-
1 hour ago, cymaz said:
Brian is on the mend
That's good news I was wondering how Brian was.
Even better that he wants to build.
Steve
-
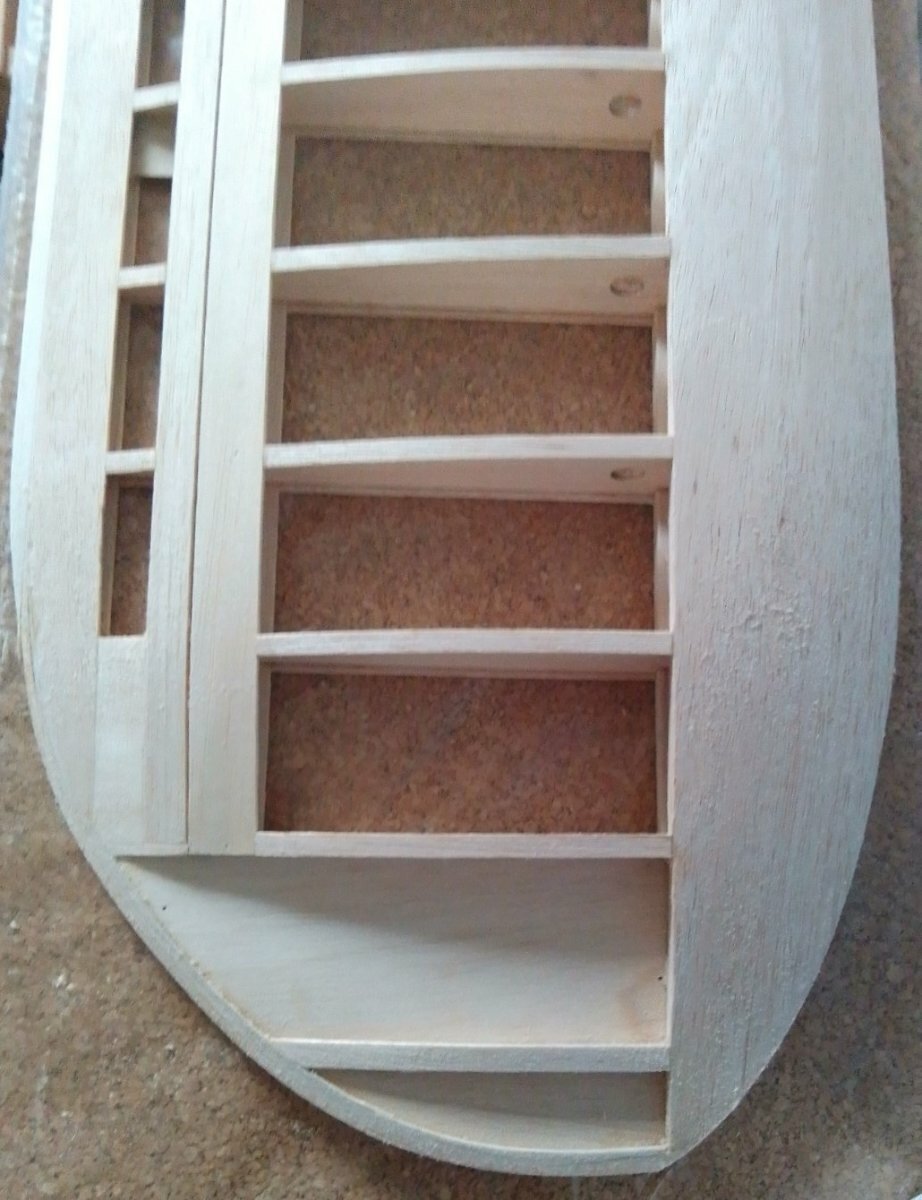
Cap strips done and trailing edge along the centre section between the ailerons. This made it time to tackle the first wing tip.
I laminated balsa as on the LE and wrapped it around onto the aileron TE then added the aileron TE. Thanks for the idea @Ron Gray. Worked well and not difficult at all. The other tip to do then LE cap strip which will be shaped and the tips rounded to match.
Well pleased with that

Steve
-
3
-
-
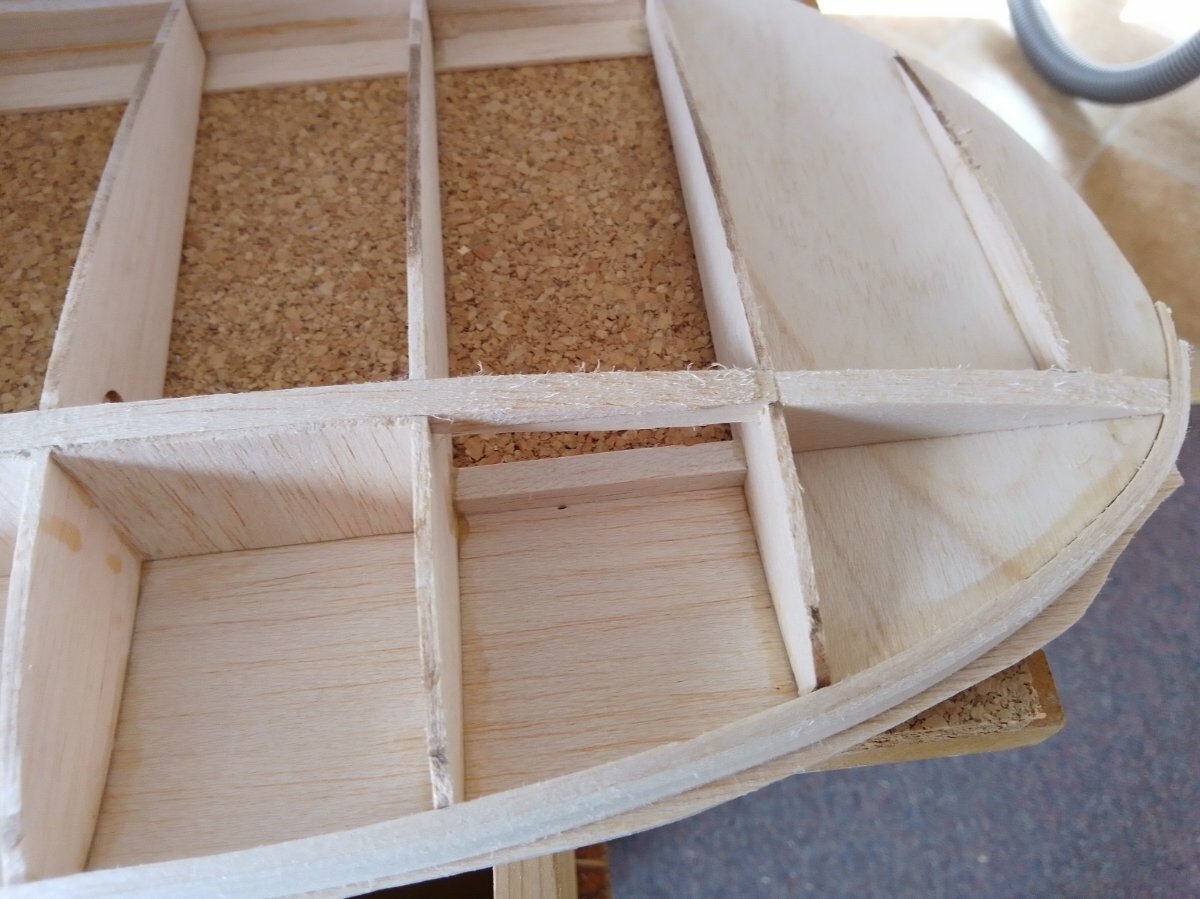
and done.
Then I turned the wing over to do the bottom. 😕
Not good where the three 1/4" ribs are particularly the centre one which was something like 1/32" above the aileron spar, the same for all three between the aileron spar and trailing edge. Added balsa where needed and sanded down as required.
Then hid it all with the centre sheet so no one would know.
Bottom cap strips next.
Steve
-
2
-
-
The top cap strips are coming on.
First wing done and
Parts cut for the second.
Steve
-
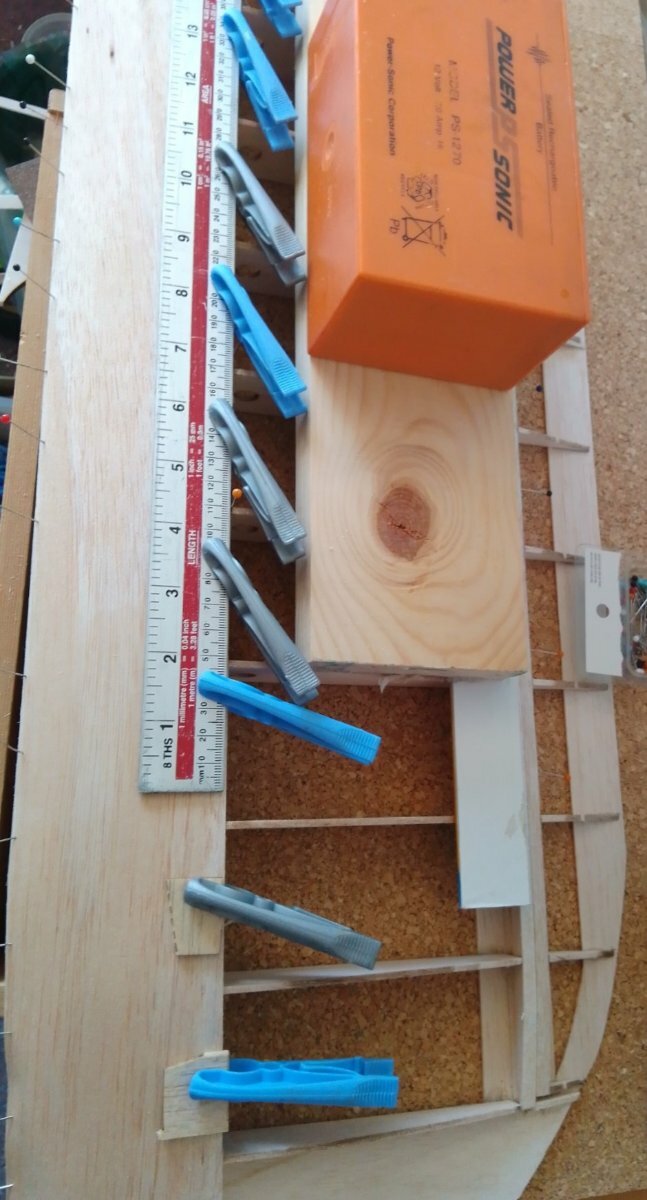
Time for a jig, no not a celebratory dance but just two rulers.
to cut the 1/16" sheet off cuts into 1/4" cap strips. It's not obvious but the 12" ruler has 1/16" scrap at each end under the clamps.
Then add the aileron caps and cut the cap strips to length.
When that is done they can be glued.
Steve
-
2 hours ago, David Davis said:
Am I right in thinking that the XT 60 plug which comes attached to the LiPo is the "female" fitting even though you push it into the "male" socket attached to the speed controller?
Yes
2 hours ago, David Davis said:Am I also right in thinking that the reason for this is because the socket attached to the speed controller contains the positve and negative terminals which fit into the tubes inside LiPo's fitting?
Yes the male fits into the female as always. The terminals in our case.☺️
-
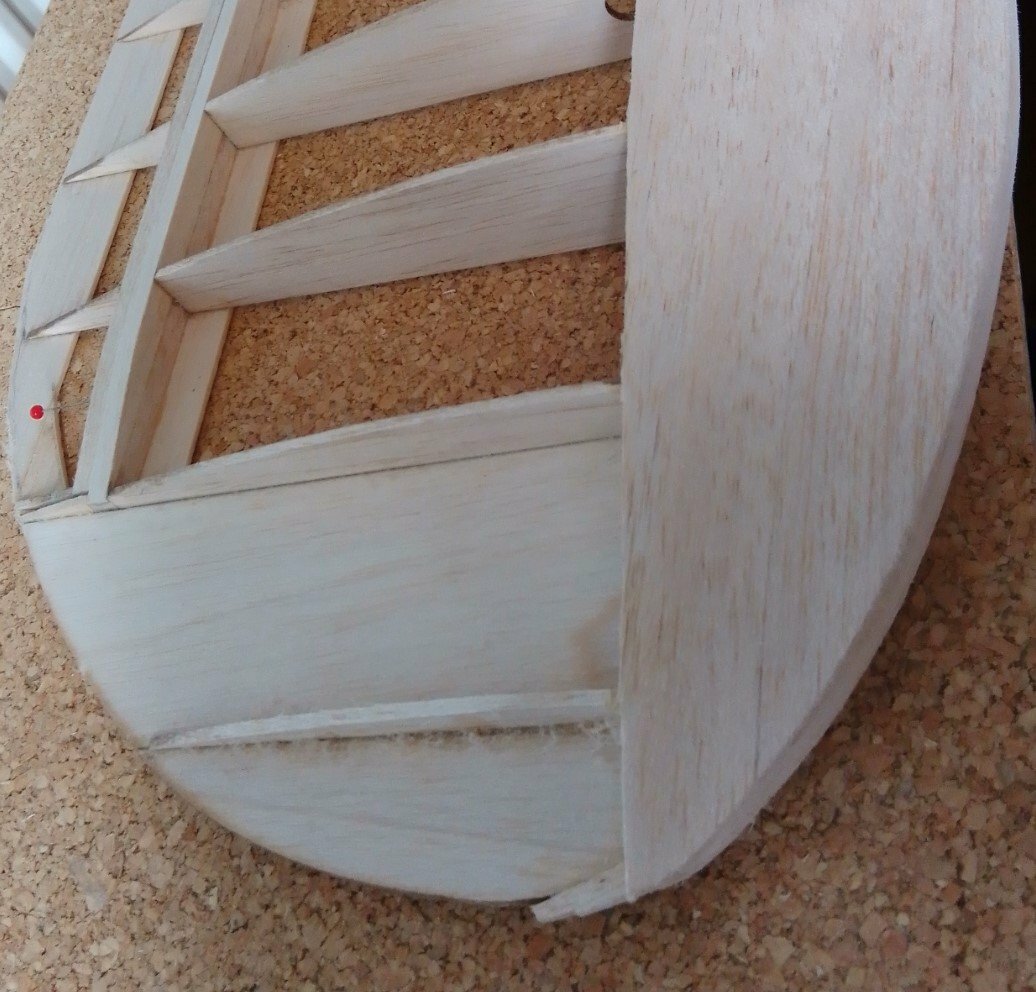
Trimmed and bottom sheet pulled up.
While in Wickes I not only bought the rulers but also green Frog Tape. This is the first use and my initial reaction is wow it sticks and stays stuck to balsa.
Apart from that I must vacuum sometime. 😕
-
Thanks Ron. I have used the dry in place method, which works. The first time using wet balsa was on my Ballerina wing tips which showed me how easily wet balsa is damaged so now I wet only the outside making sure not to wet where I intend to use pegs. Also on the tips mould the balsa along the centre then pin the LE and last the TE.
Because
The excess balsa forms a curve in front of the spar.
I will cut that off and trim the LE next.
Steve

-
1
-
-
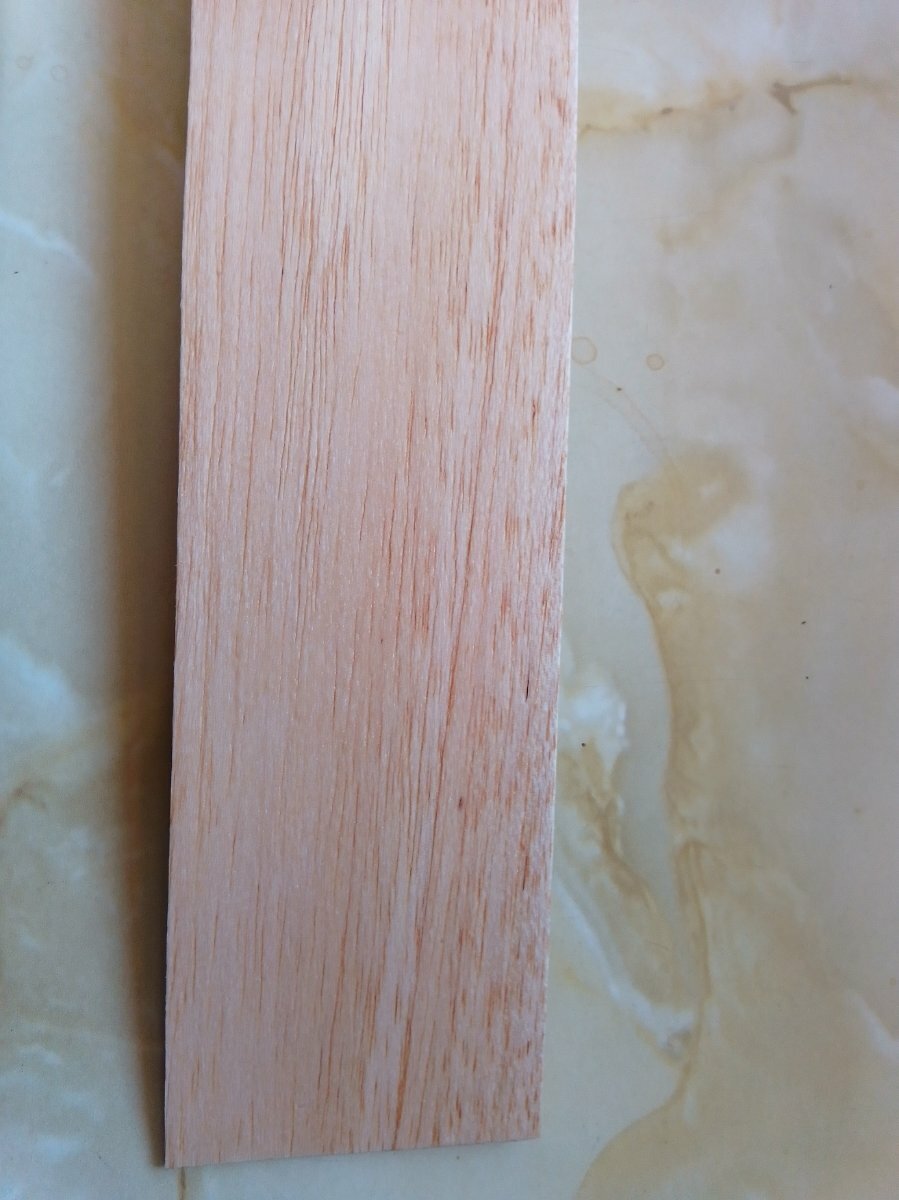
As promised the LE sheet has been cut to size then soaked with water so it naturally bends
and here is the tip bending as expected
Two pins were used as a guide then glue applied and brushed out.
The sheet was held in place with pegs and pins. Wet 1/16" balsa has the same properties as wet cardboard so handle with care.
and the tip.
It's now drying, both the wood glue and the balsa. Water makes the balsa expand BTW.
Note no cuts. I will show where the excess balsa went, unless someone beats me to it.
Steve
-
1
-
-
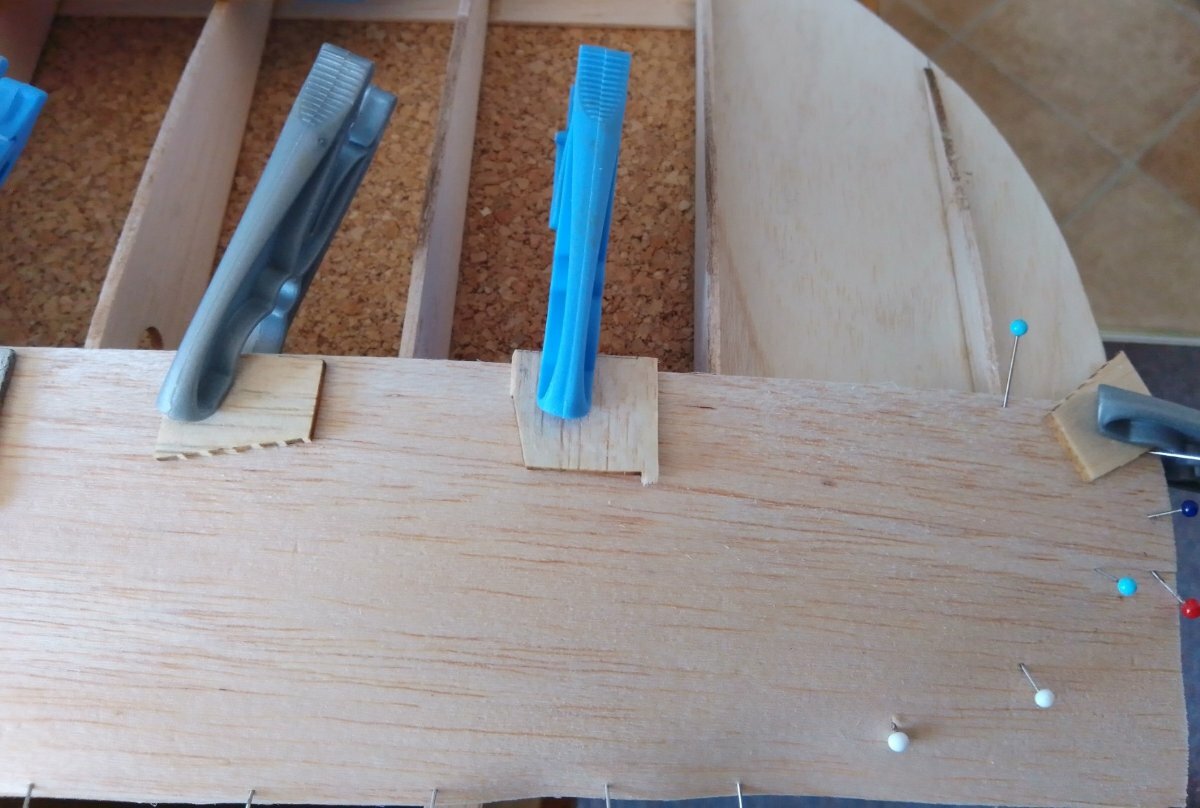
The preparations for the second LE fitting are done.
Including drilling holes for the wing bolts
and shaping the tip, spar and LE.
Next cut the 1/16 sheet to size and fit it.
Steve
-
1
-
-
I don't use emails as all my notifications are set to 'notification list' which works well for me as I look here everyday and pressing the bell icon saves me searching for items I follow.
My suggestion would be for you to do the same but leave one on email just in case it starts working, one you look at anyway. If we do sort the email issue then obviously you can revert to email notification if you so wish.
Just an idea and as usual just trying to help.
Steve
-
Spam settings is a possibility if they are set on high.
-
1
-
-
14 hours ago, David Ashby - Moderator said:
Sorry EB, we've polluted your thread.
No problem David as we are all here to help. It sounds like the emails are being sent @Peter Millerwould it be too obvious to suggest checking your spam box, I have been caught out by this myself and after reading a suggestion on here I did just that, I found what I wanted in there along with loads of rubbish.
-
1
-
-
-
I'm happy with this
☺️
-
2
-
-
That will override the Global settings in Notification Settings.
Which looks like this
I believe that these settings are overridden by the Notification Settings when using the Follow option.
Steve
-
Peter, when you press Follow this comes up.
Select the email option as above.


Notifications
in Report A Problem
Posted