

jeff2wings
-
Posts
3,219 -
Joined
-
Last visited
-
Days Won
5
Content Type
Profiles
Forums
Blogs
Gallery
Calendar
Downloads
Everything posted by jeff2wings
-
Well you're making good progress particularly as the lathe is both basic and vintage (but perfectly adequate )you might find it useful to have a look at modelenginenews.altervista.org there is a full build thread for the Speary that I'm sure you will find useful . In the meantime, I've a bit of catching up to do 😄😄
-
A face plate can be very good for odd shapes
-
Nice old pre-war Drummond, you have a face plate for it?
-
Just been checking the hemmingway drawings agents the ones originally published in 46-47 and there appears to be a difference in the transfer/exhaust dimensions, what drawings are you using?
-
And that's it,fixed ready for maiden v2.0 and I'm done, bye!
-
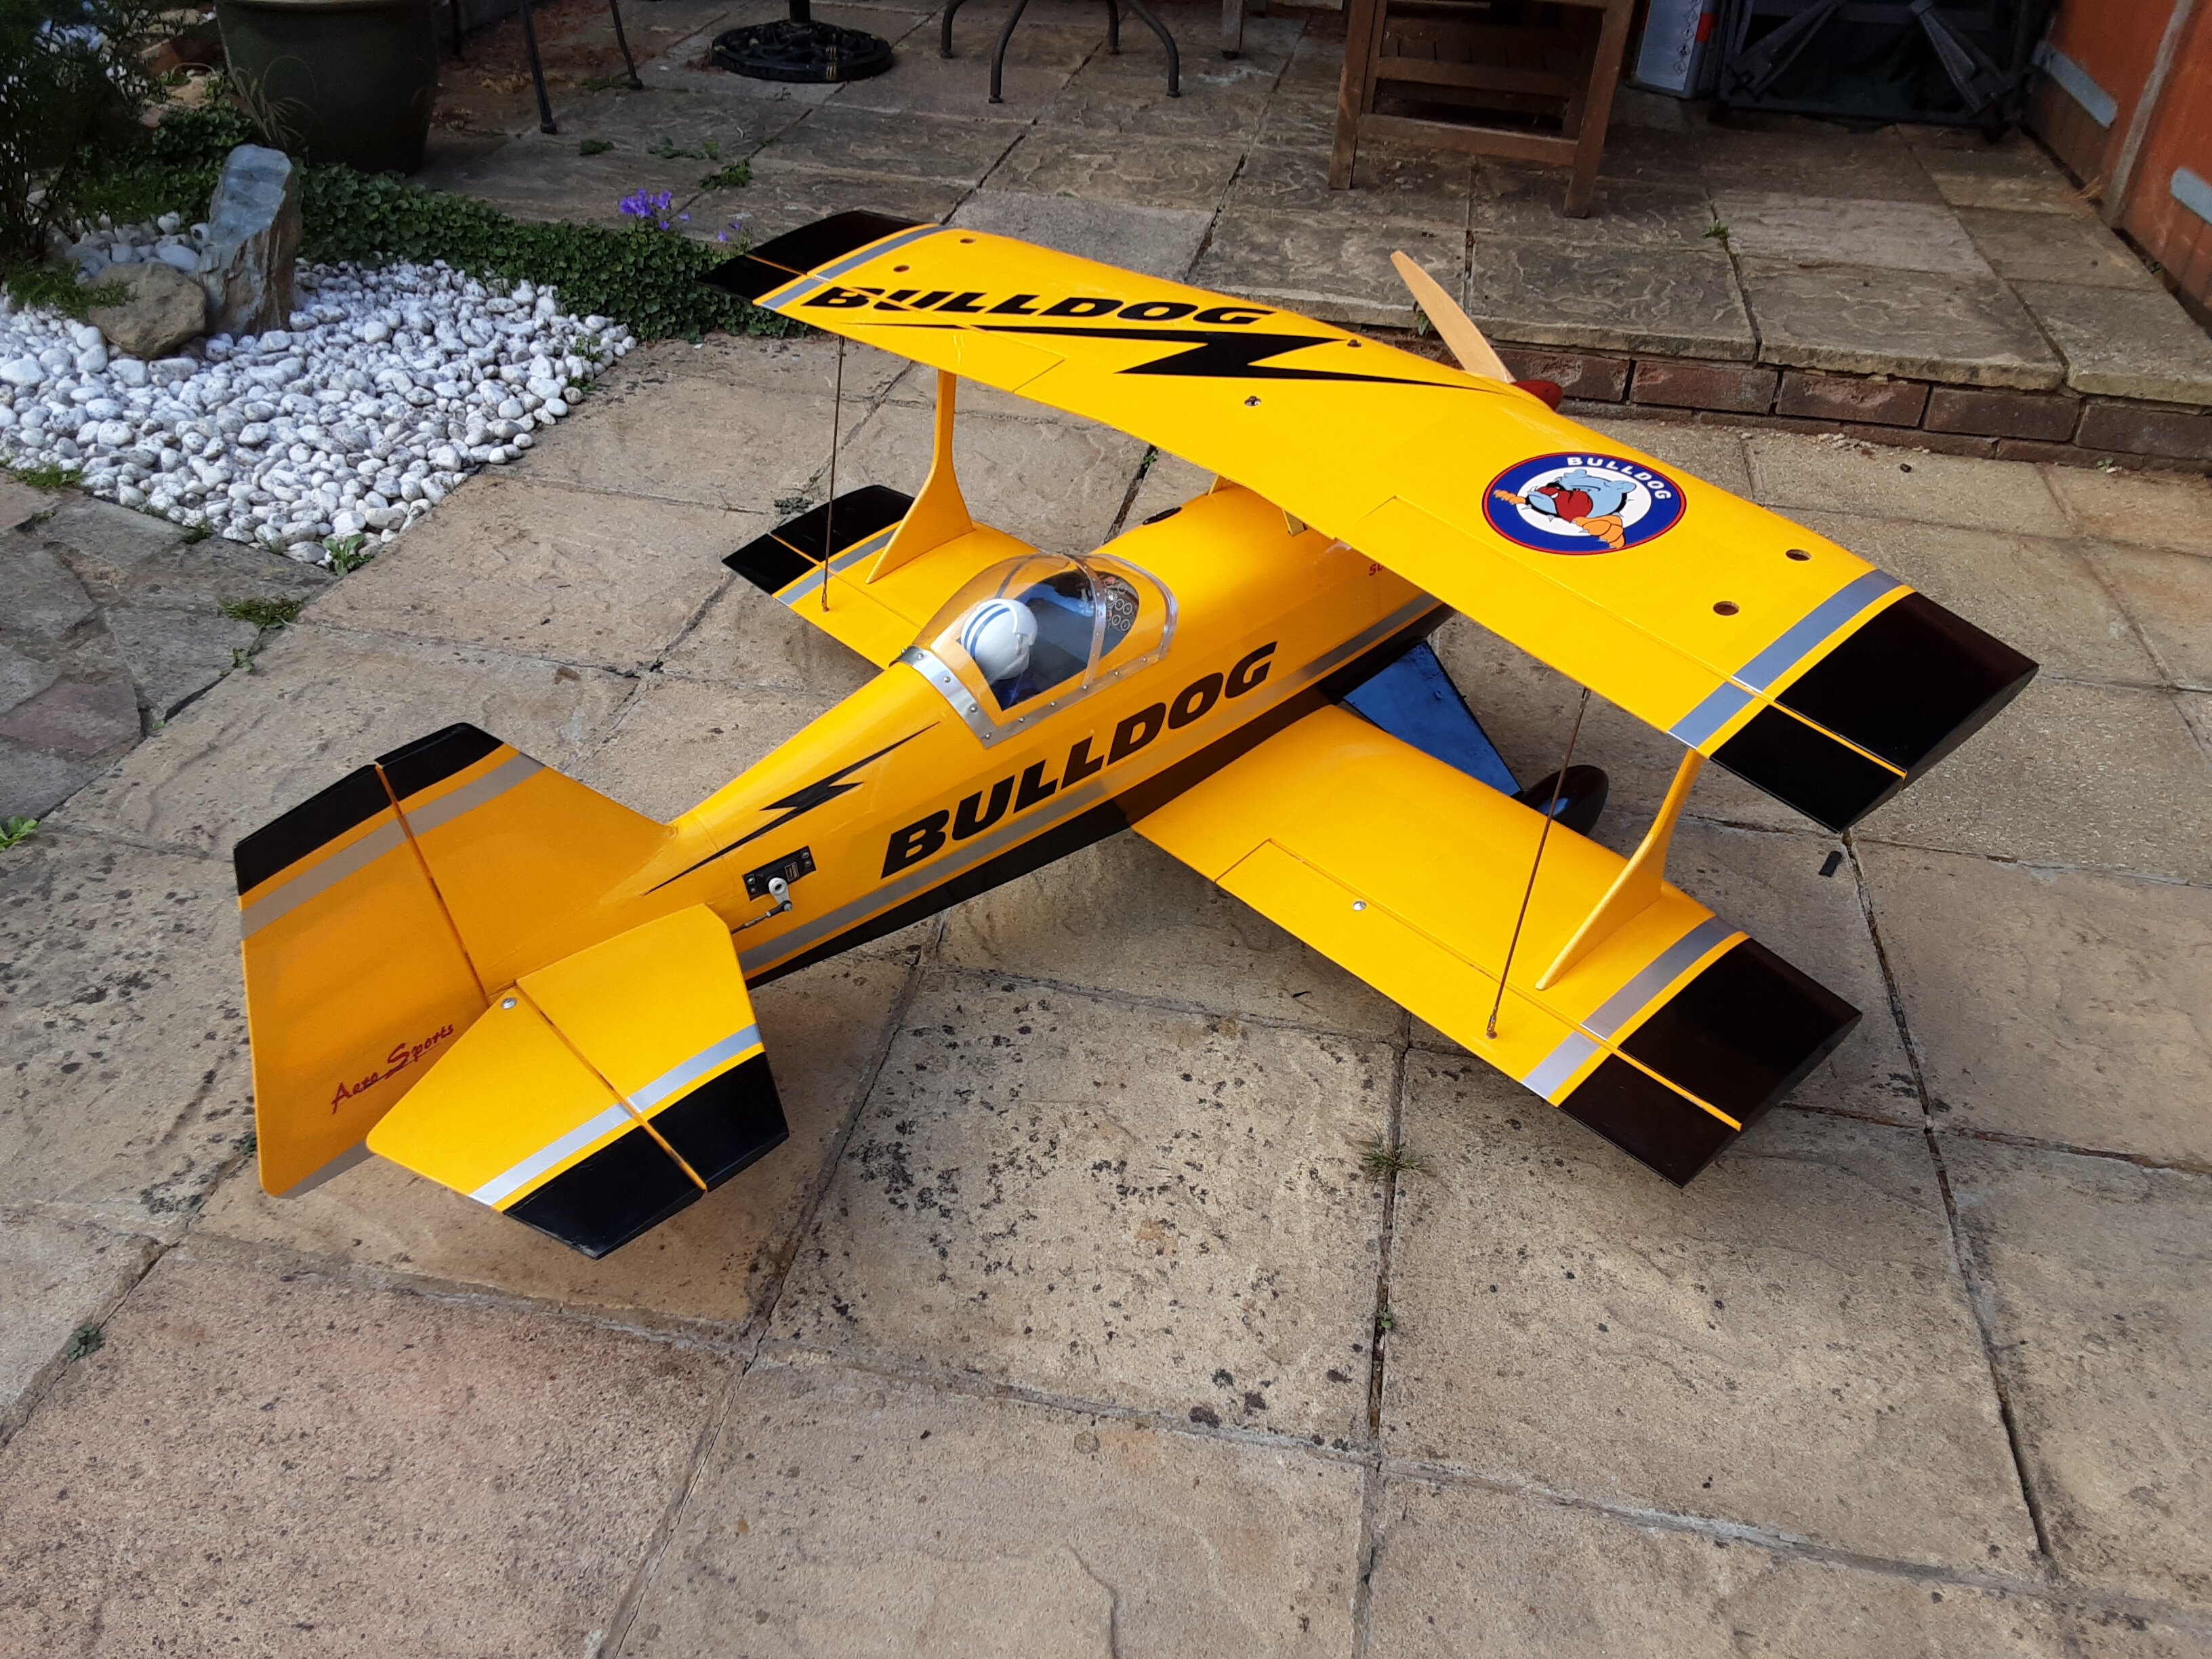
Bi fly new struttery finished and a TT91 installed, just radio gear and a bit of covering to go
-
Engine/cowling sorted
-
Making progress with the Pitts added triangular stock for u/c After filling all the holes adding engine mounting reinforcement, square bit sets the side thrust Filler panel with access to tank now the real fun bit,dealing with repairing the cowling after captain hackers efforts
-
RC IC Engines, you've probably never heard of.
jeff2wings replied to Paul Marsh's topic in IC Engines
Ah,the Nordec that promised much but fell short, sadly by the time it was revised the time for engines of this class had passed, you can read the story of Nordec on the late Ron Chernich's website Model Engine News, the Mk 2 Nordec being the inspiration for building this -
RC IC Engines, you've probably never heard of.
jeff2wings replied to Paul Marsh's topic in IC Engines
Royal were probably among the first quality engines from Taiwan, any one who's had experience of the flash brand will appreciate that statement, the .40 is almost a direct copy of the fabled OS 4O FSR so should be pretty decent and were fairly popular in the U.S. in the '80's being sold through the Tower hobbies outlets -
So back to the Pitts repair/remodeling of the fuselage so having forcefully removed the pilot who put up a bit of a fight considering his disability of not having a head, l need too add a floor and extend the upper fuselage deck forwards in order to convert to single seat I took the easy way out by using some balsa blocks next the front decking needs extending back All the upper fuselage decking is made from foam with 1/16 sheeting, the foam being hollowed out to 1/2 so not overly robust, so l used 3/32 for the extend and added some 1/32 on top of the original deck
-
And the bi-fly is having it's wings repaired now I splashed out on some gorilla glue 😄 Top wing holes filled in and marked out for new strut fixing just needs new plate and servo mounting
-
,Well it was originally flown with a os 120 fs but I don't have one of those in my collection, but l do have; Enya 120f (bit of a lump) MDS 148 (silencer bit awkward) Laser 150 nib humm 🤔
-
So after about 8 hours of very careful sanding and scraping................ ........we have a usable wings ready for mounting on the bi-fly, er,no,so the story is that when I picked up the decrepit Flair D7, my 'friend ' also gave me an equally decrepit airframe of a cermark Pitts Special S 2b , well it saved him a trip down the local trip! And ten years later I'm going to resurrect it. So here's the fuselage the canopy (and the pilots head ! ) were missing Well now that I've had a bit of practice at getting the blue off... Going to need a few cups of tea to get through this 😐 oh dear, think I will need my angle grinder to sort this out 20210508_174220.heic
-
Well done Leccy, making good progress with your spitfire pair,always a bit of an adventure delving under the surface of a 'pre-loved' airframe 😅 ! And that brings me onto my projects, I was already building a couple of new models when having been frustrated with not being able to find something/everything getting in my way, I spent 5 days cleaning/reorganising the workshop during which I found a pair of wings, ah! I thought, I use these too fix my bi-fly 48 that I pranged after the engine faded on takeoff (first flight after extensive rebuild 😒) ............. bi-fly before the unpleasantness this is the upper wing ,wing tips removed lower wing, water damage to aileron all four will be replaced the white came off without a great deal of work but the blue, the blue......😭 luckily this was only surface damage managed to sand it down
-
So what have people got on the workbench for this winter's fix-up??
-
Now that's old school ! I think if I was building this I would have modified it by glueing a set of u/c mounting blocks, the same as you would use for a foam wing to the dihedral brace but well done for sticking with the plan👍
-
Only on the N 11 however be aware that the construction of tail surfaces needs to be altered for weight reduction, most find the need for some nose weight with the Puppeteer so some care needed if you go this route.If you're looking too improve its 'scale ' like appearance ,altering the u/c and adding flying wires along with an authentic colour scheme can make a big difference
-
yes,that's correct I think by 30 mm ? the N 11 conversion a bit more !
-
If he had the foam wings it would be ready for covering by now🤣🤣!
-
As intrigued as I am I think it's better to let sleeping dogs lie,I would be more interested to here of you experiences of flying from that decade 👍
-
Keith Maundrell, still beat Terry Cooper and Mike Bone 😏 can't remember hearing much of him after that?anyway your right that I have taken styling features from that era although I think it could have done with 1 1/2-2" more in the fuselage, we will see when it's flown 🤞
-
Is this the one you're thinking of Martin?
-
Someone to supply a complete laser-cut kit in UK
jeff2wings replied to Sam Longley's topic in All Things Model Flying
And I quite understand your enthusiasm for the Avanti having watched this and other builds by Mark Robinson, his enthusiasm is very infectious!😄👍 -
Someone to supply a complete laser-cut kit in UK
jeff2wings replied to Sam Longley's topic in All Things Model Flying
Careful Sam,you could be about to disappear down the rabbit hole with that topic,I would steer clear if I were you lol!. Now if I may offer up another suggestion, a Mick Reeves Gangster 63,not the lite one but the original with foam wings ,I got an original kit from eBay but I think if you give him a call it might be available to special order?Worth a thought maybe?

