Jump to content

chris meek 1

Members
  • Posts

    349
  • Joined

  • Last visited

Recent Profile Visitors

The recent visitors block is disabled and is not being shown to other users.

chris meek 1's Achievements

164

Reputation

  1. 20/20 for me - although the last one was a cheeky one! šŸ¤£
  2. Unless that is anyone has a WR ju88 in their shed they donā€™t want! šŸ¤£šŸ¤£
  3. Thanks for the positive comments, they really are appreciated and have helped keep me motivated! Iā€™d considered doing similar but wanted to try the warbird replicas approach - after watching some of Ronā€™s videos on the fw190 I thought Iā€™d give it a go and tbh think for me itā€™s the way Iā€™ll go in future again - quick and easy and gives an impression of panel lines etc without adding weight (always a worry on this for me given the short nose length!) Ive got the WR tempest on the board next but already thinking of possible projects for the new yearā€¦. Possibly a hawker typhoon but Iā€™m a fan of twins/multis so might end up changing my mind several times before then! šŸ¤£
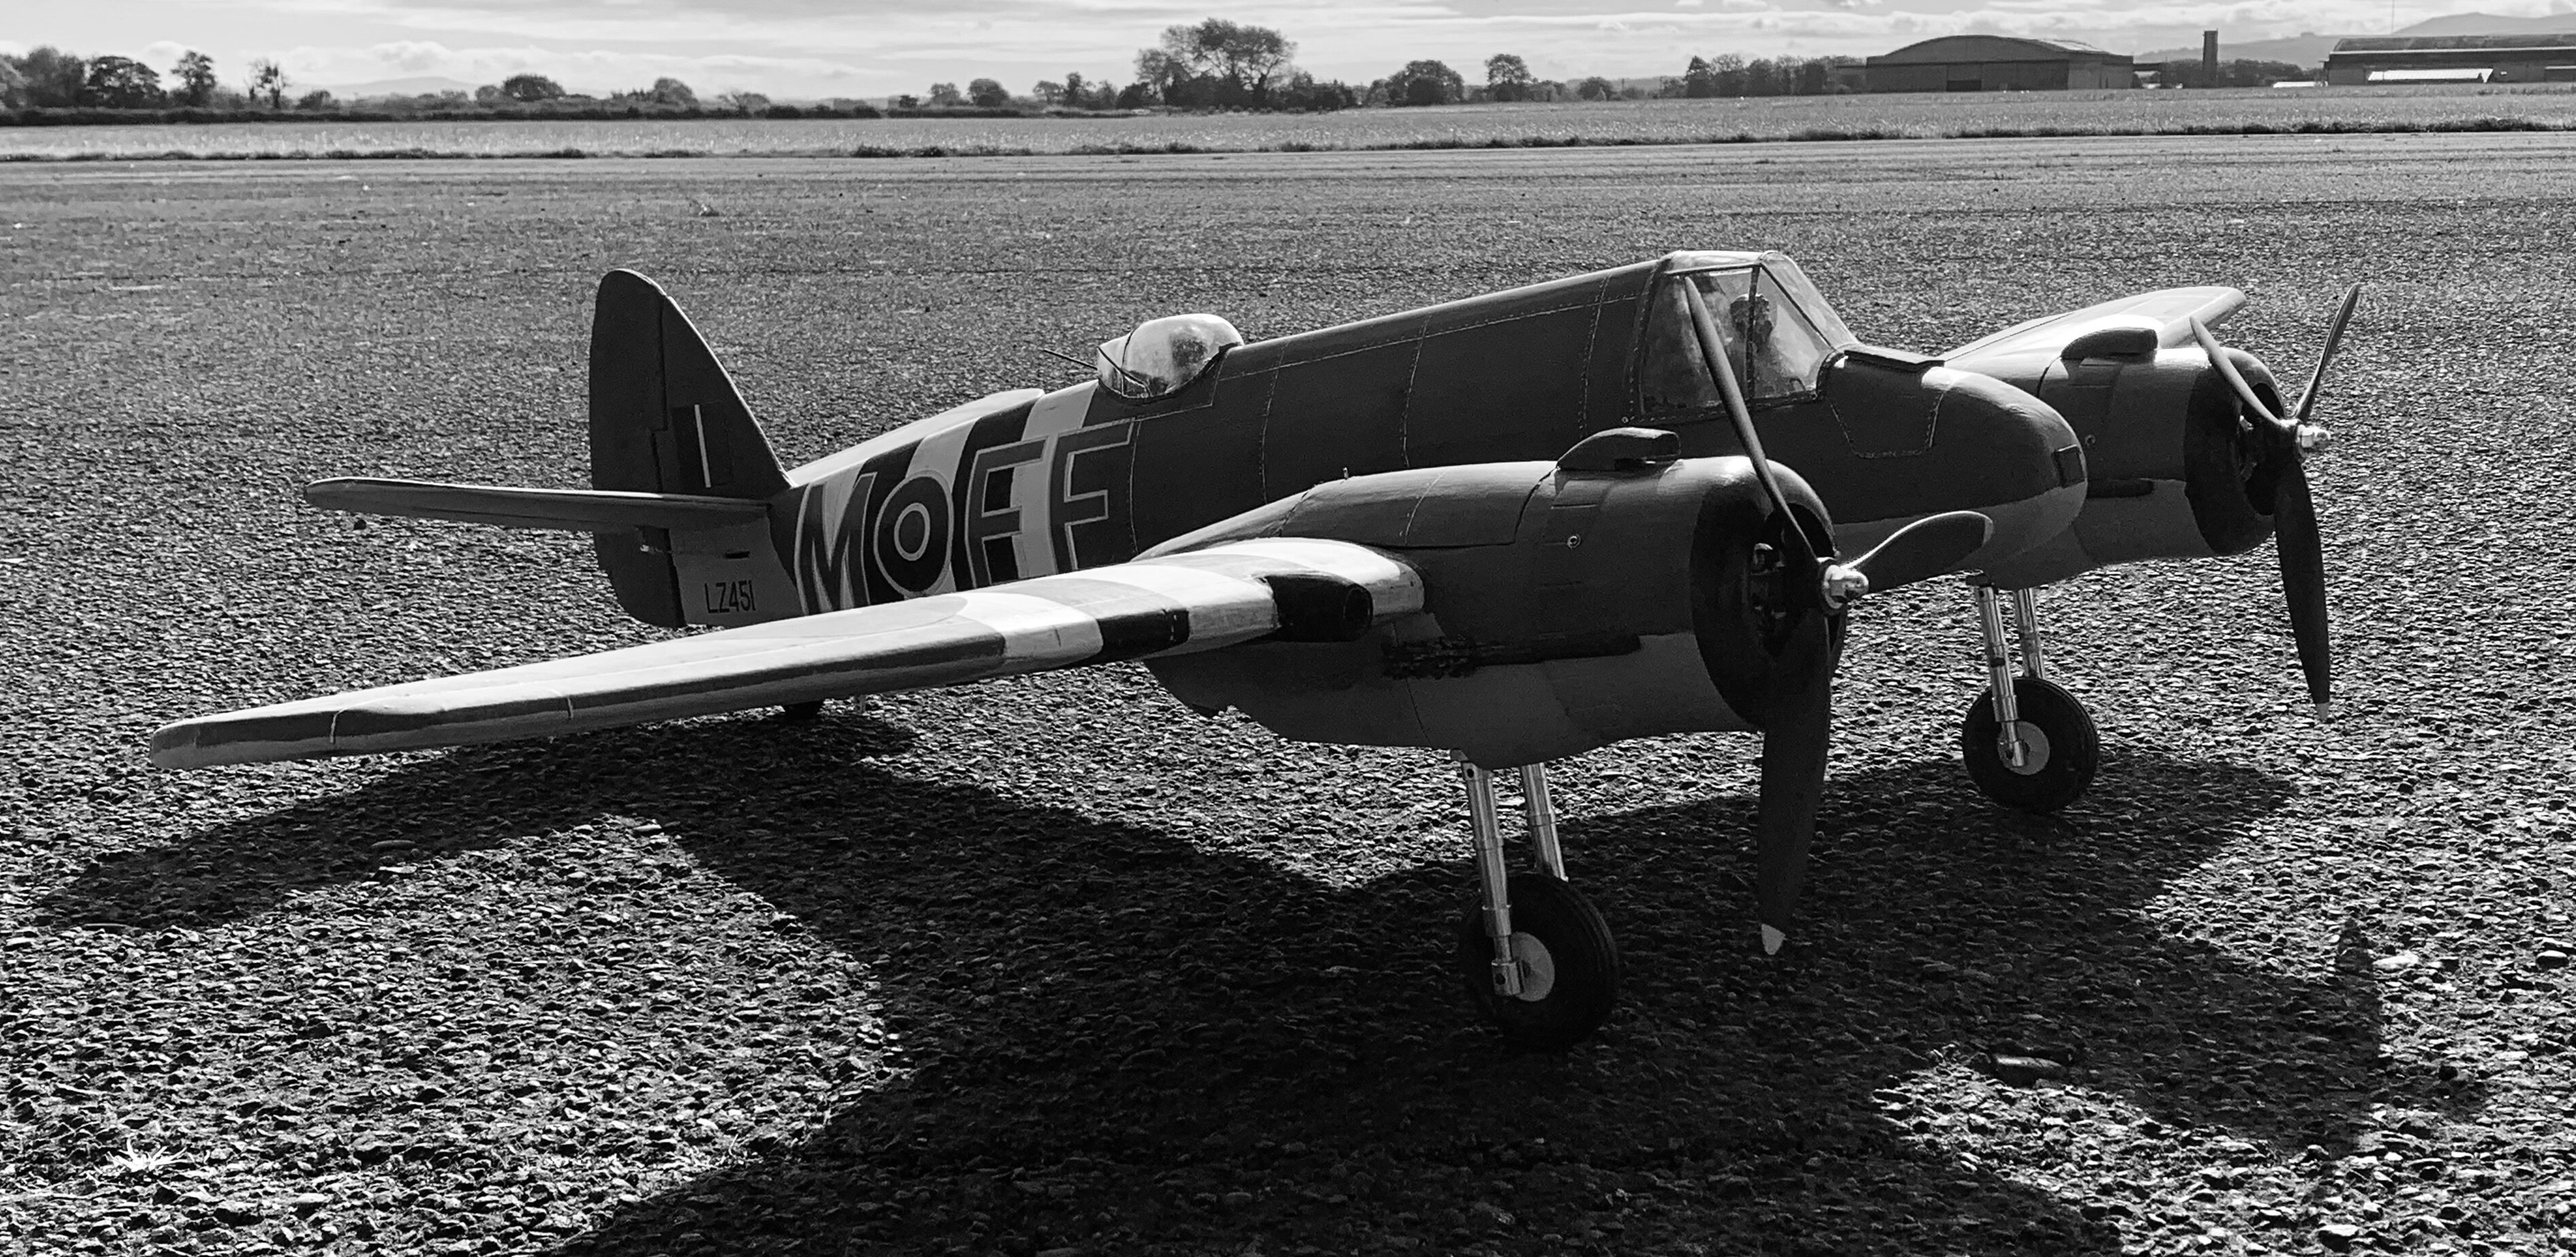
  4. So back at it today. Couldnā€™t bring myself to do any soldering so did some more weathering! šŸ¤£ Need to sort esc placement in the nacelles - at the moment Iā€™m thinking under the battery trays then the lipos go on top - will need to mount the trays higher up in the nacelle to allow this to give space above the retract units but hopefully once done thereā€™ll still be space in them for a 5s lipo if I decide to go up to one - current plan is to go 4s as Iā€™ve got a stash of themā€¦ Couldnt resist another set of photos with it together! The good news is, with lipos and electrics in, when using the ā€˜finger methodā€™ the c of g is close/on the suggested mark so Iā€™ll hopefully not need much (if any) extra weight in the nose. Once everything is finished Iā€™ll make a Vanessa rig to check it accurately but Iā€™m pleased it seems to be in the right ball parkā€¦..
  5. Last one for this week! šŸ¤£ finally got the cockpit canopy plug finished, after a little trial and error I got a canopy I was happy to use - this is it temporarily fitted until I get another pilot figure and detail the cockpit. Again, itā€™s not perfect but it will do me!
  6. Thanks Richard - from other blogs Iā€™ve seen I think people are put off with the fuselage curvature at the nose, but with some patience (and ammonia!!) itā€™s not that difficult- the biggest challenge so far has been the plugs for the canopy/cupola!
  7. Thanks - Iā€™ve only got a small airbrush Iā€™ve used in the past on plastic kits - donā€™t want to shell out on a bigger one so will try that, if it fails I might have to resort to brushing it on!
  8. Weathering started on port sideā€¦ what do folk use to seal everything down at the end? Heard some form of varnish?
  9. A little more progress - pulled a new observers cupola which came out nicely so happy to use it. Still working on the cockpit canopy plug but hopefully making progress with that as well.. anyway - I cut out the observers area and glued the figure in place with a machine gun - the barrel is removable to stop hanger rash! Then I glued the cupola on (sat for 40 minutes holding it in place while the glue set! šŸ¤¦ā€ā™‚ļøšŸ¤£) and started on panel lines and rivets as per Richardā€™s technique on the warbird replicas models.. once done Iā€™ll try some weathering with some chalks to muck it up a bit! Got to say - panel lines and riveting didnā€™t take that long and the effect they give is quite impressive!
  10. First attempt at the observers cupola. A couple of imperfections but if it wasnā€™t for the spidering Iā€™d have been happy to use it!
  11. I use a water based finishing resin over the brown paper which I give a light sand before I put the paint on - not sure I have the patience to squeeze a load of bananas! šŸ¤£
  12. Well thatā€™s it for this week - wings painted and decals on! Iā€™ve had a quick go at vac forming the canopies - observers cupola went ok but no joy at all with the pilots canopy! There was some spider webbing from the observers canopy so it wasnā€™t perfect - I think I need to make a bigger vac former. Ah weā€™ll all good progress anyway!
  13. And so it begins! I hate doing the white of the invasion stripes - currently on coat three and it still looks horrible up close! Itā€™ll get there but still a painā€¦ šŸ¤£
  14. Took a four hour drive yesterday to visit North Coates and the memorial to the Strike Wing at Cleethorpesā€¦..
  15. So today has been a day of mixed results! Spent the day meeting friends and going to do some stuff in town but Iā€™ve finally got the second nacelle finished off and the top hatch cut with a catch fitted to secure the rear of the hatch in flight. I was feeling very pleased with myself - then realisation dawned that because the hatches run up to the firewall there may be an issueā€¦. The cowls supplied when fitted run over the nacelles by about 15mm, so although the hatches fitted very nicely - Iā€™d need to remove the cowls every time I wanted to access the flight batteries because they were stopping the hatches lifting out! šŸ¤¦ā€ā™‚ļø . Got to admit to a few curses under my breath but soon sorted - an additional bulkhead glued into the interior of both hatches and I was able to cut them both into two pieces - then it was a simple job of gluing the front piece in place for the cowl to fit over while still leaving plenty of access into the battery bay. Iā€™ve also done some more filling and sanding on the canopy plug so have been able to add a layer of resin over the top of it. Not quite got to covering the wings yet but not long to go and all good progress!
×
×
  • Create New...